One of my favorite additions to my 80 is the extra fuel tank--I really enjoy not carrying fuel cans.

I constantly missed having that functionality on my 100, even just for around-town driving. So, I duplicated the setup I did under my other truck.
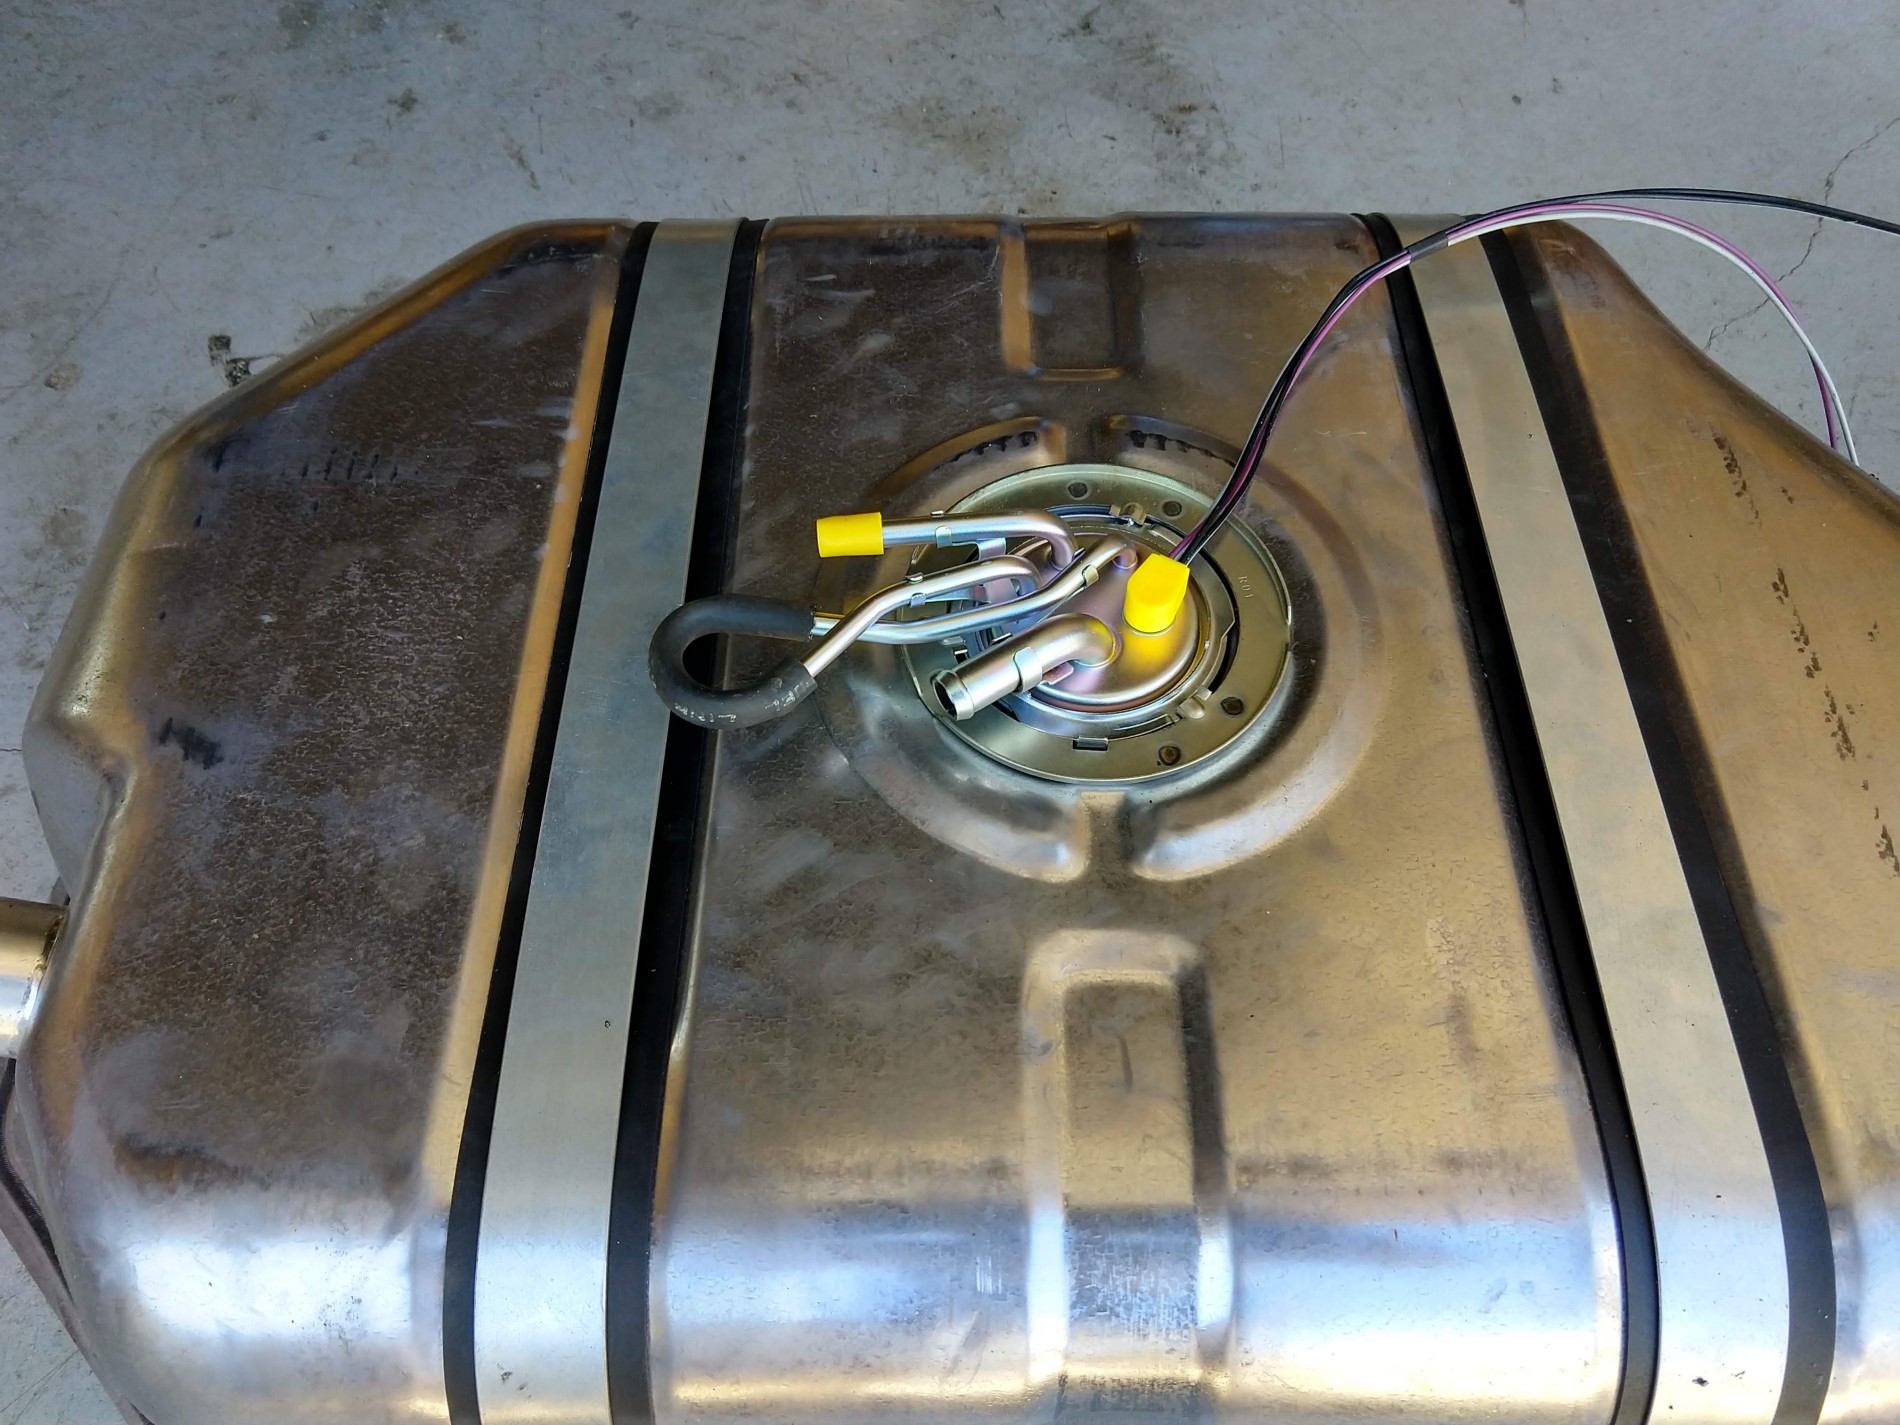
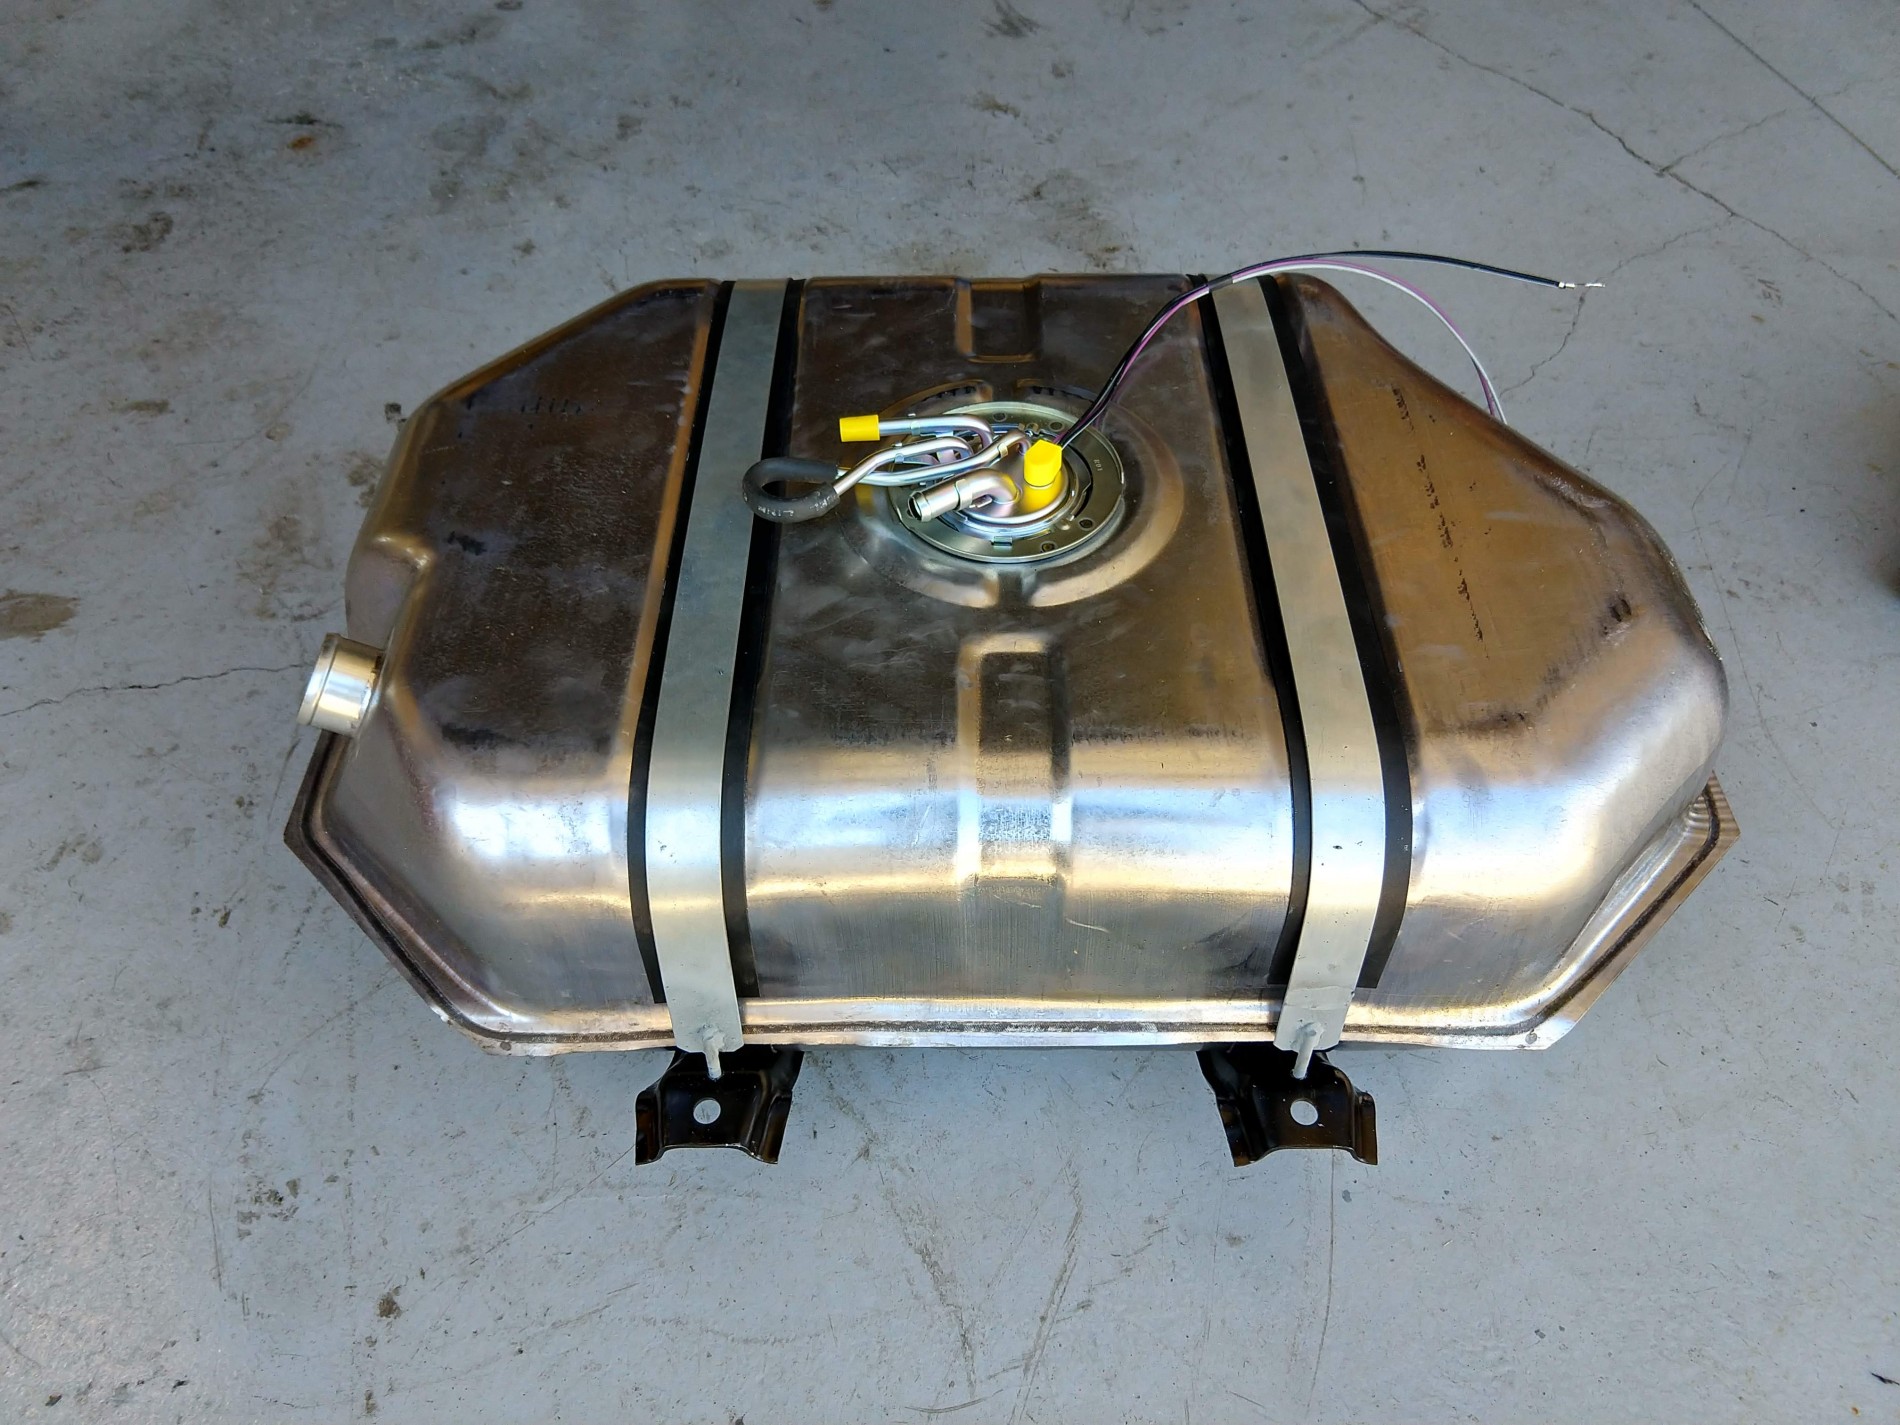
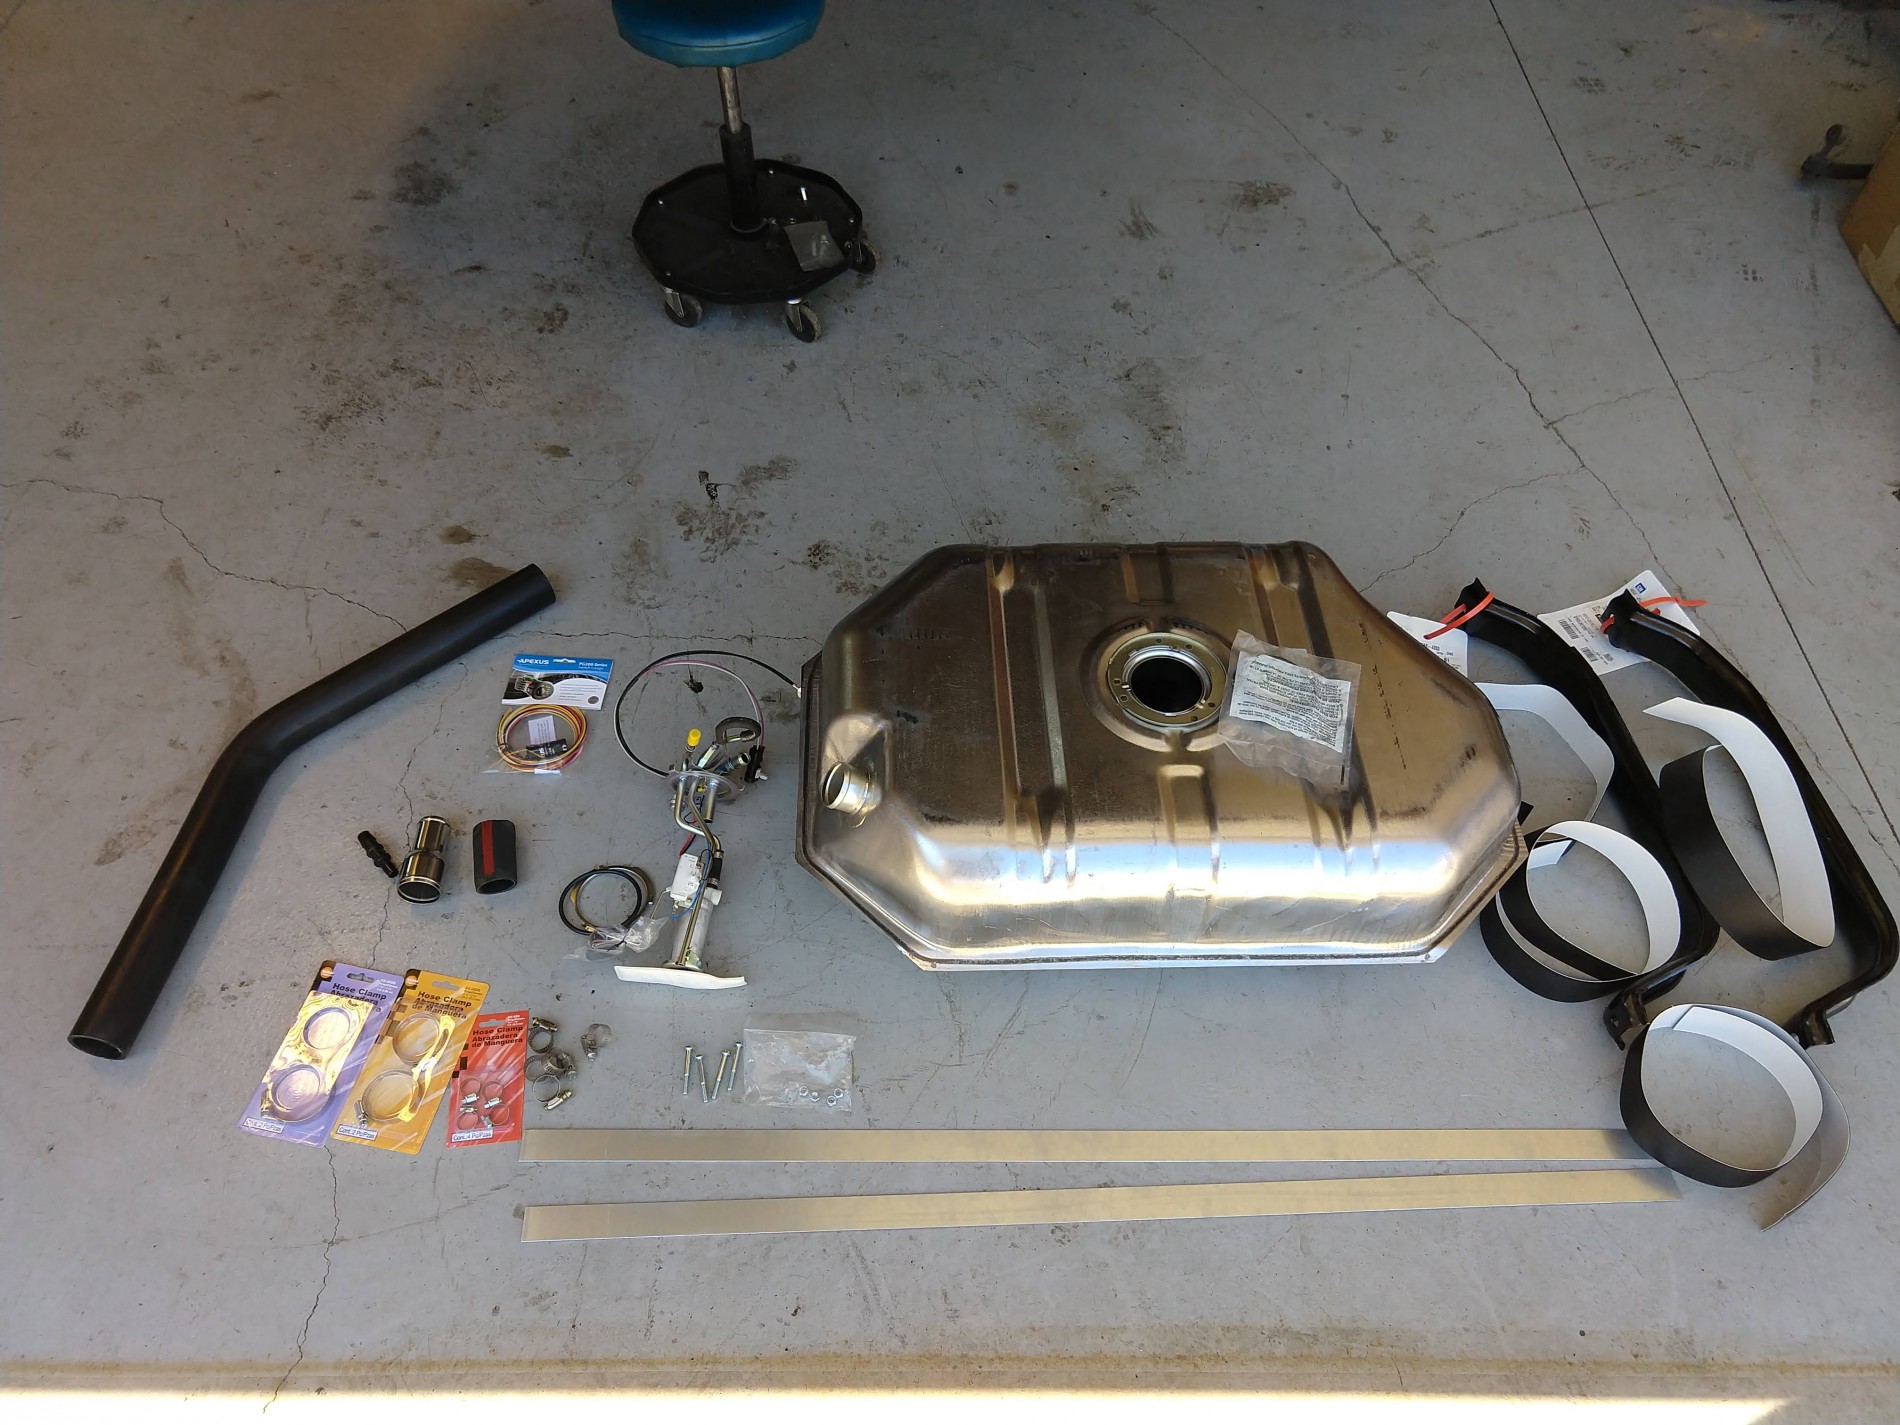
It's a fuel tank for an '87-'95 (ish) S-10 Blazer. The pump/sender assembly changed a bit over the years, so I picked one from a 1990 because it has simple barb fittings instead of weird threaded things.
I used the mounting brackets for the same truck, GM part number 15684333, and the rubbery isolators 88983035.
A fuel gauge/switch unit from Apexus, and some fittings from Filler Neck Supply are the bulk of the rest. A 2" to 1.5" stainless reducer, a chunk of 1 3/8" hose to connect the Toyota filler neck back together, a 5/8" to 1/2" reducer, and a 45 degree angled 2" filler hose. (this was replaced by a 90 degree one later, the 45 wasn't going to work nearly as well) There are also a couple strips of galvanized 16ga steel, which I used to make tank straps. (18ga would be great also, the 16 is a little bit hard to bend by hand) Not pictured: a length of 5/8" fuel hose, (maybe a foot?) three feet of 1/2" fuel line, and a couple feet of 3/8" fuel line.
All pictured:
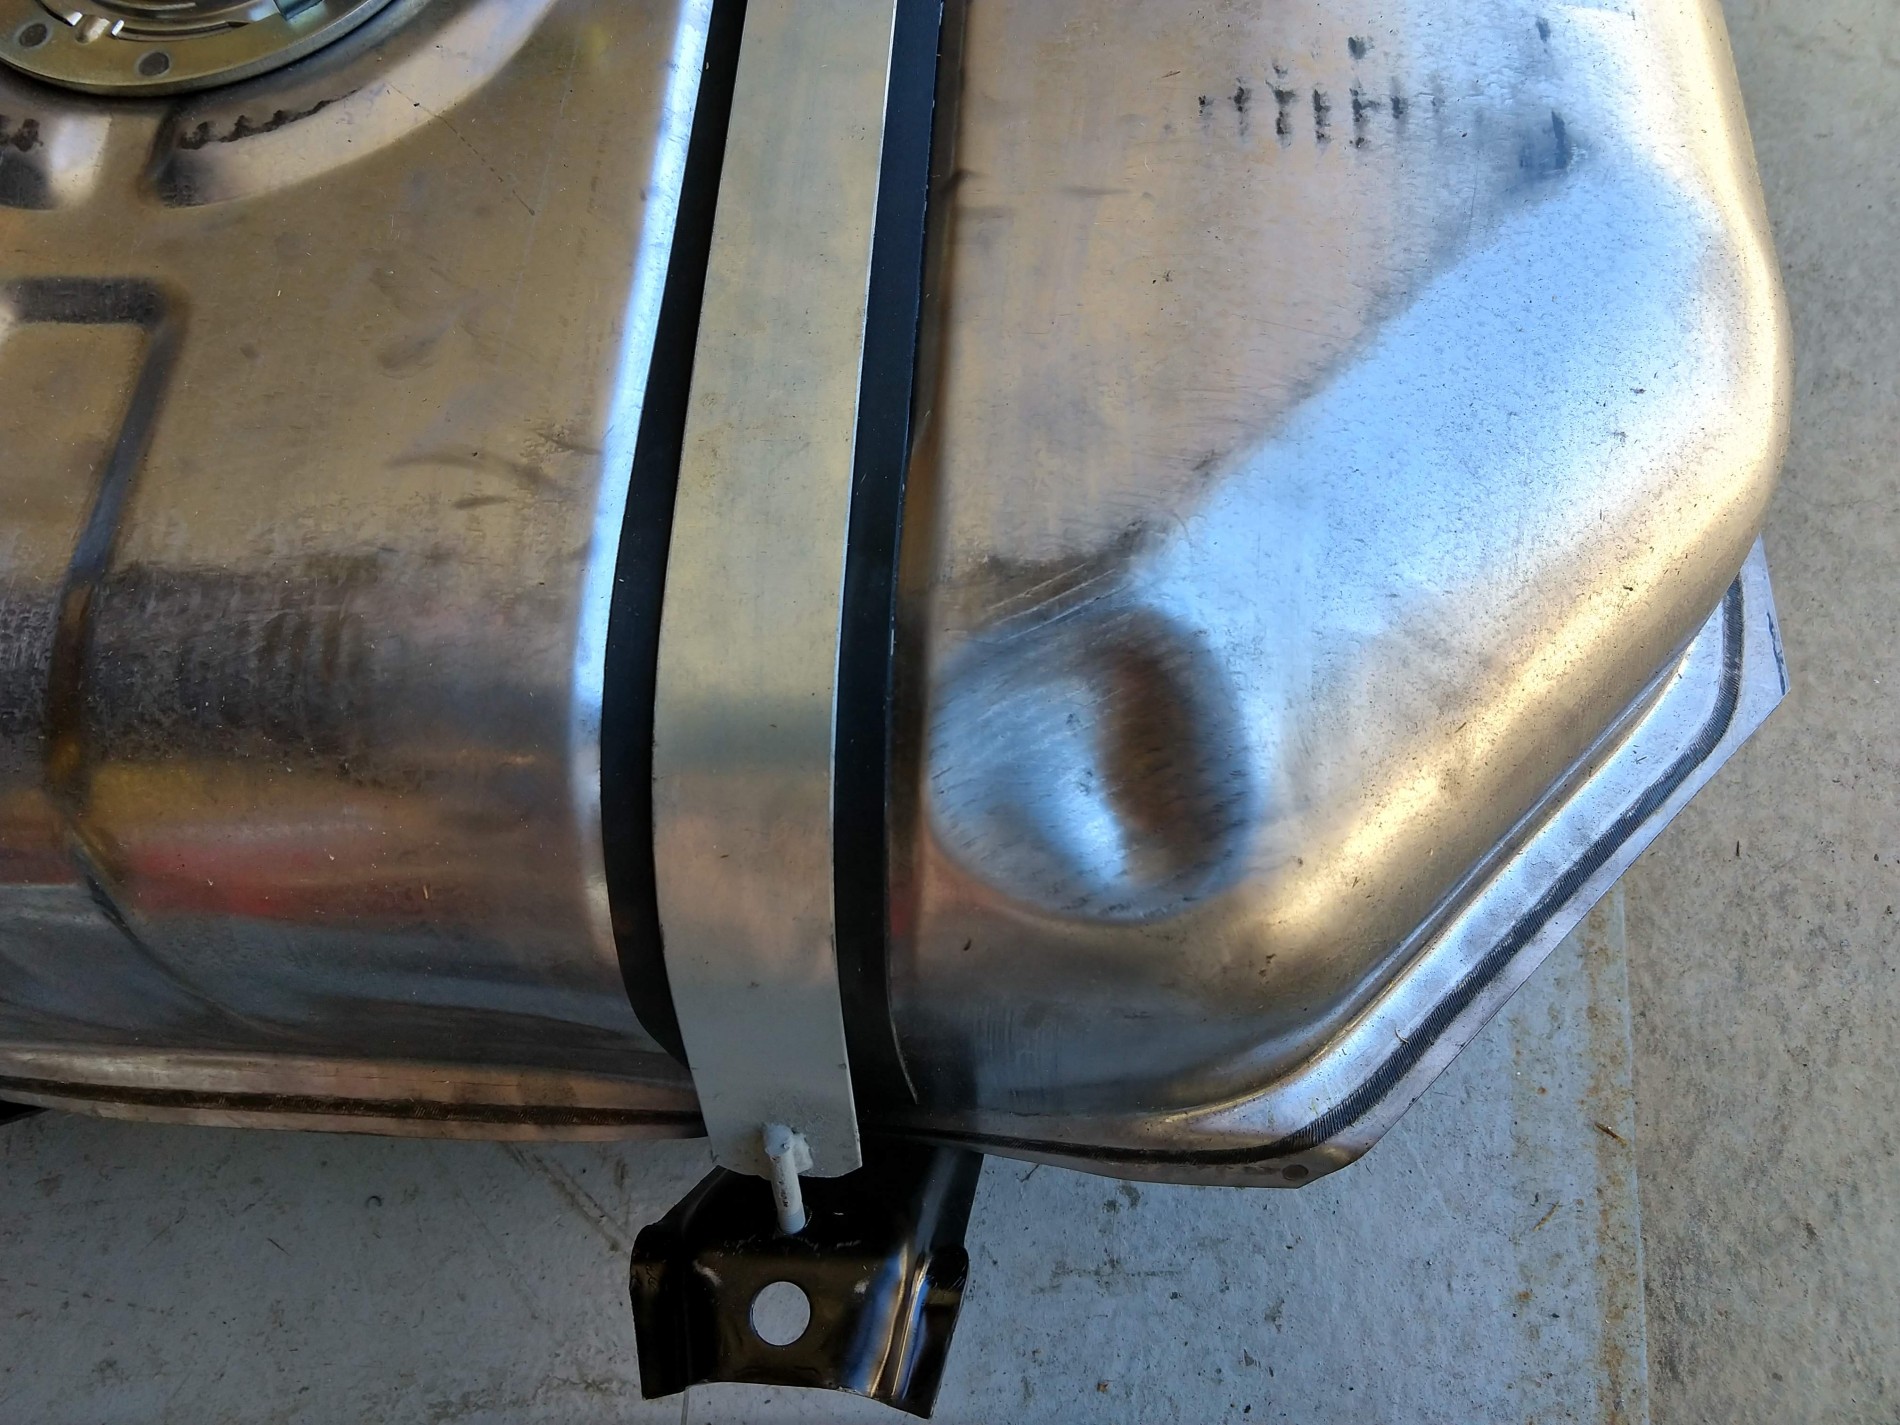
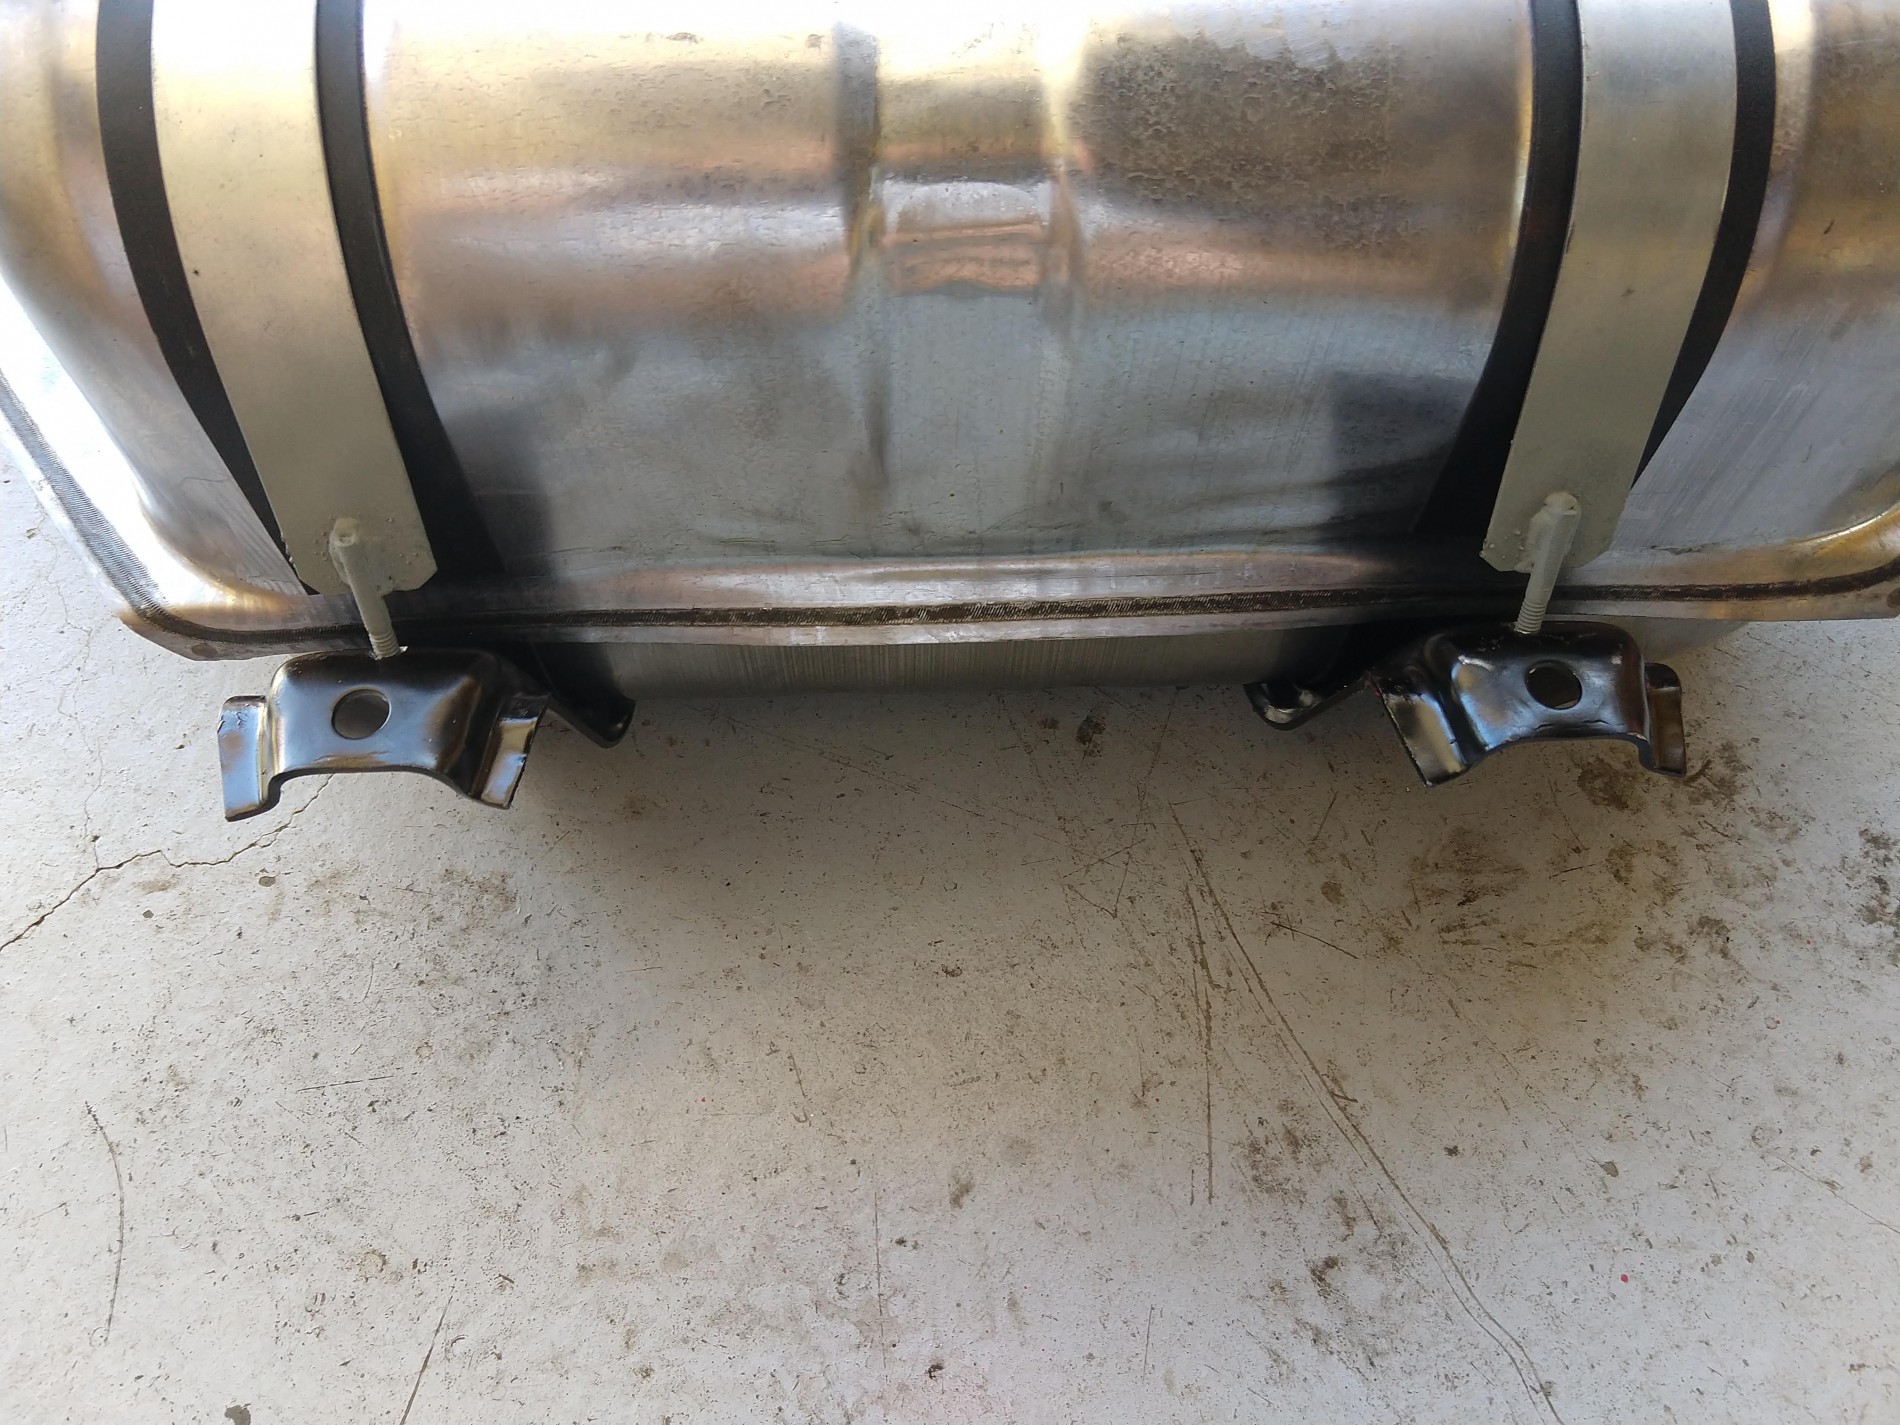
Here's how I did the straps--just welded a 1/4" bolt onto the end of the 16ga strip, drilled holes in the ends of the GM brackets, and bolted down with the rubber strips between all the metal-to-metal areas. I also dented the corner of the tank slightly, to leave more room for the Toyota filler tube. That may or may not be necessary, but it made me feel better.

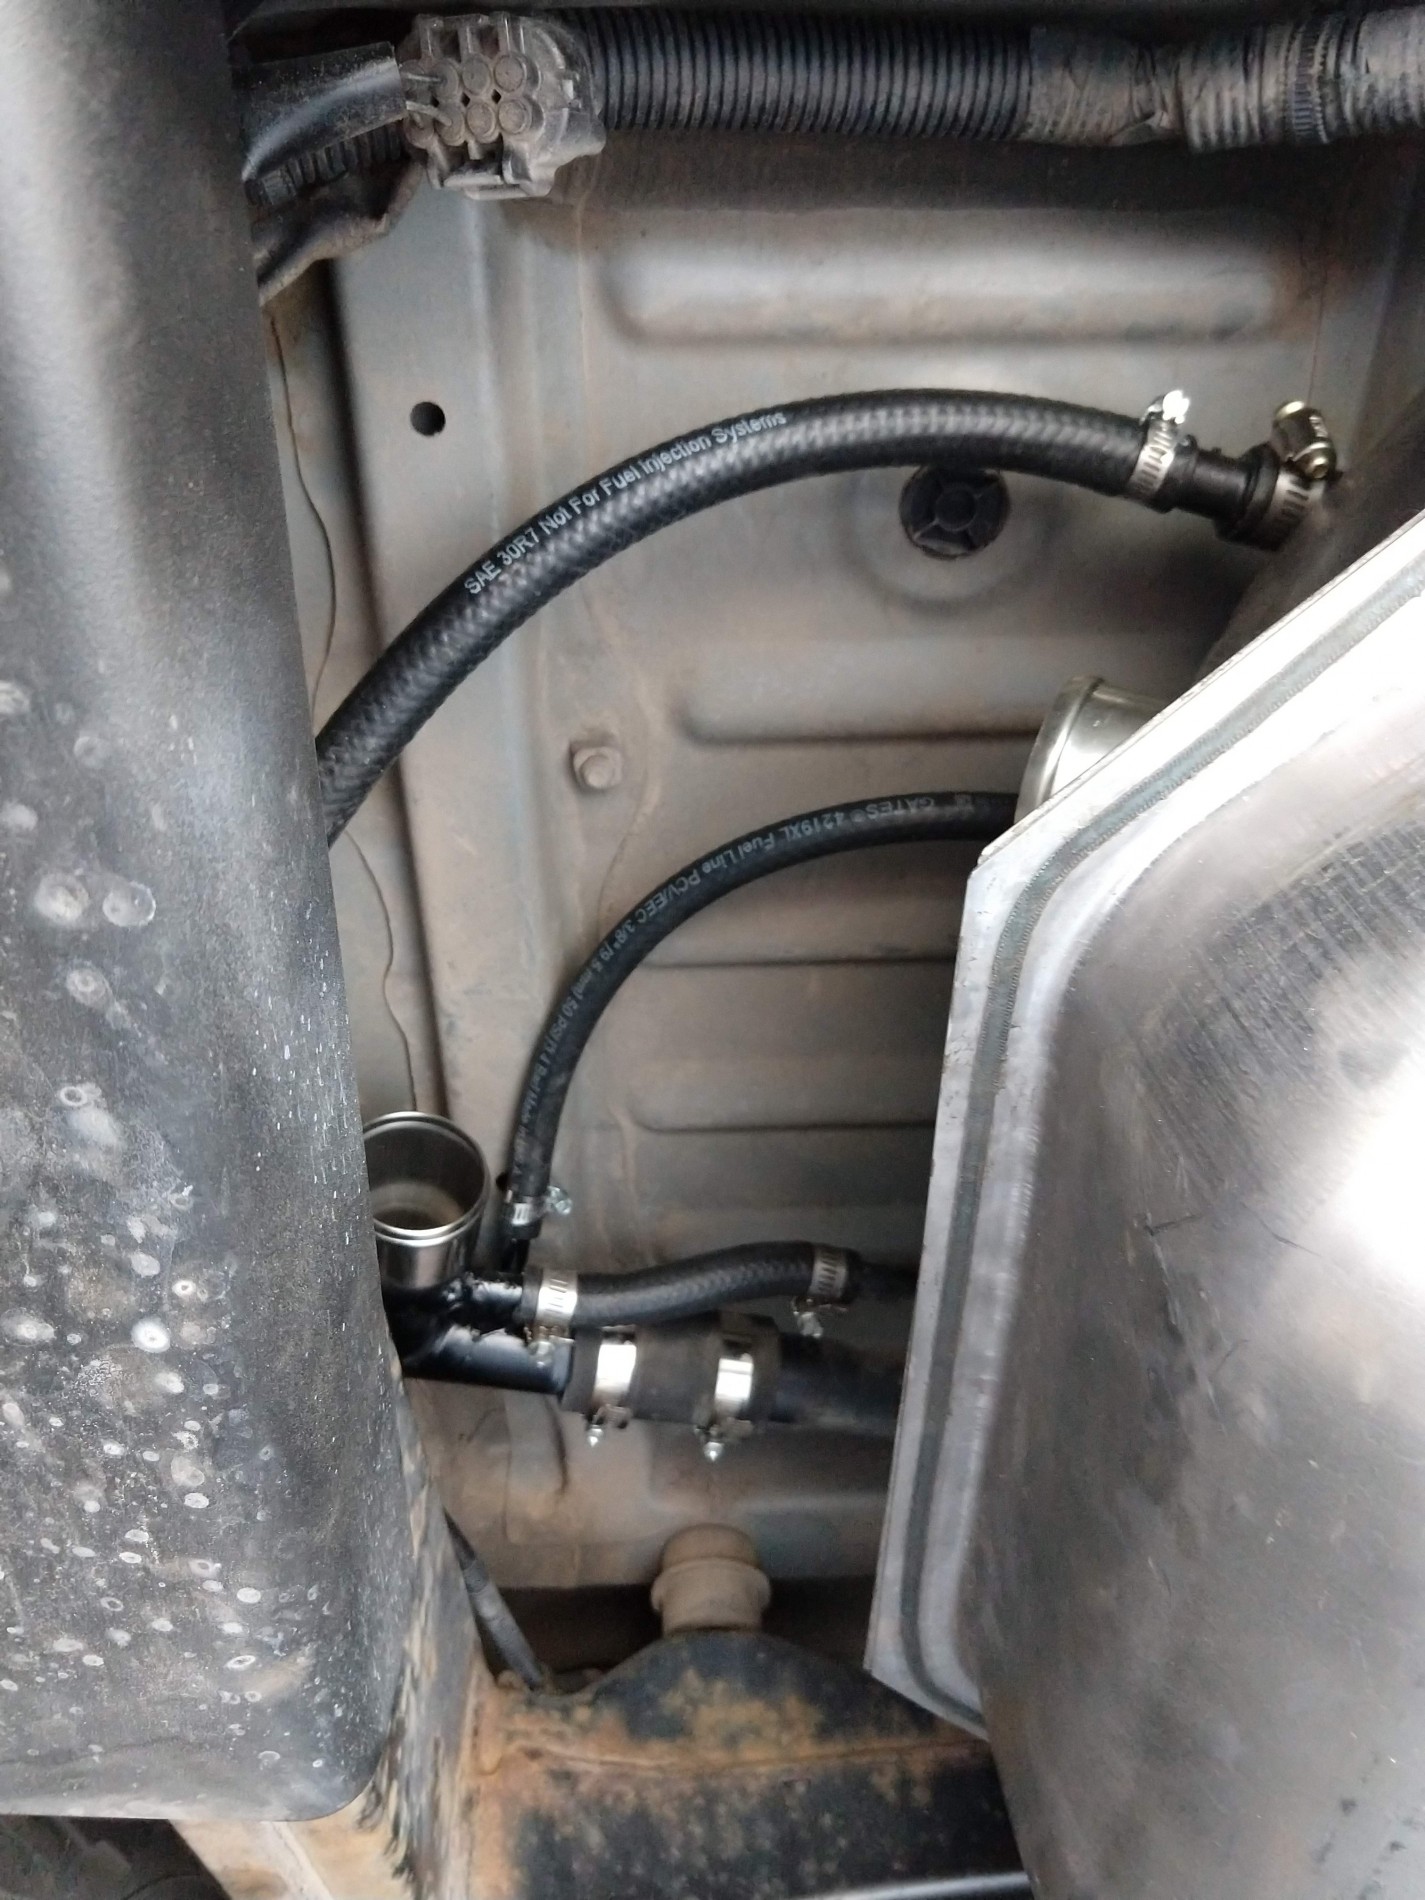
I won't be using the return line, nor the evap line--so I just looped them together as shown here. The large filler vent tube is 5/8", and that's what the 5/8-1/2" adapter is for. (the Toyota vent line is 1/2")
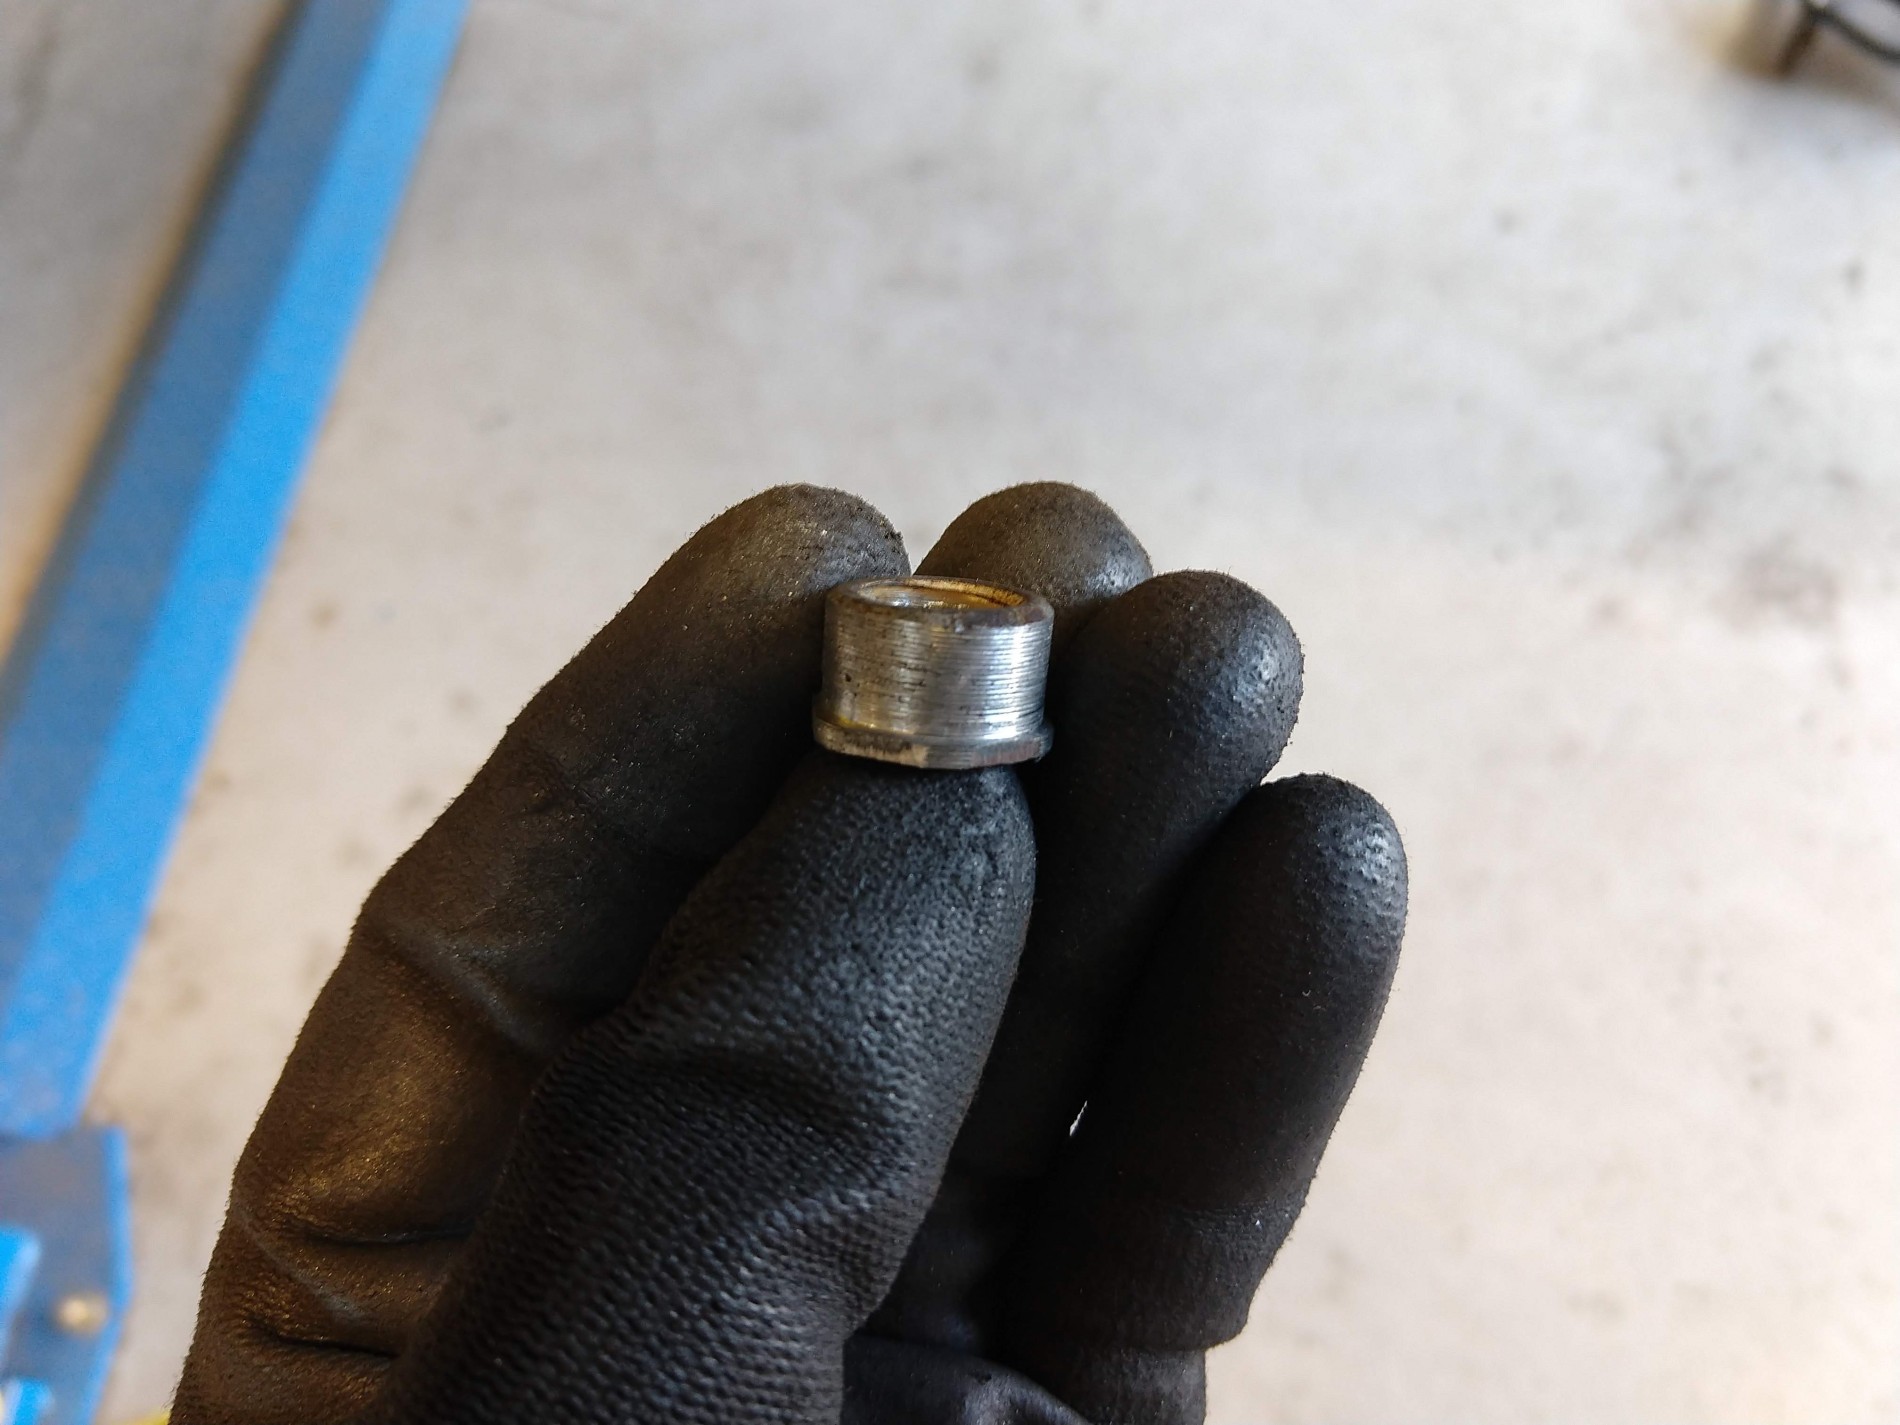
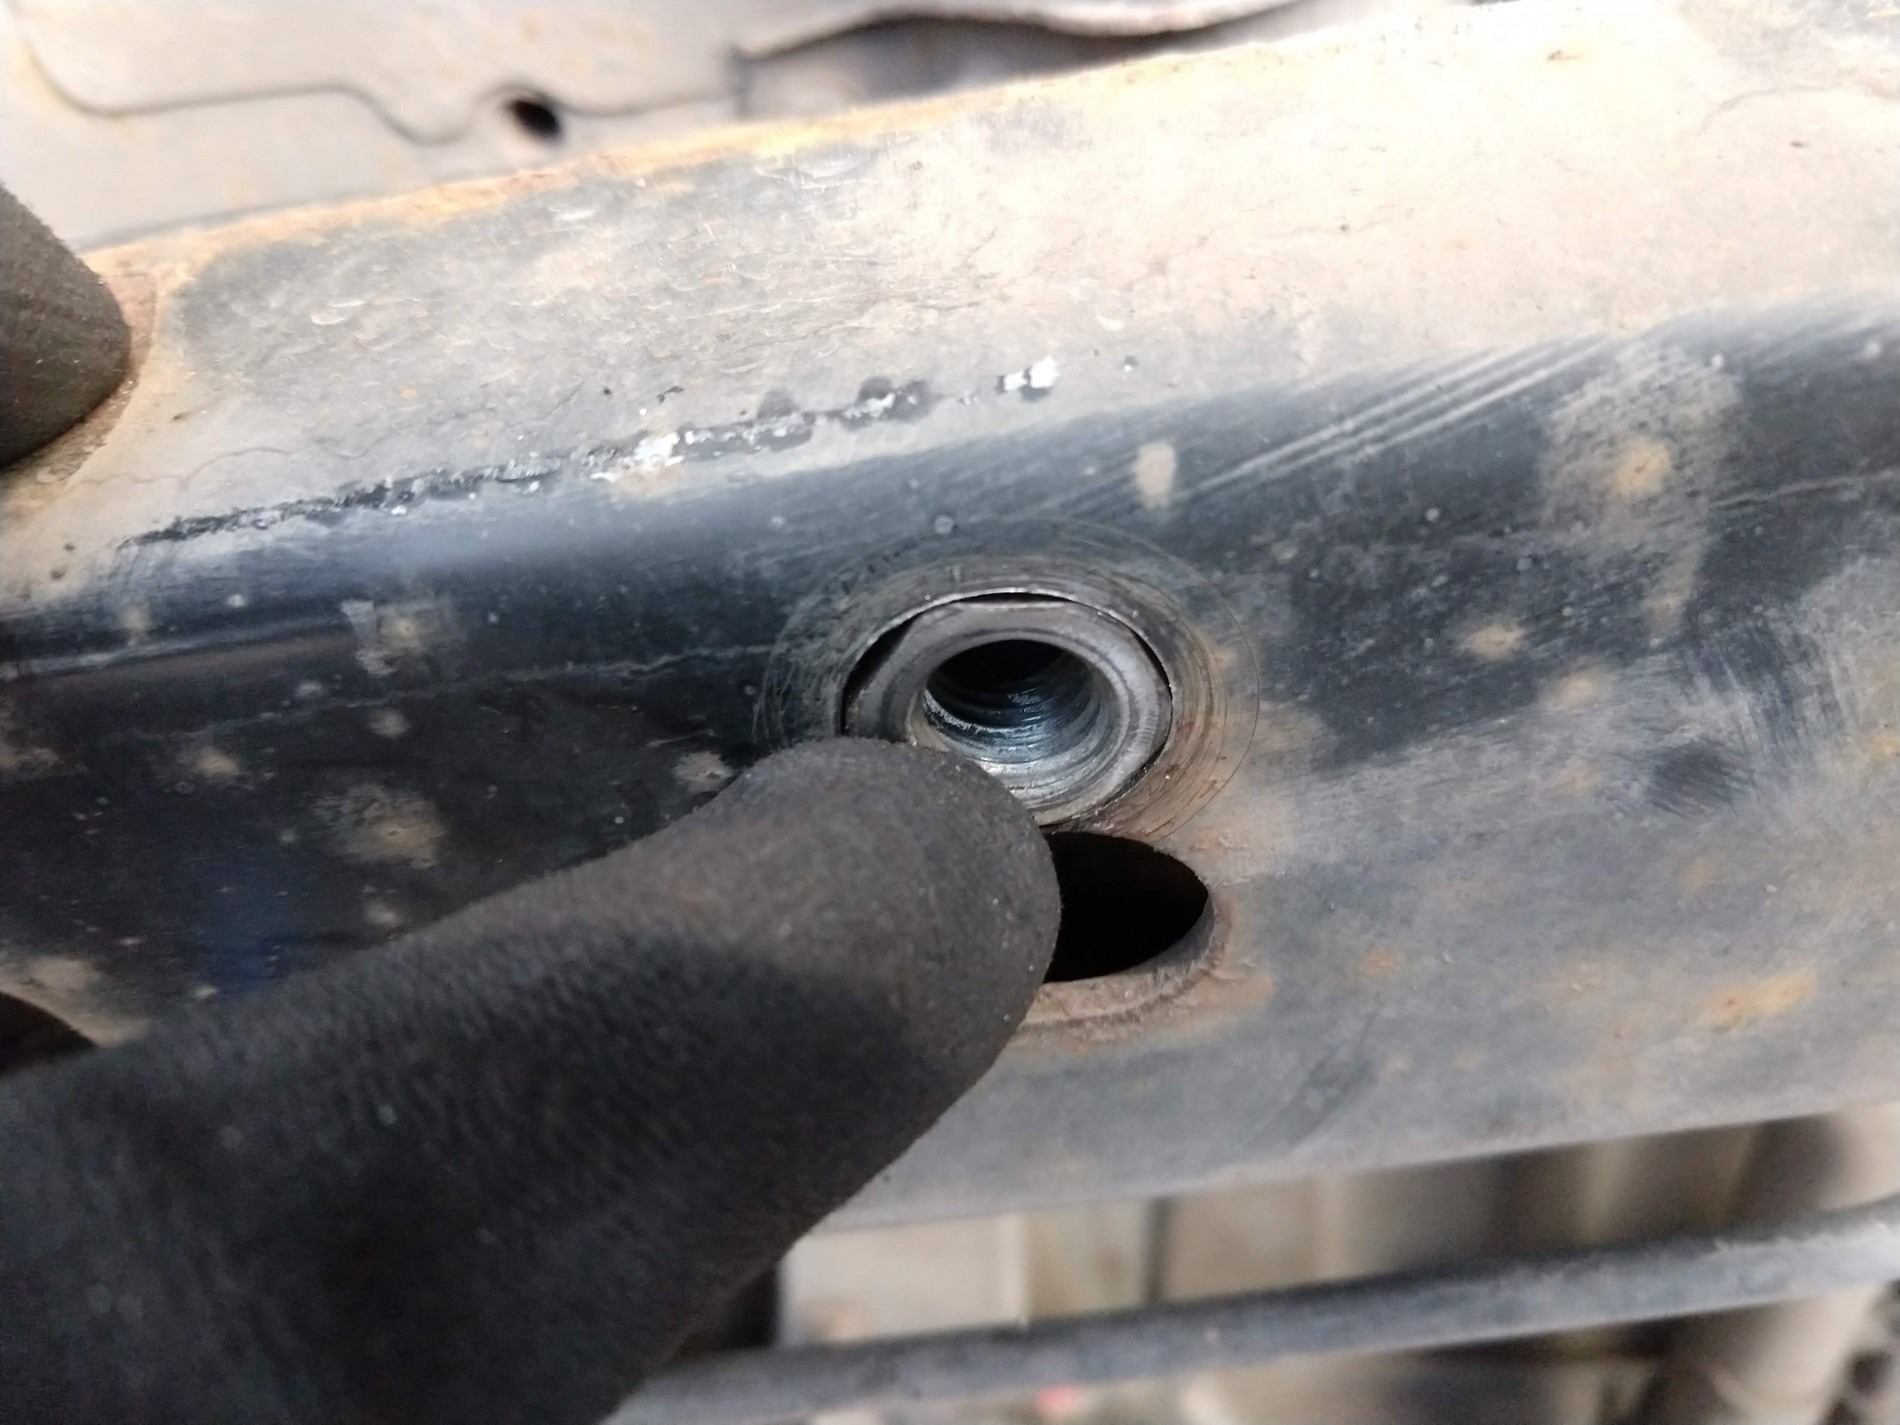
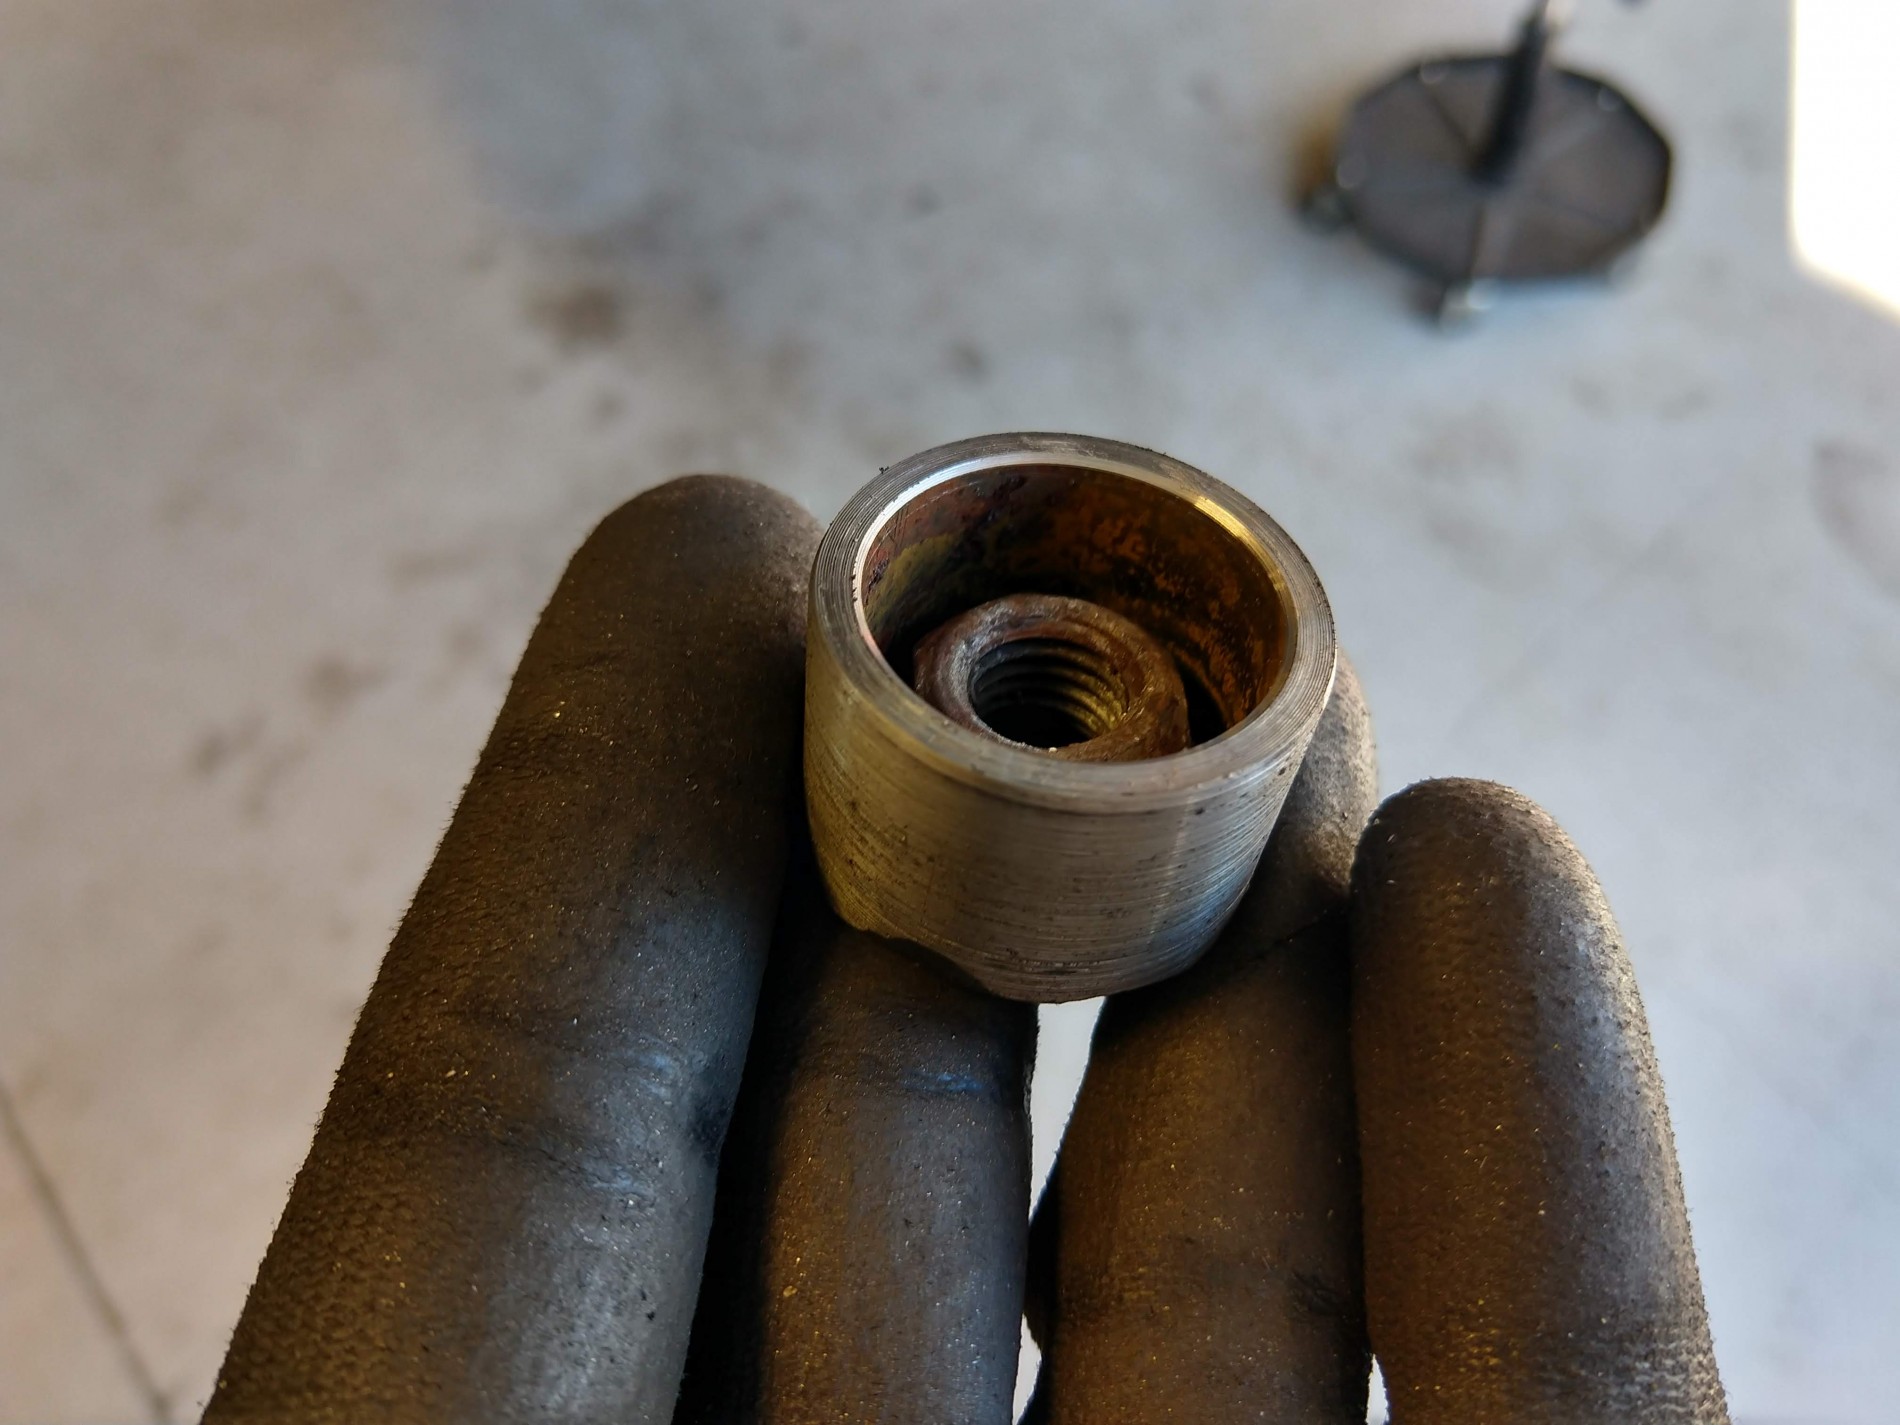
For mounting, I bolted the front end of the GM brackets right to the crossmember over the rear axle. I machined a nut to fit into a hole, like this:
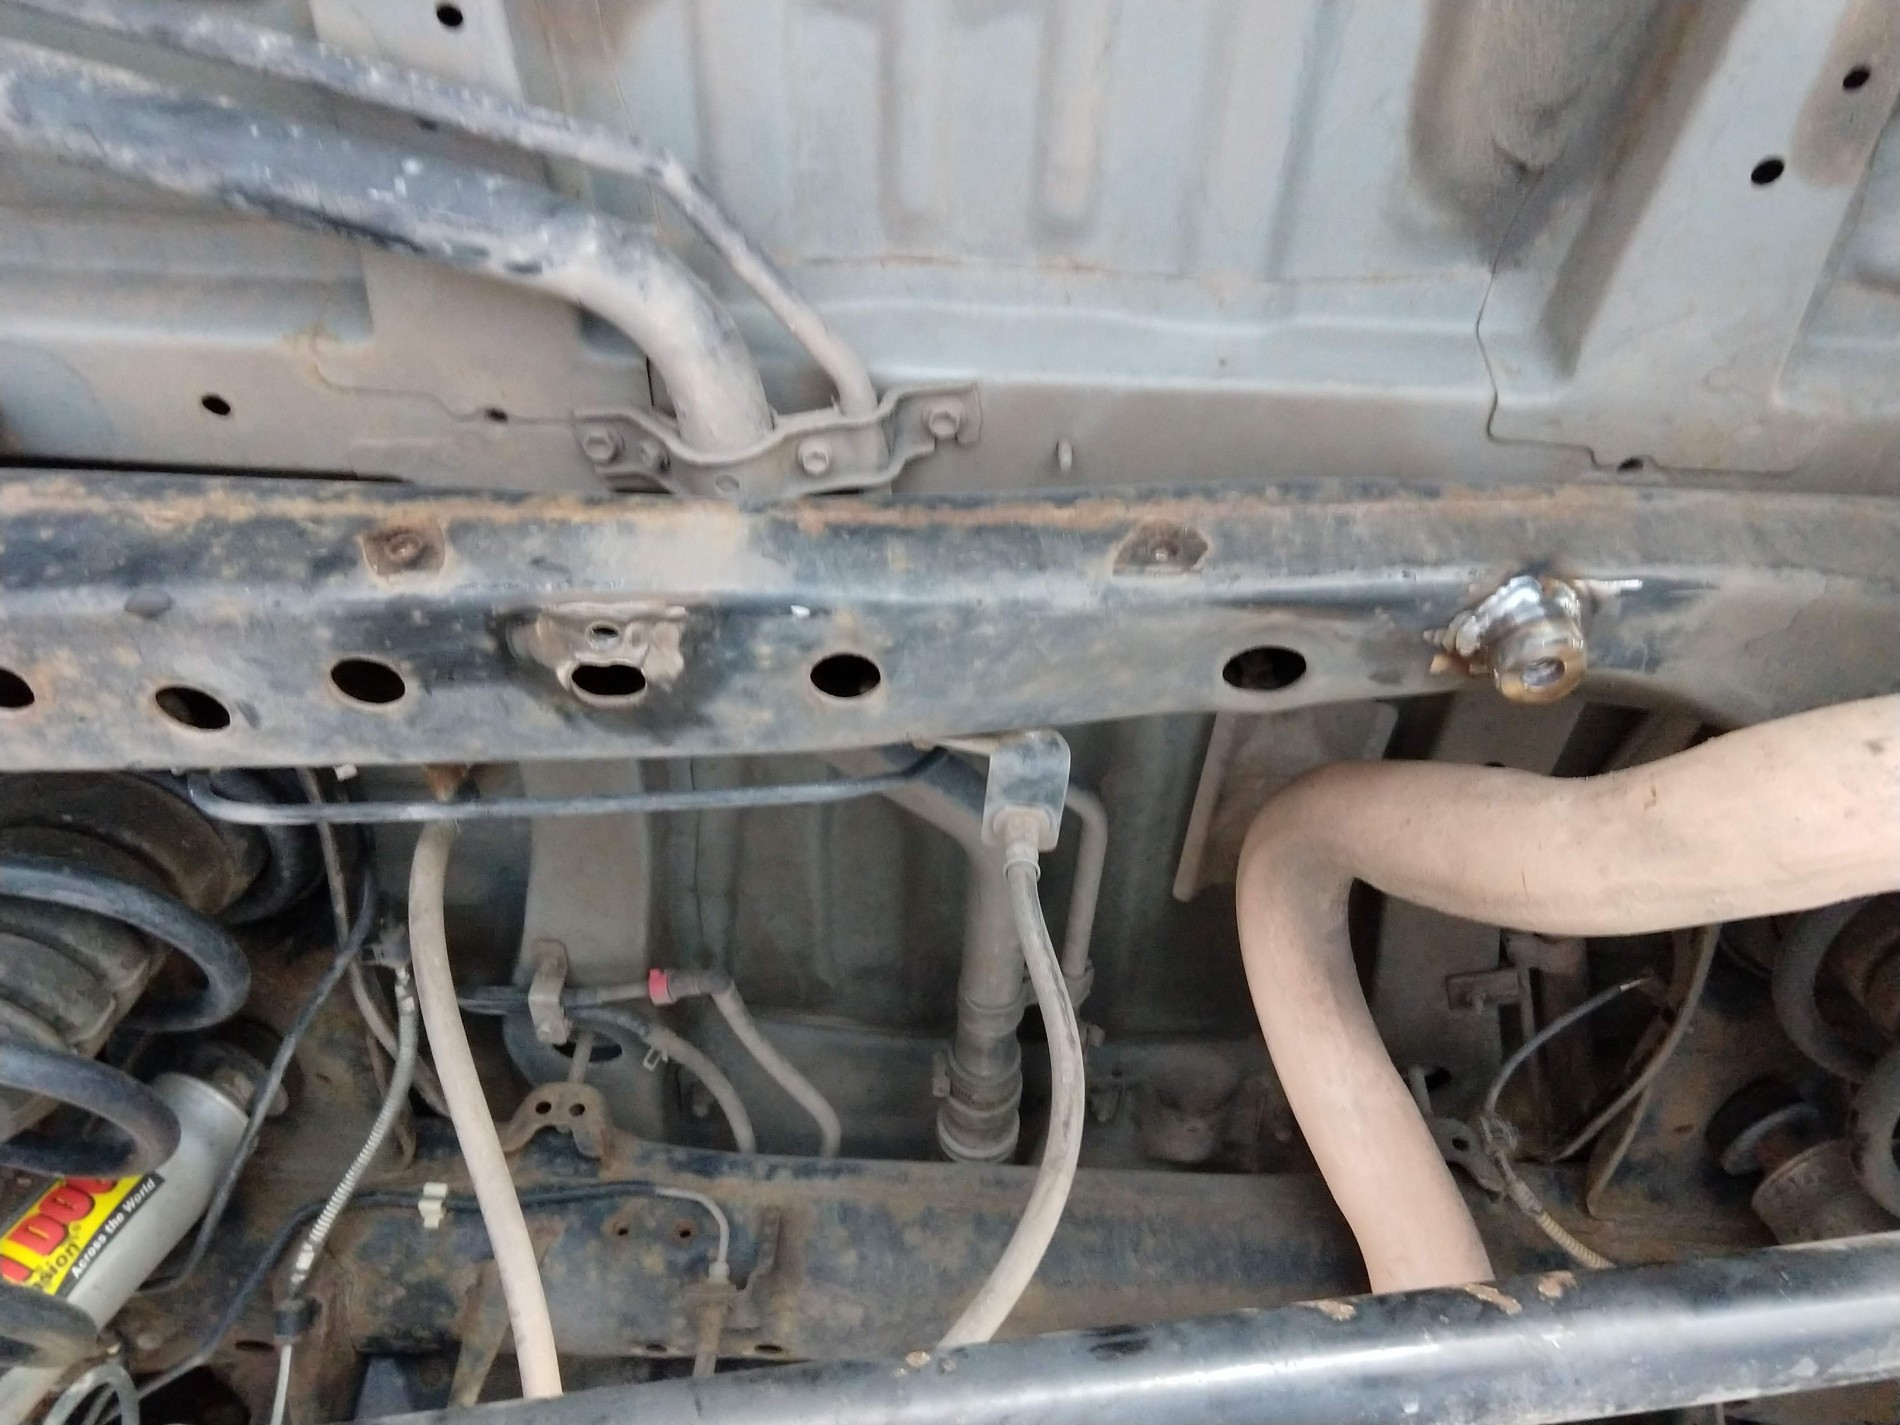
That was on the driver's side. On the passenger side, since the crossmember doesn't sit level I had to extend the bolt point .9". A piece of tubing, a washer, and a nut welded to the washer make this:
Welded in position.
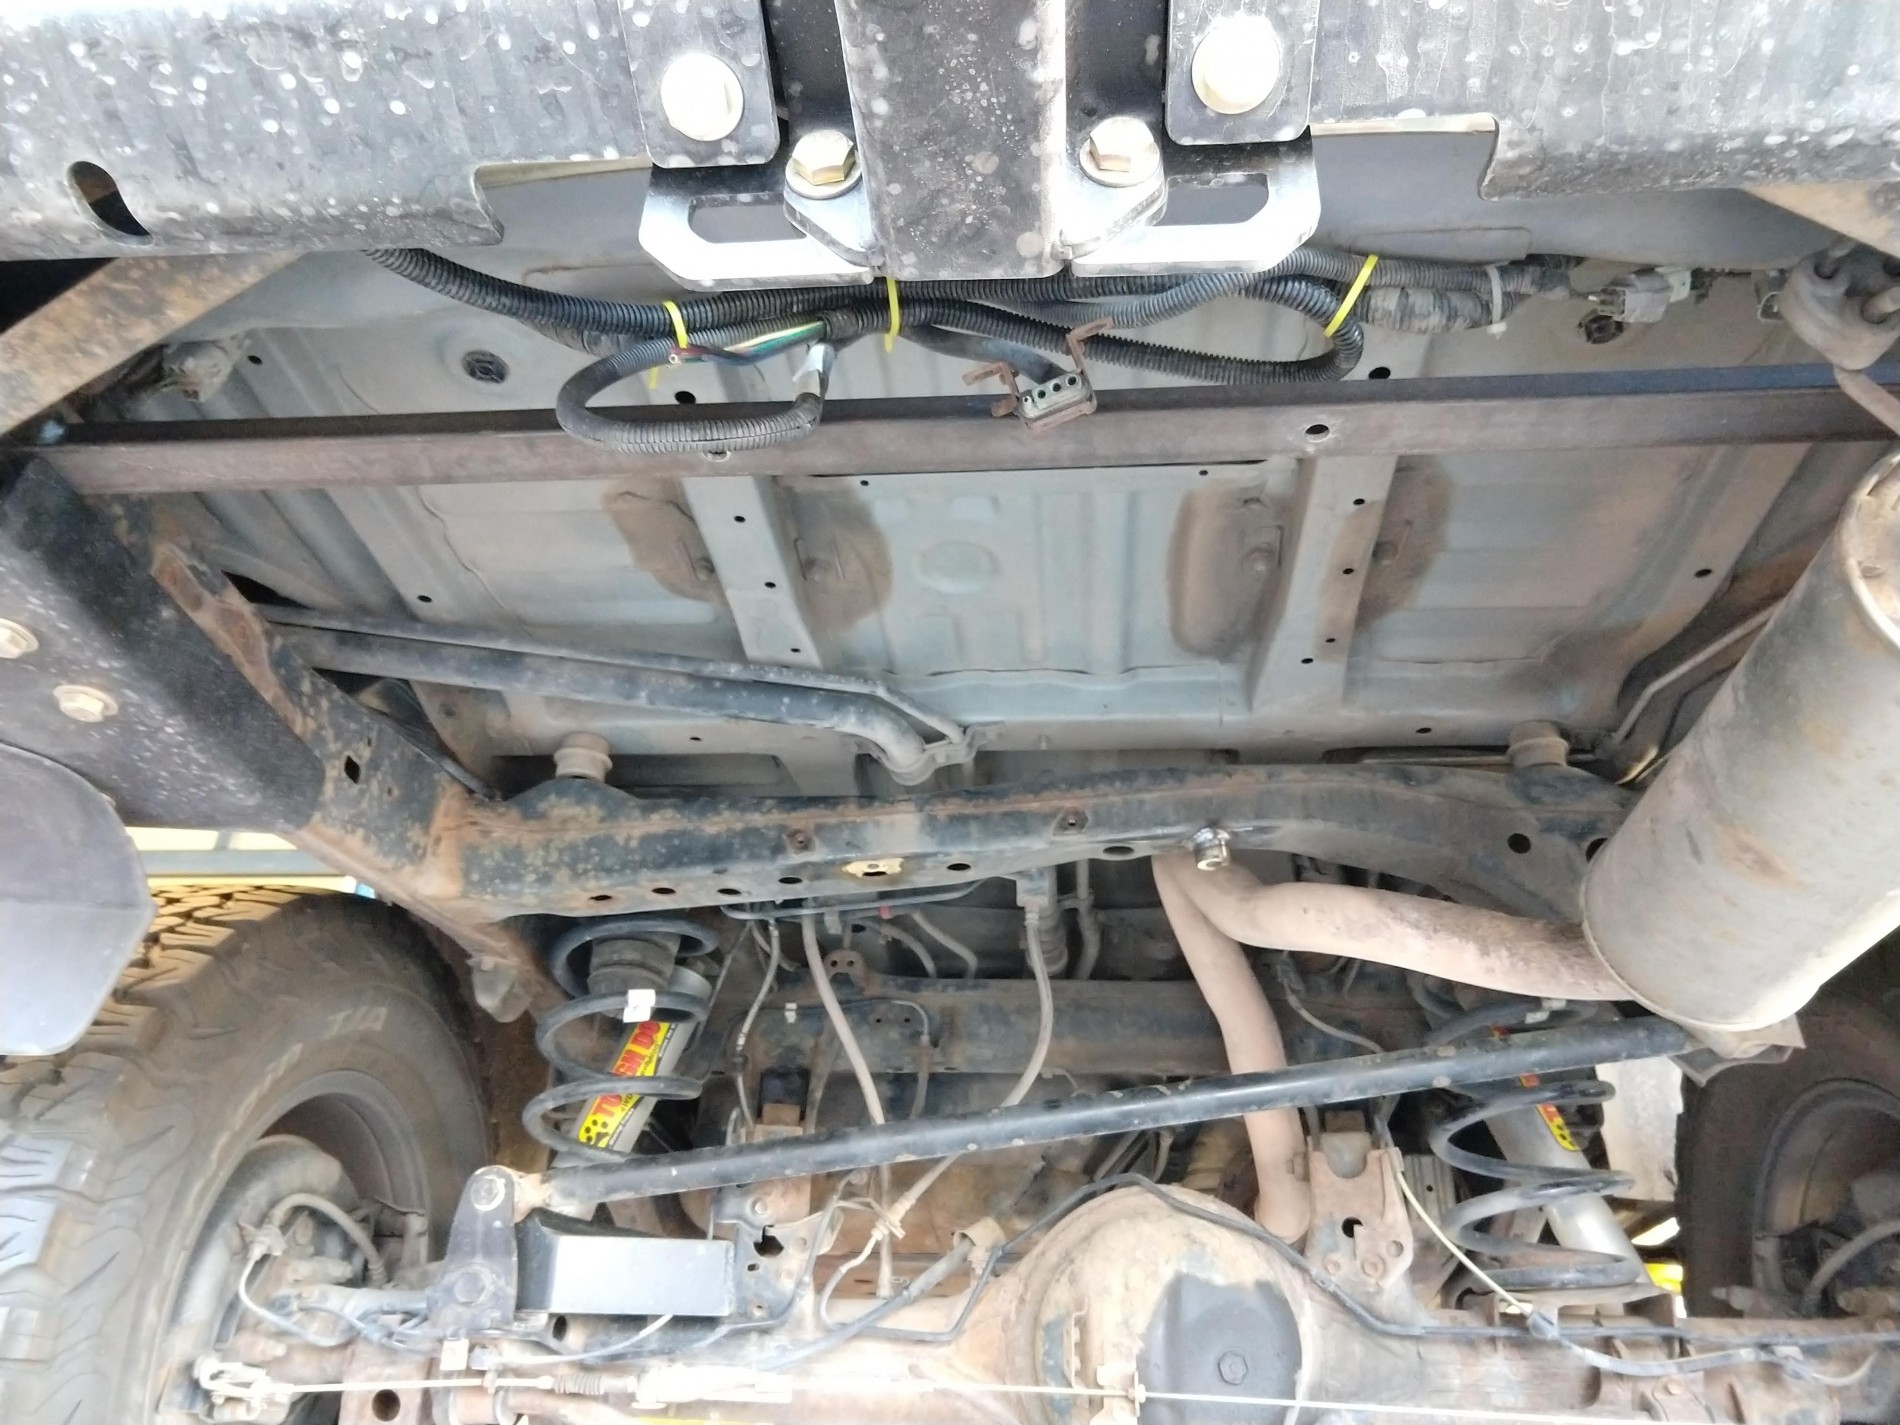
For the rear of the tank, I just welded a chunk of angle between the framerails, with holes for bolts/nuts.
Painted and installed.
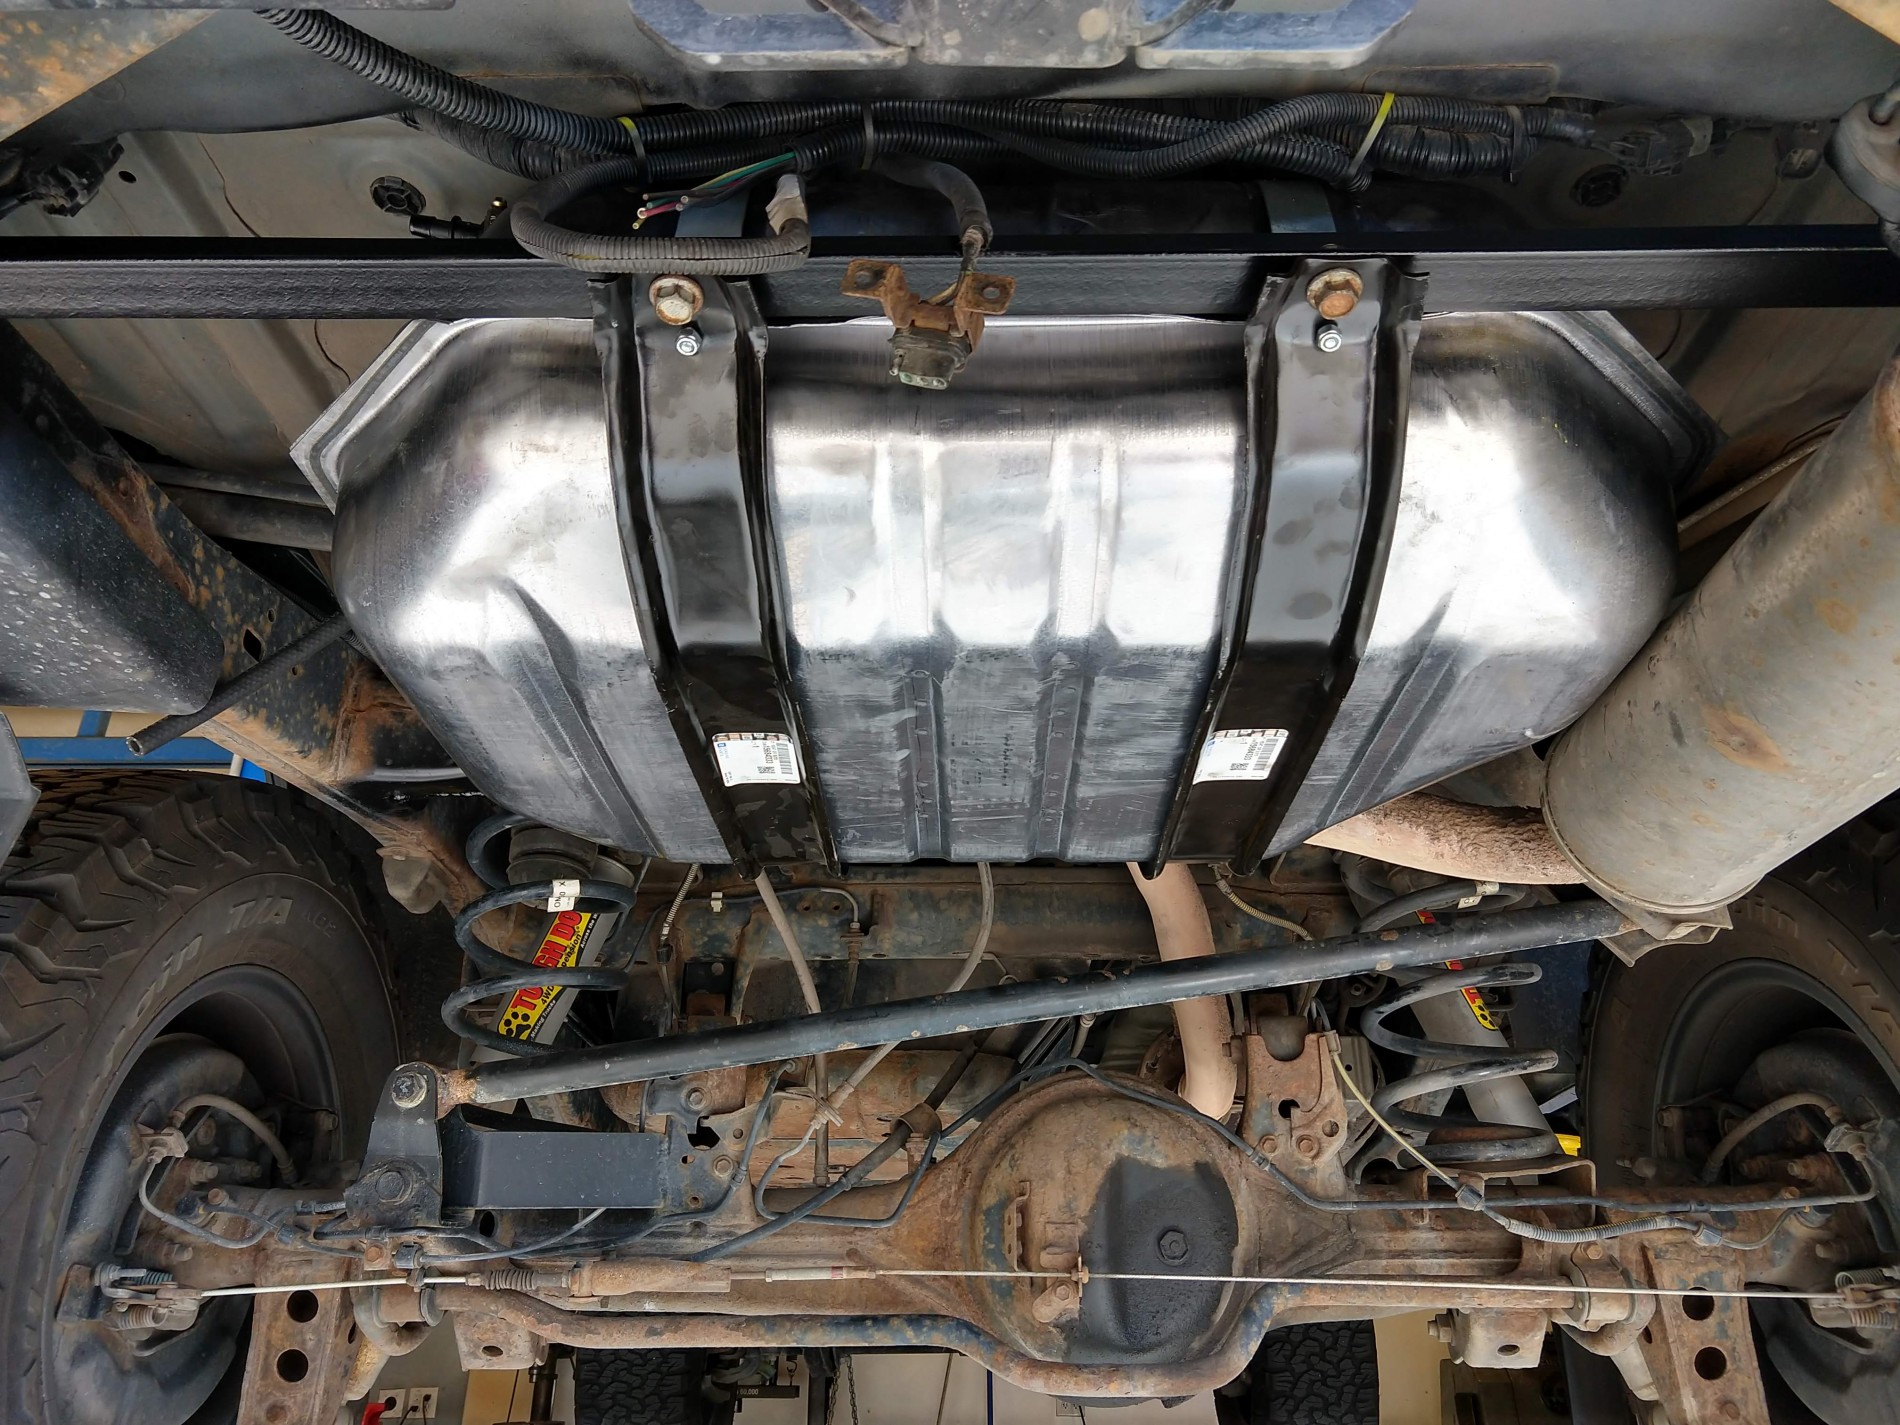
It does hang down below the framerails, but not anywhere near as far as the factory exhaust resonator. I centered the tank, and it has about 1/2" between the resonator and tank, maybe even a bit less. I'm sorta planning on replacing the resonator with a piece of tube, which I'll definitely do if I think it gets too hot or anything.
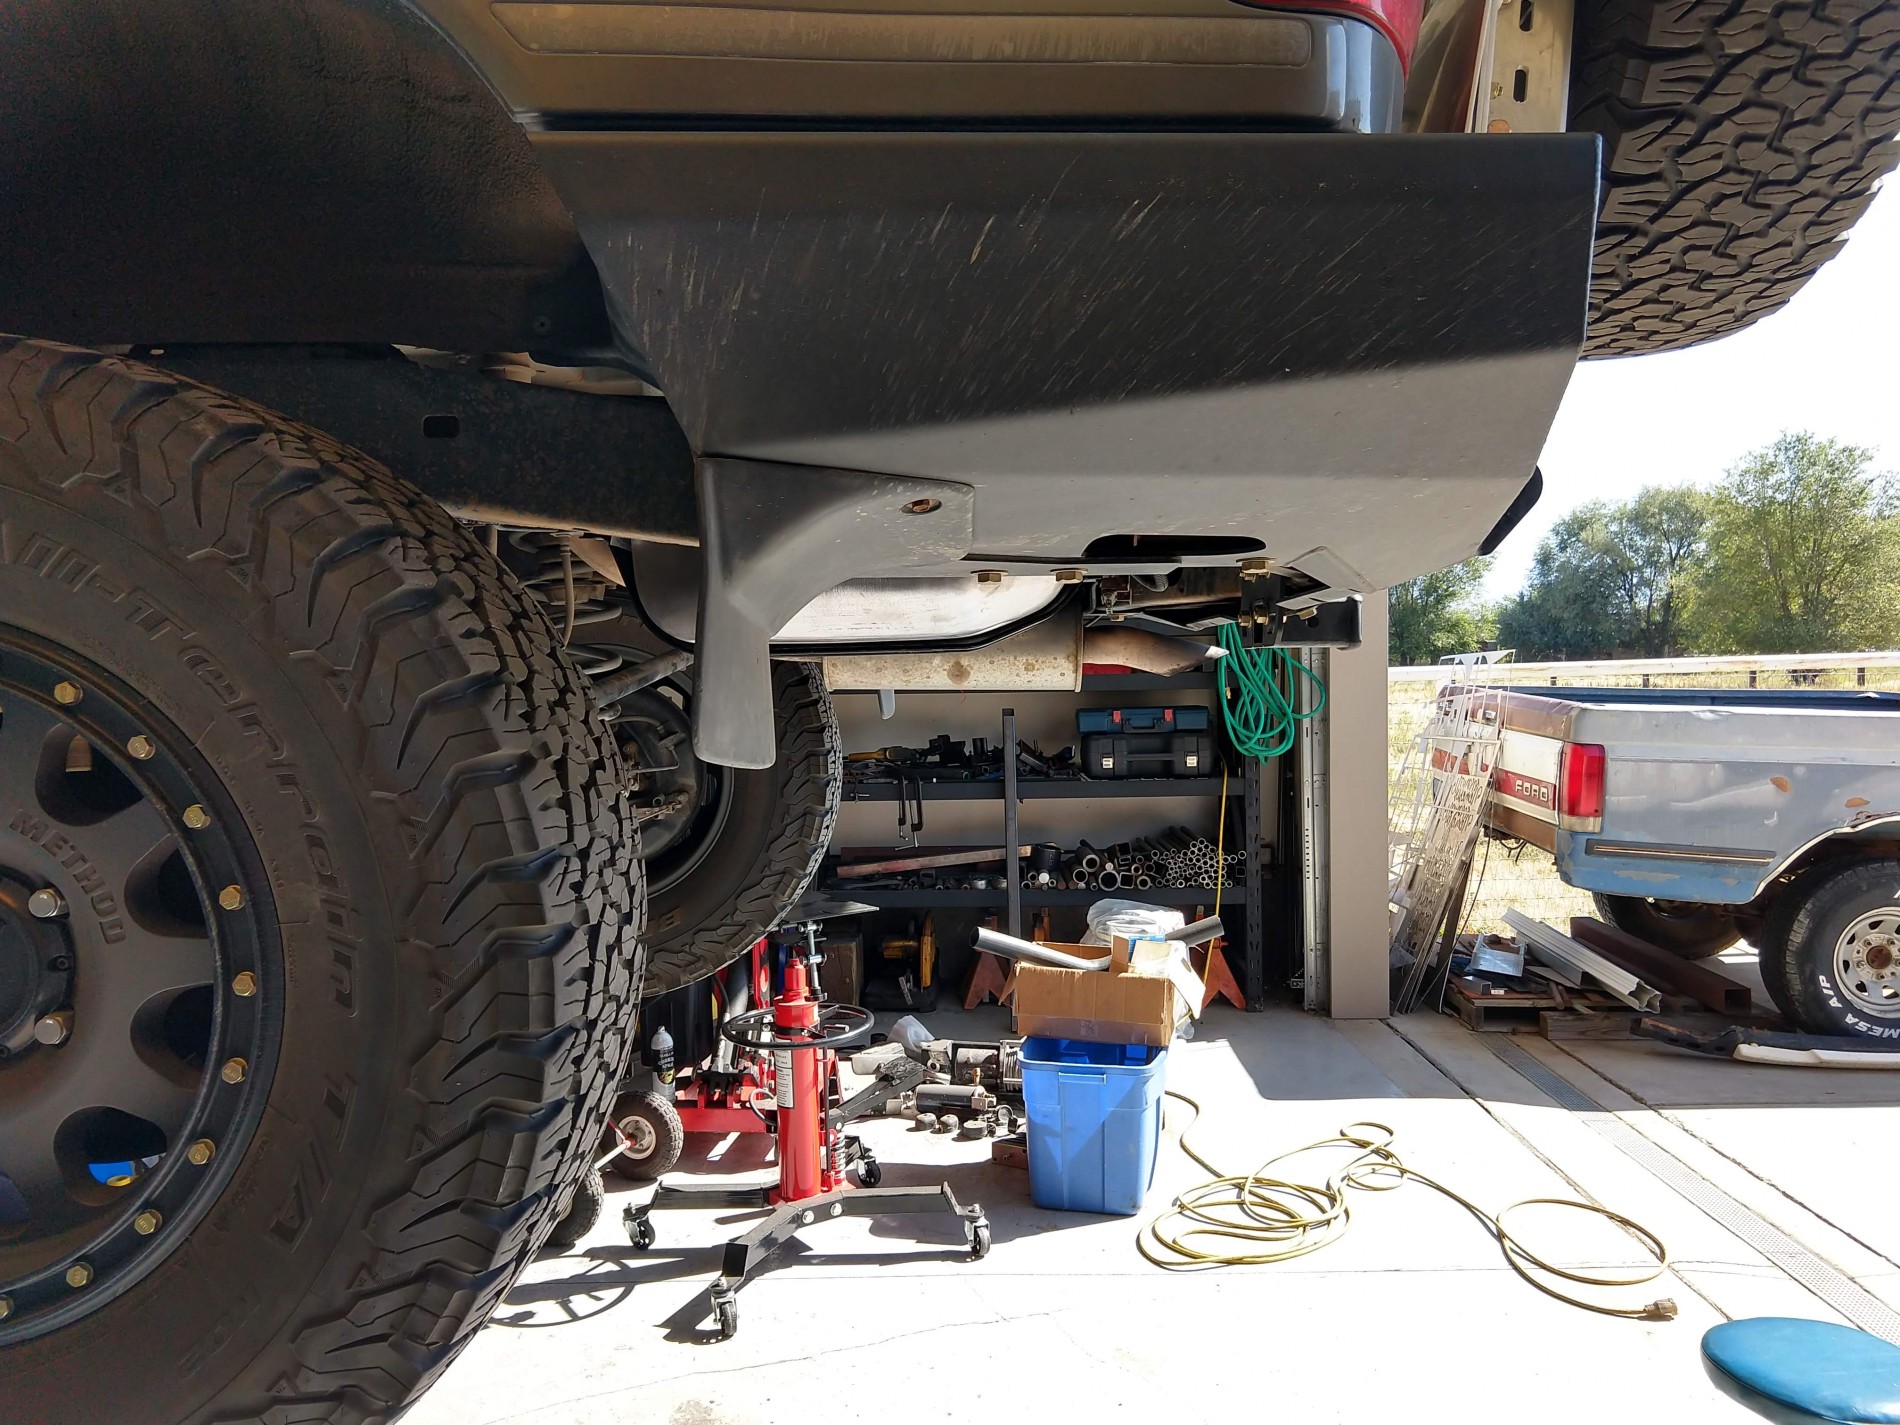
I didn't take too many pictures of how I built the filler tube--but it comes out easily enough after cutting it.

There is just one bracket bolted to the body, behind the plastic inner fender piece.
I marked where I wanted the "Tee" to go, and drilled holes in the filler tube. I left some material on the bottom side of the hole--the idea there is to bias fuel flow toward the stock tank when filling, and thus prevent fuel recirculating back to the aux tank when I'm pumping out of it. I also notched the stainless piece to fit the Toy filler tube.
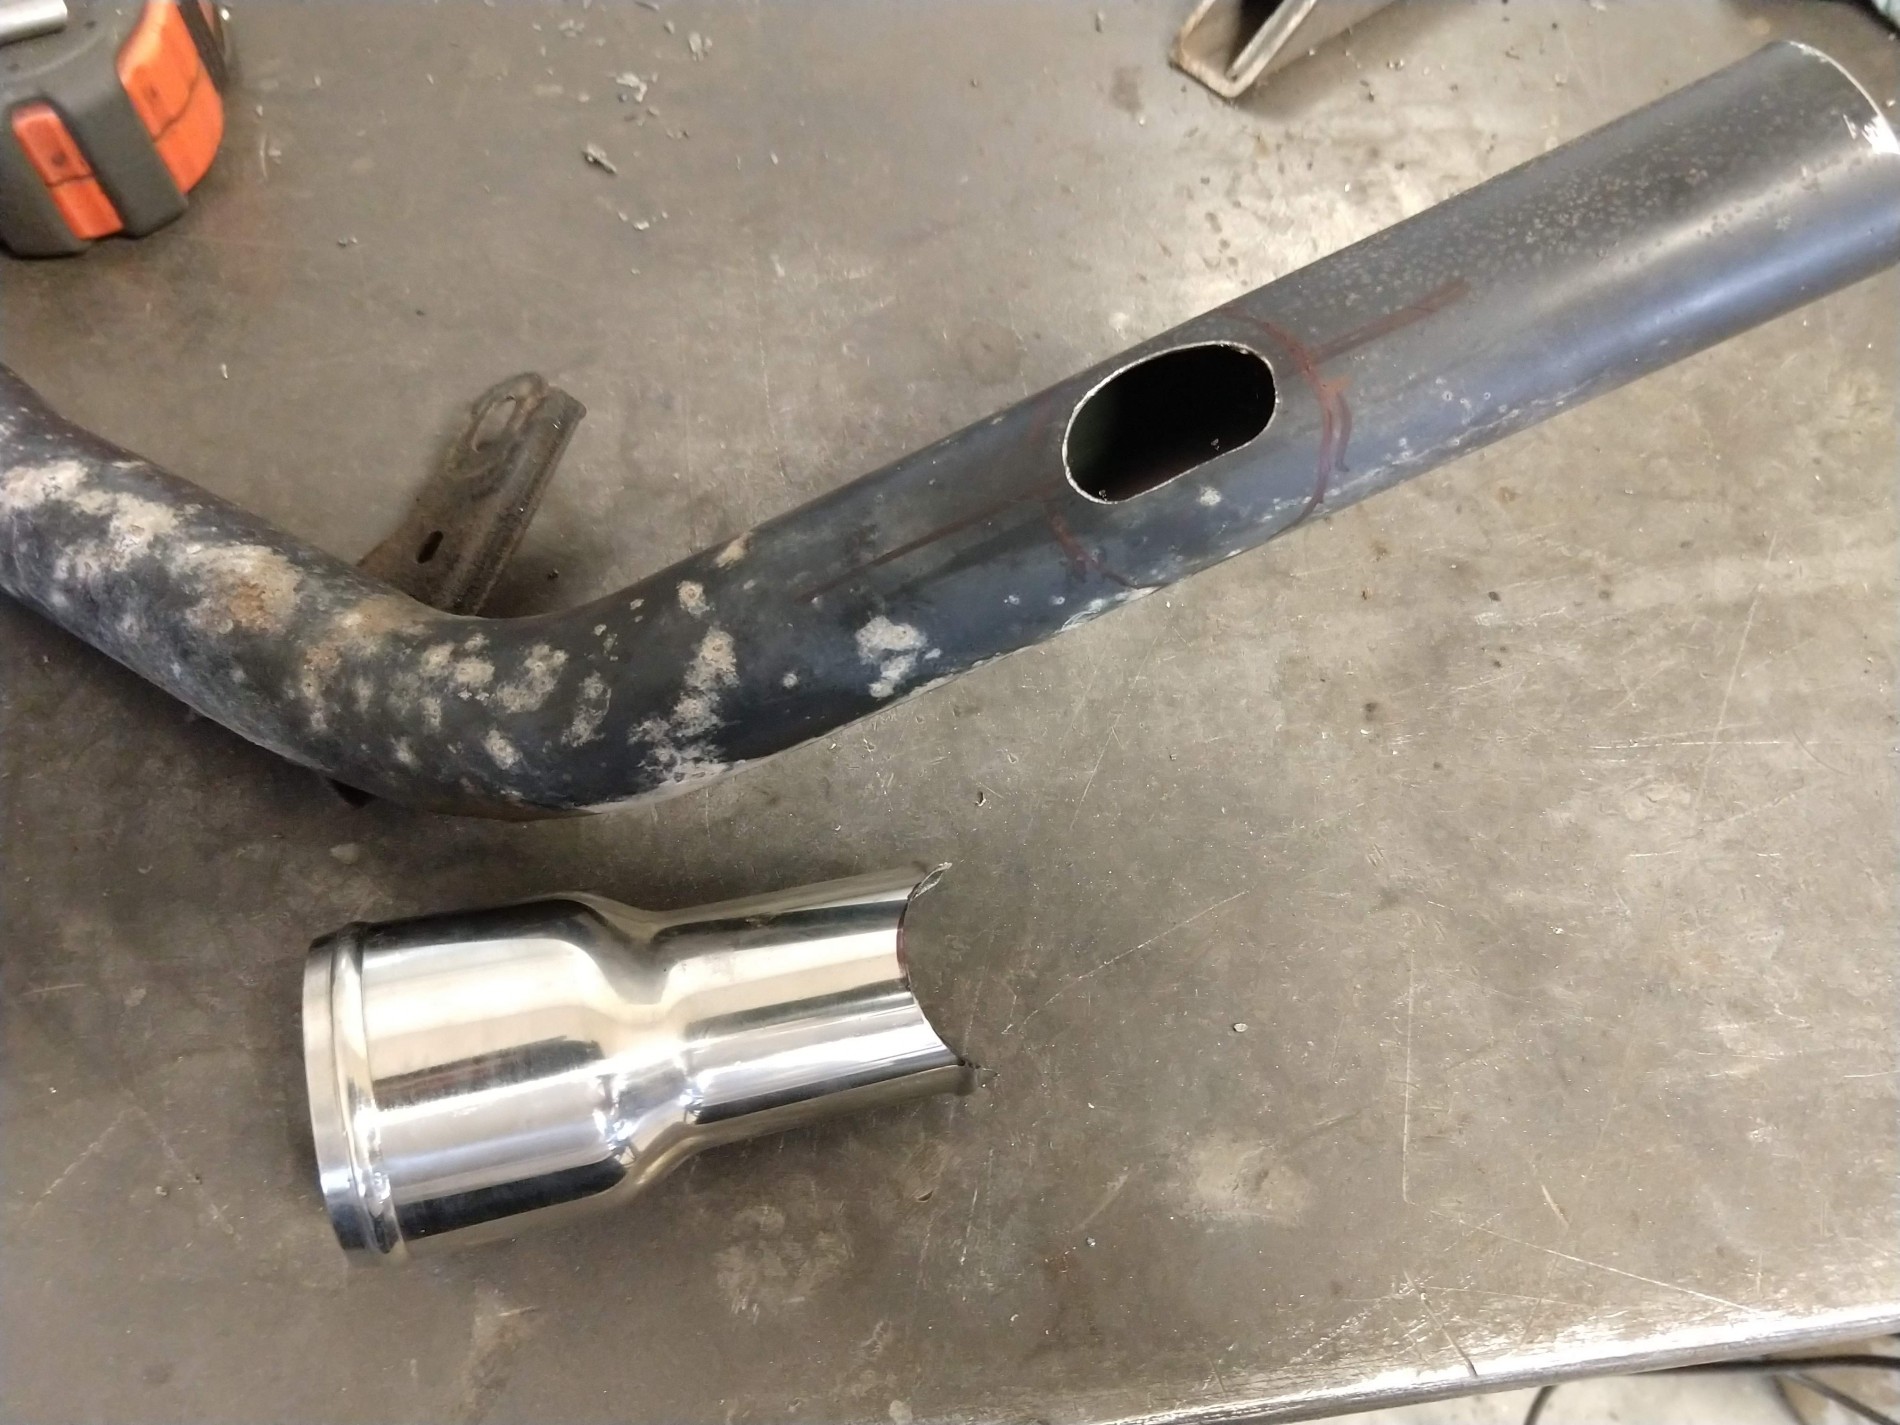
I used a piece of 3/8" brake line, and a piece of the 1/2" filler tube I cut away, to make the rest of the connections. The main filler tube sealed up perfectly, but uou can see I had some problems getting the smaller ones to seal after welding...I ended up chasing pinholes, and each time I welded one up I created two more. But I eventually prevailed, and coated the inside with fuel tank repair epoxy to kill any miniscule remaining leaks.

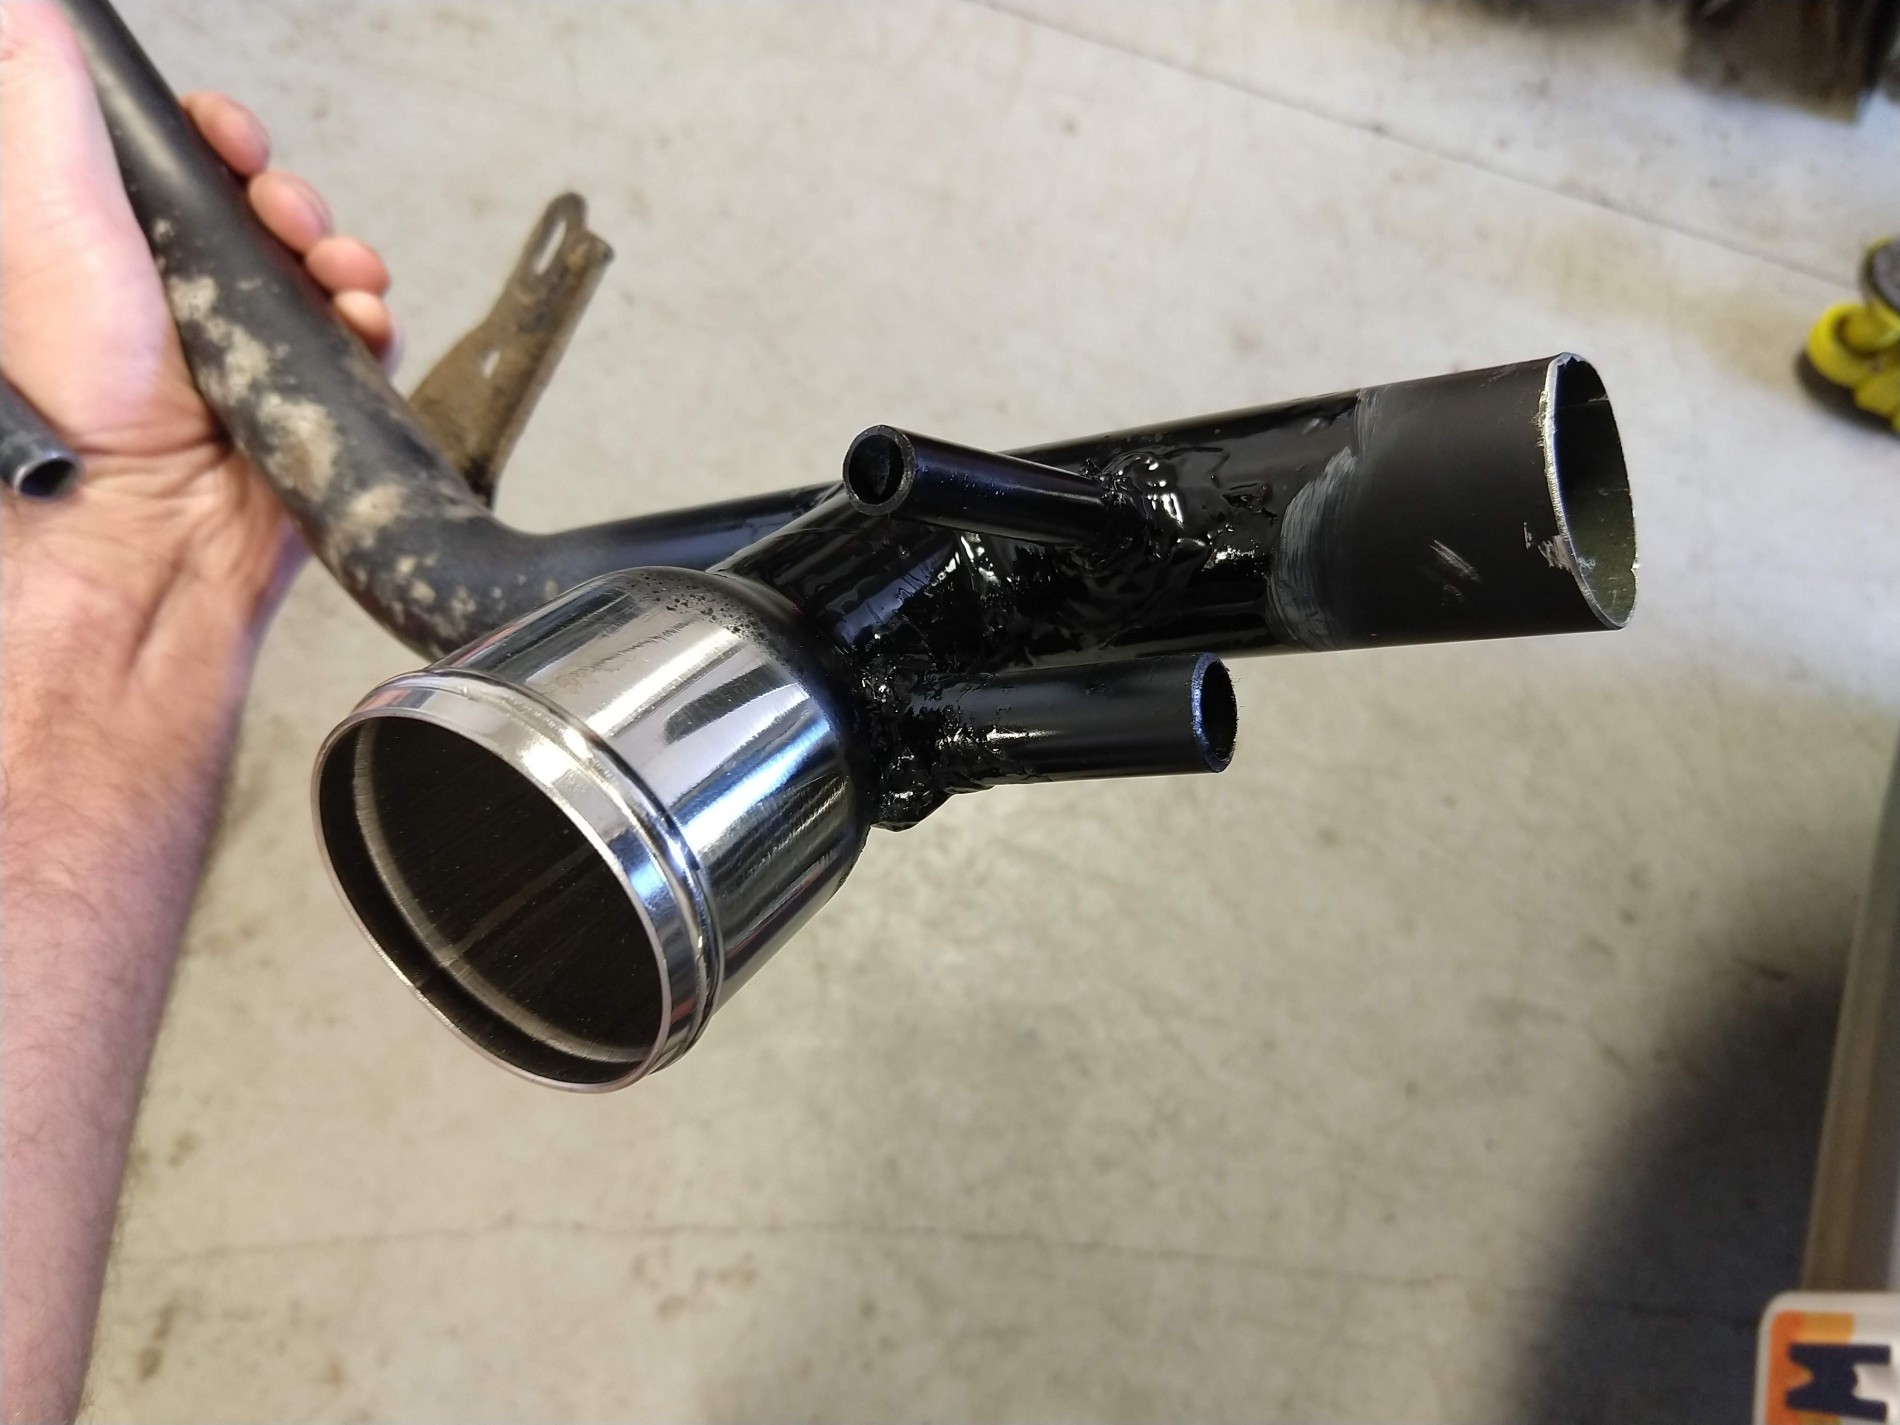
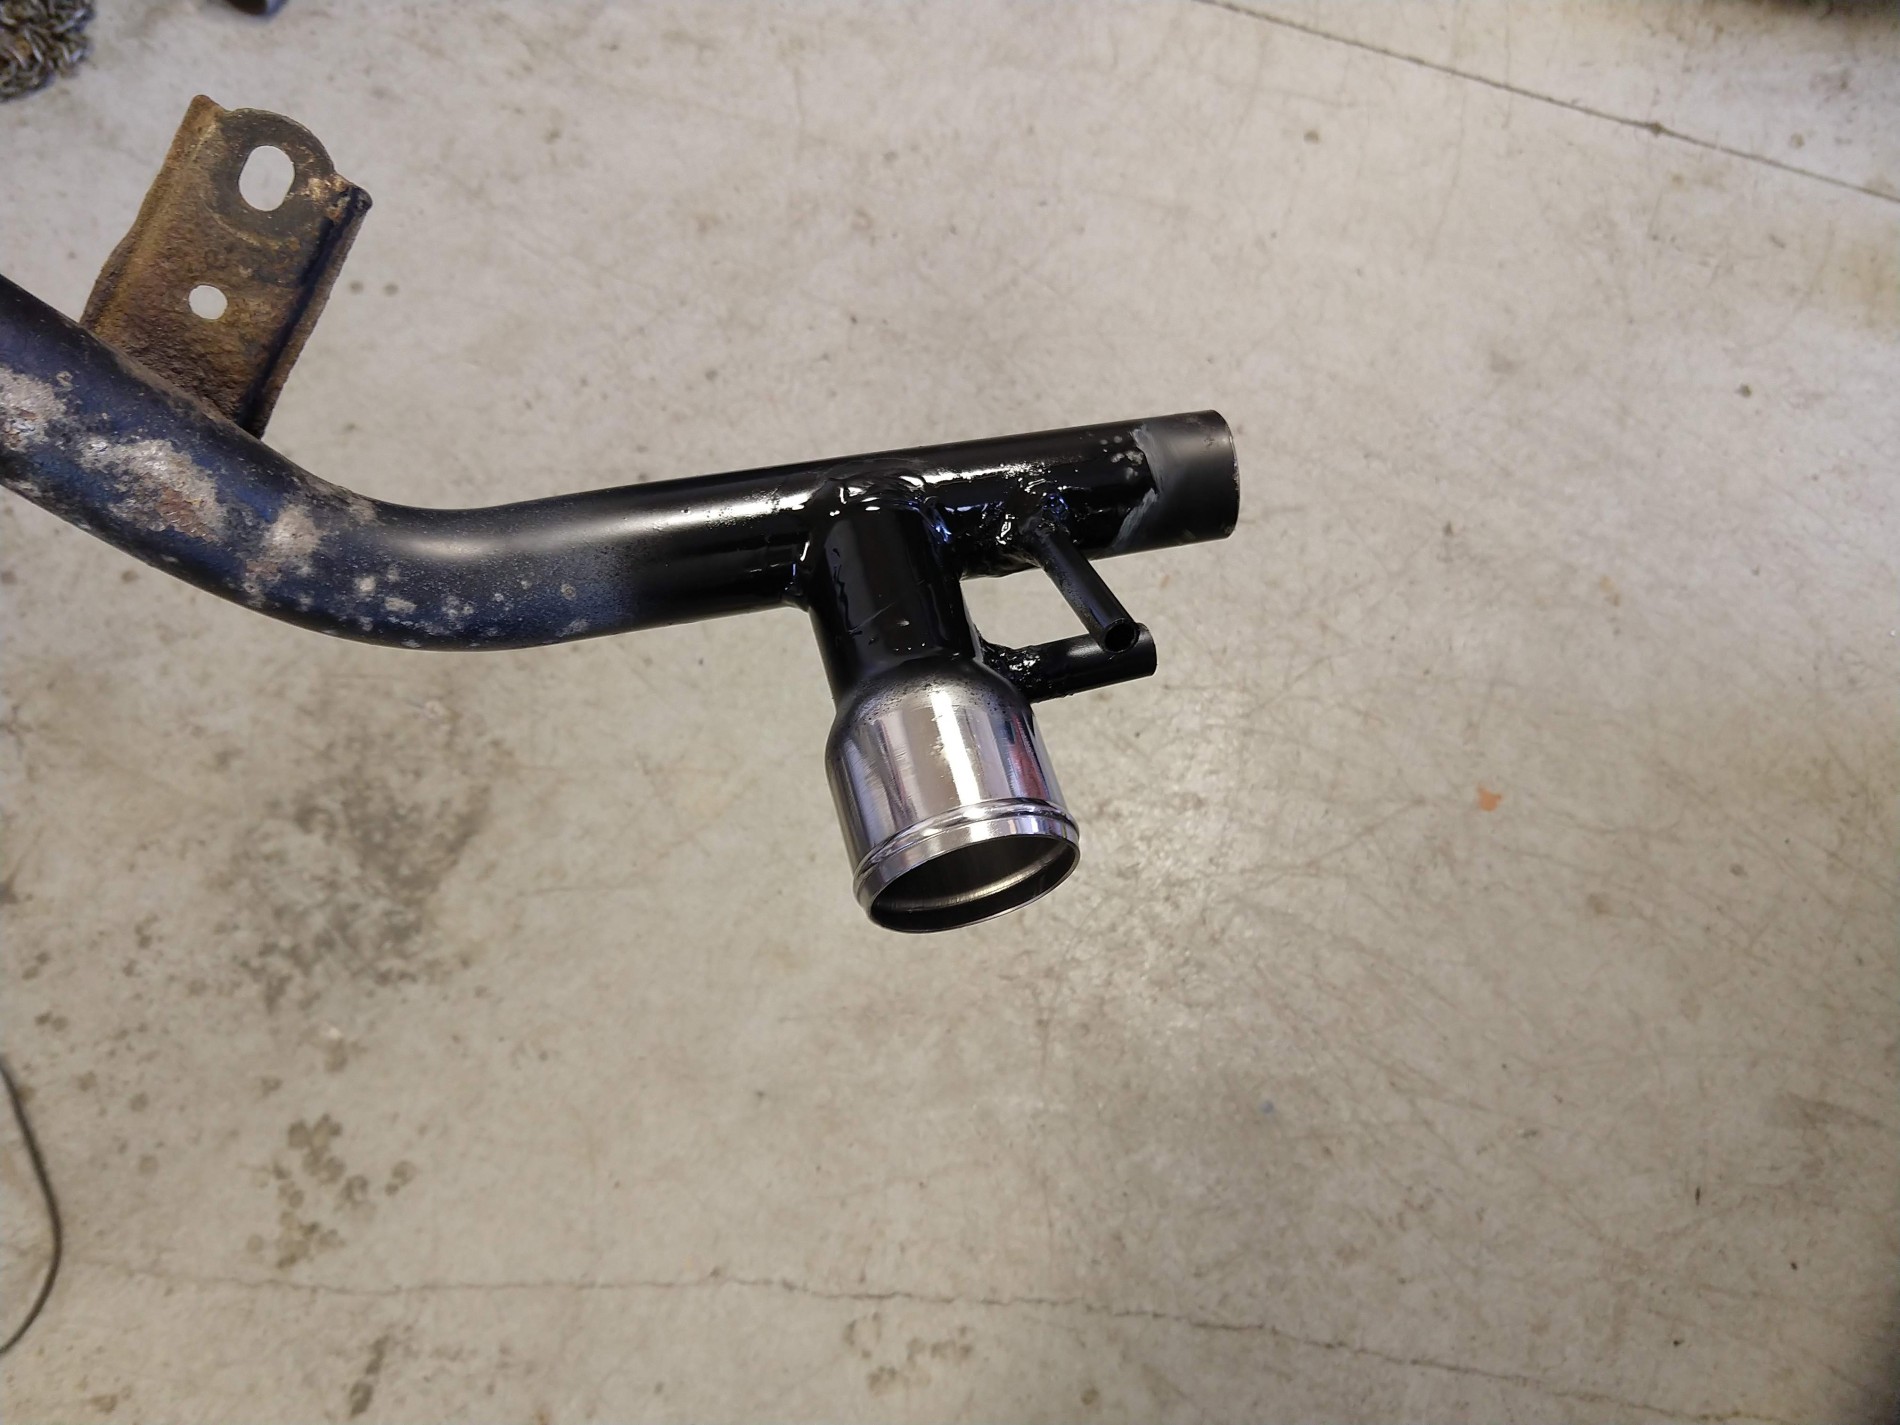
All installed, minus the 2", 90 degree rubber filler hose. The spot I cut the tube is now hidden under the rubber coupler. The factory fuel vent is now connected to the "fill" of the aux tank, and the aux fuel vent is connected to the original vent going up to the filler neck itself. The 3/8" fuel line just runs from the pump outlet, into the filler tube heading to the factory tank.
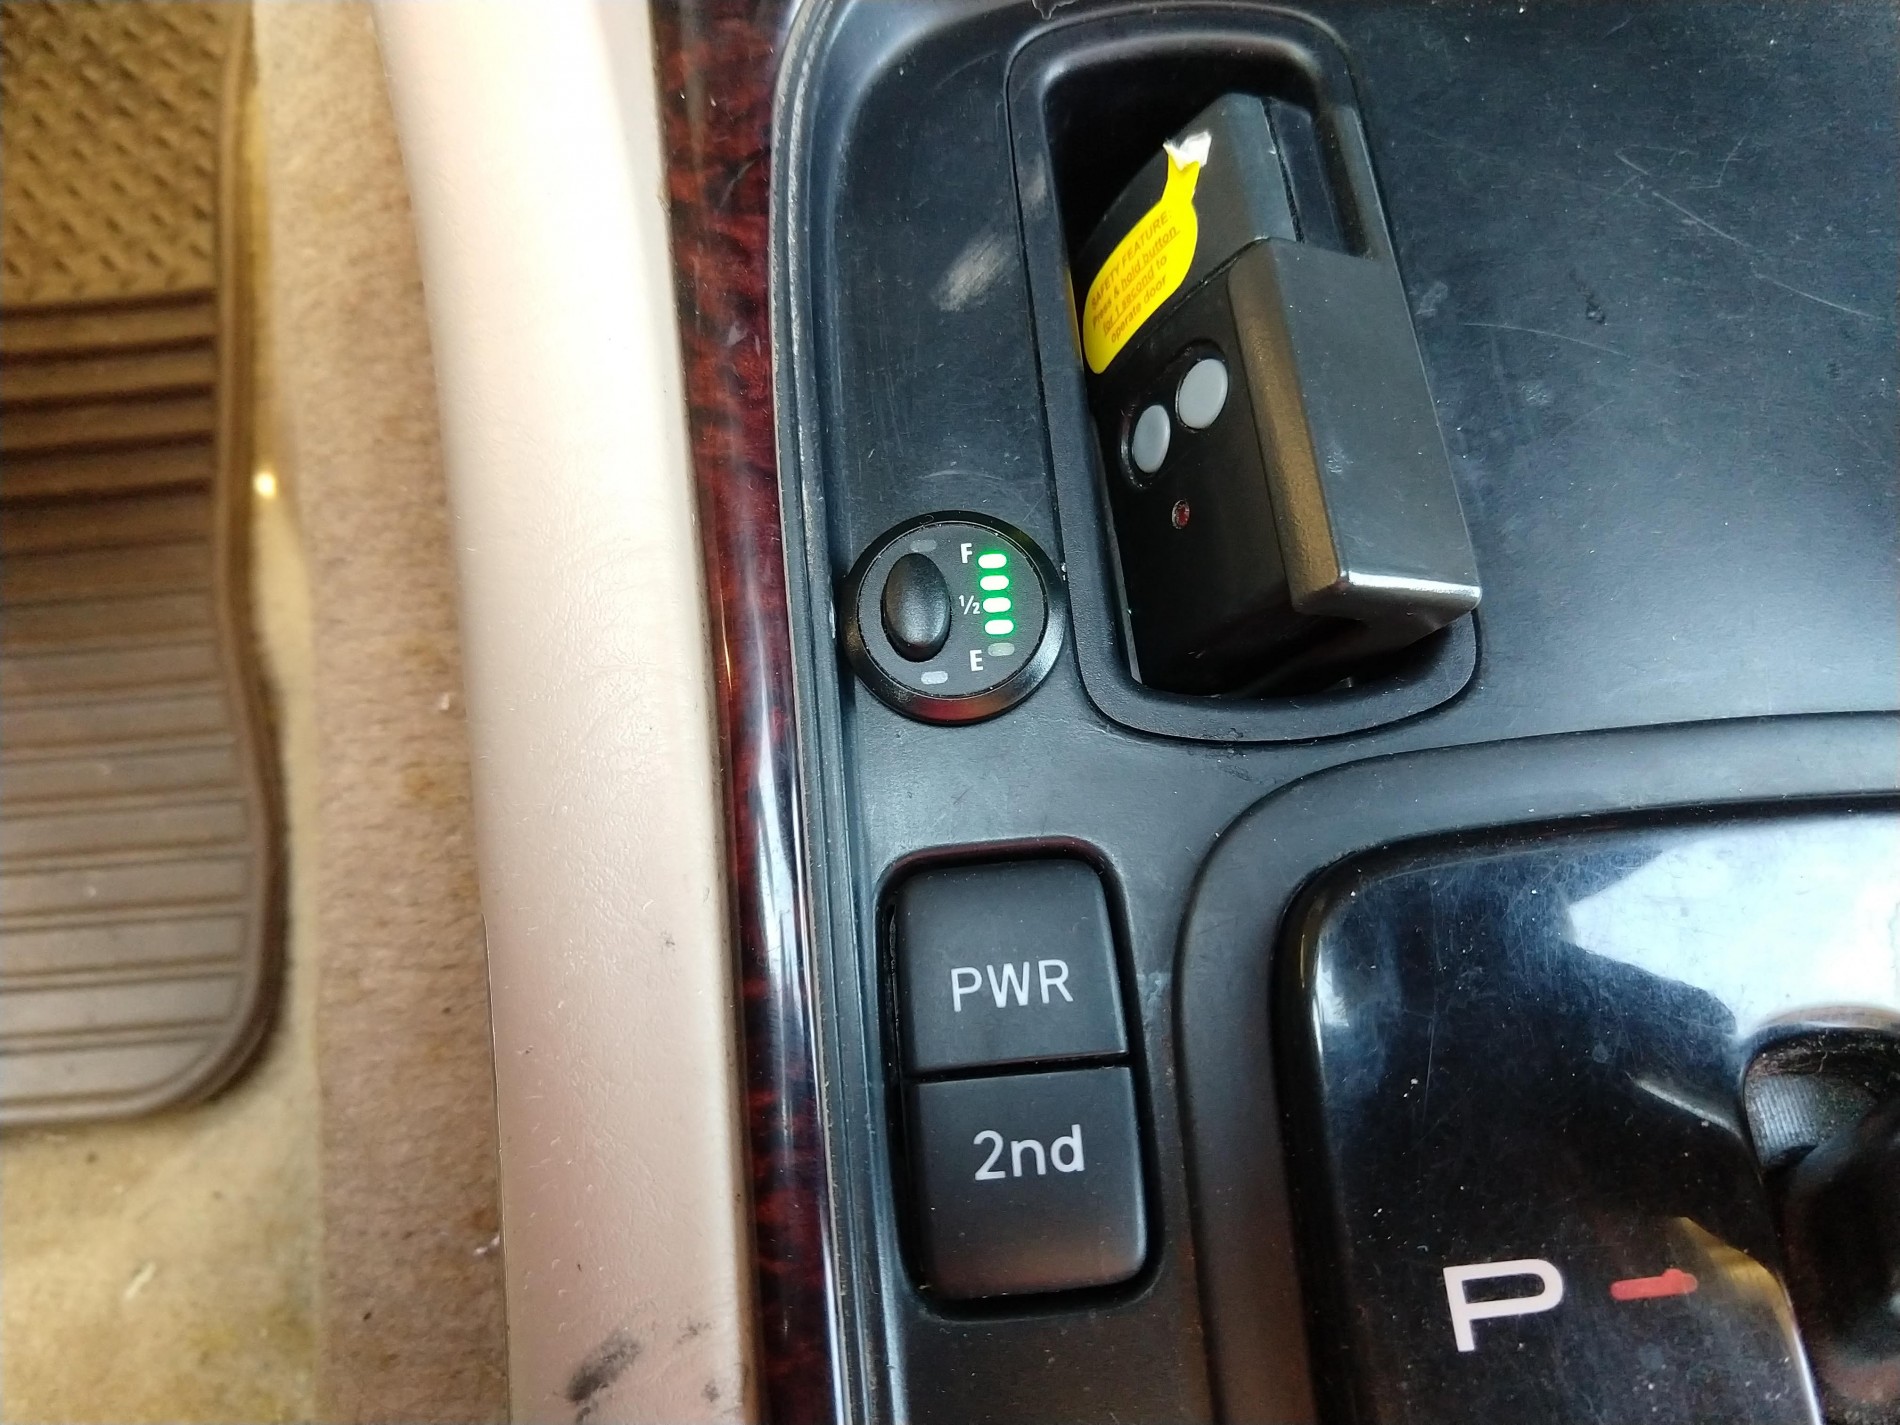
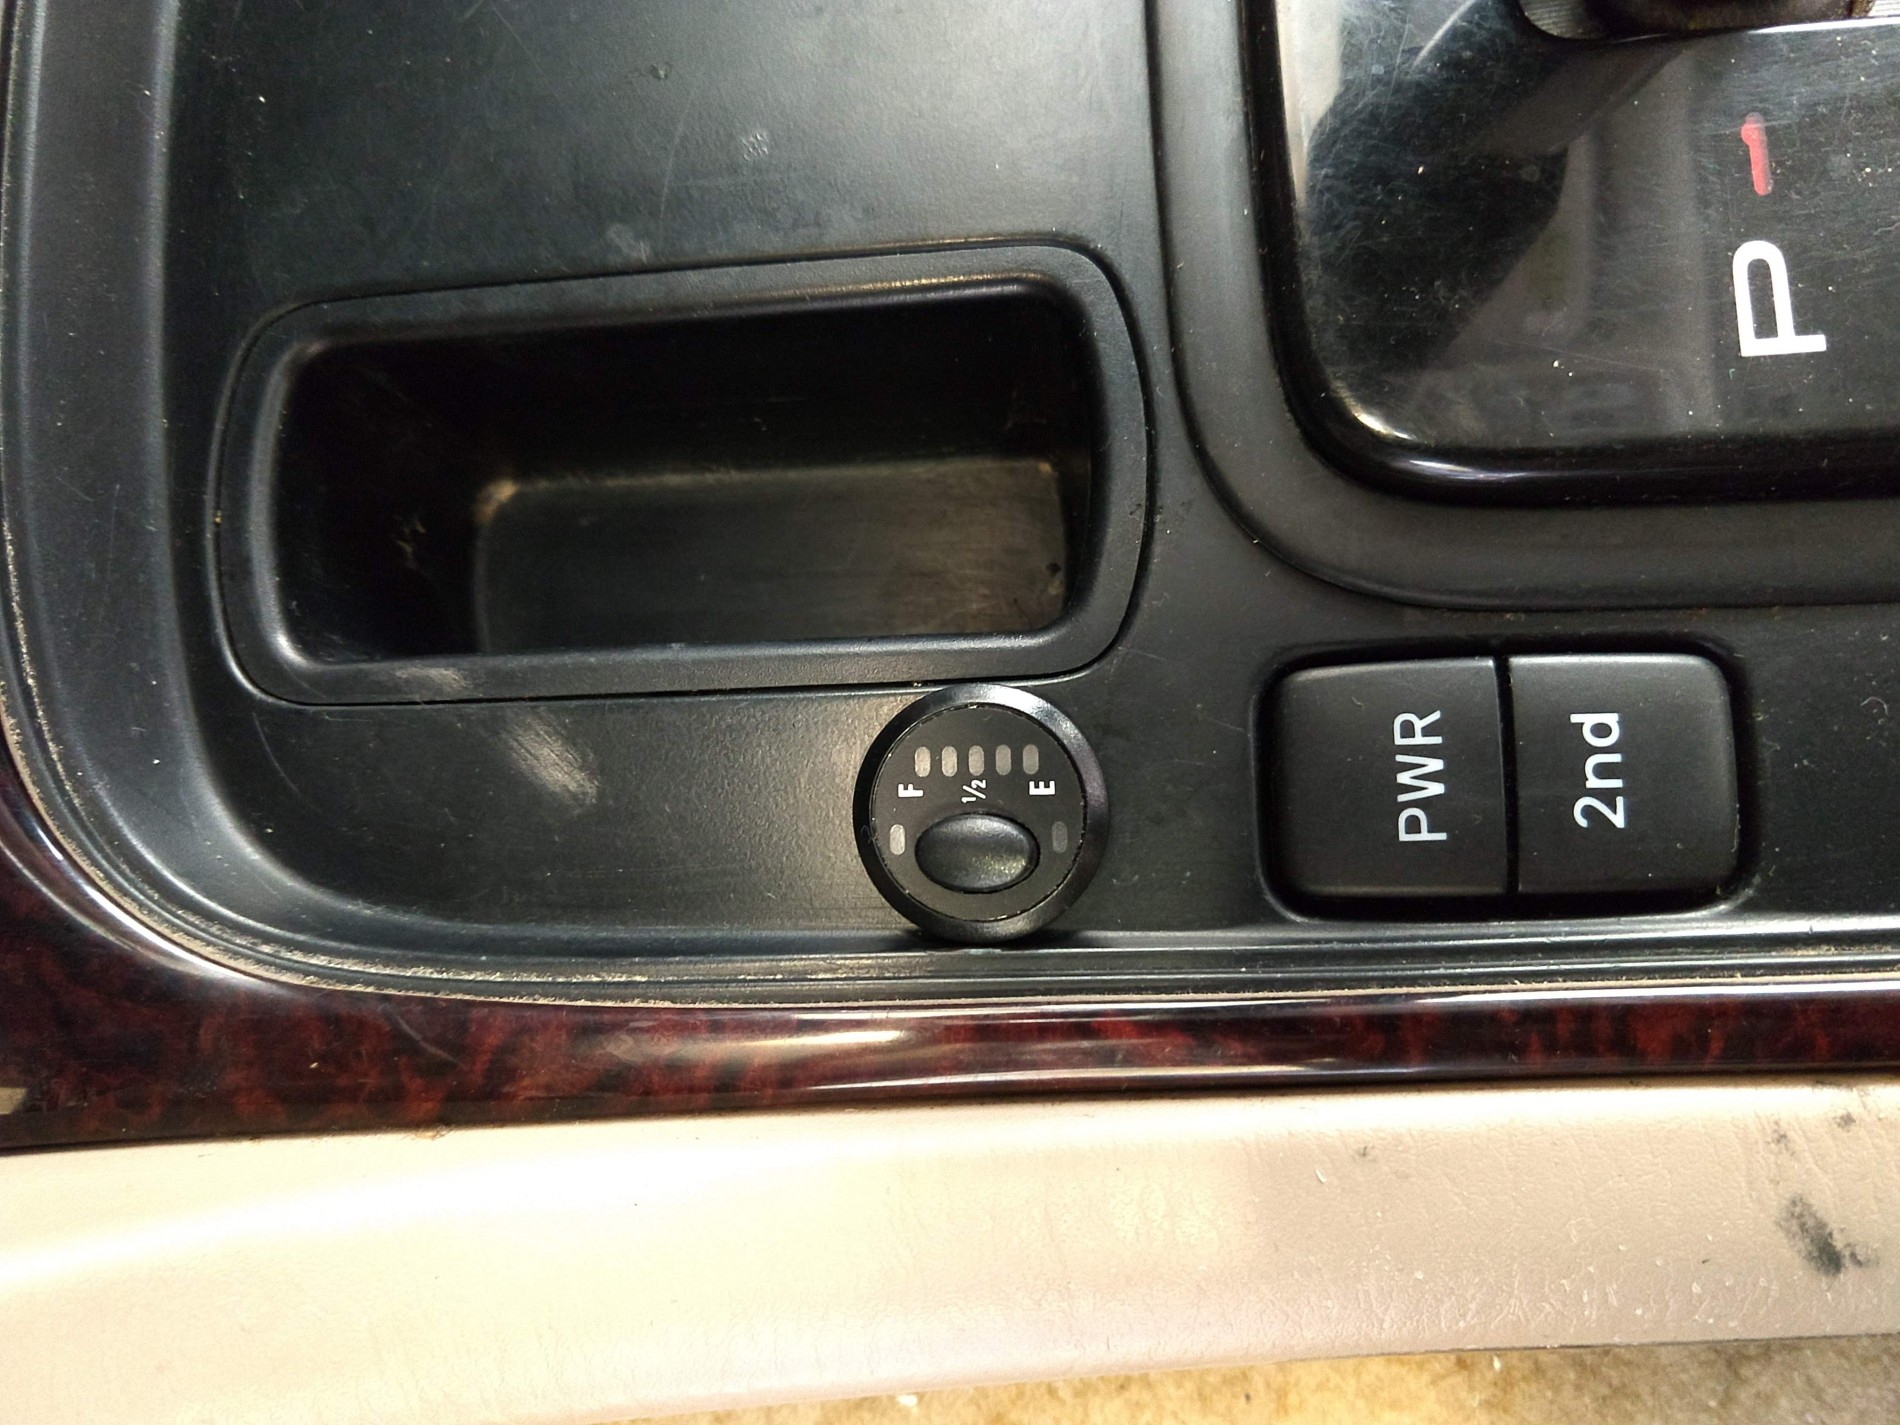
The fuel gauge/switch got mounted to the center console. LED lights show the fuel level, and the button turns on/off the fuel pump.
No pics, but there is a relay living in the jack compartment to energize the fuel pump.
First fill--I had somewhere between 1/2 and 1/4 tank to begin with.
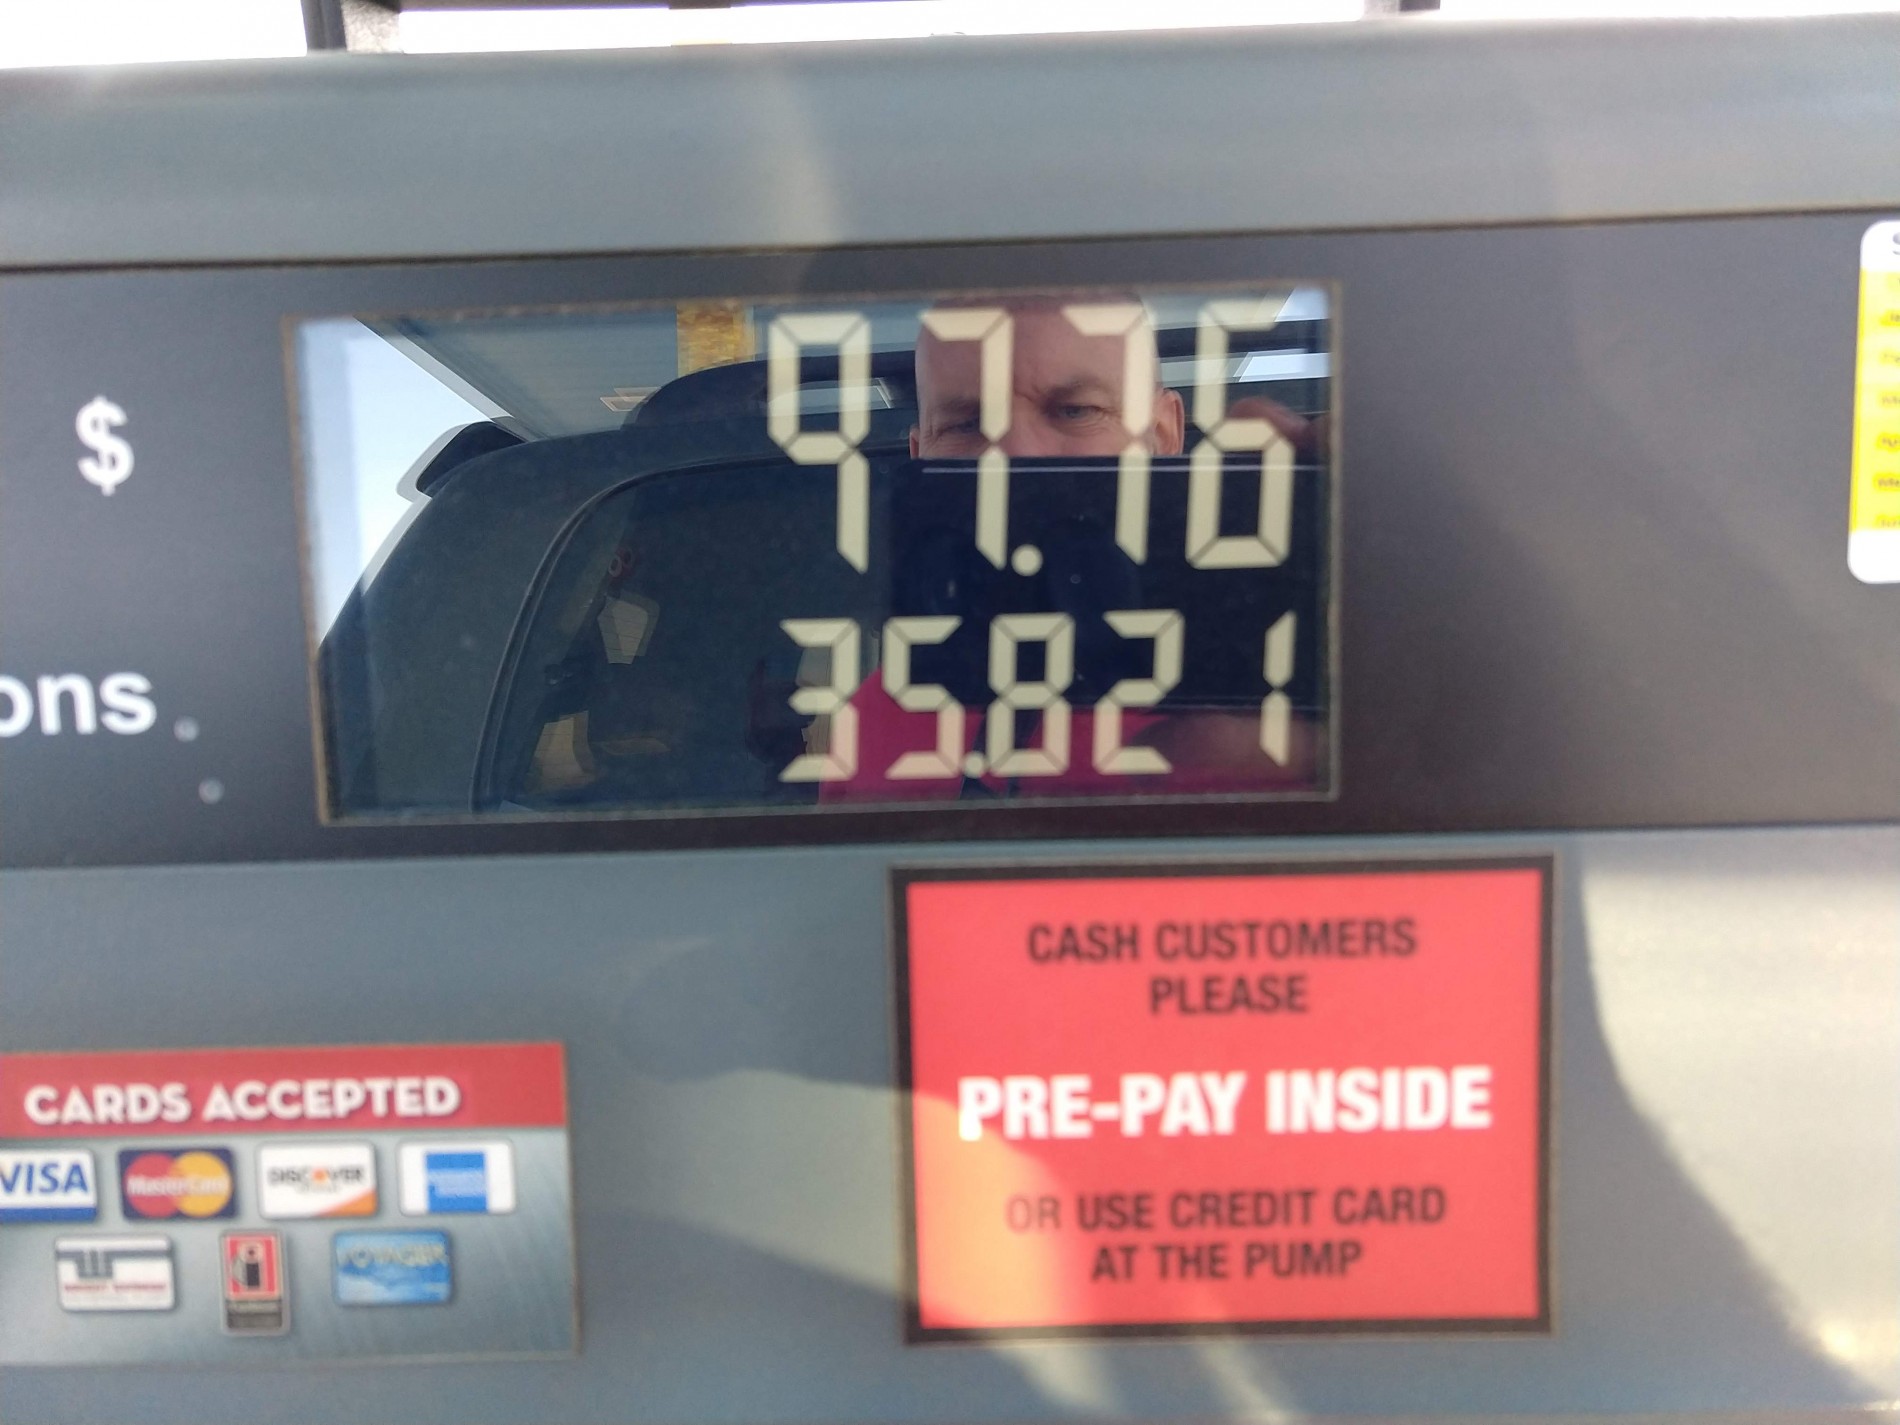
And the comforting view of extra range.

