
I ordered a set of no lift brackets about a week ago. They arrived promptly and i decided to do a install on them. So here goes.
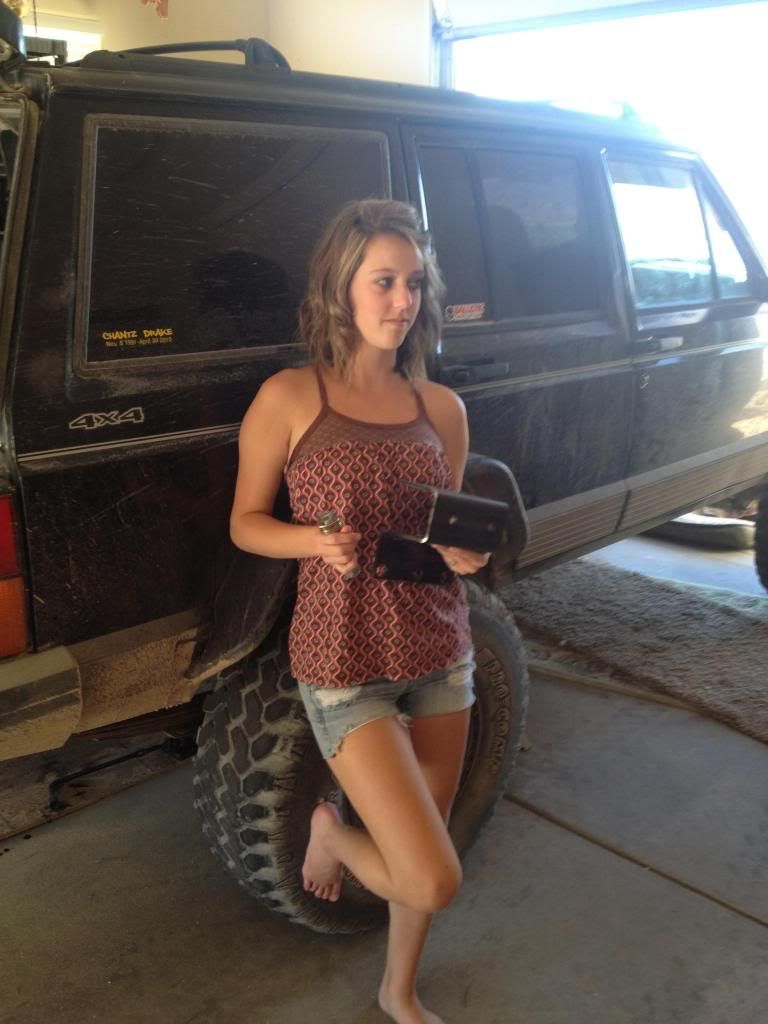
First make sure its all there.
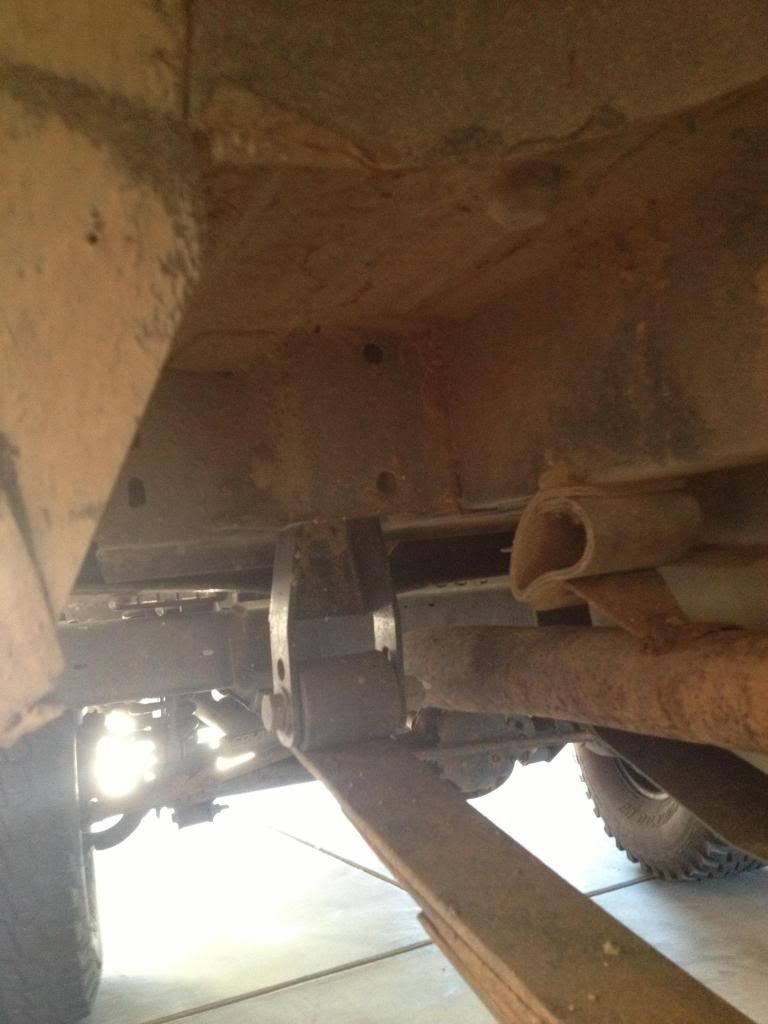
Remove tires and secure weight of vehicle on jacks.
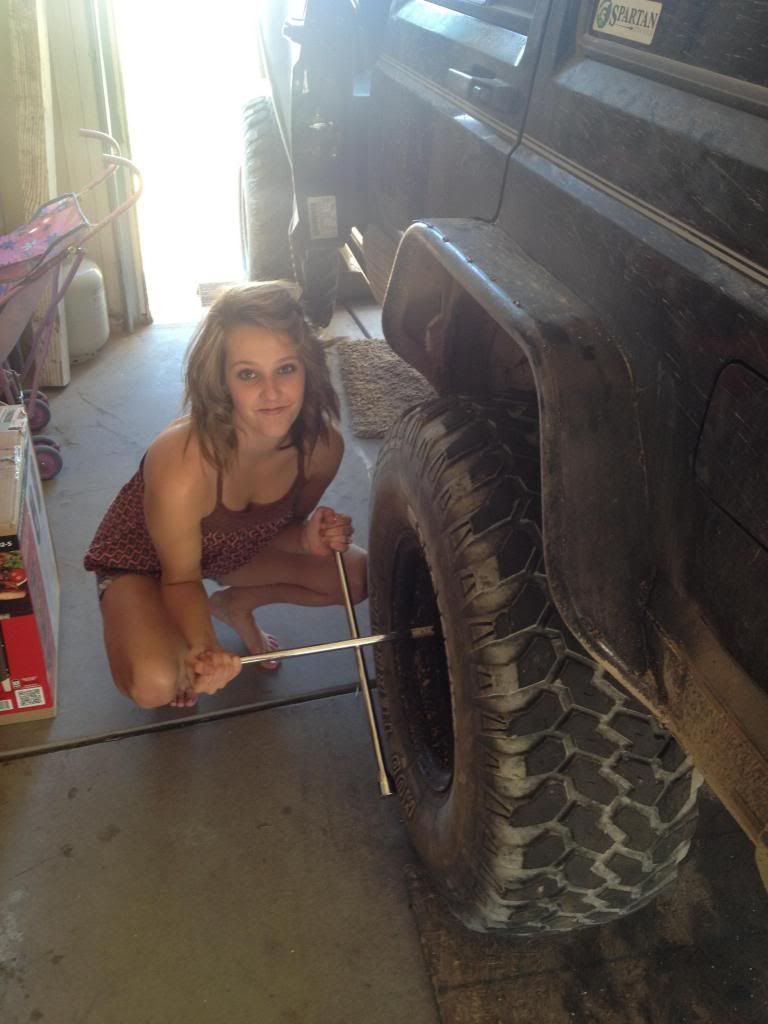
Get rid of wife and get to work removing shackles.
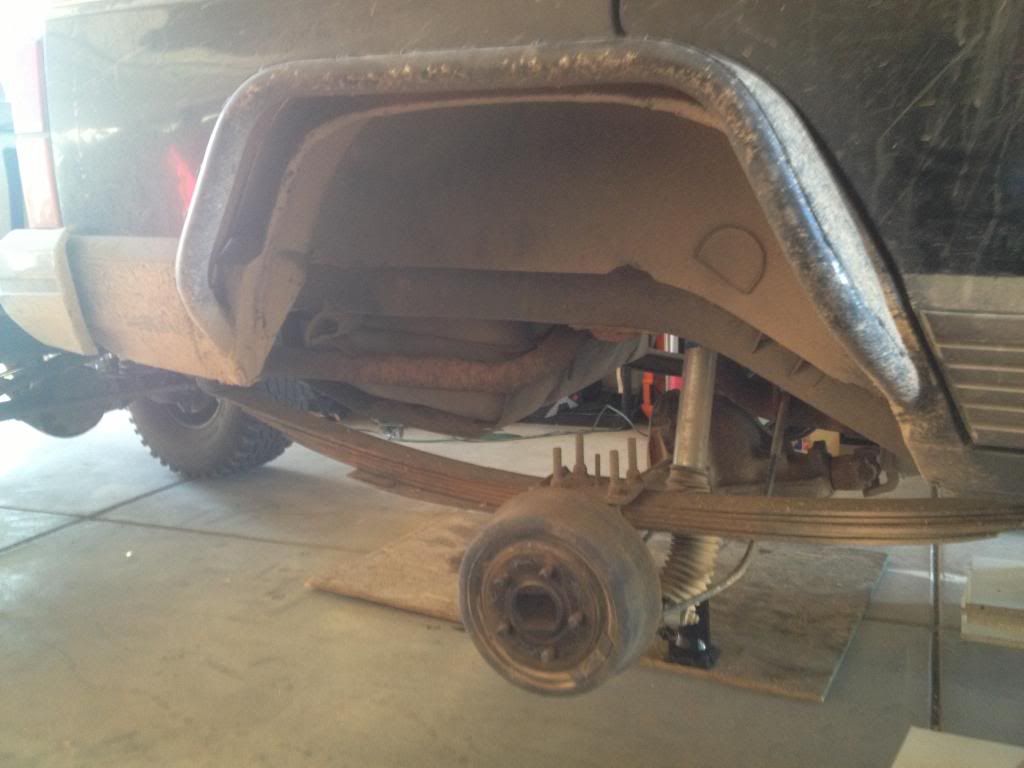
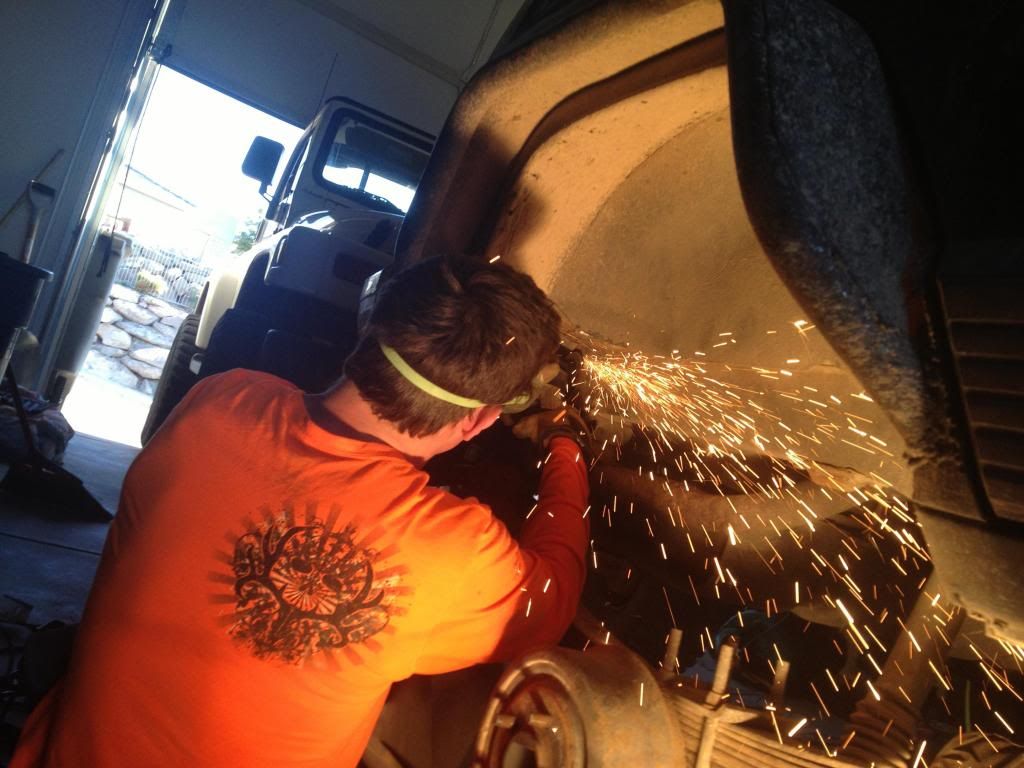
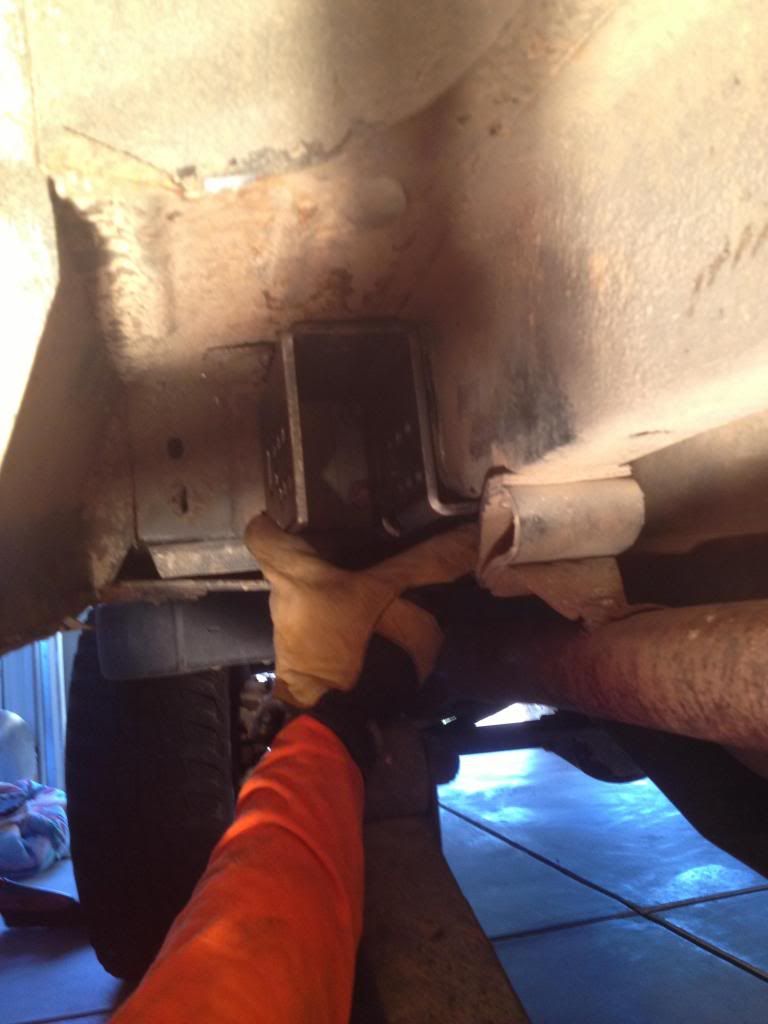
Once shackles removed from brackets lower the suspension to give you room. Then start removing stock brackets with grinder, sawzah, plasma cutter, ect.
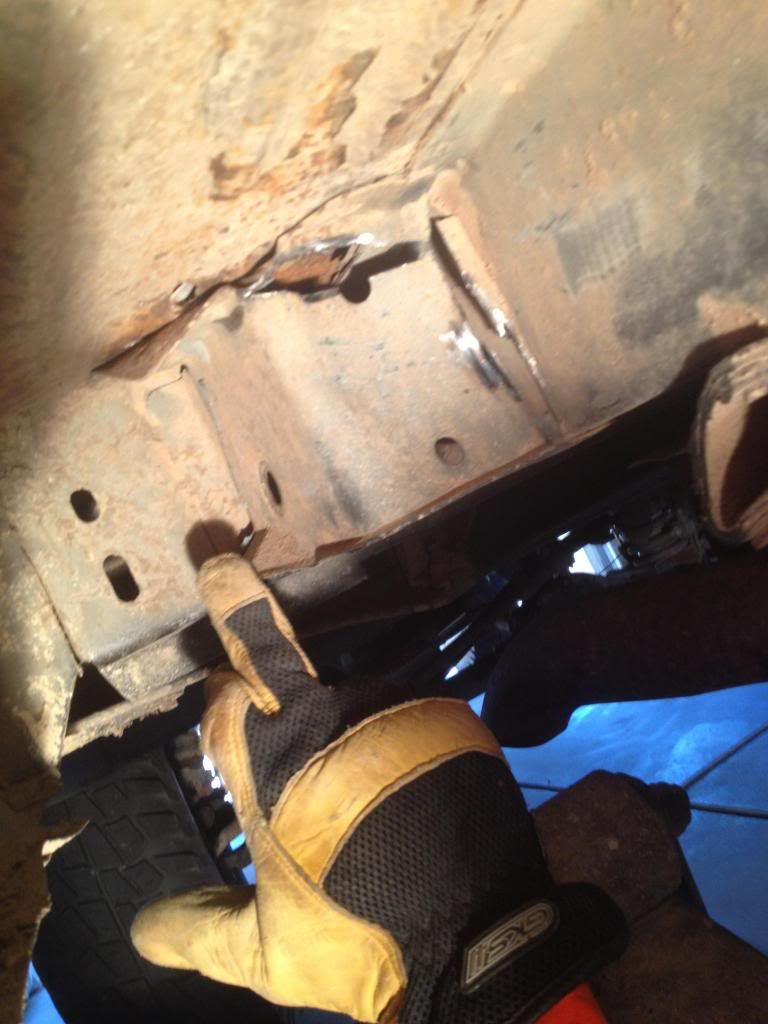
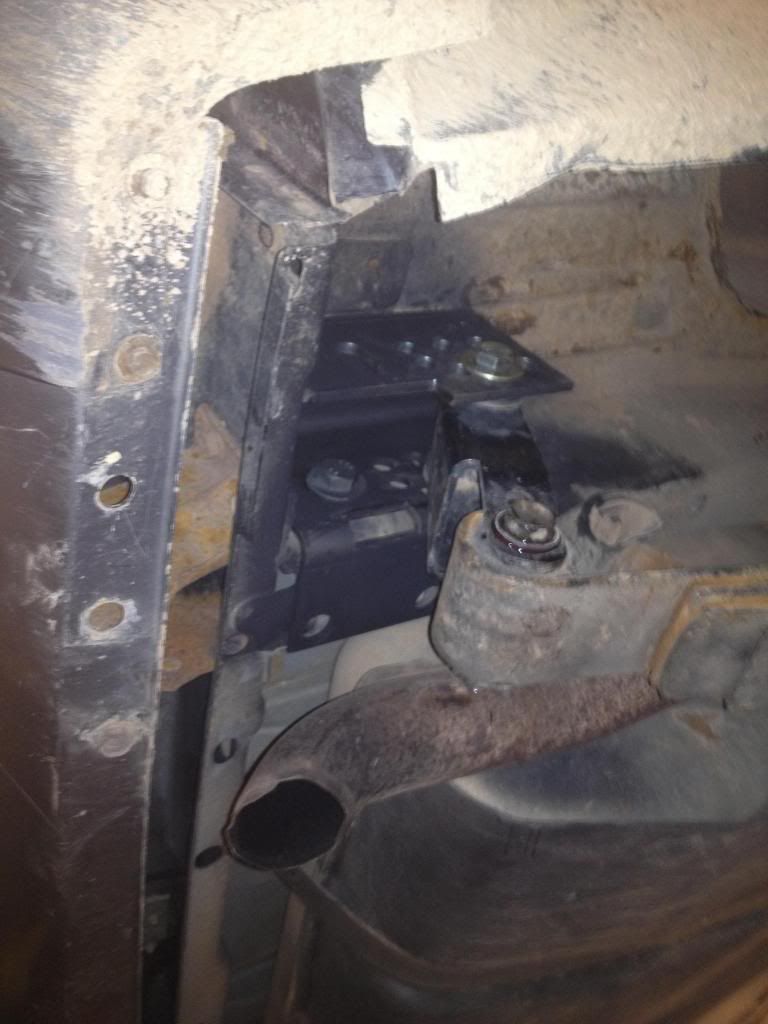
Make sure the bracket area is fully removed to allow space for new bracket to takes it place.
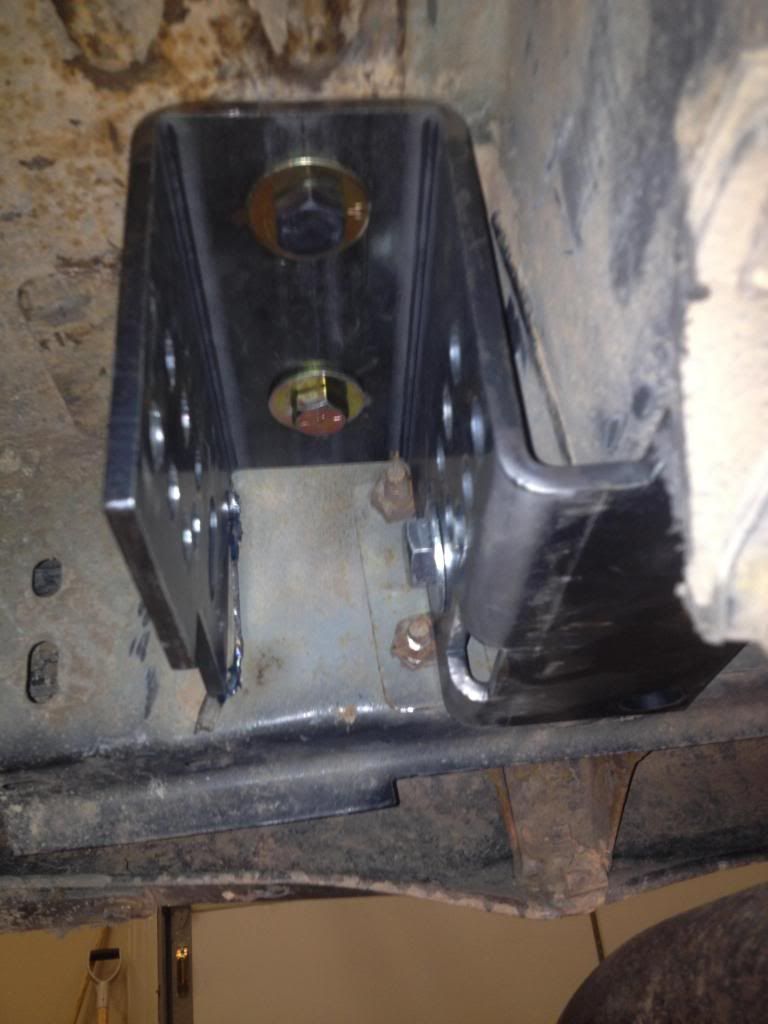
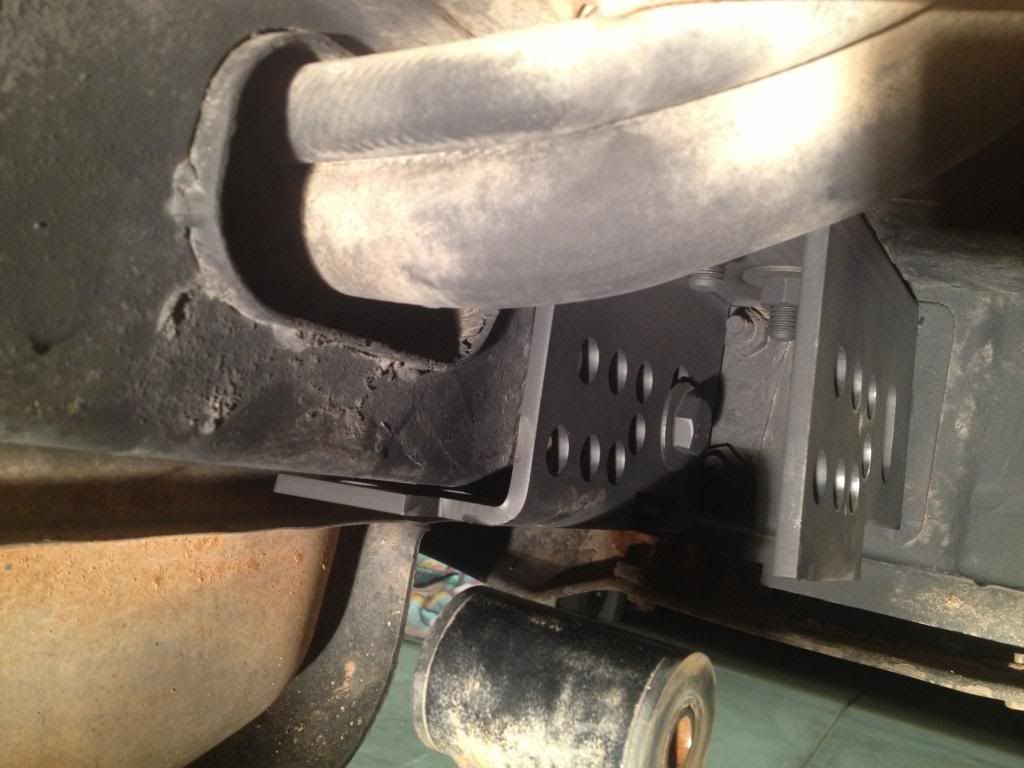
Test fit new bracket. Check holes for alignment.
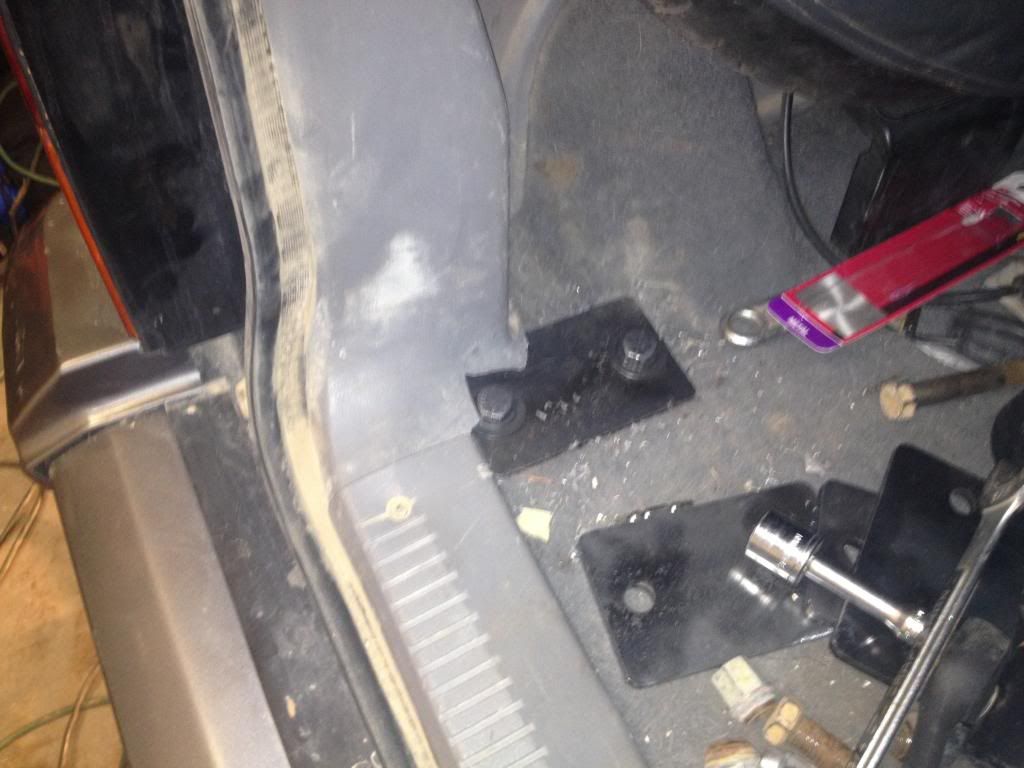
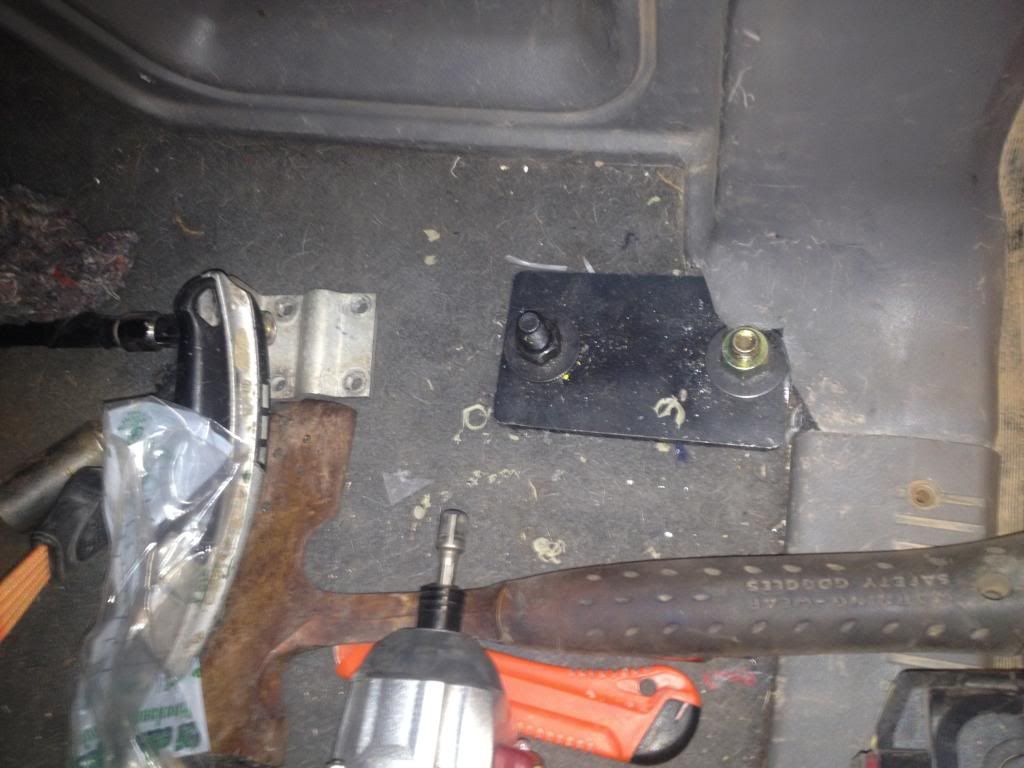
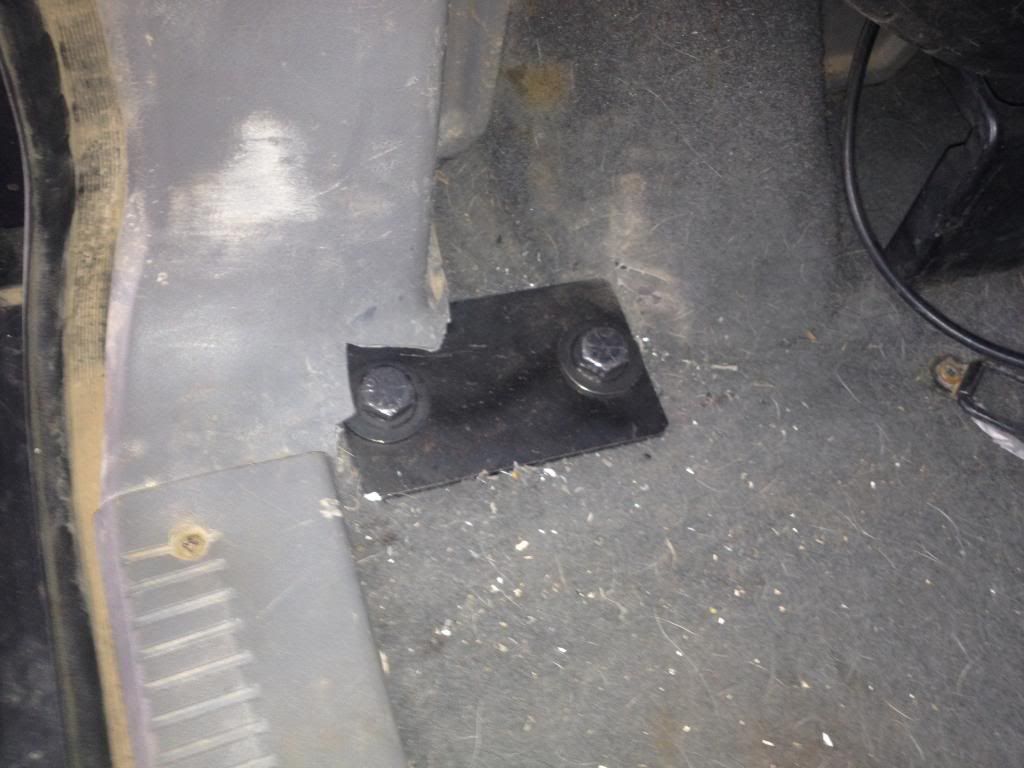
Once area is ready for installation mark the two holes on top of bracket to allow for drilling. This is the black bolts supplied. You are required to drill into rear hatch and put a spacer to mount the bracket as rigid as possible.
Dont strip bolt


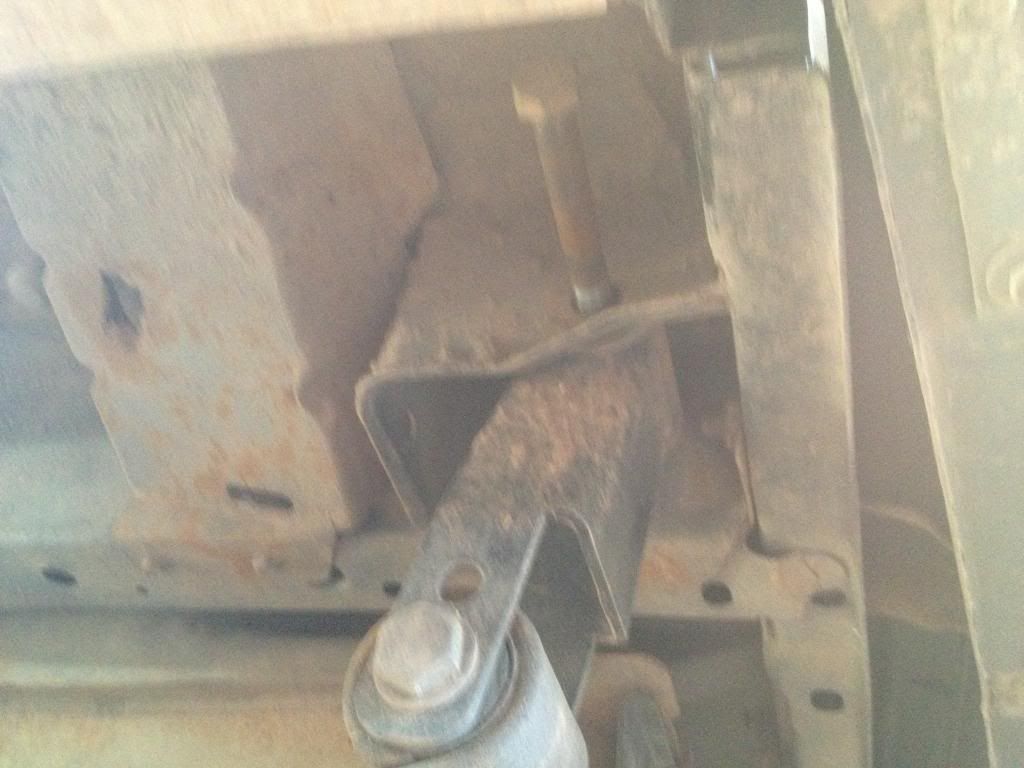
Attach small bolt supplied to the old existing hole.

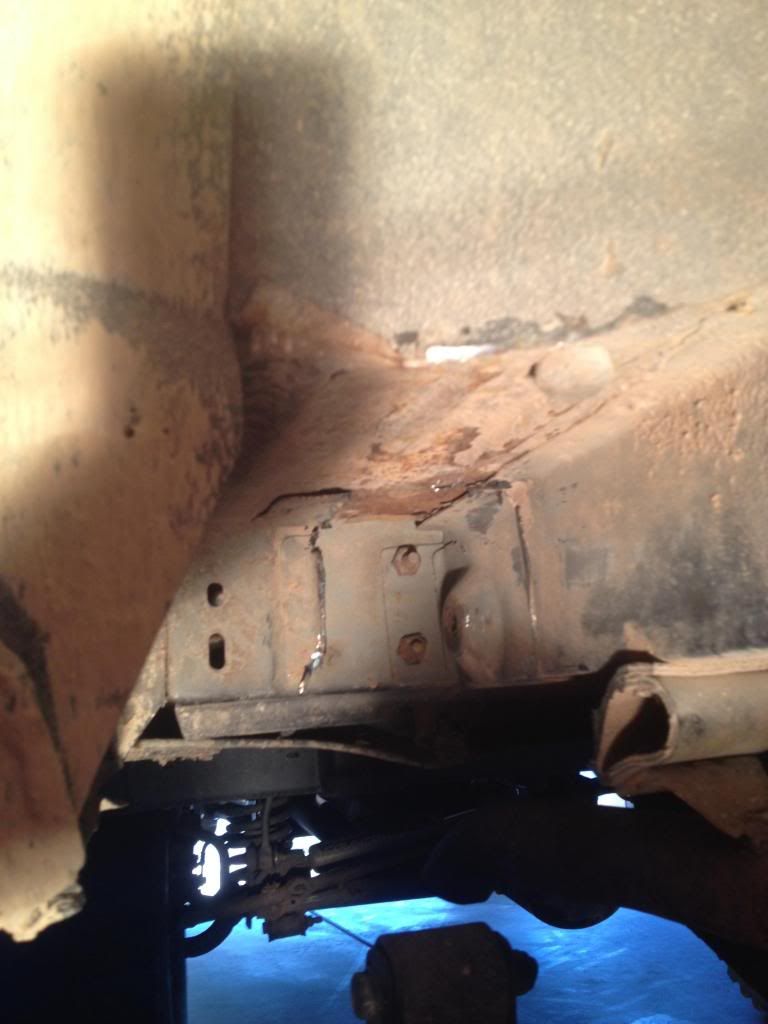
Here is where installs will be different. For people with hitch you would mount the new bracket and sandwich it between hitch and frame. For me i opted to simply weld the bracket on and skip all other mounting bolt option they give.
So now tighten bolts to specs and rattle can black. Not pink or lime green. Black.
Reattach shackles into new mounting spot of your choice depending on your specific vehicle needs.

Take for test drive. Check all clearances.

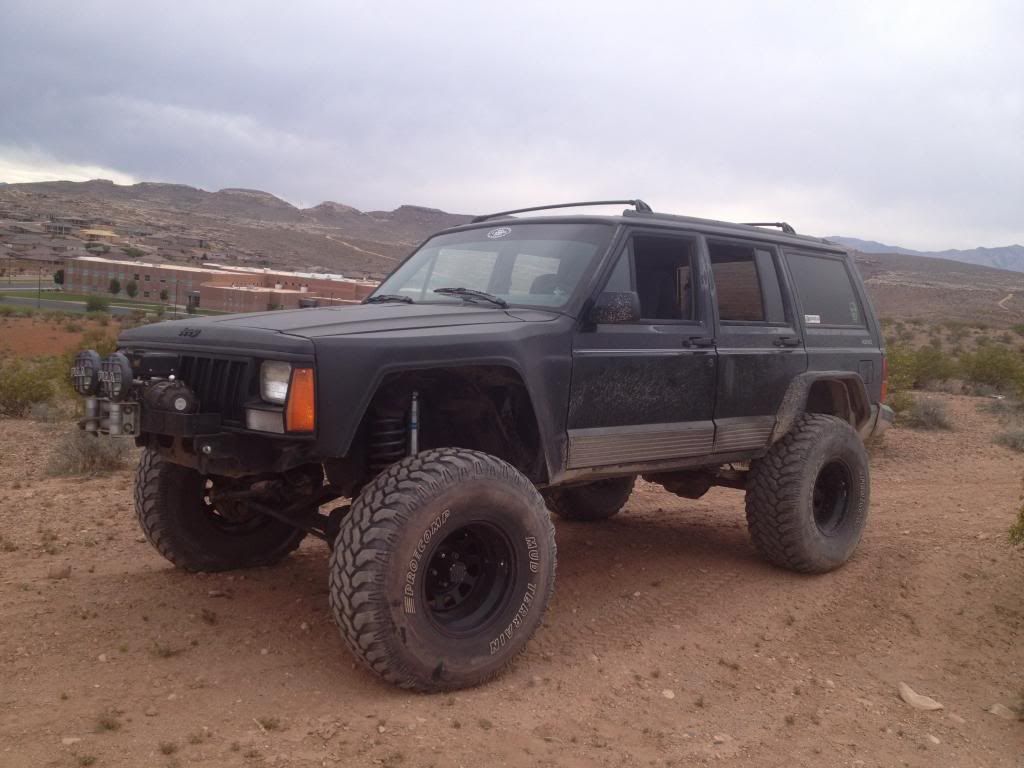

Overall view on kit: Awesome upgrade. Meaty product with simple design. Would rate 5 out of 5 for the purpose it serves.
Ease of install: 3 out of 5. Takes skill with power tools, welding optional, mostly a bolt on kit.
I would recommend.

First make sure its all there.

Remove tires and secure weight of vehicle on jacks.


Get rid of wife and get to work removing shackles.

Once shackles removed from brackets lower the suspension to give you room. Then start removing stock brackets with grinder, sawzah, plasma cutter, ect.


Make sure the bracket area is fully removed to allow space for new bracket to takes it place.
Test fit new bracket. Check holes for alignment.

Once area is ready for installation mark the two holes on top of bracket to allow for drilling. This is the black bolts supplied. You are required to drill into rear hatch and put a spacer to mount the bracket as rigid as possible.


Dont strip bolt

Attach small bolt supplied to the old existing hole.

Here is where installs will be different. For people with hitch you would mount the new bracket and sandwich it between hitch and frame. For me i opted to simply weld the bracket on and skip all other mounting bolt option they give.
So now tighten bolts to specs and rattle can black. Not pink or lime green. Black.

Reattach shackles into new mounting spot of your choice depending on your specific vehicle needs.


Take for test drive. Check all clearances.


Overall view on kit: Awesome upgrade. Meaty product with simple design. Would rate 5 out of 5 for the purpose it serves.
Ease of install: 3 out of 5. Takes skill with power tools, welding optional, mostly a bolt on kit.
I would recommend.