Project: Pretty Hate Machine (4 seater buggy build)

Herzog

somewhat damaged
Admin
Location
Wydaho
A chunk of precious metal showed up this weekend. :cool:

b6vK.jpg
 

Herzog

somewhat damaged
Admin
Location
Wydaho
For the lower bearing cups, weld a couple of beads on the inside of the races, then knock them out from the top using a hammer/punch.

Just saw a sweet trick for the upper kingpins - take a scrap piece of 1/4” (2-ish inches wide by 6-ish inches long) and drill a hole about the size of the base of the kingpin. Drop it on top of the kingpin and weld the plate to the kingpin. Let it sit for a few minutes, then take a BFH and hammer the plate to spin it loose. There’s a YouTube video of a guy doing it, I’ll see if I can find it.
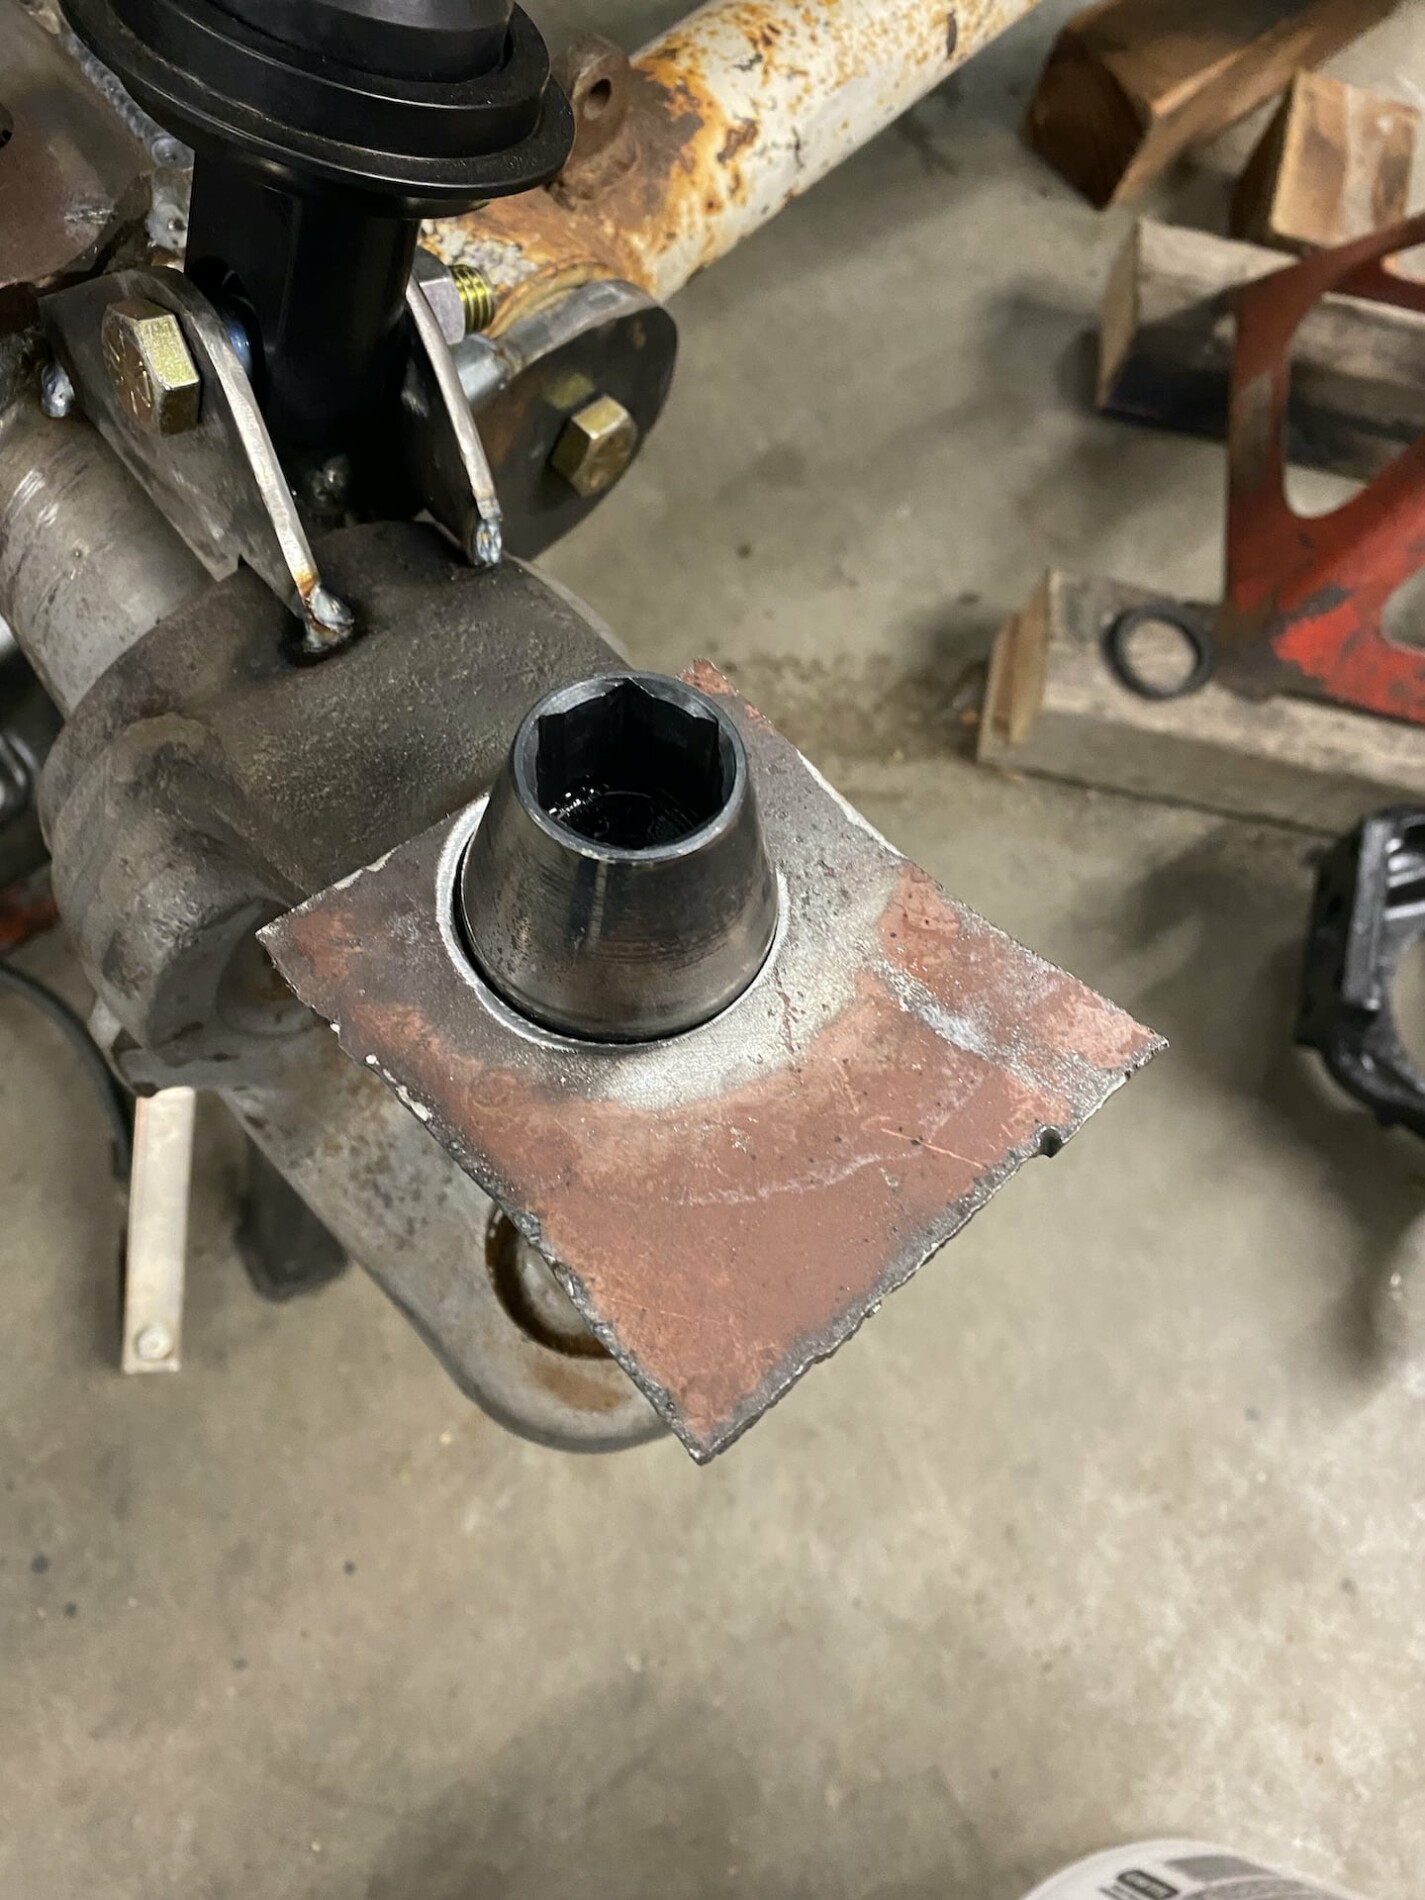
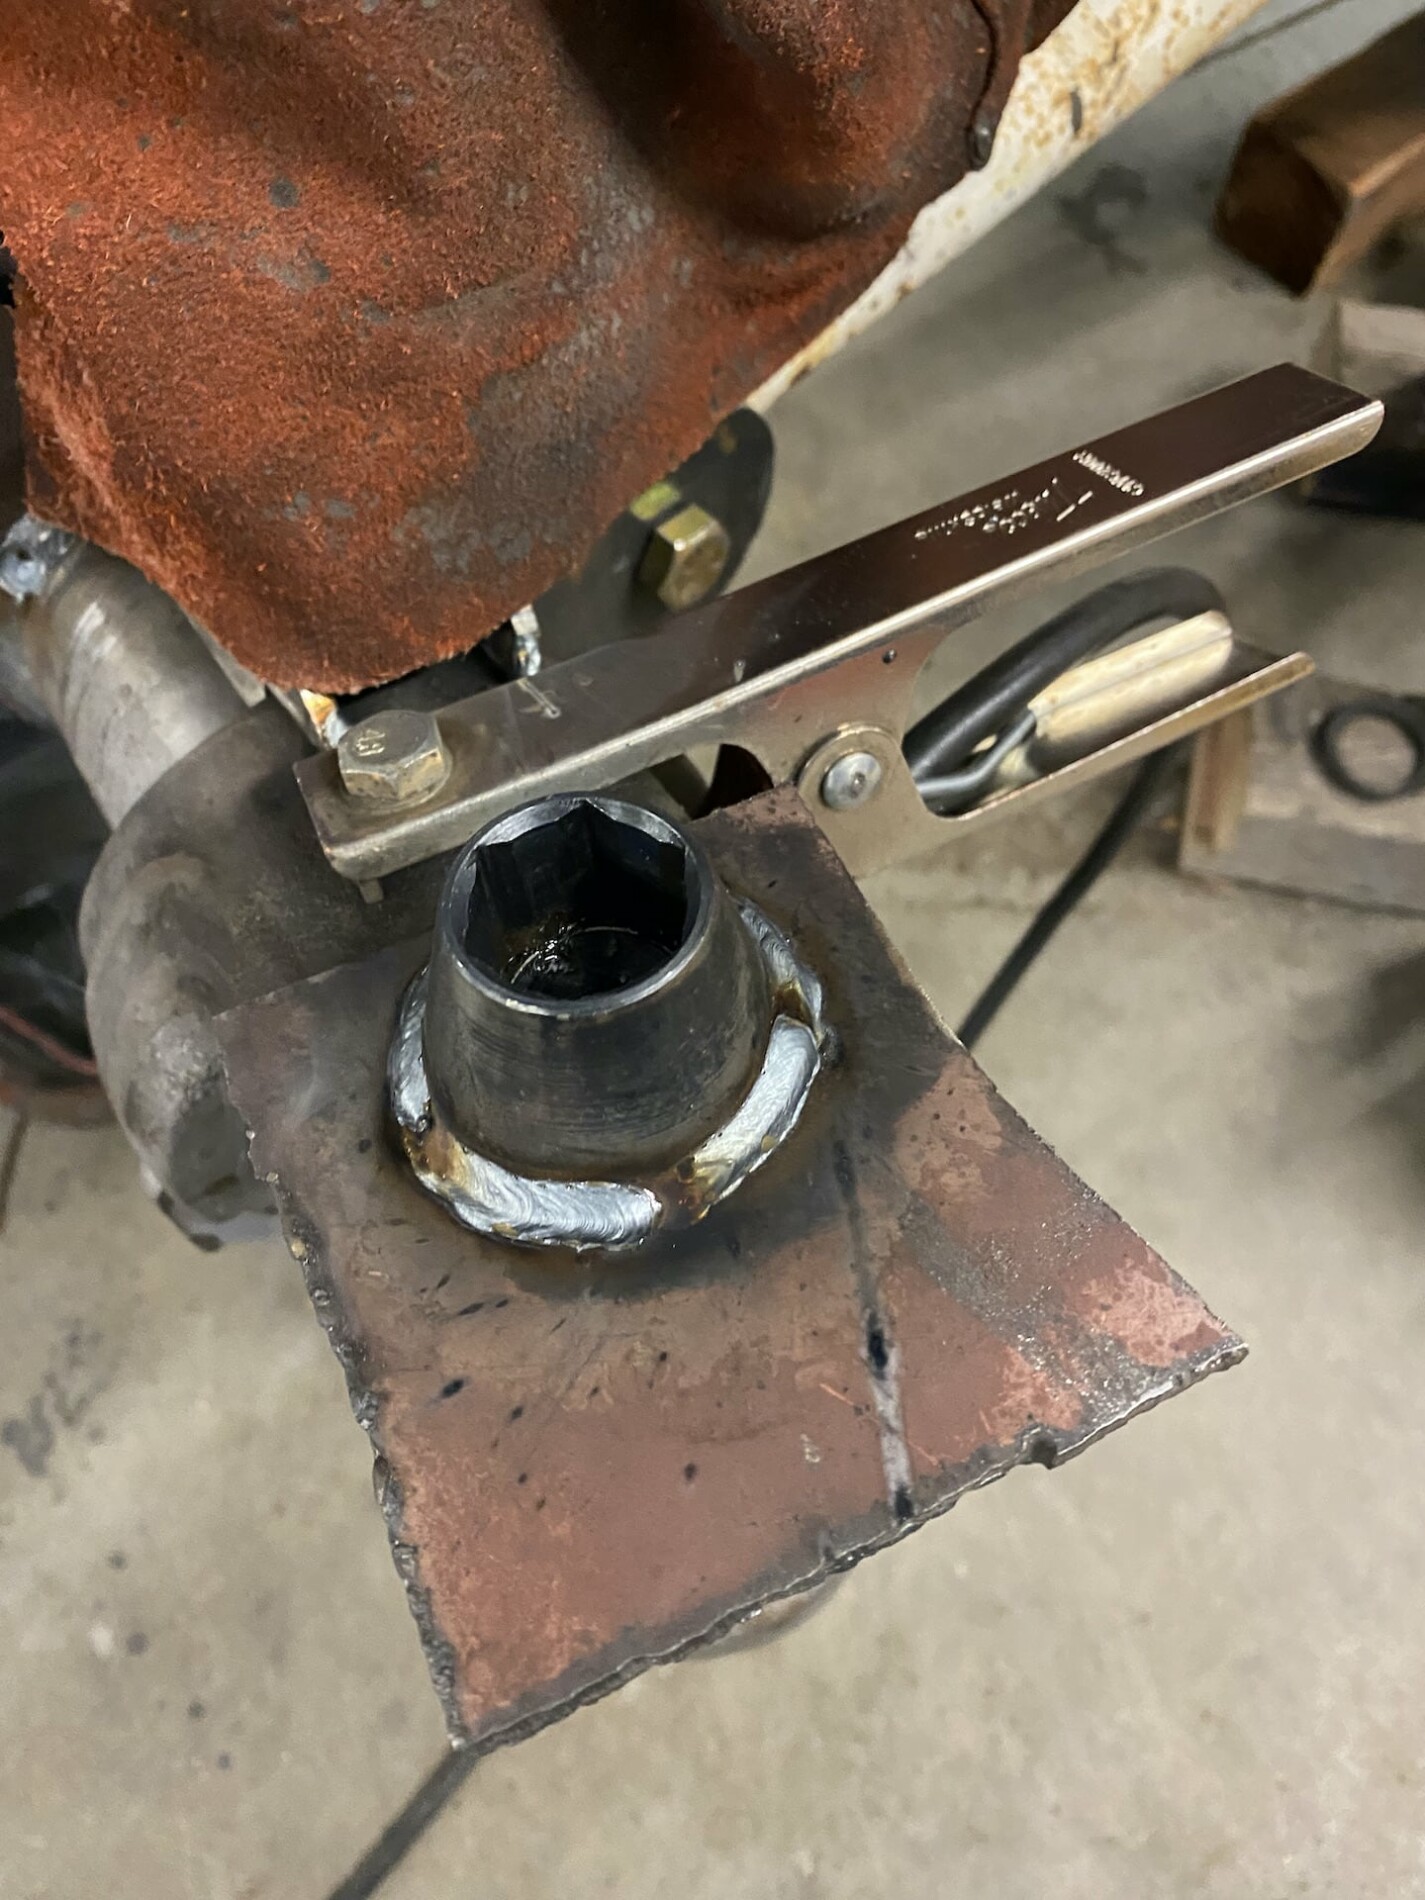
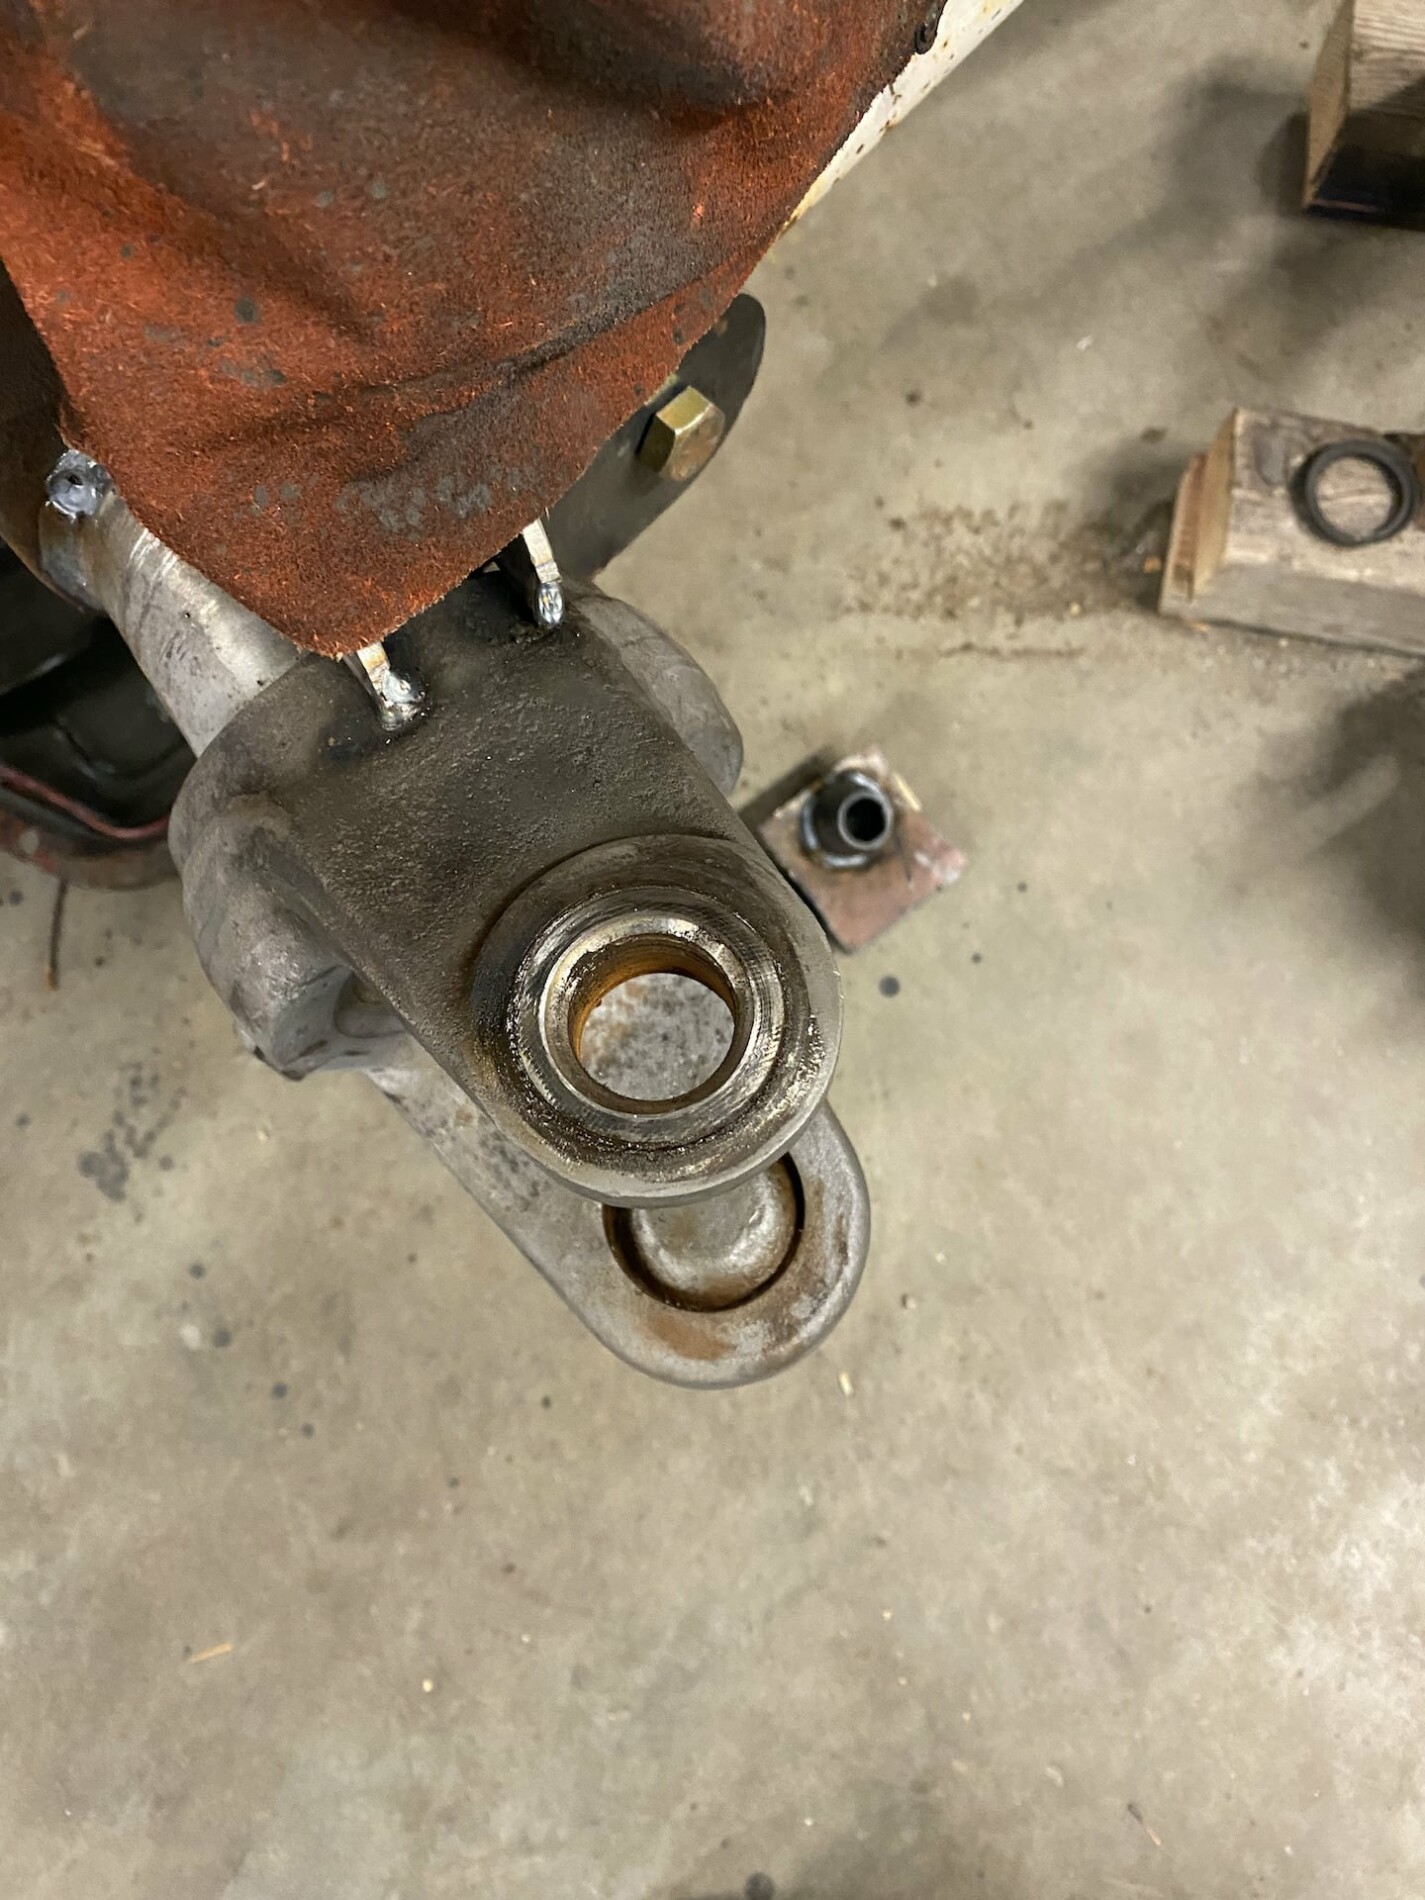
So, welding a chunk of steel to the pin worked like a CHARM! I even tried to get it with a breaker first just to see, then I welded some scrap on it and bumped it with the hammer and it just spun right now. Amazing. Thanks a ton for posting this.

The lower bearing race punched right out since I could now get to it from the top with a brass punch so I didn't need to do anything special for that.

b9UA.jpg


biO9.jpg


bMQ3.jpg


Last edited:

anderson750

I'm working on it Rose
Location
Price, Utah
So, welding a chunk of steel to the pin worked like a CHARM! I even tried to get it with a breaker first just to see, then I welded some scrap on it and bumped it with the hammer and it just spun right now. Amazing. Thanks a ton for posting this.

The lower bearing race punched right out since I could now get to it from the top with a brass punch so I didn't need to do anything special for that.

b9UA.jpg


biO9.jpg


bMQ3.jpg


Thread hijack........how are you posting video?
 

Herzog

somewhat damaged
Admin
Location
Wydaho
Thread hijack........how are you posting video?
Currently using this shitty file hosts that I found from various hosted memes X-D

I wouldn't recommend using it to host anything you want to stick around. I'm thinking about making something similar to it for 4x4 stuff though
 

Herzog

somewhat damaged
Admin
Location
Wydaho
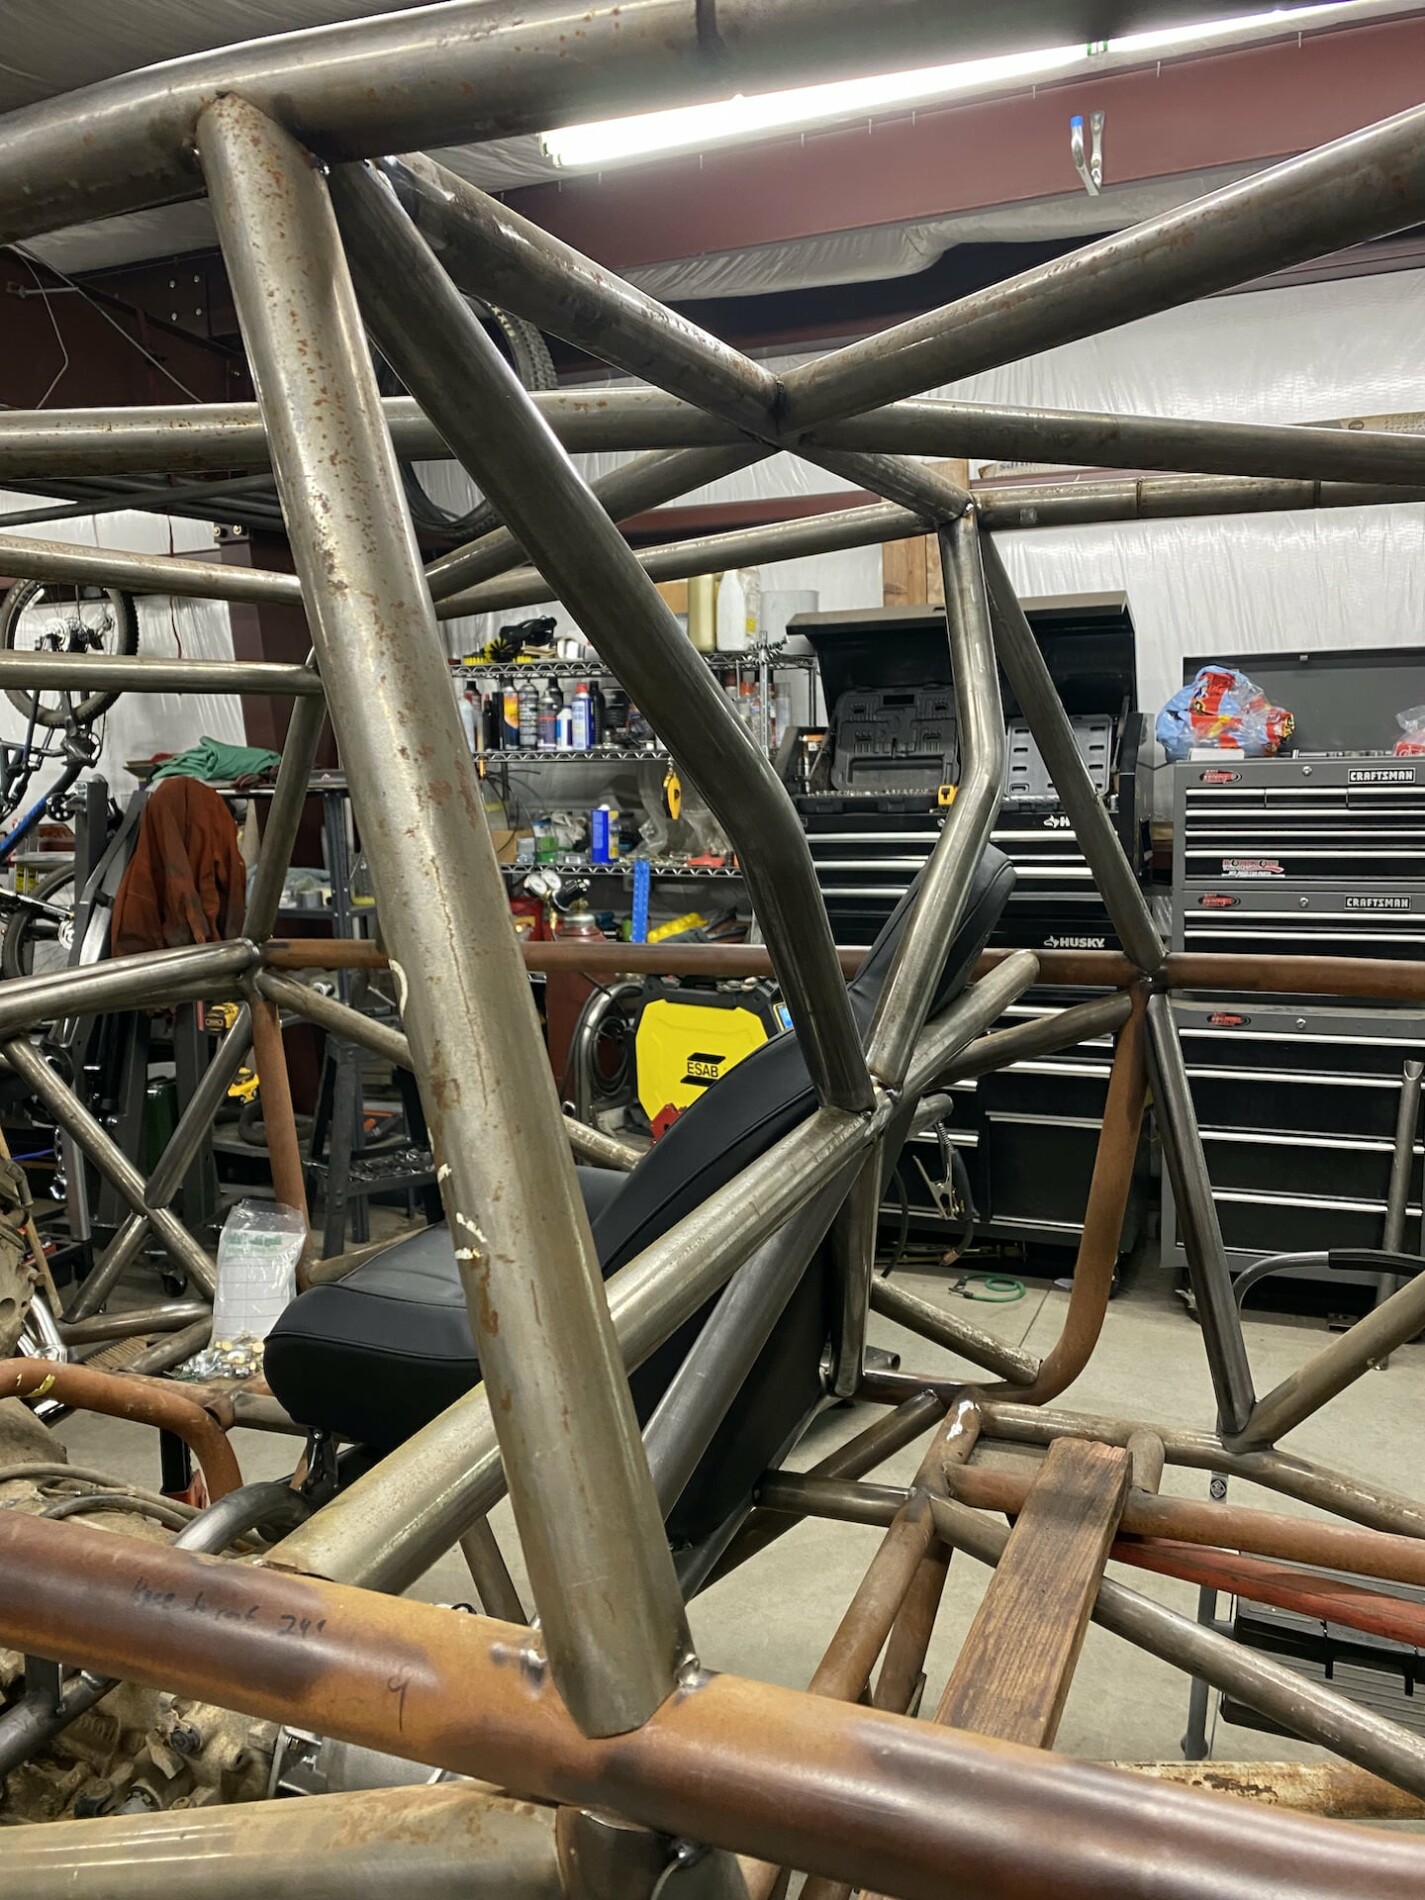
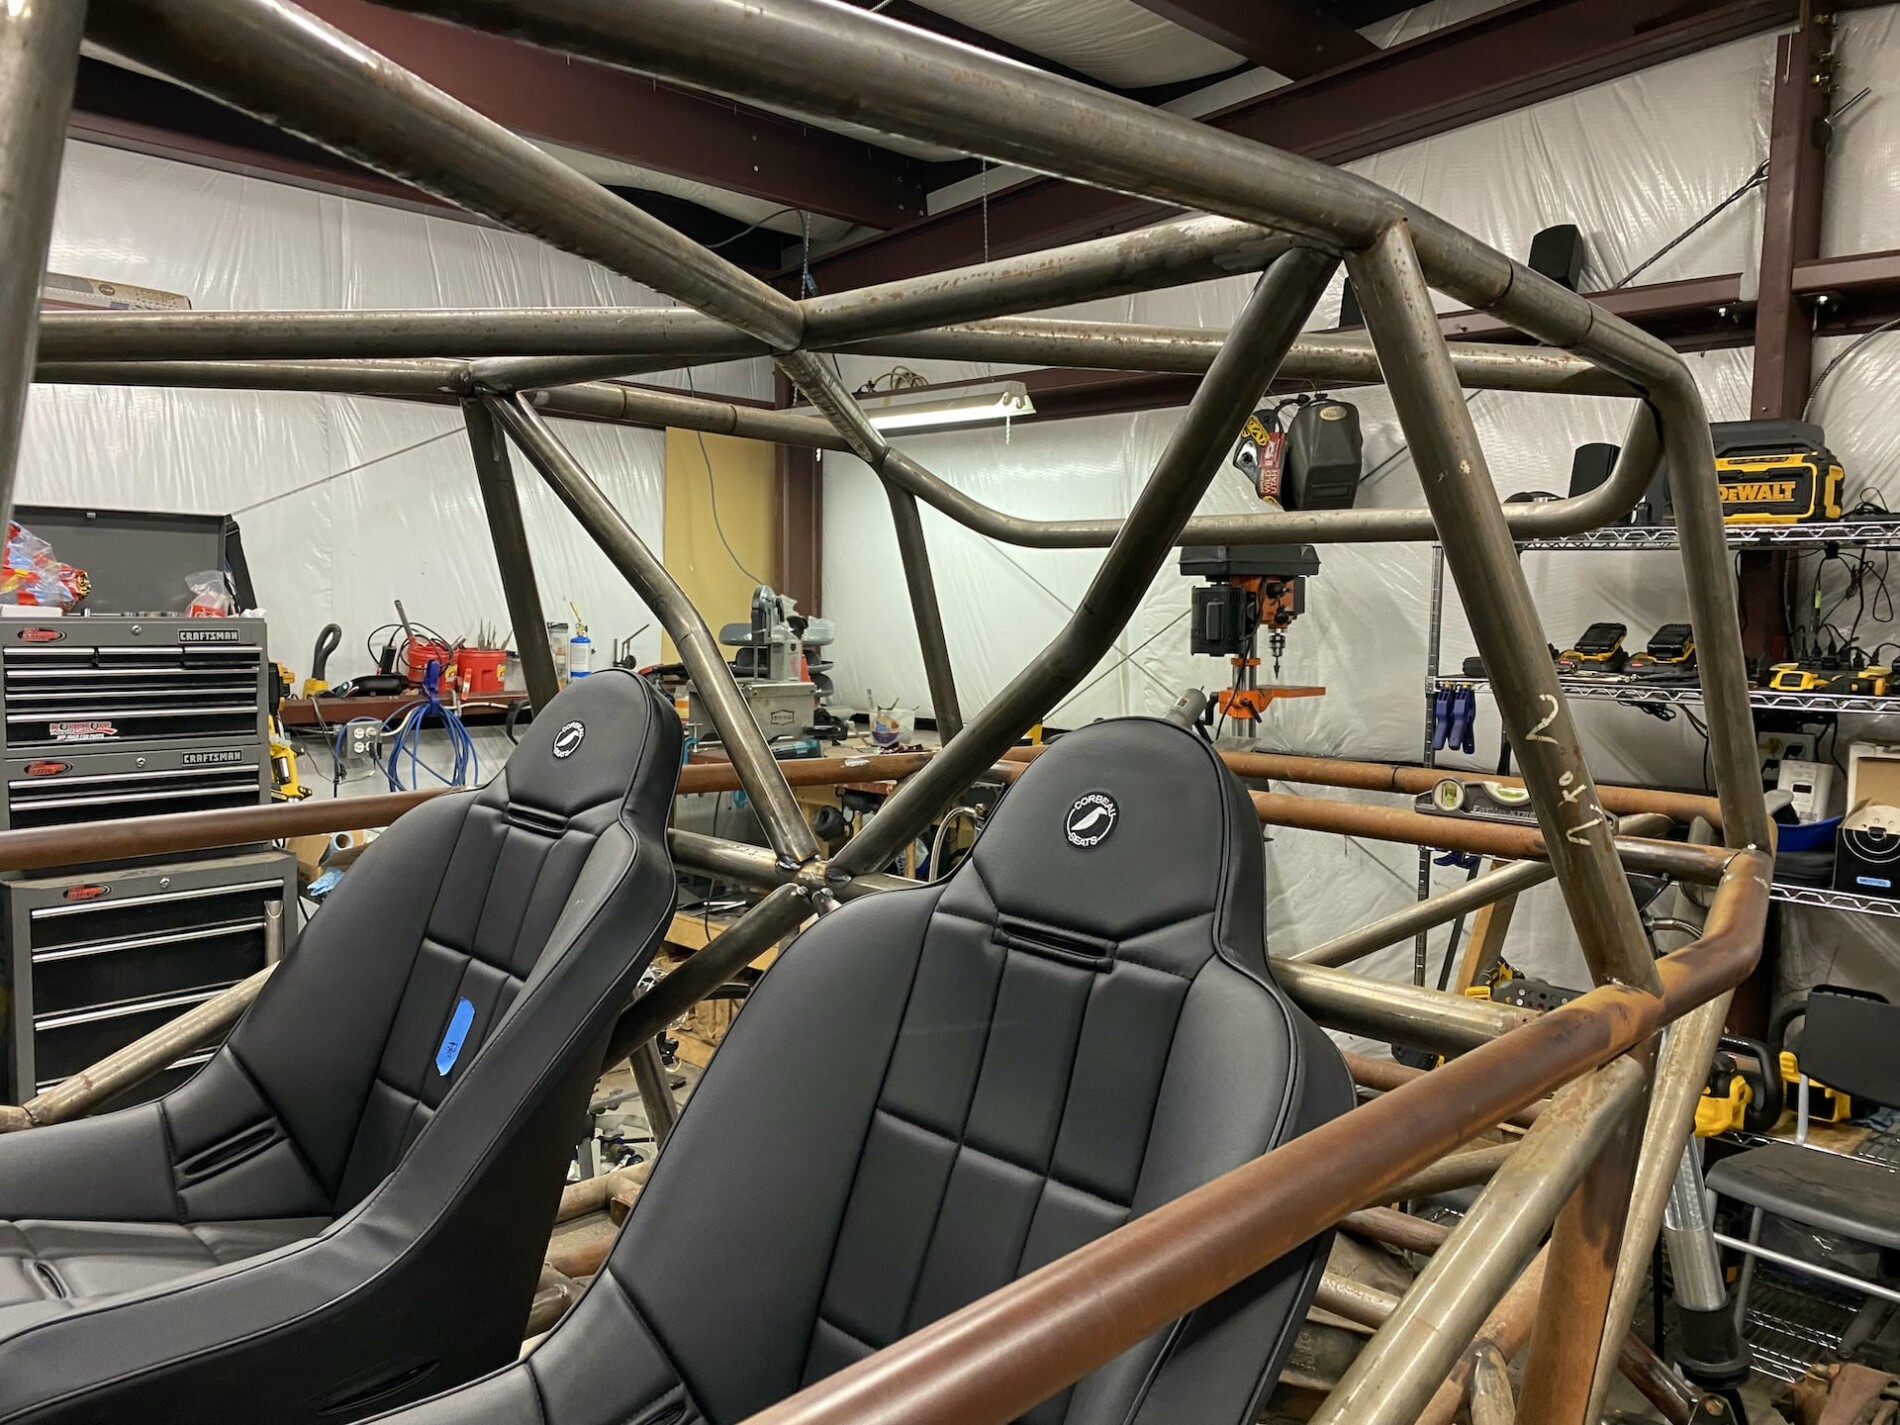
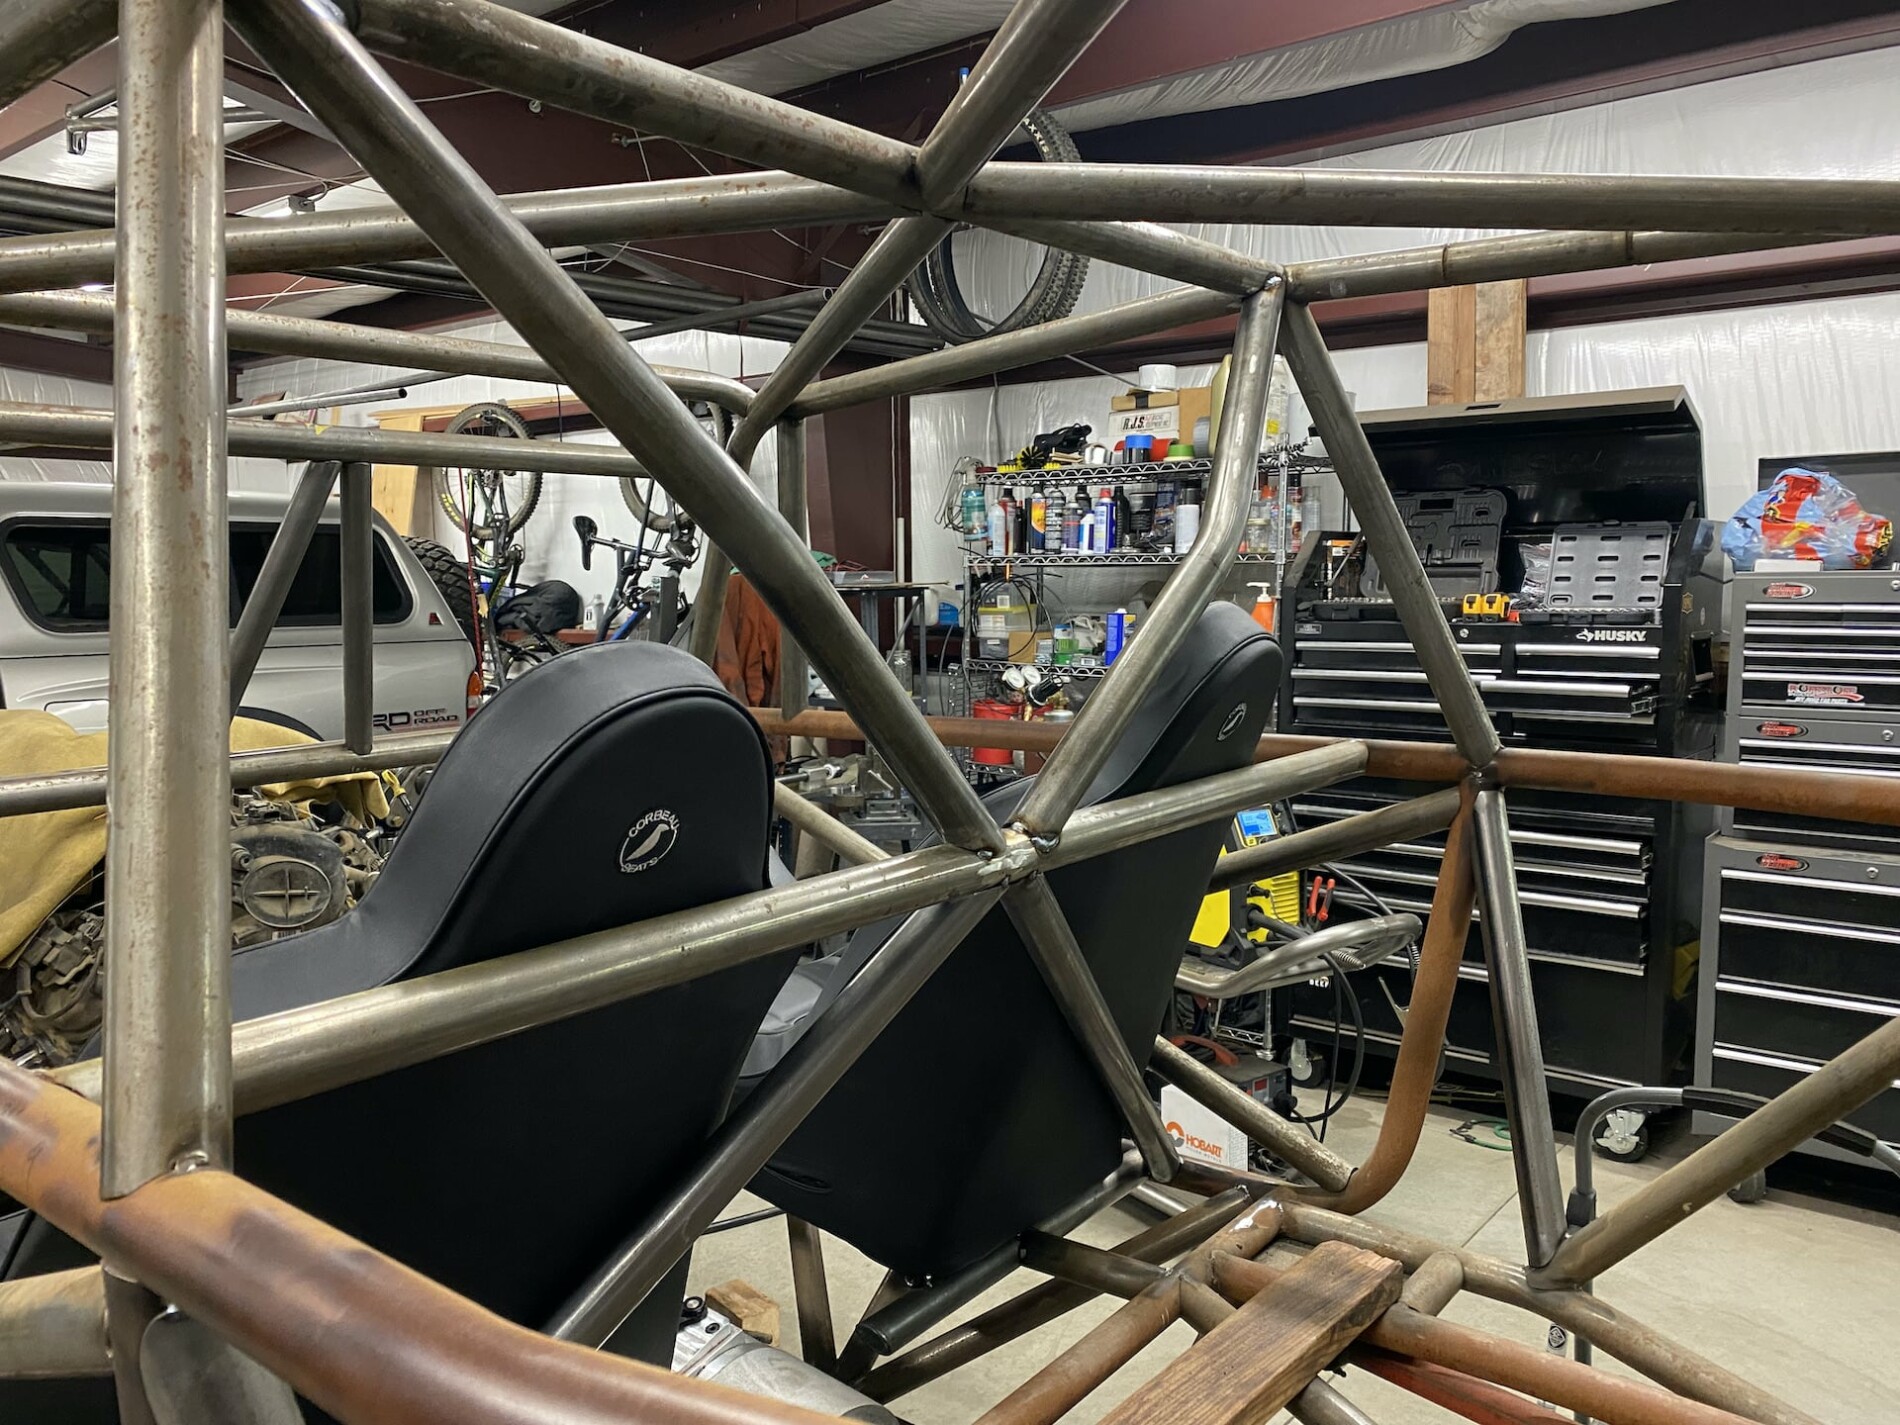
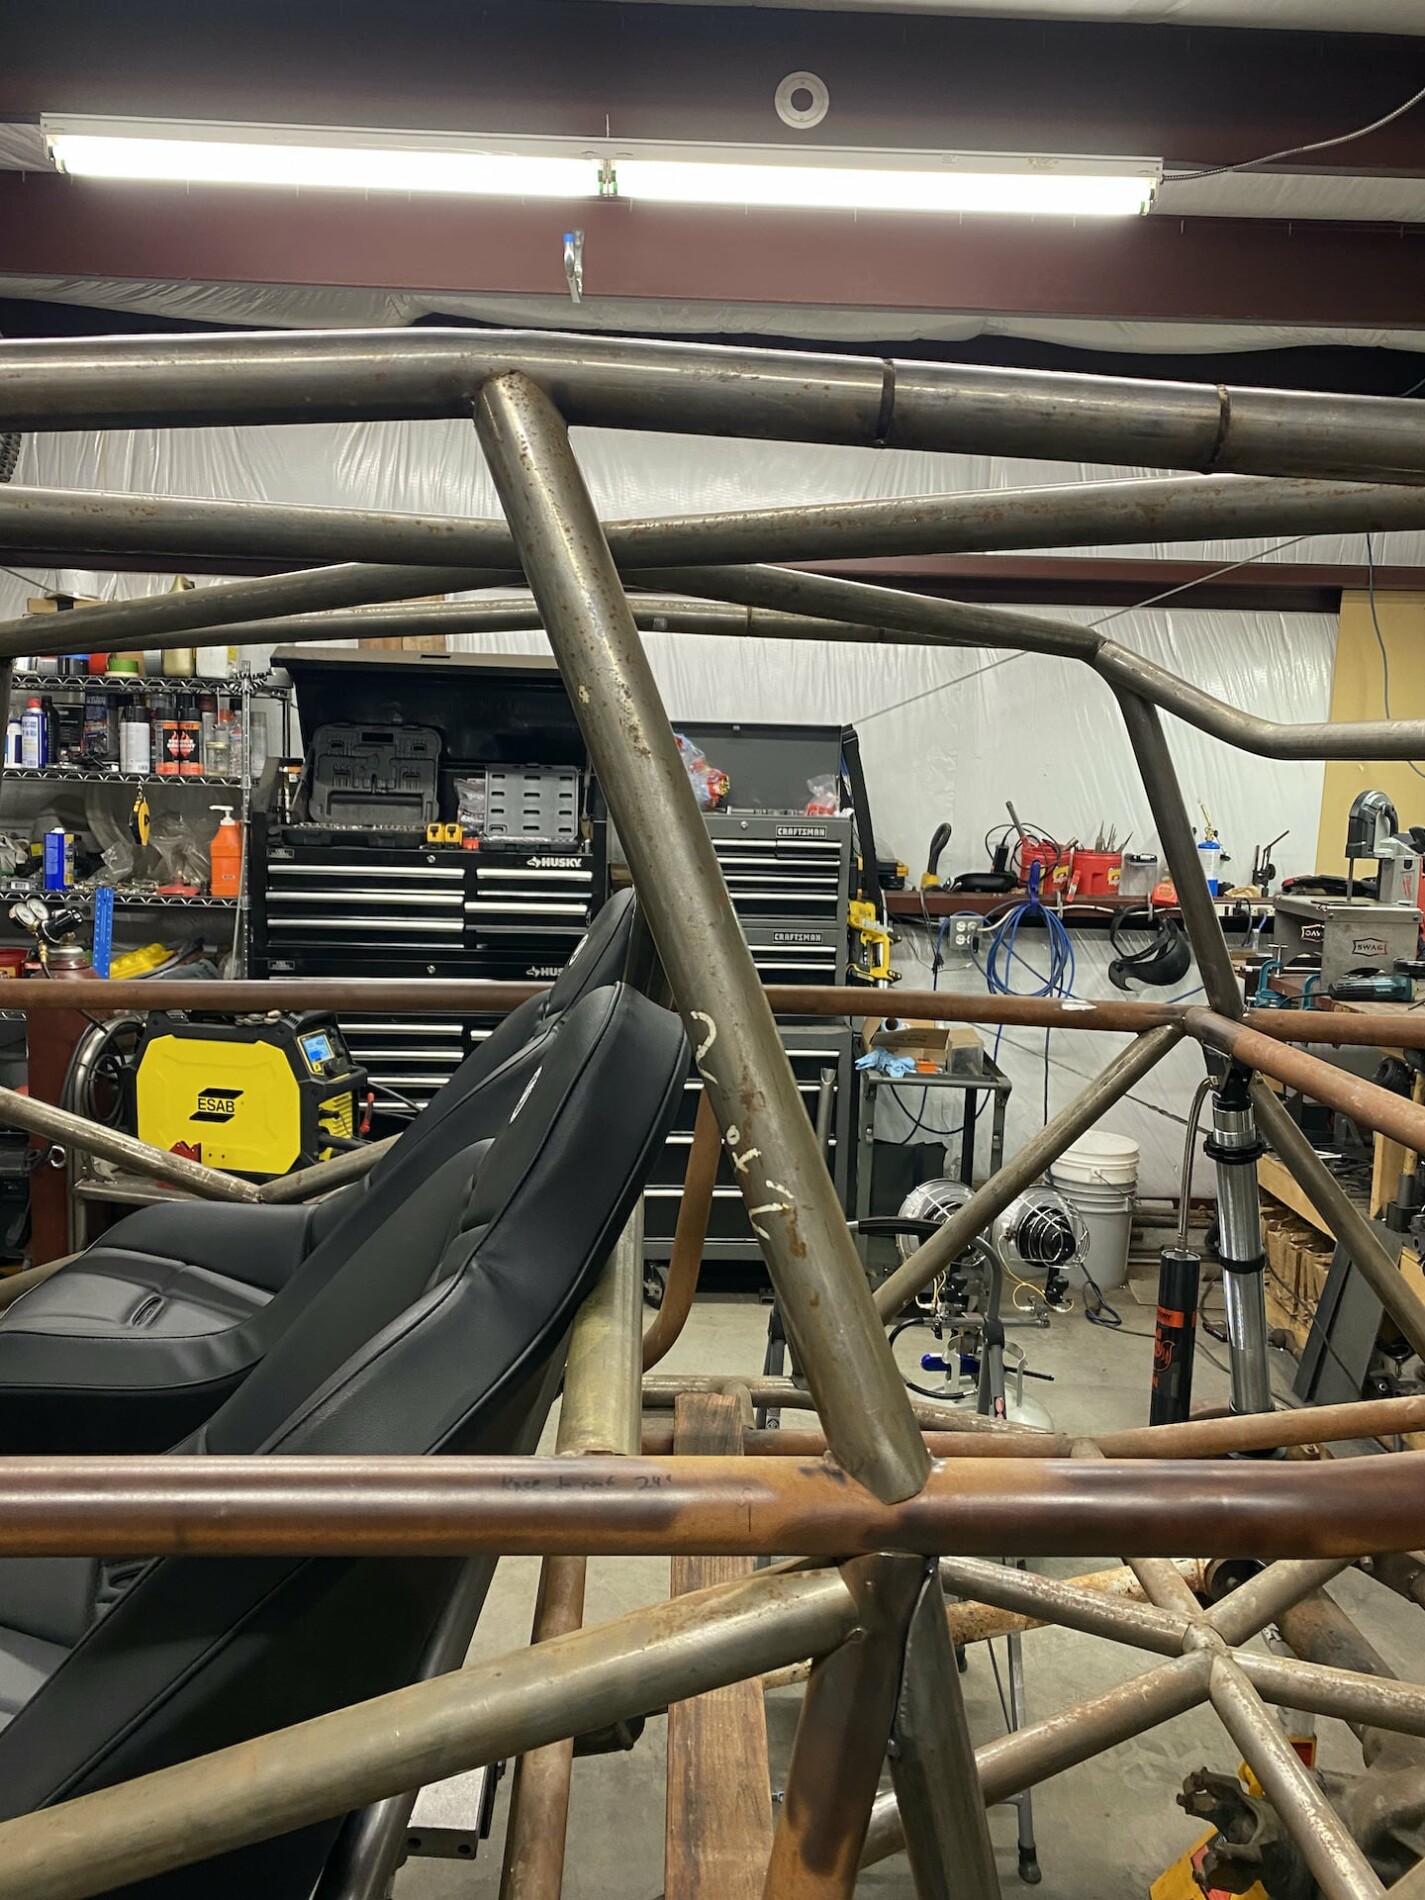
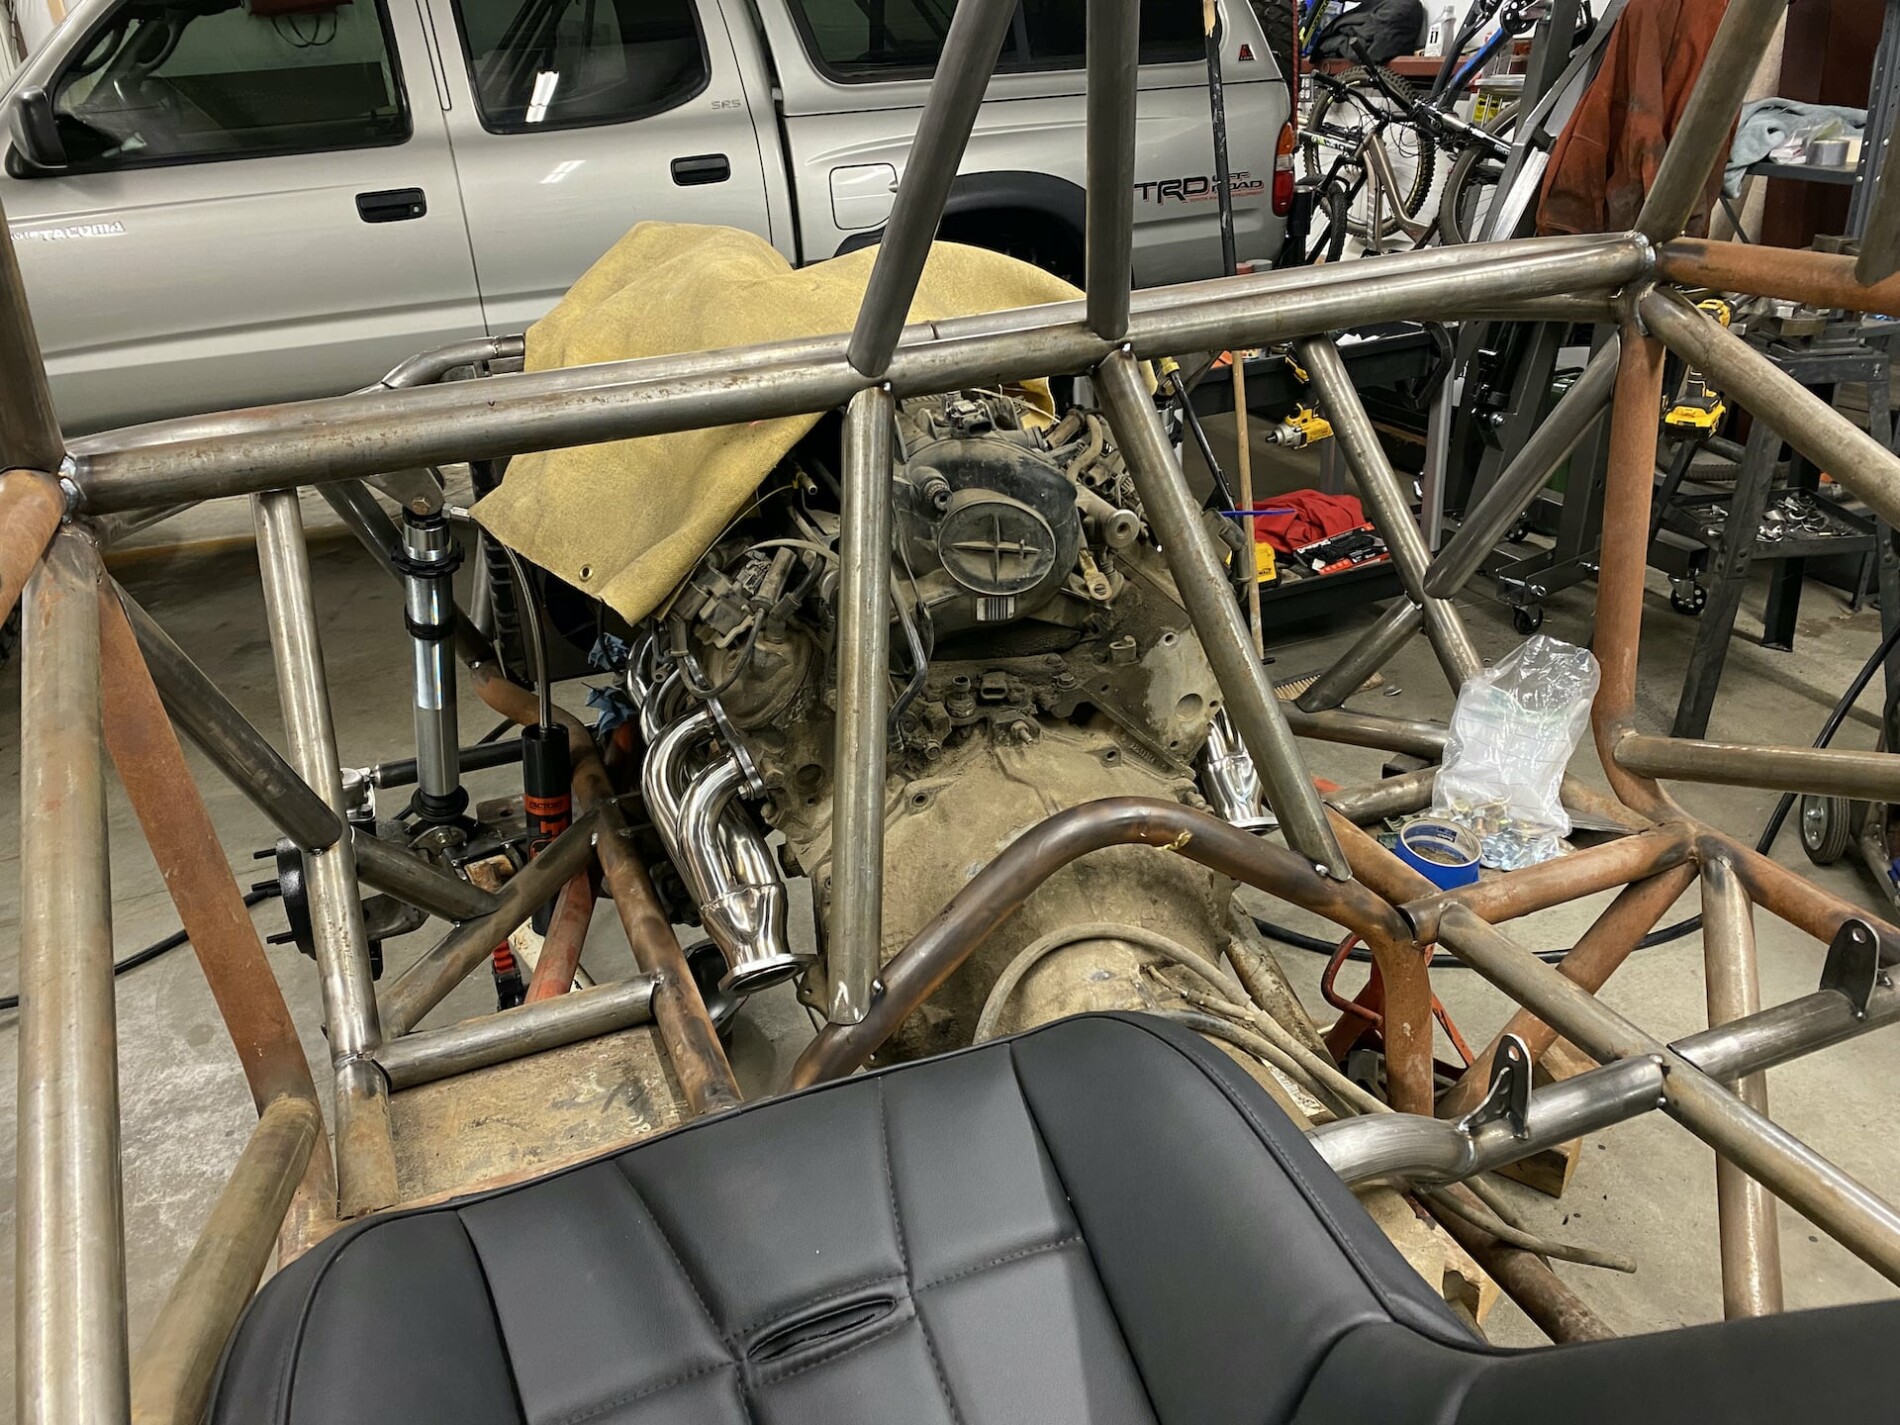
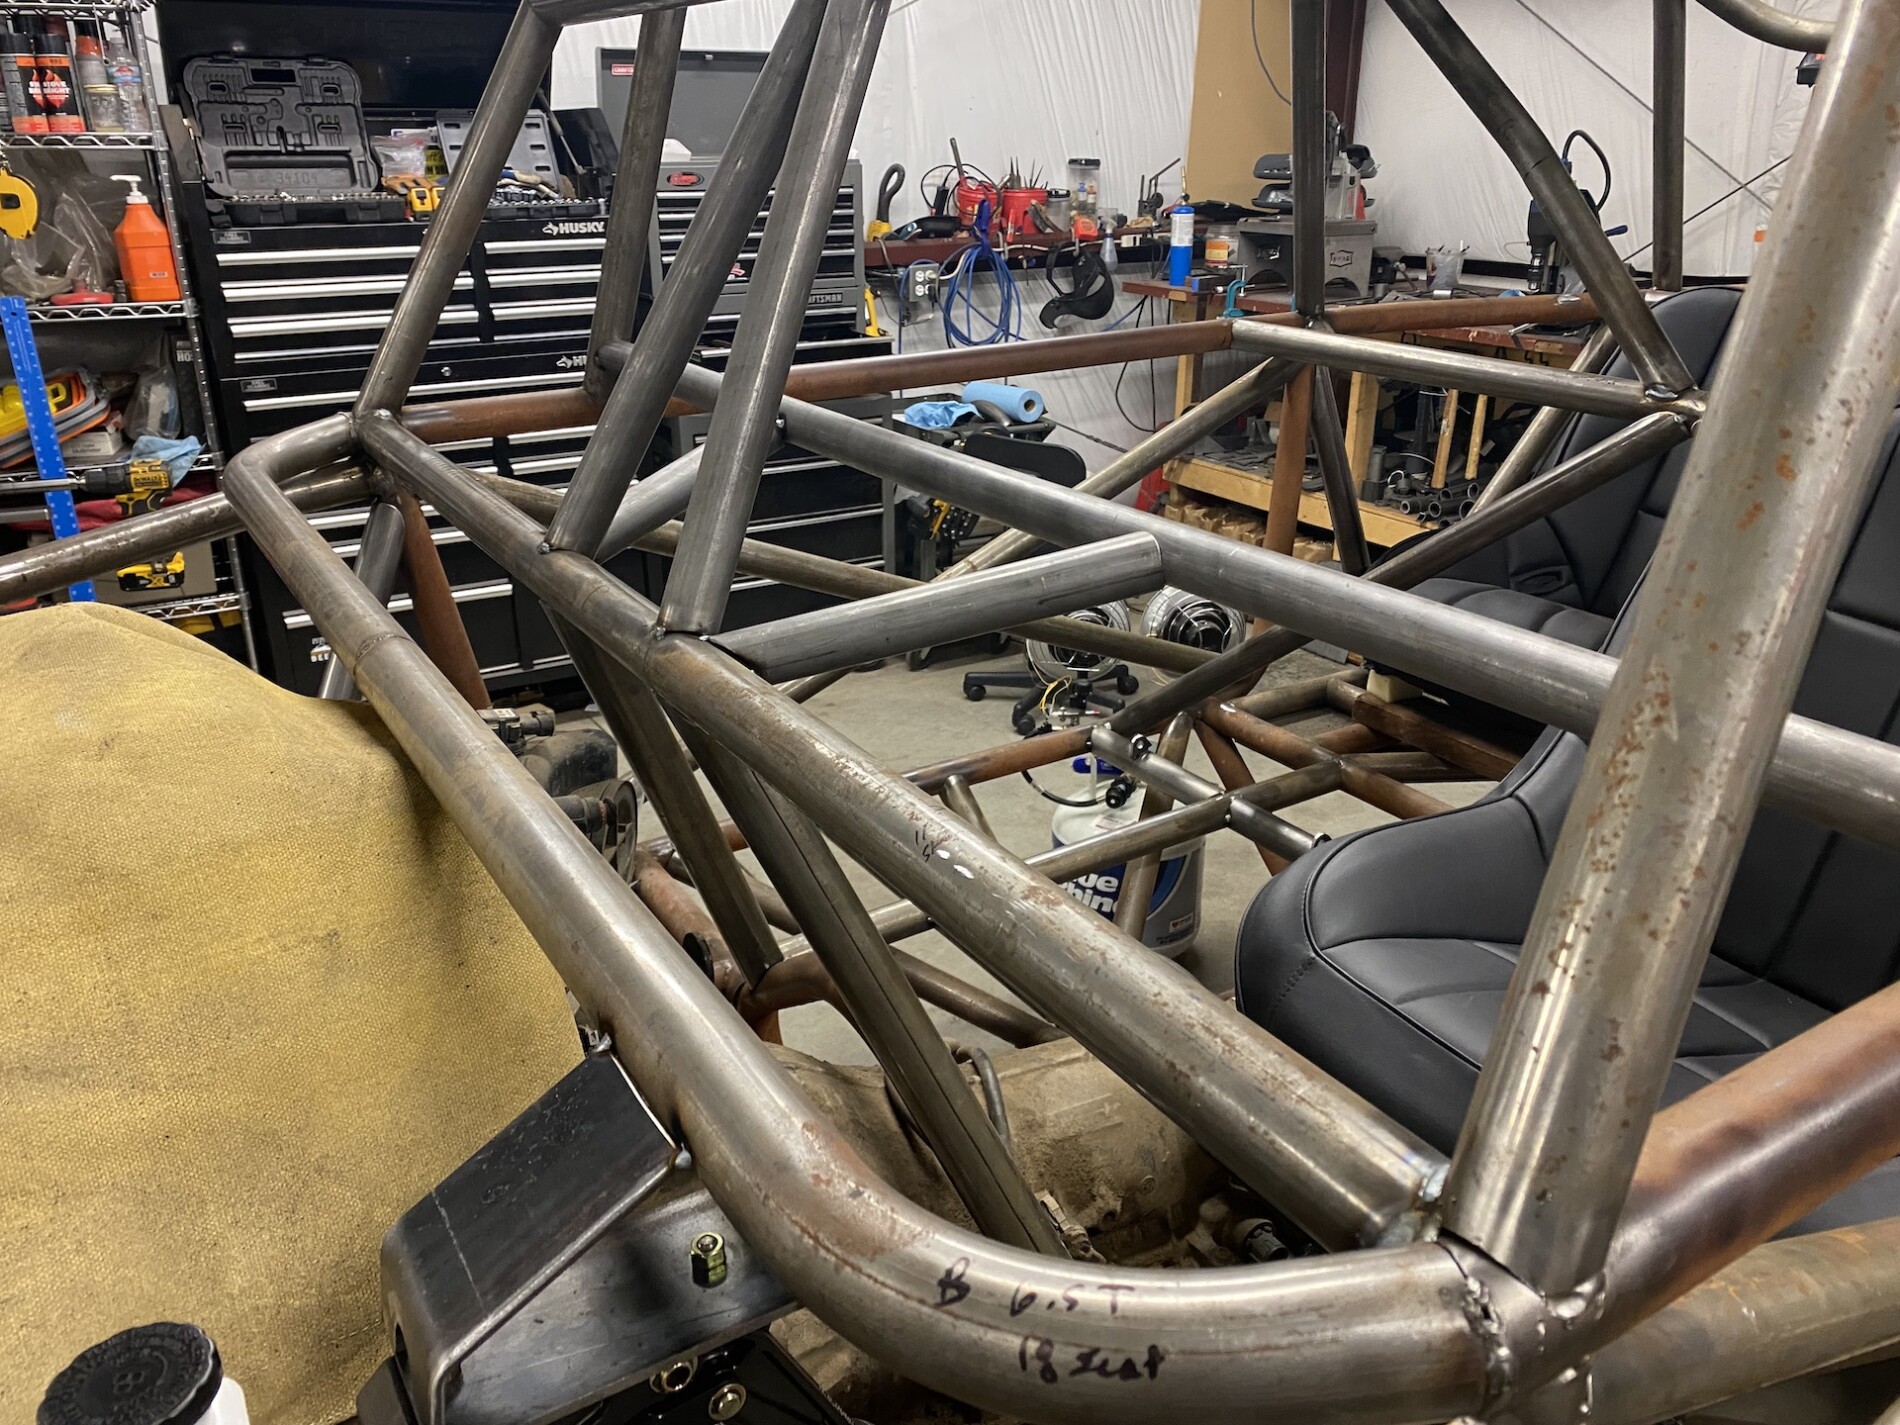
Back to the chassis tubing. In order to get more let room for the back seats, I decided to kick the lower X spreaders forward at the floor. I will be tying them back to the horizontal cross bar with some more tubing at a later time to help create a stronger node.

btBK.jpg


d87Z.jpg


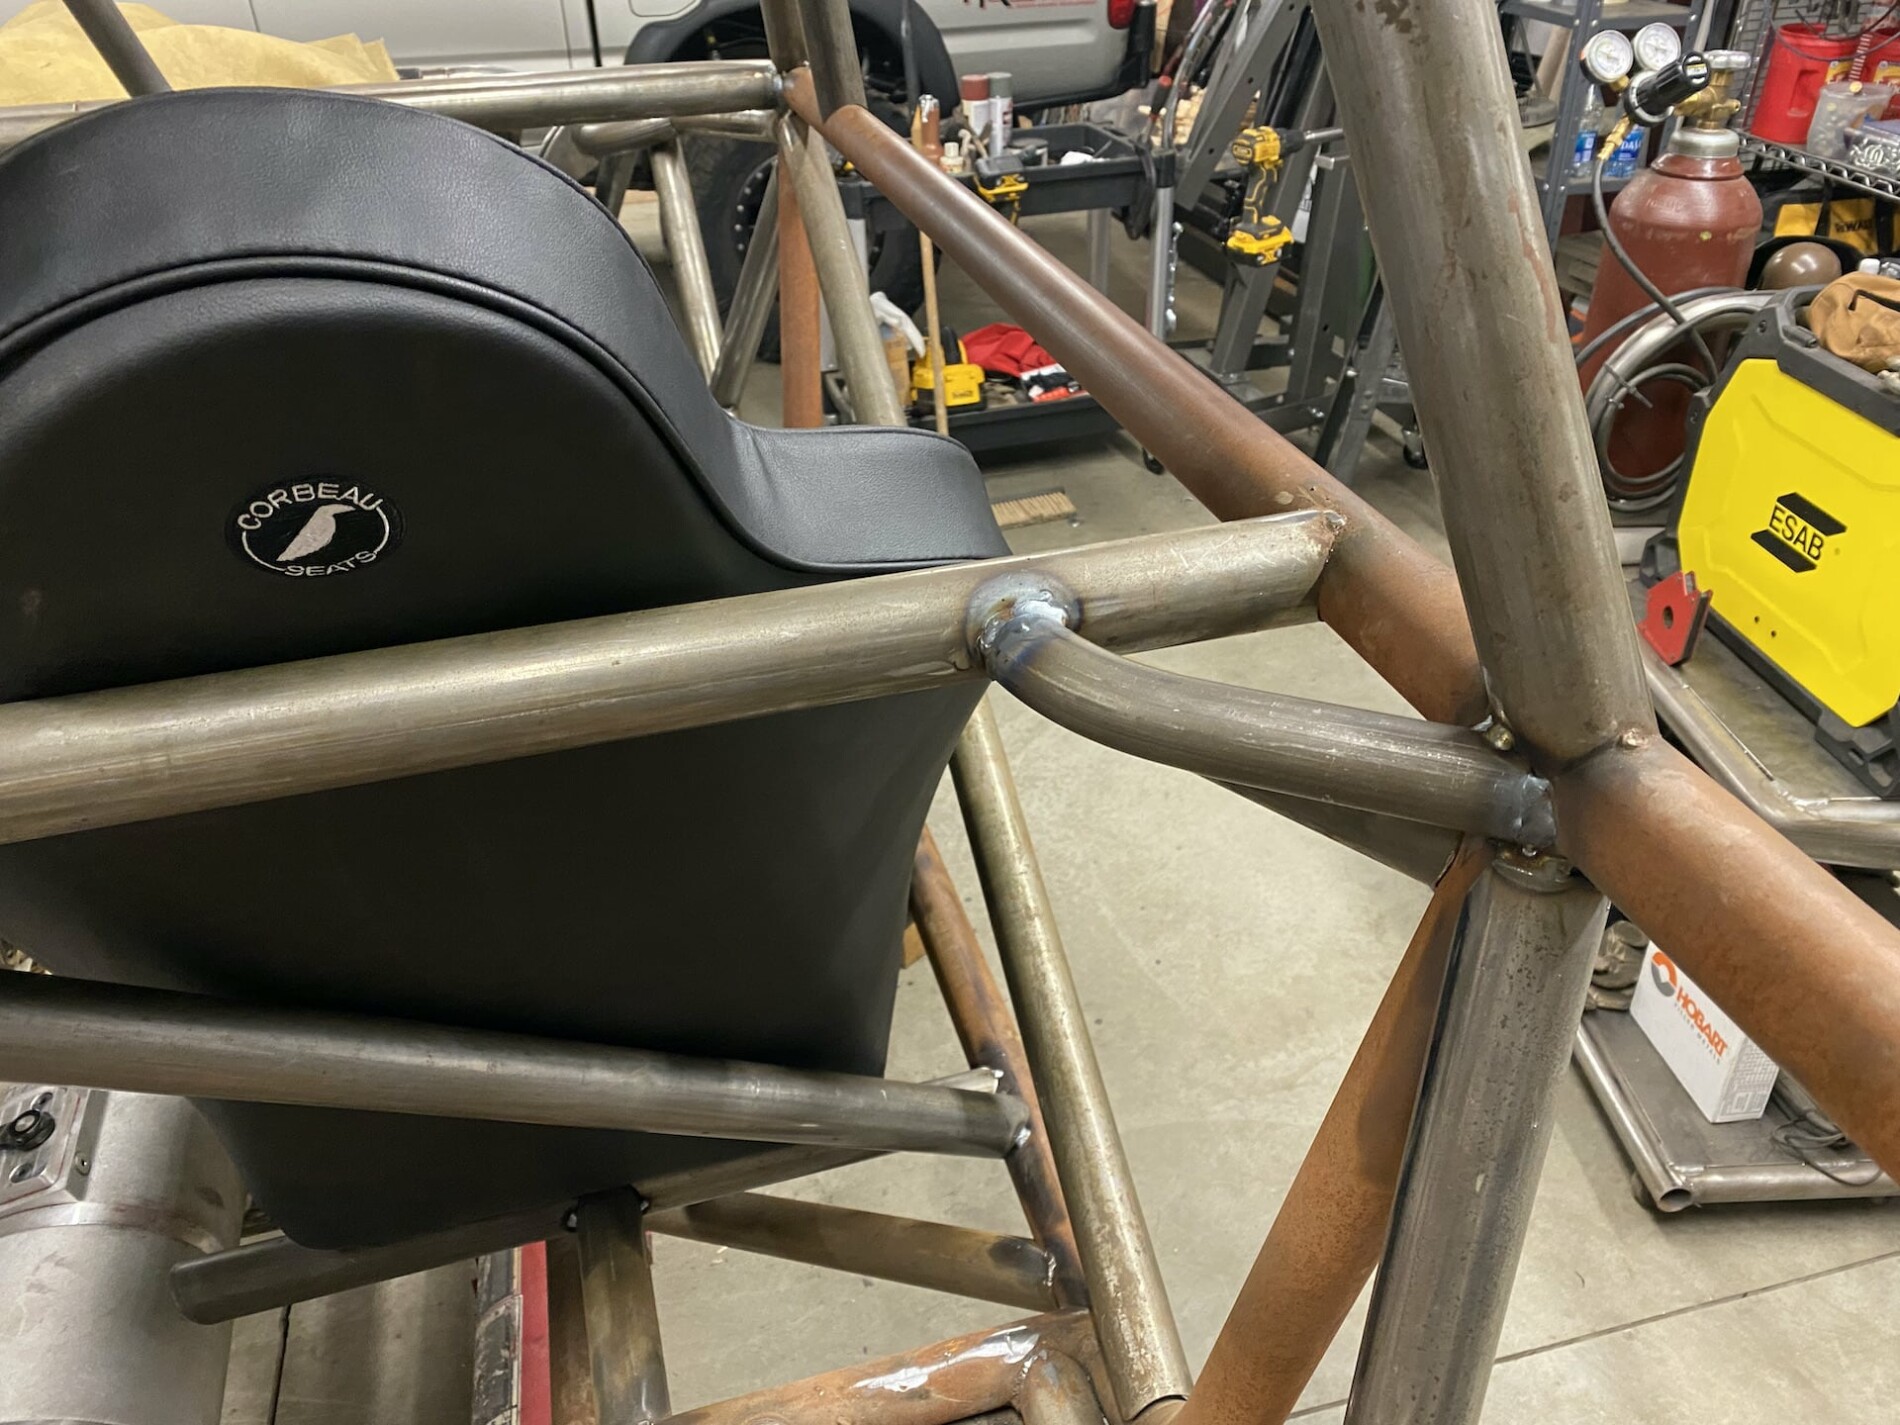
Then I added a kick in the upper X bars for better head room. The cool thing is that it now blends in from the side with the old B pillars. I think kit looks weird in the photos but in person it looks pretty damn good. :cool:


d2qM.jpg


dPaz.jpg


dZA8.jpg


da9r.jpg


Staring to build out the dash to transmission tunnel

dftH.jpg


Added a back seat grab handle that doubles as a tie-in.

dnQS.jpg
 

Herzog

somewhat damaged
Admin
Location
Wydaho
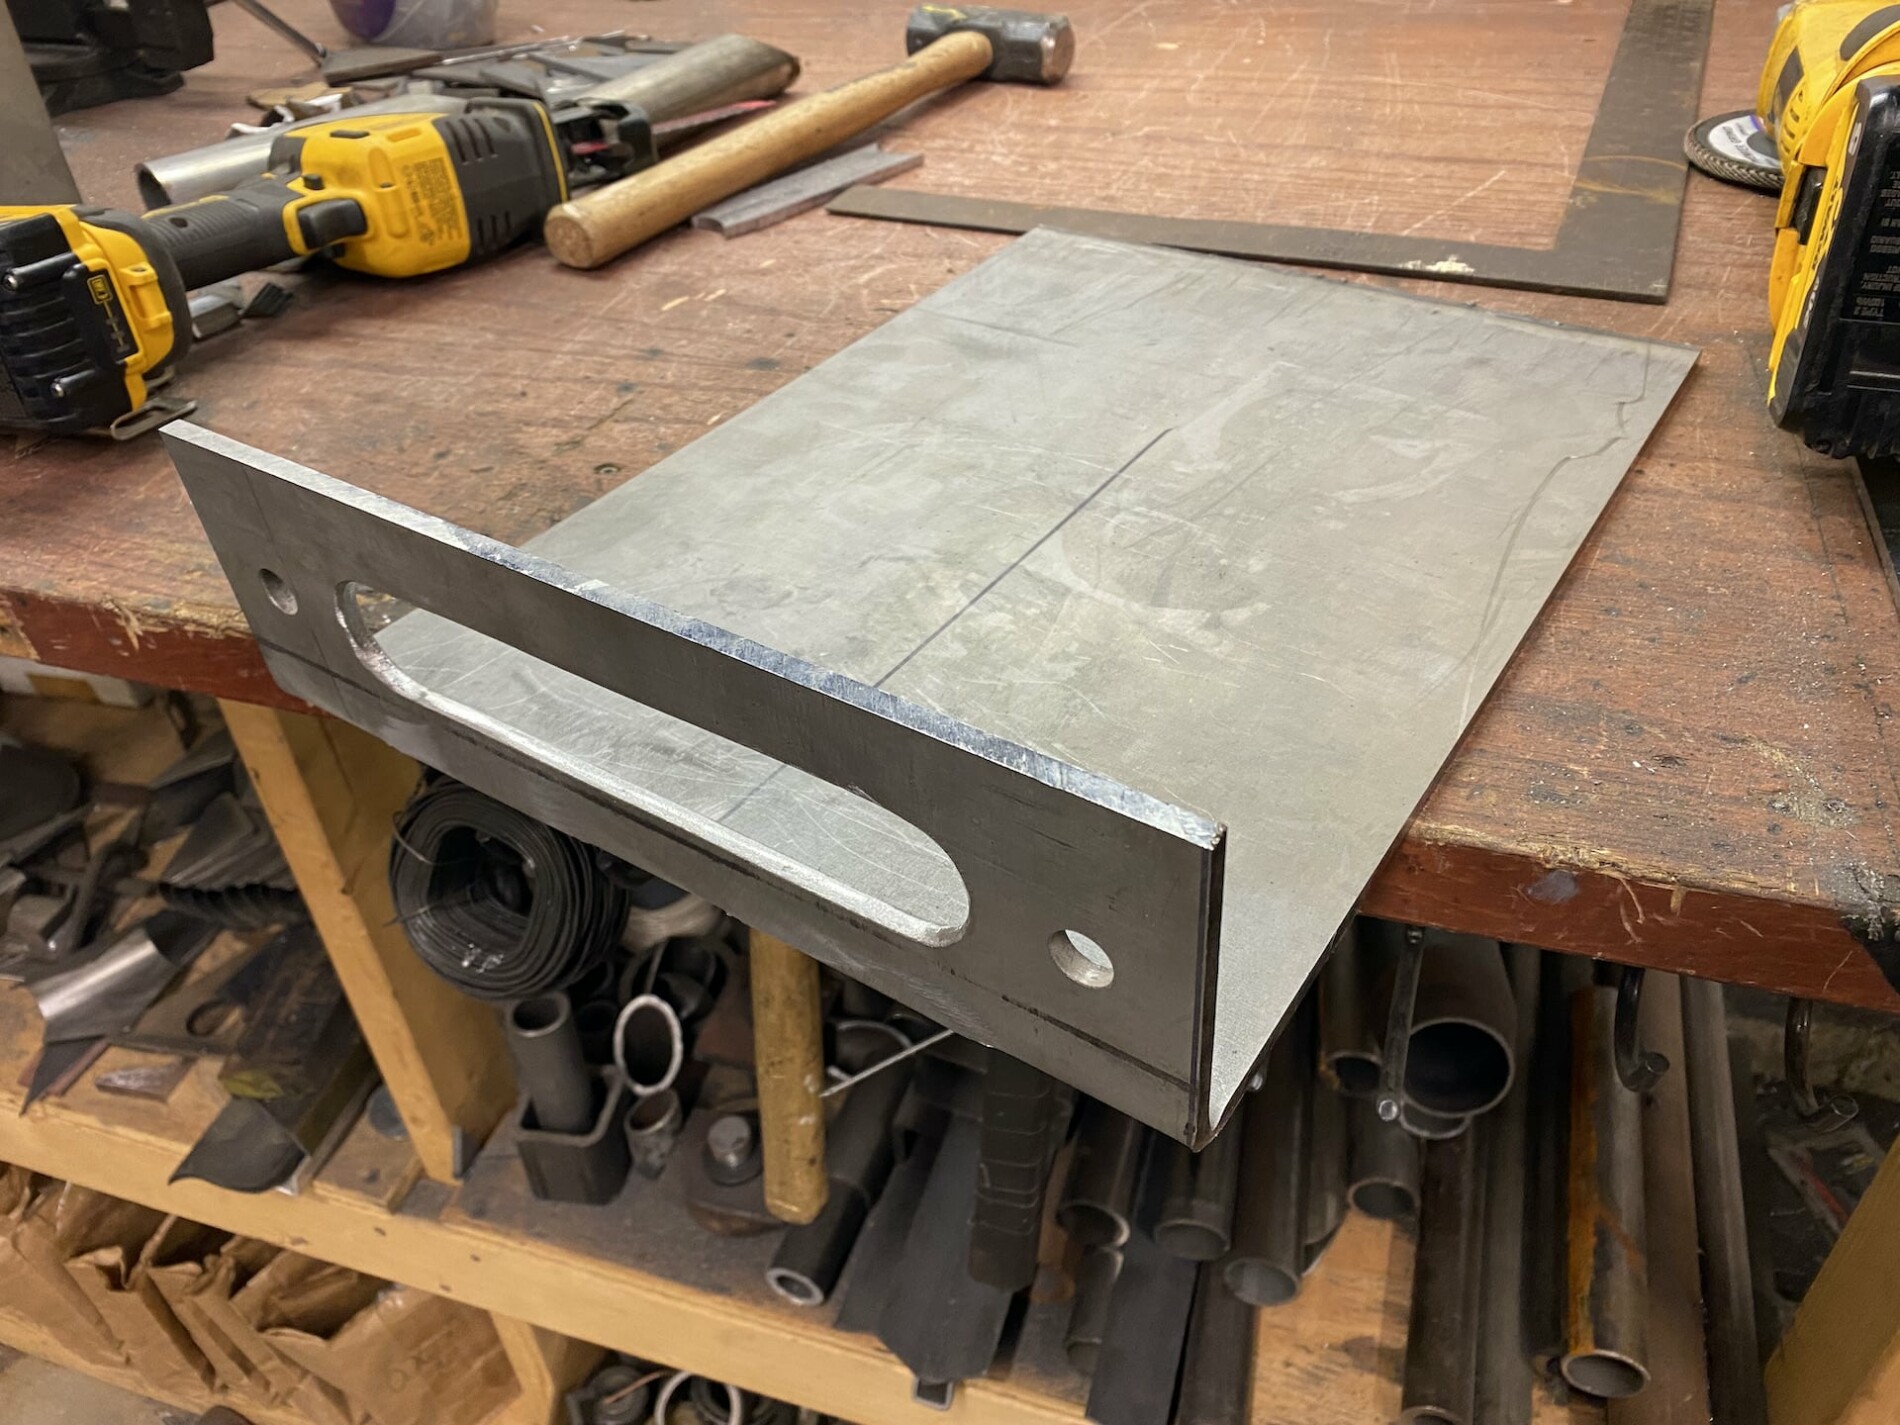
Next up was mounting the hydro ram. The owner of the buggy has a nice mag drill that he brought up one night and we knocked a couple holes out of this 1" plate. After seeing it cut through that so easily I had to get my own magdrill soon after!

dXBw.jpg


d0x5.jpg


do7L.jpg


d5y0.jpg


dCa1.jpg


dQAc.jpg


dHJf.jpg
 

Herzog

somewhat damaged
Admin
Location
Wydaho
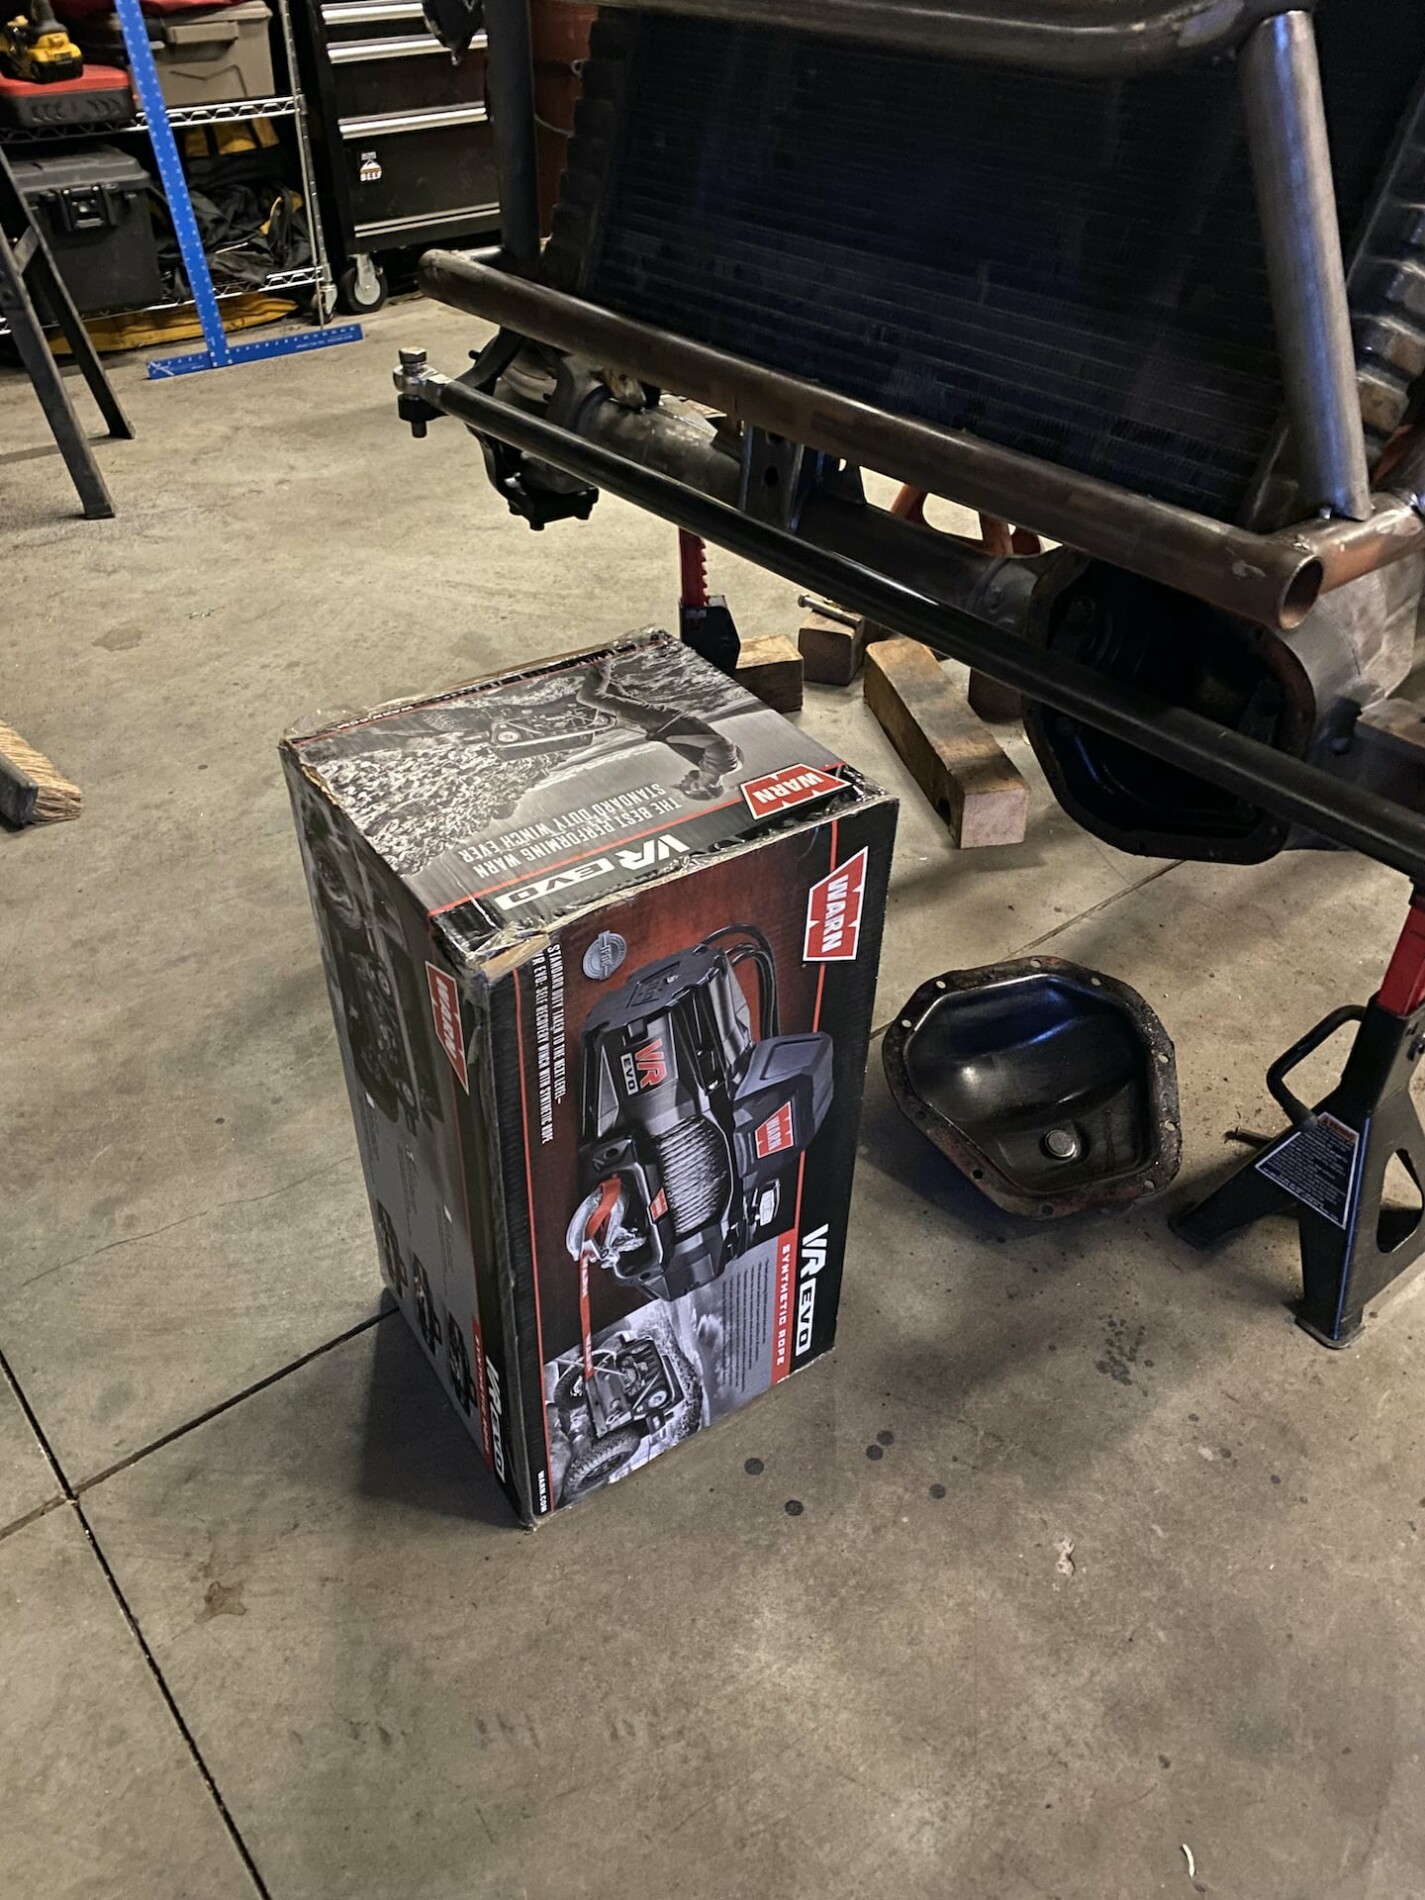
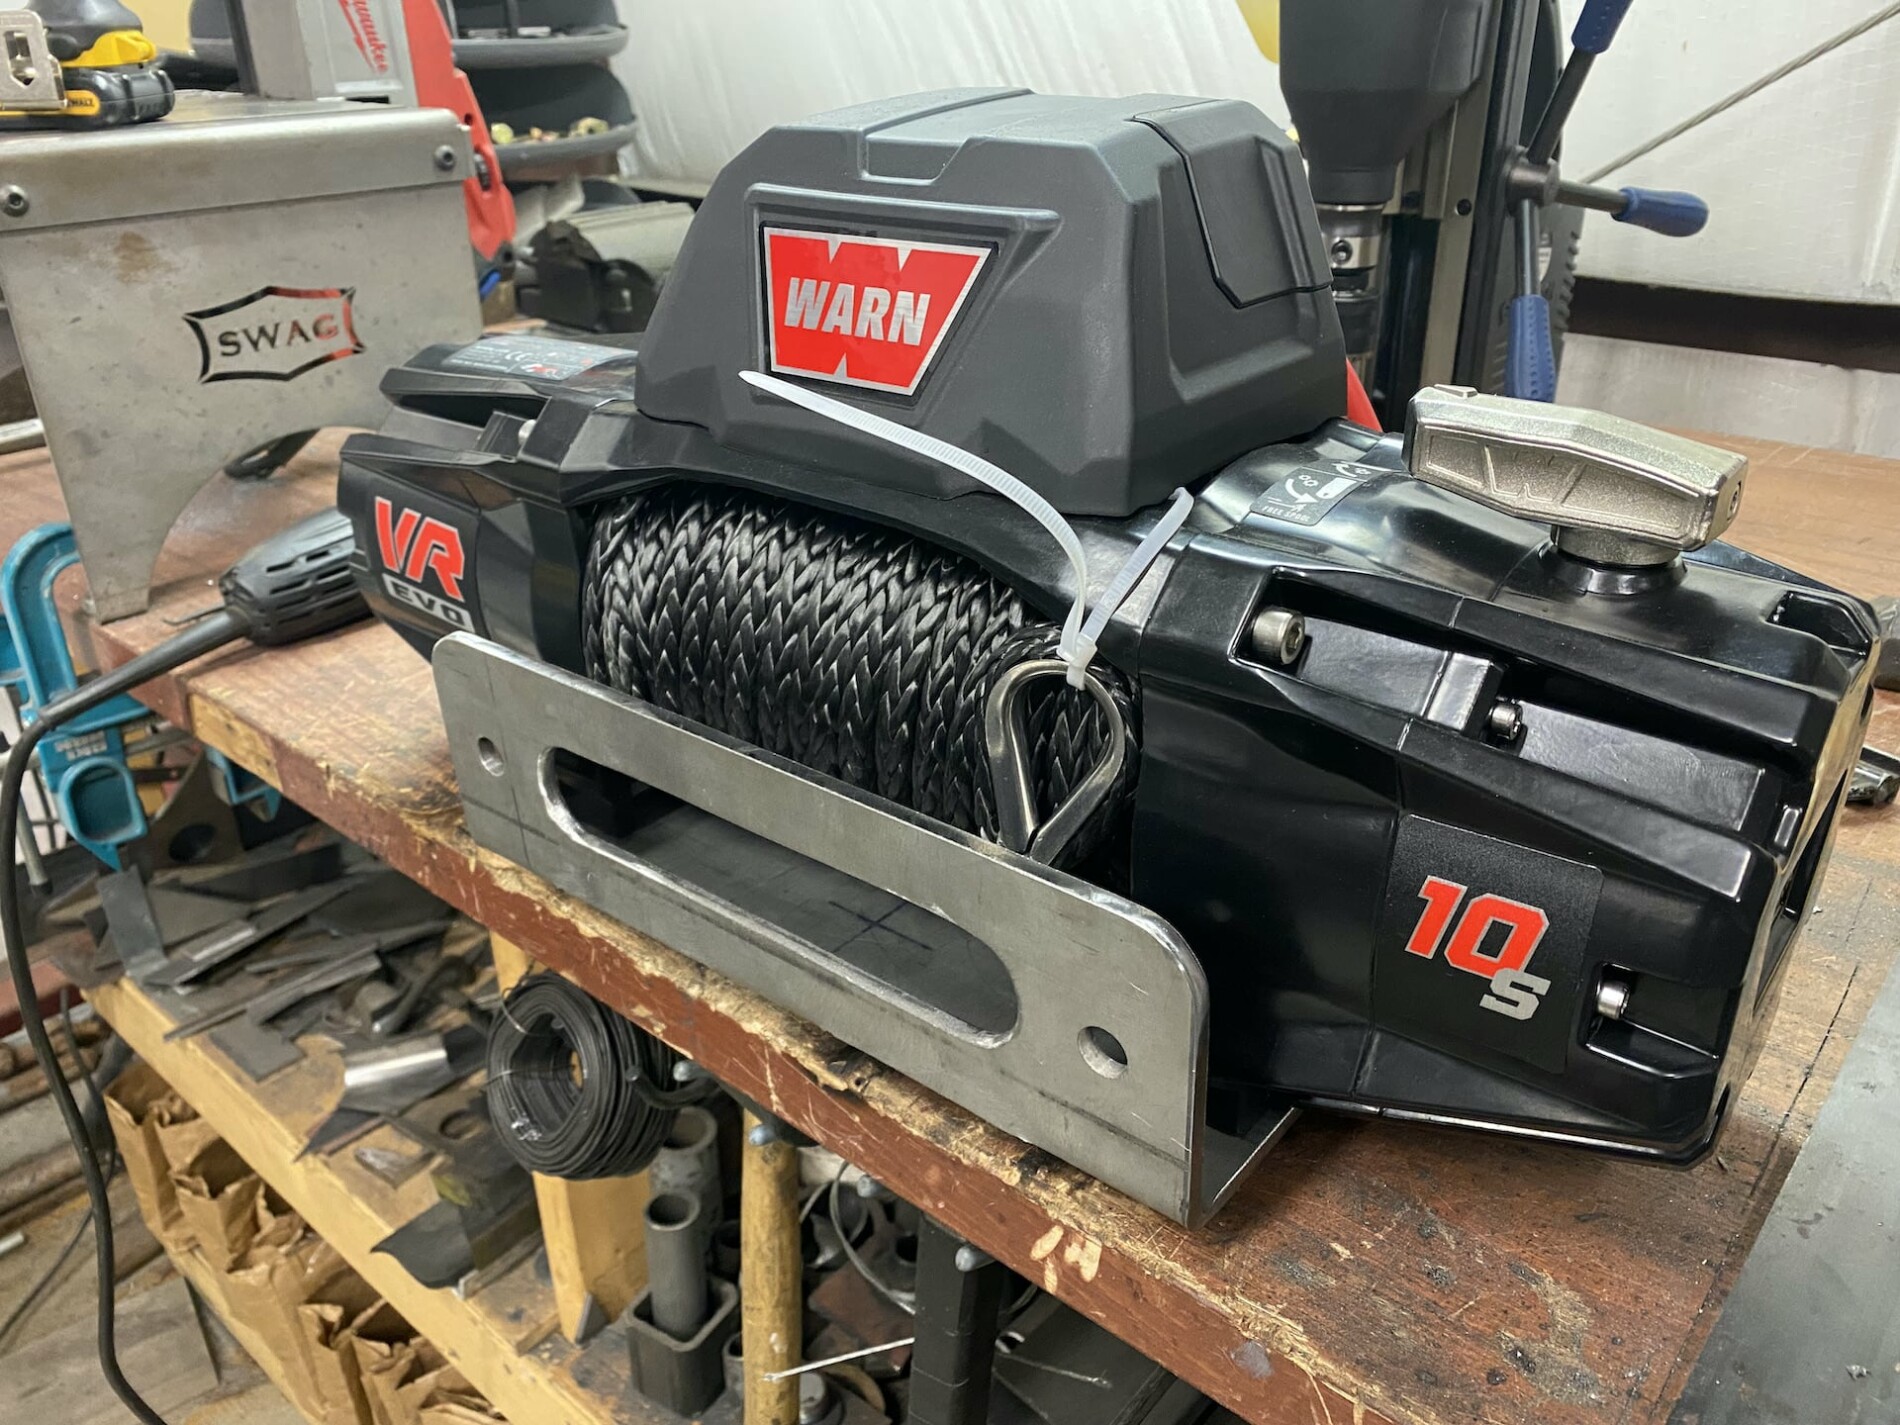
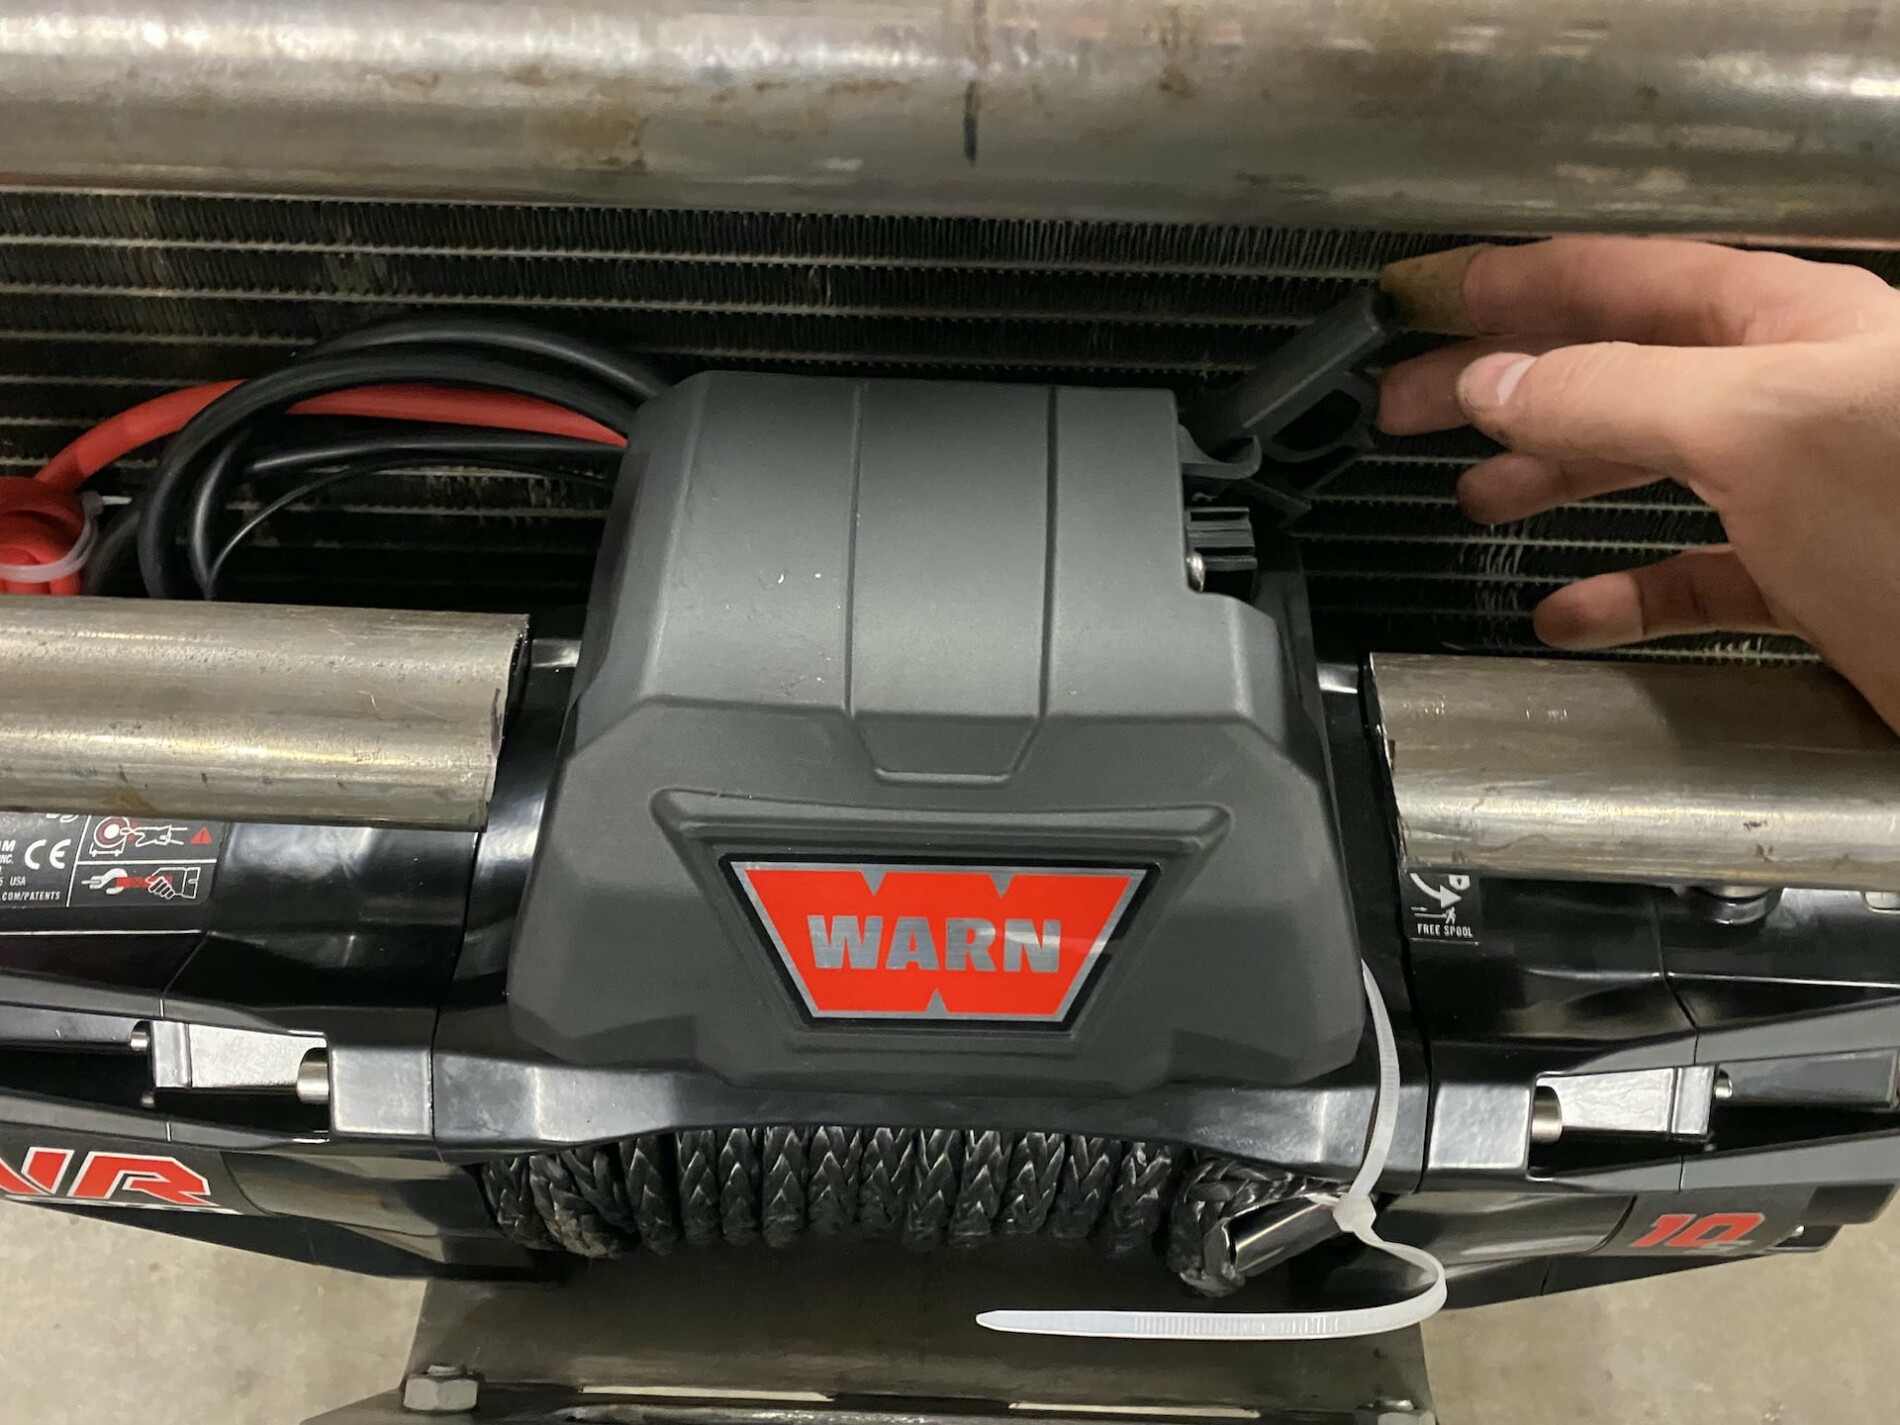
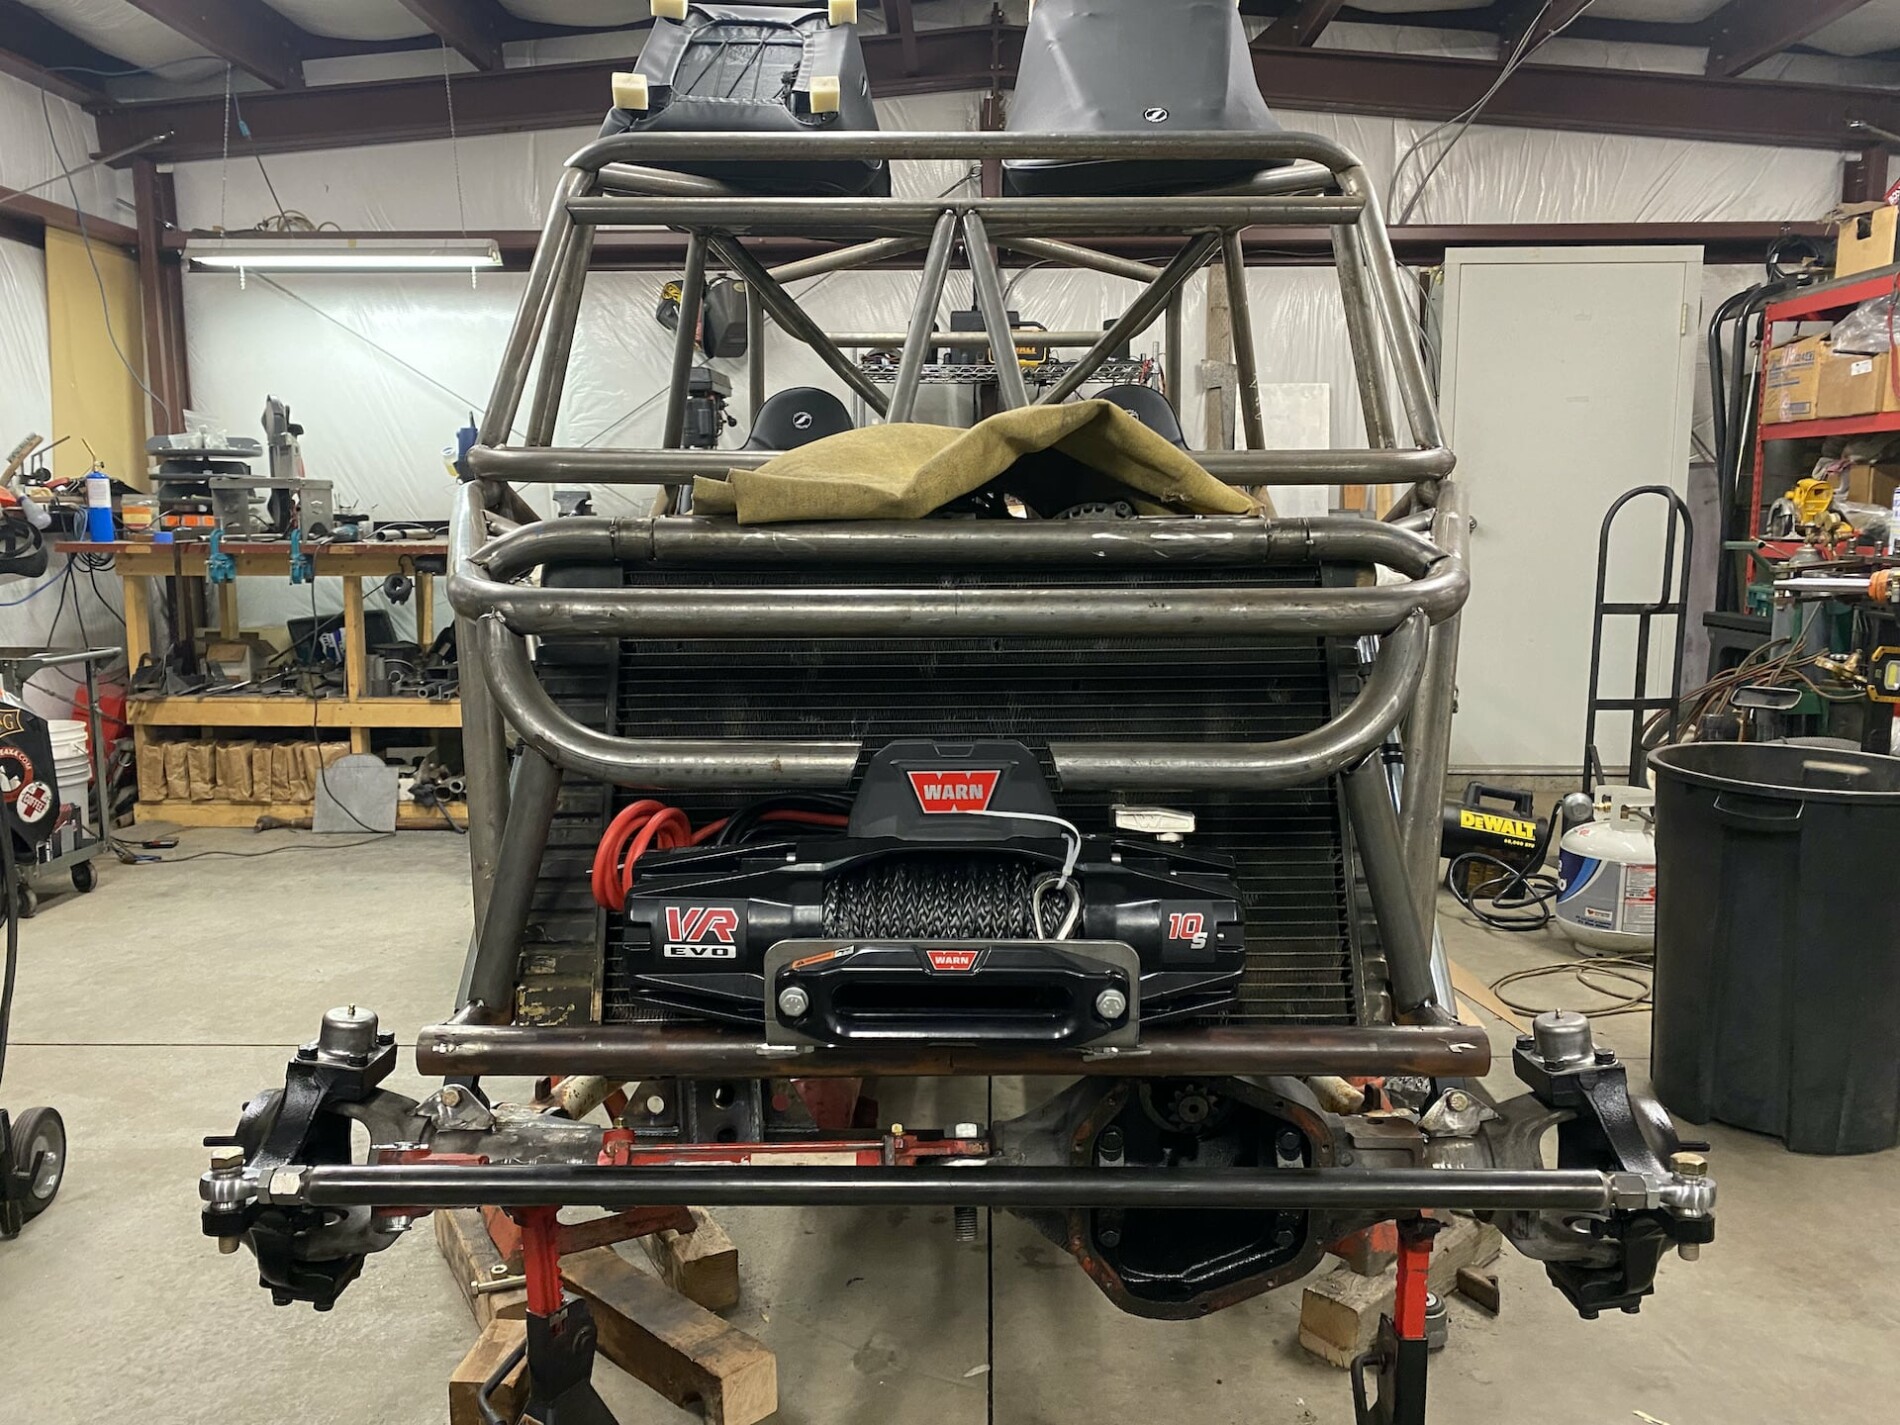
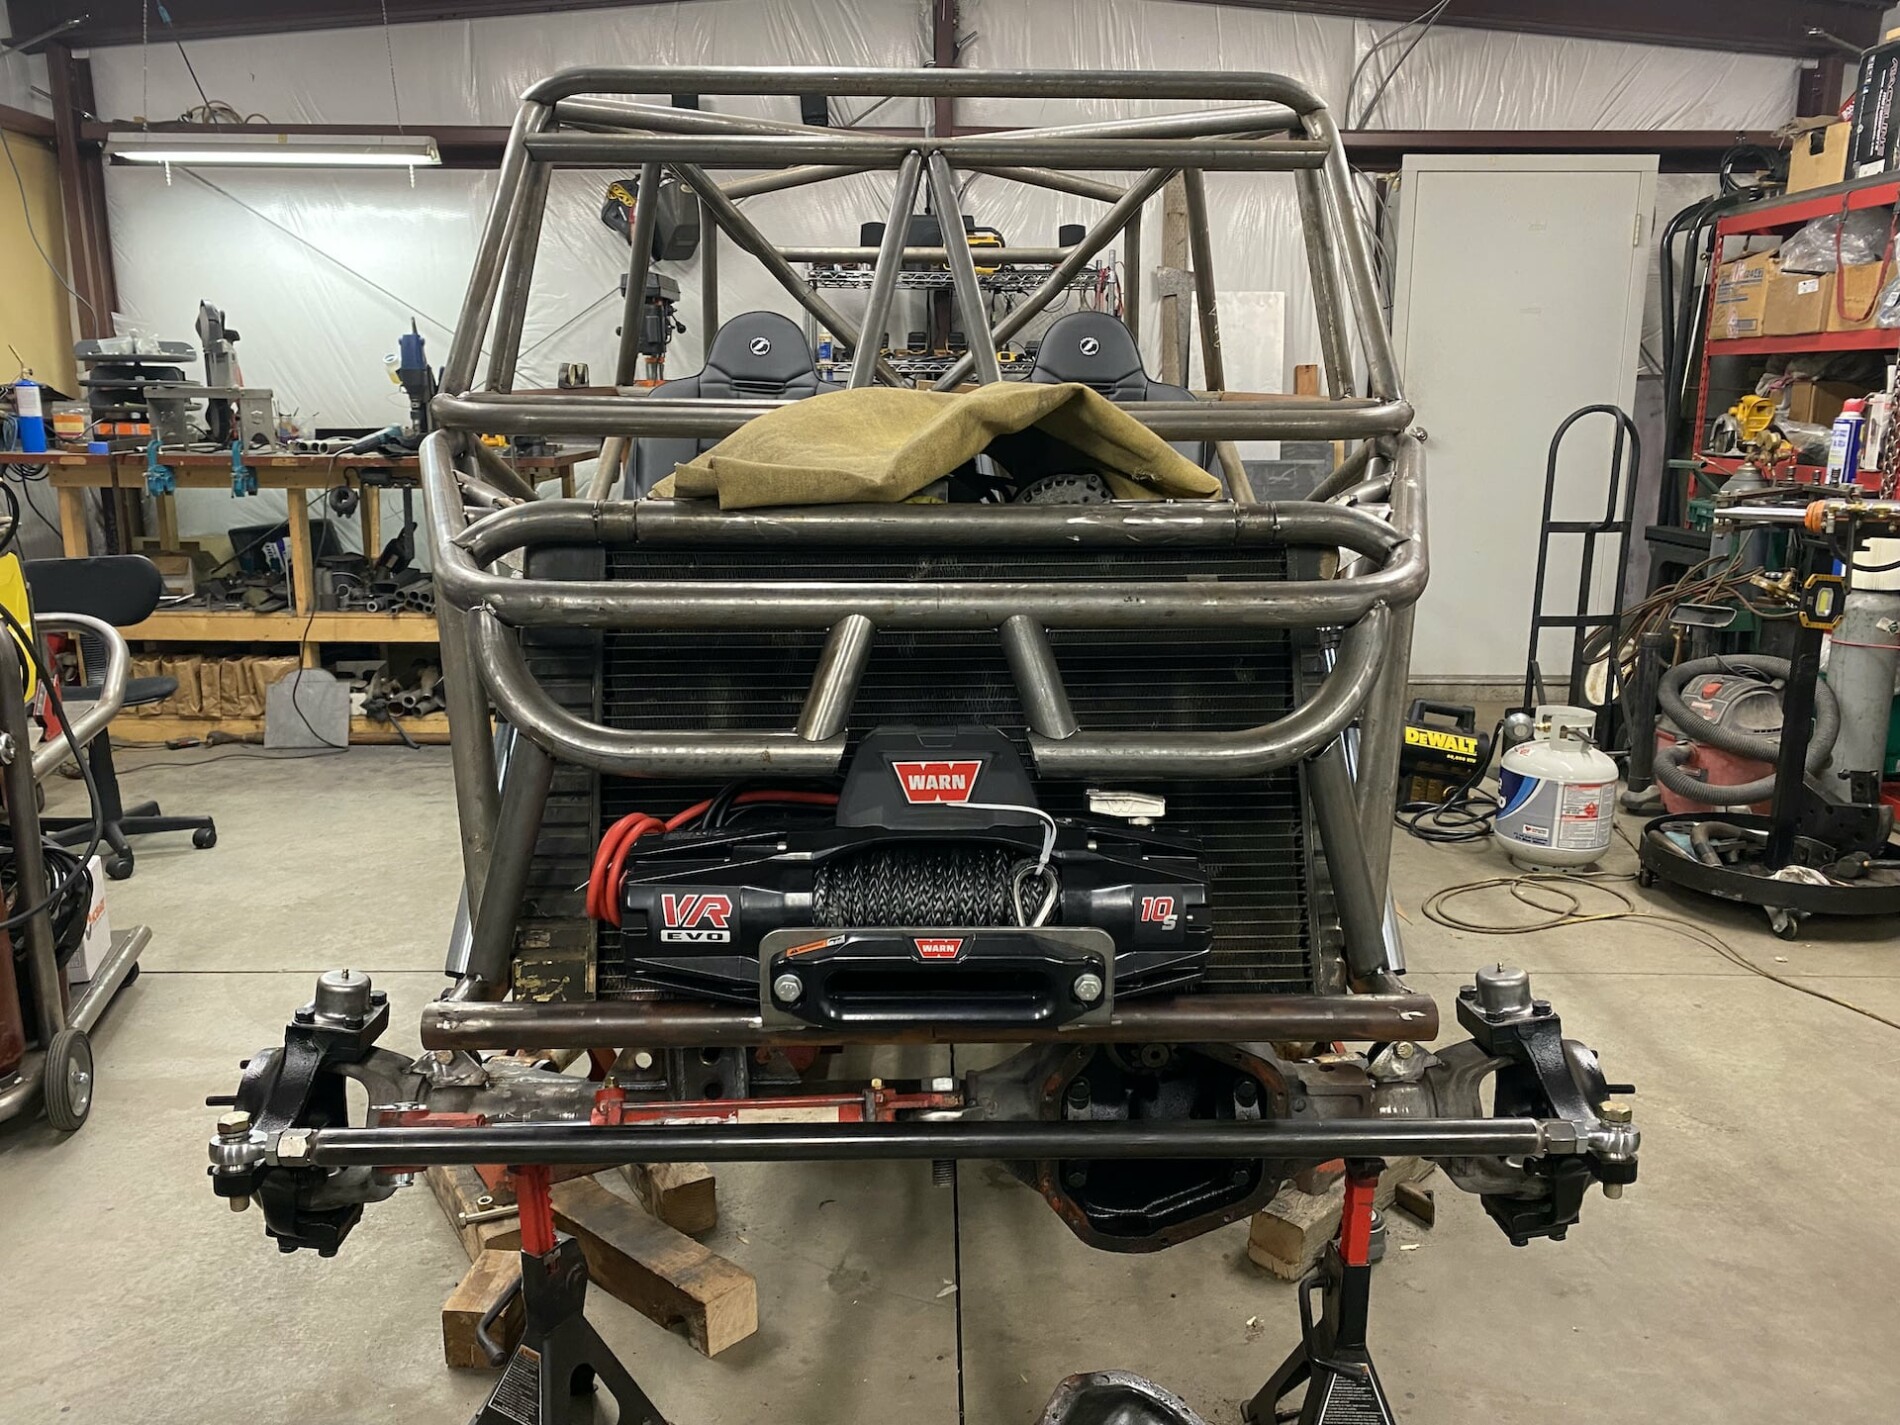
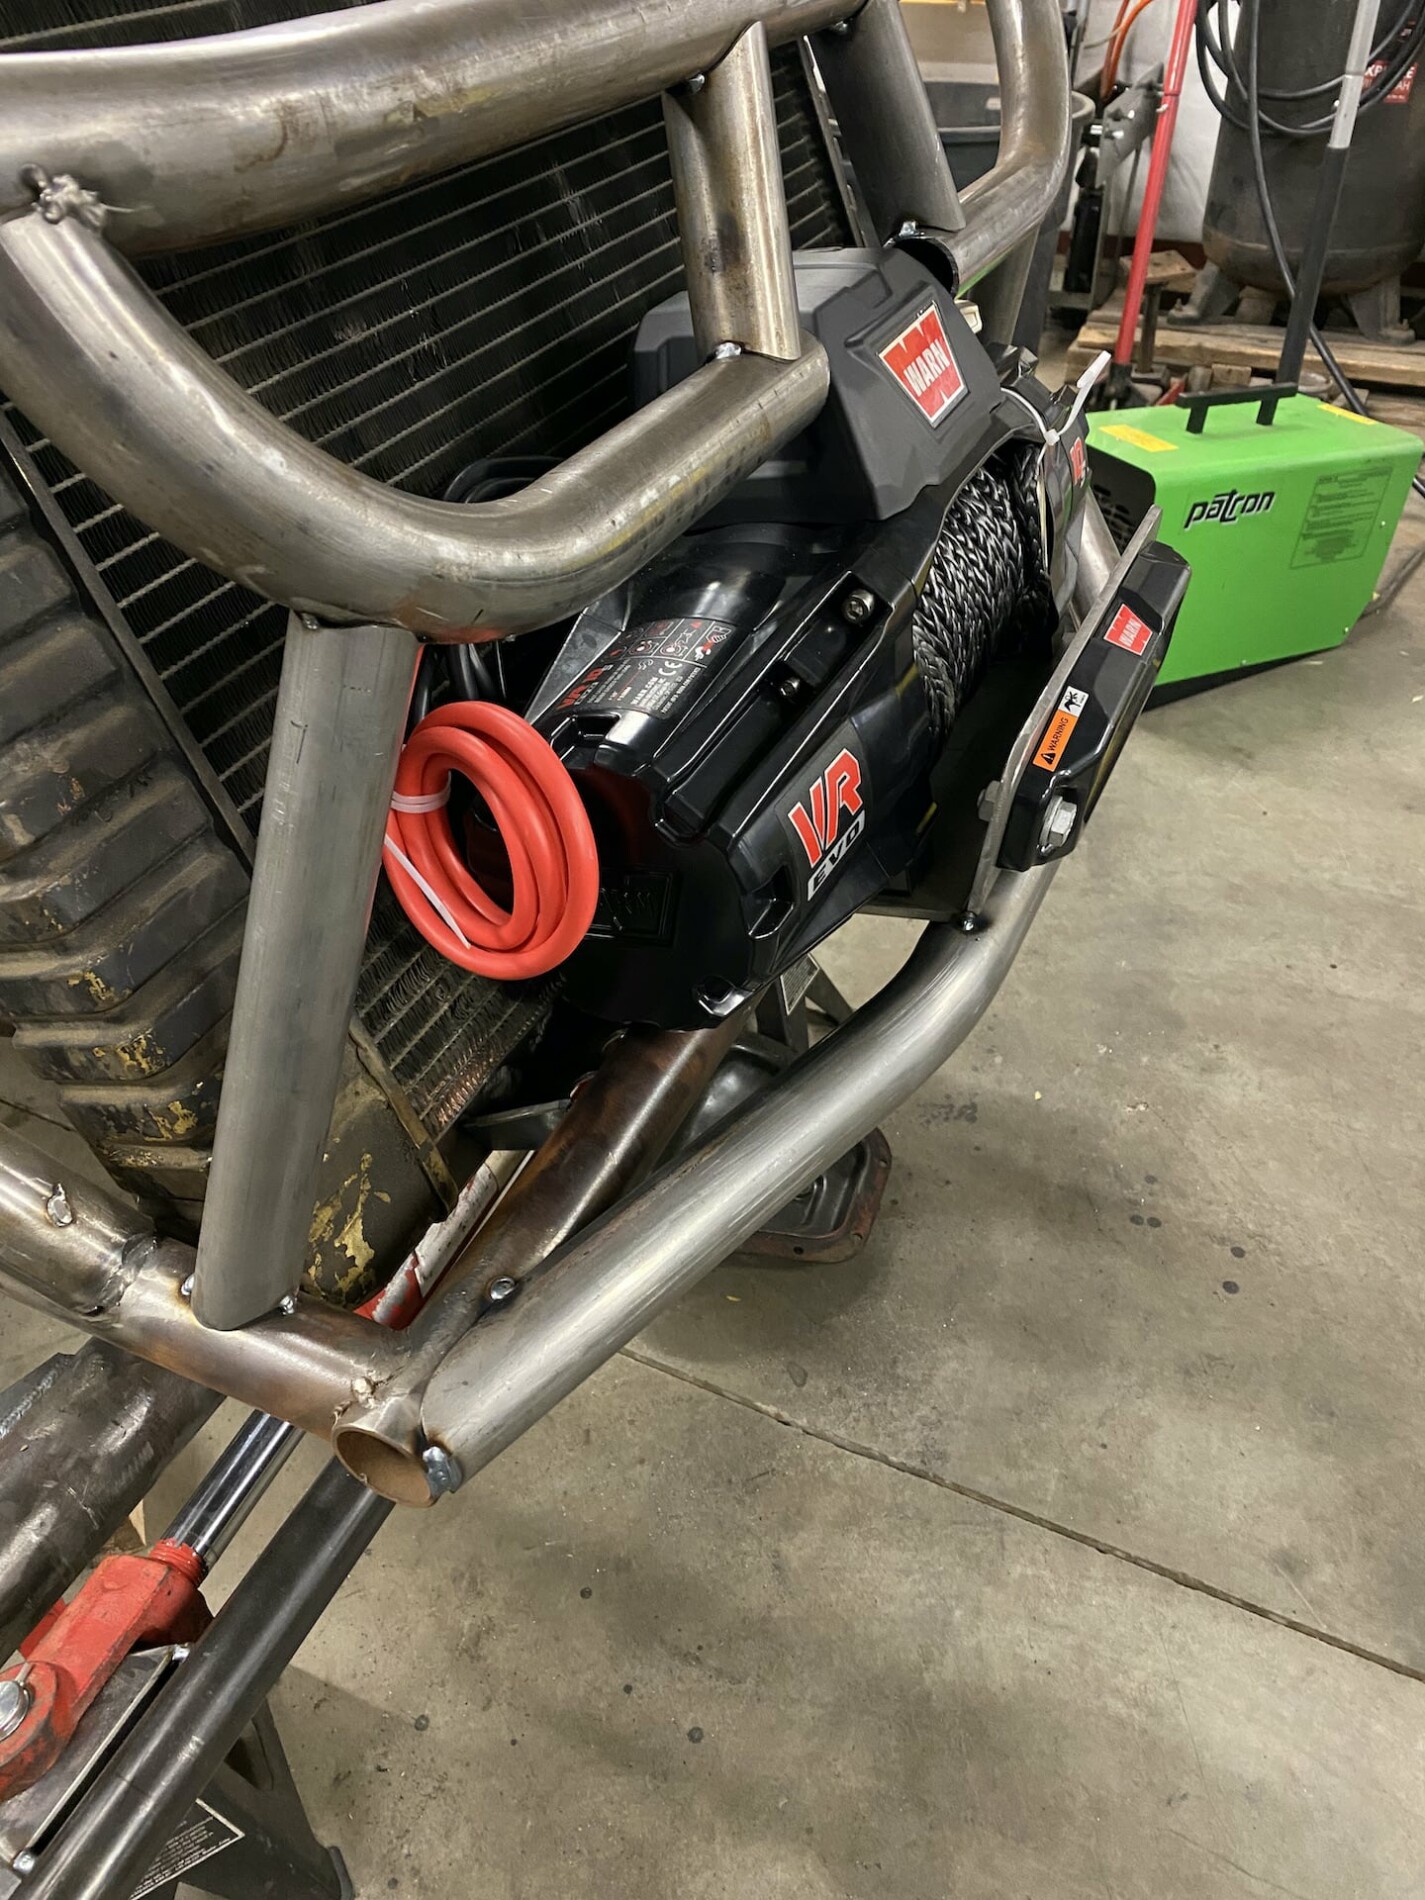
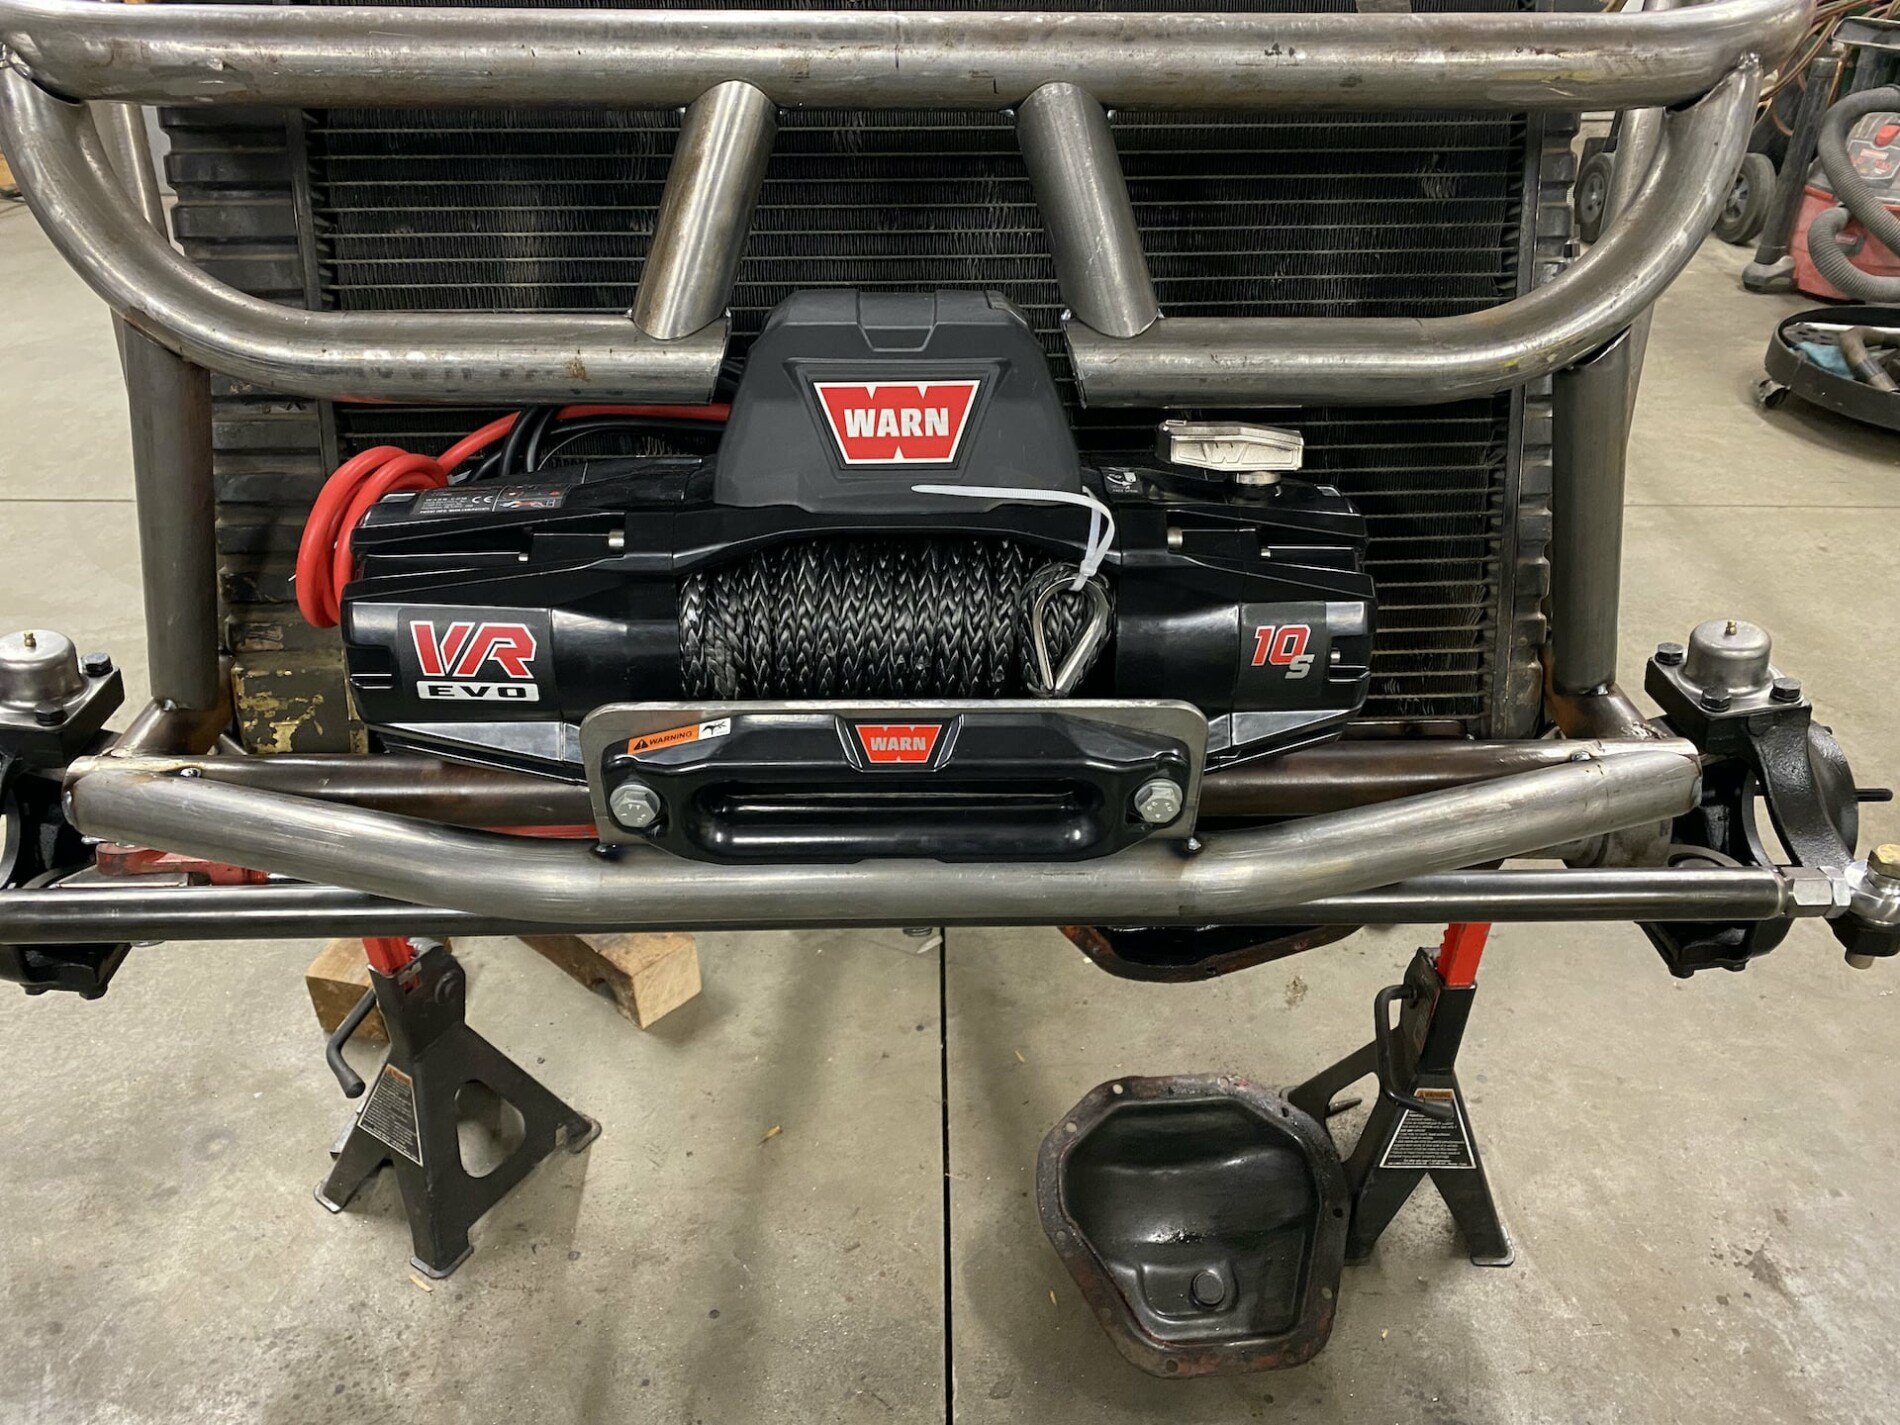
I had a couple of options putting this winch up front. I could have cut half the the lower and half the upper grill bar to make it fit, or I could have moved the solenoid box... or just cut the grill and try to make it look good. I chose to cut the grill piece because in my mind it was the easier and potentially better looking option. I had to tilt the winch back enough to clear the plug. But also, this model came with a wireless option which is awesome!

dGX6.jpg


dK7U.jpg


Adding some style back into the grill. Really trying to avoid the angry eyes look which I think was successful

dWyg.jpg
 

Herzog

somewhat damaged
Admin
Location
Wydaho
Adding a front support / bumper piece is really tying it all in now

dpfC.jpg


d7AD.jpg


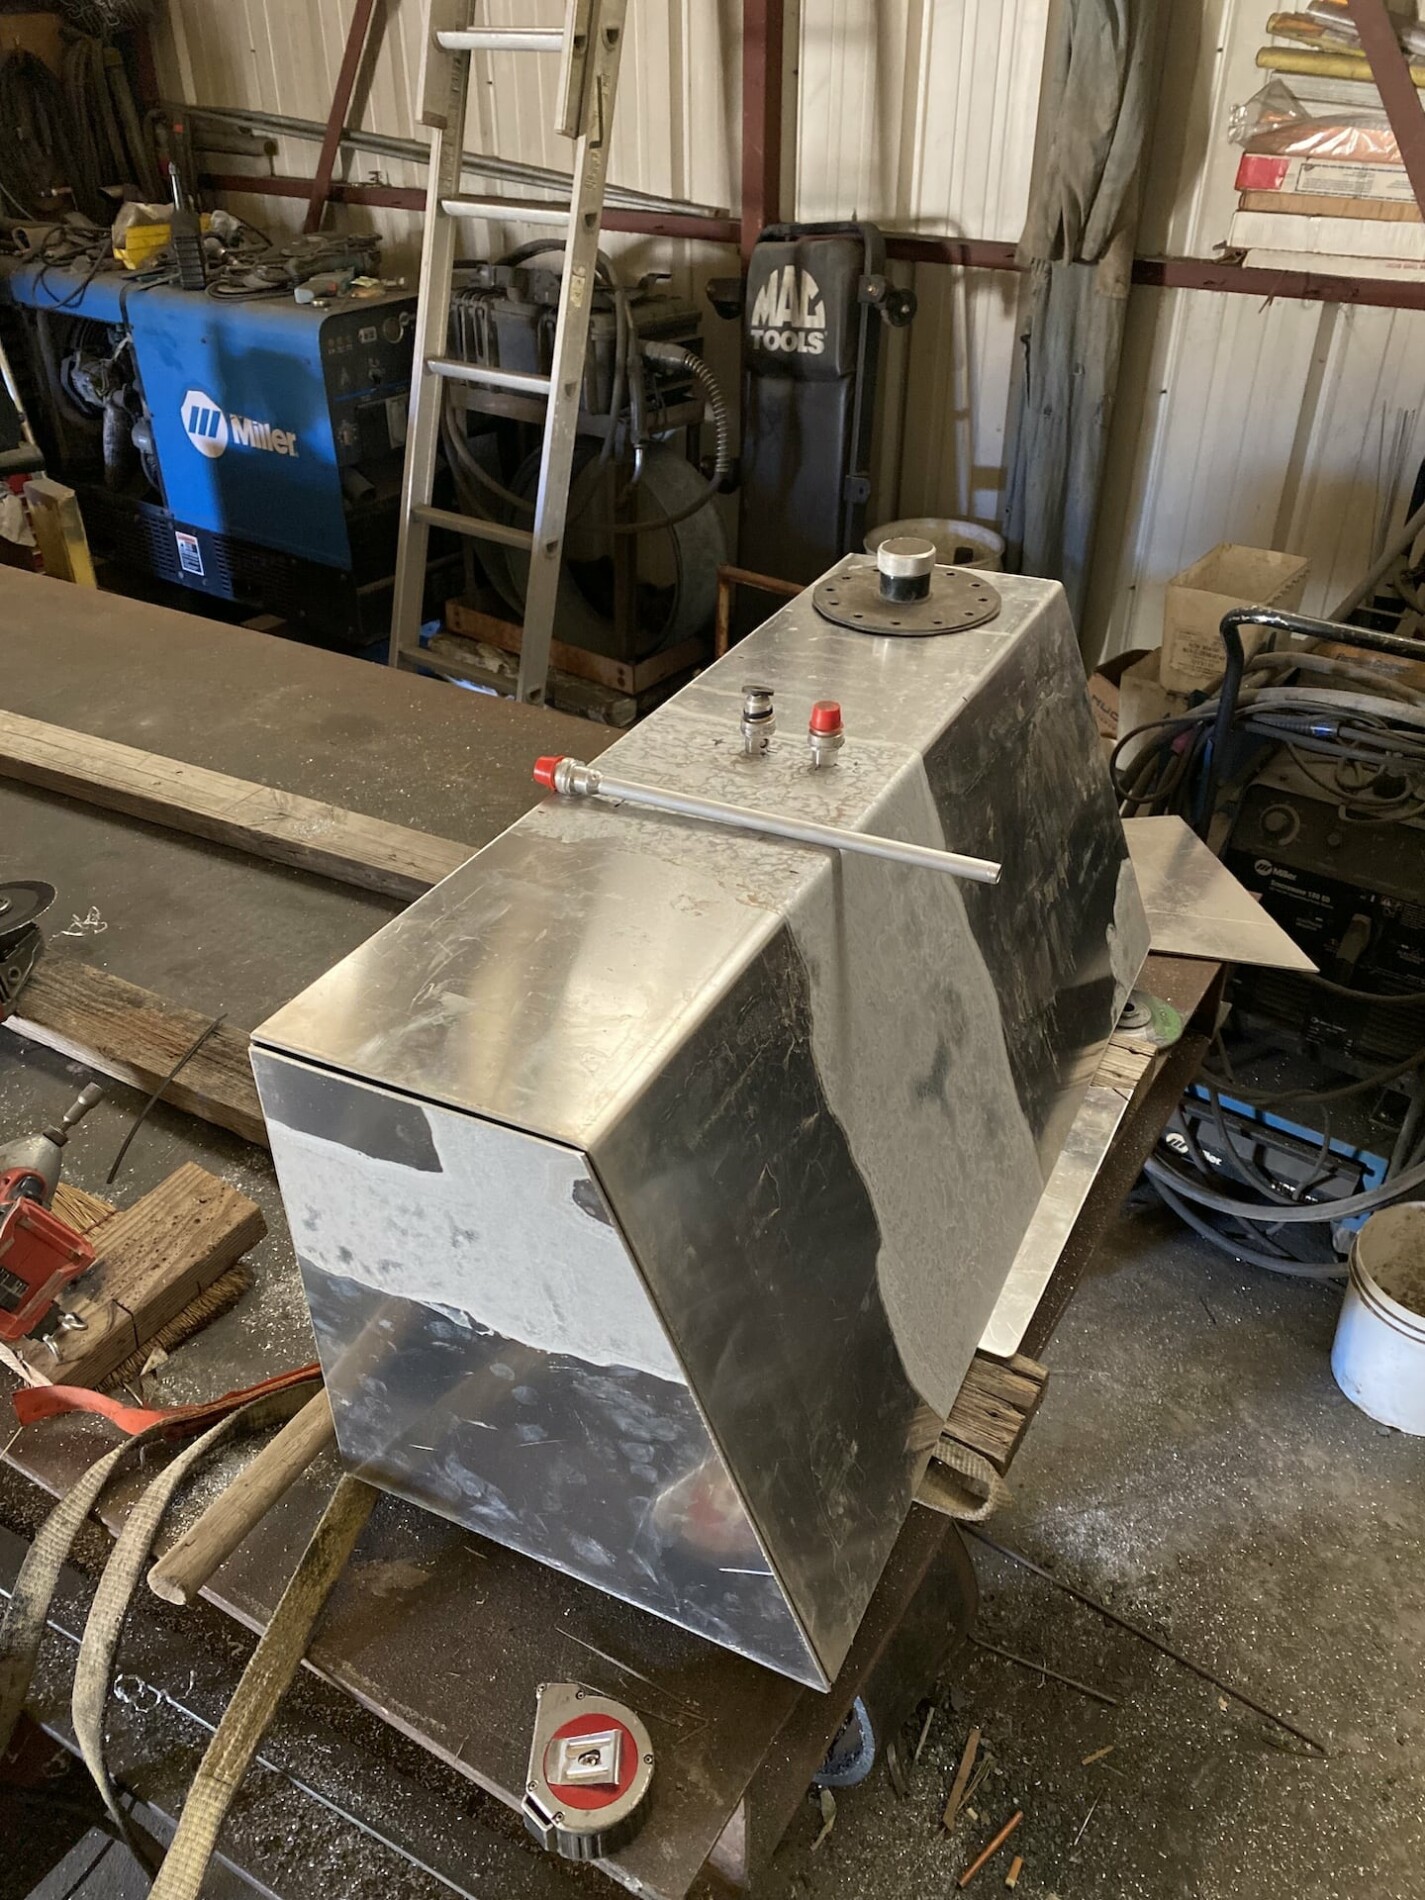
The owner of the buggy is making a really nice gas tank that fits perfectly behind the rear seats. He's using the filler and components from an old RCI tank that I used to have but cracked. All new aluminum in this build except for the re-used fittings. Freaking awesome!
dEJu.jpg
 

Herzog

somewhat damaged
Admin
Location
Wydaho
I've neglected this build thread. Time to catch up!

This will mostly be photo dumps, similar to before.

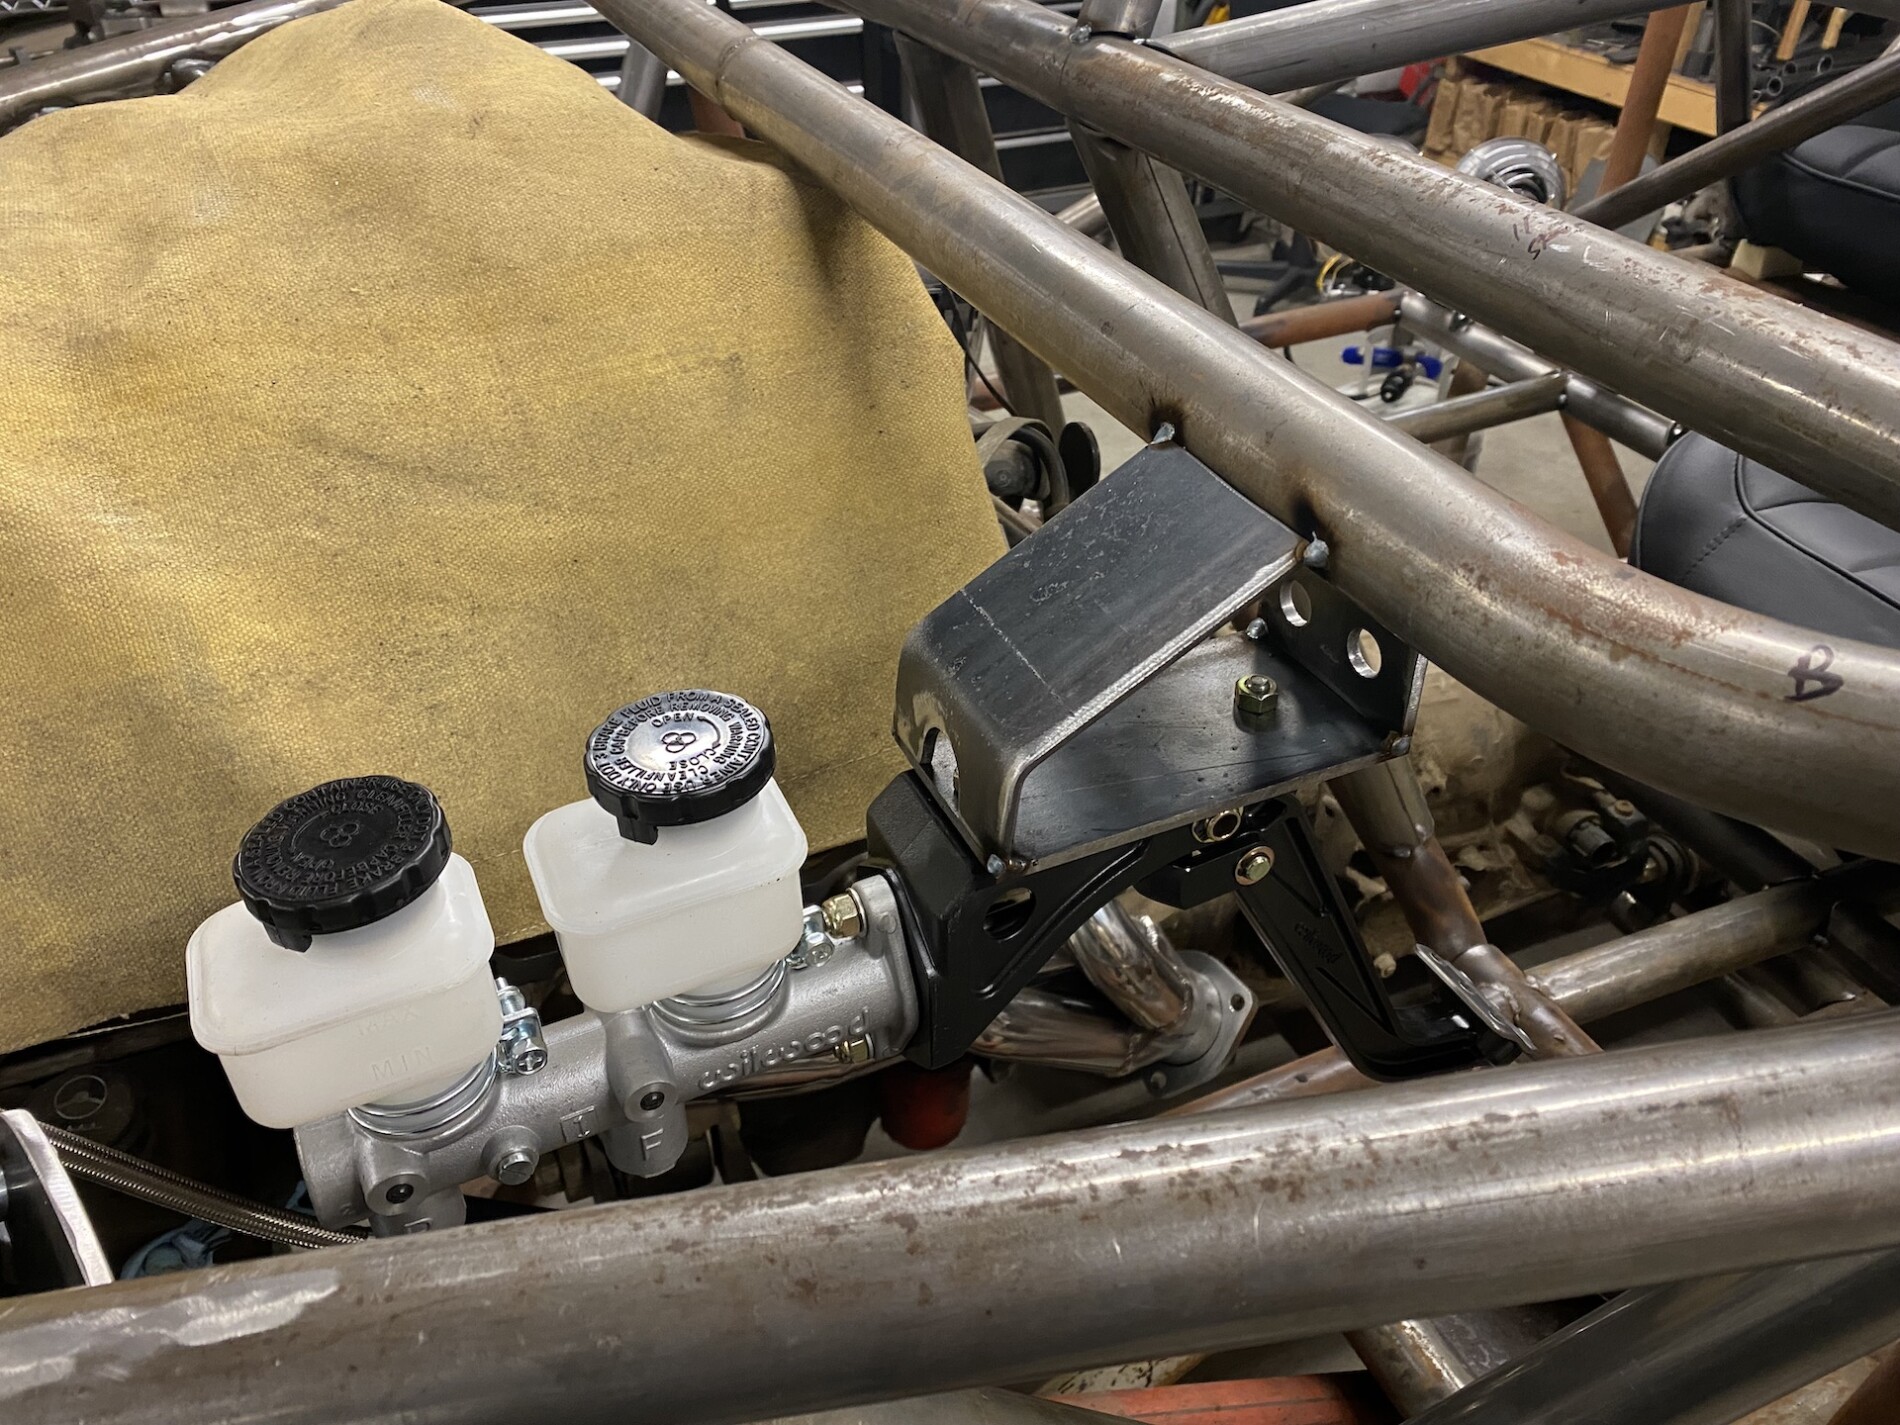
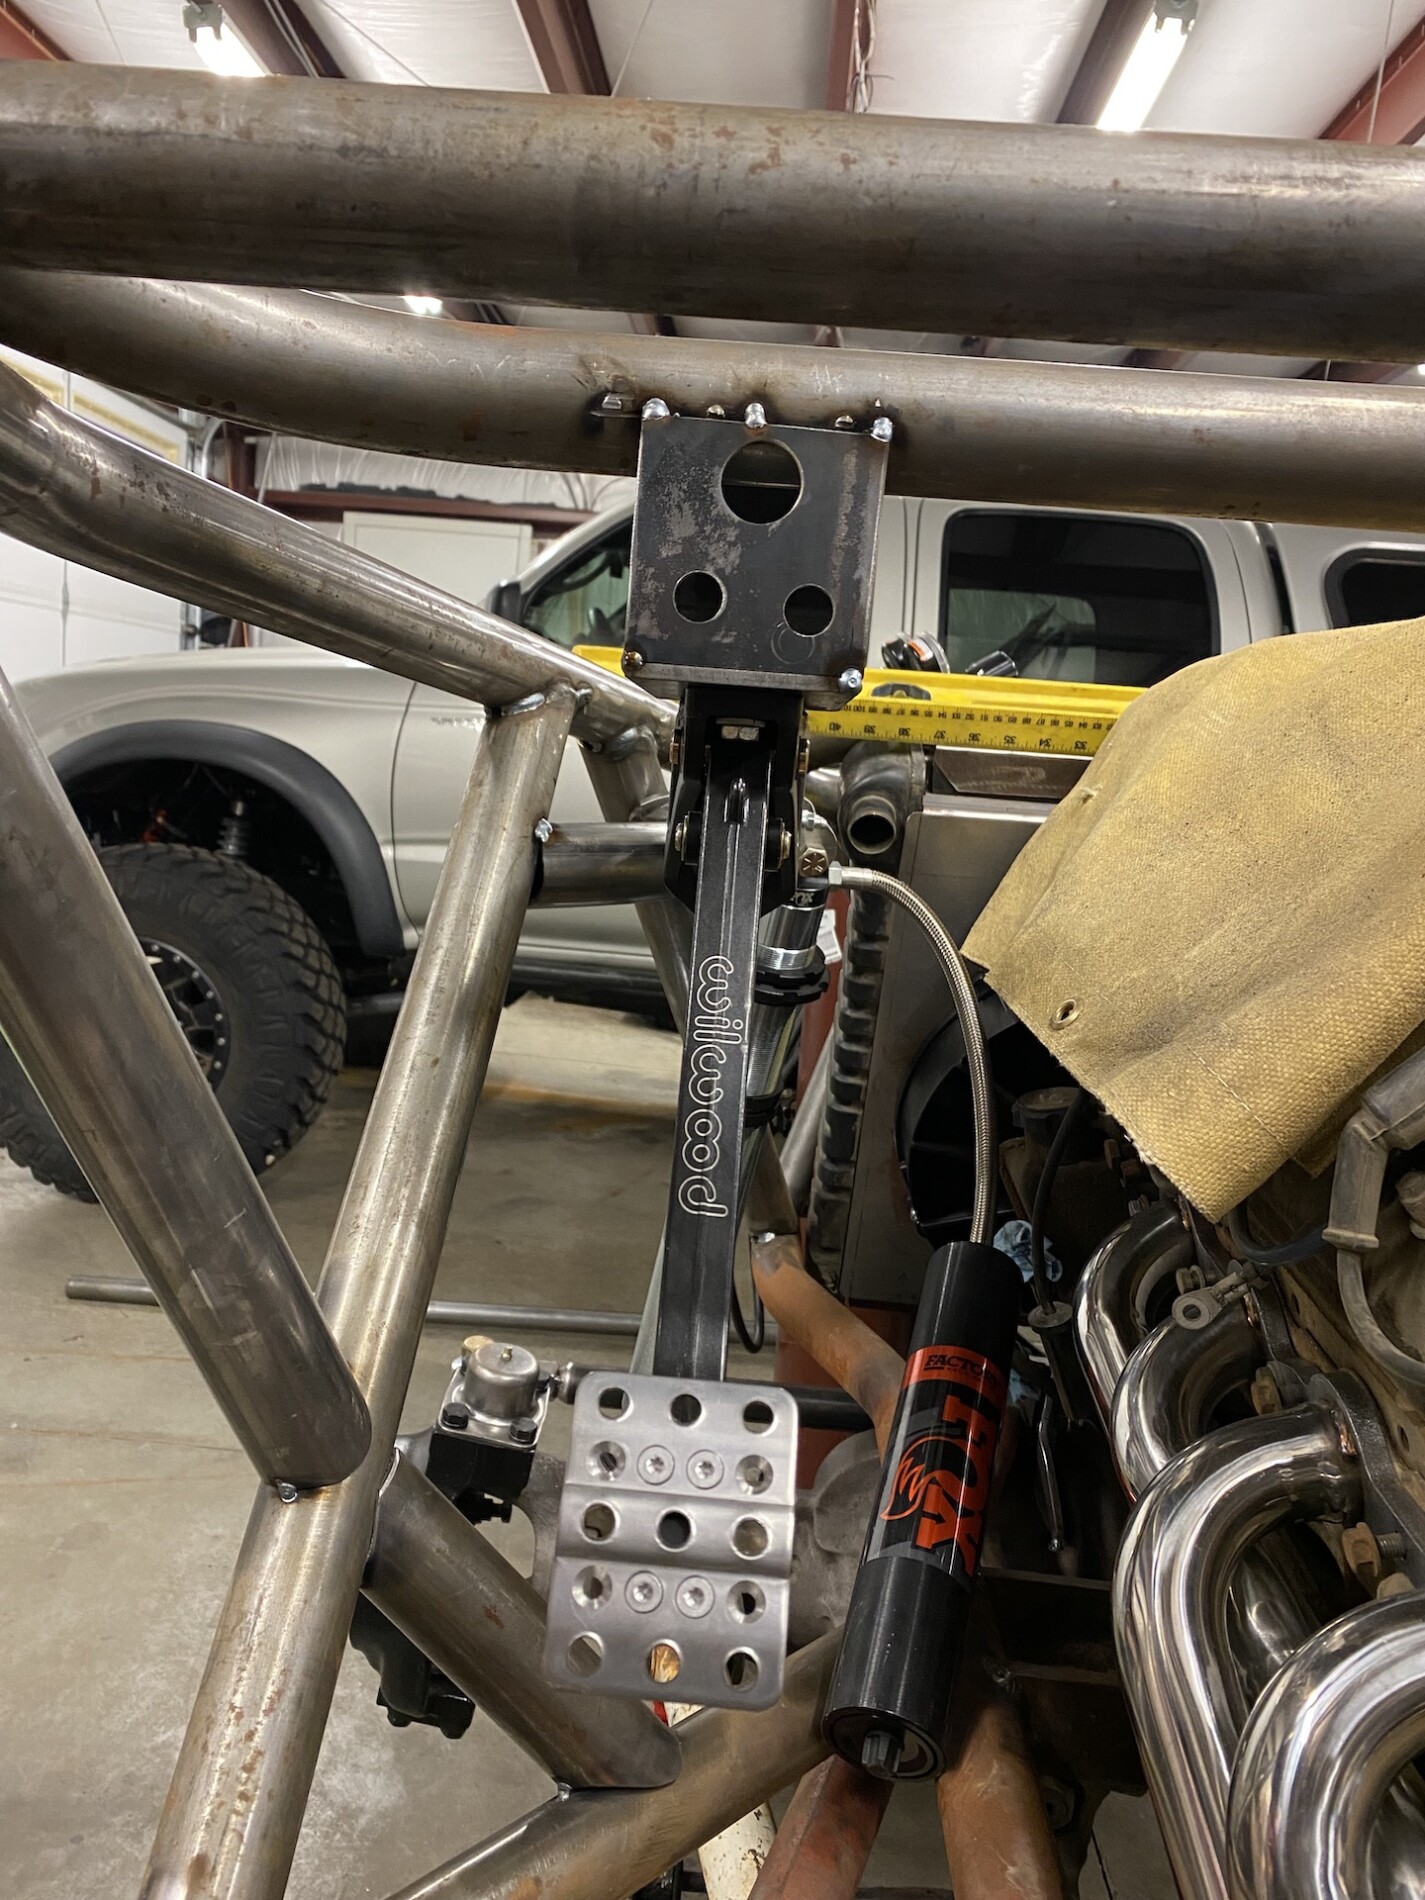
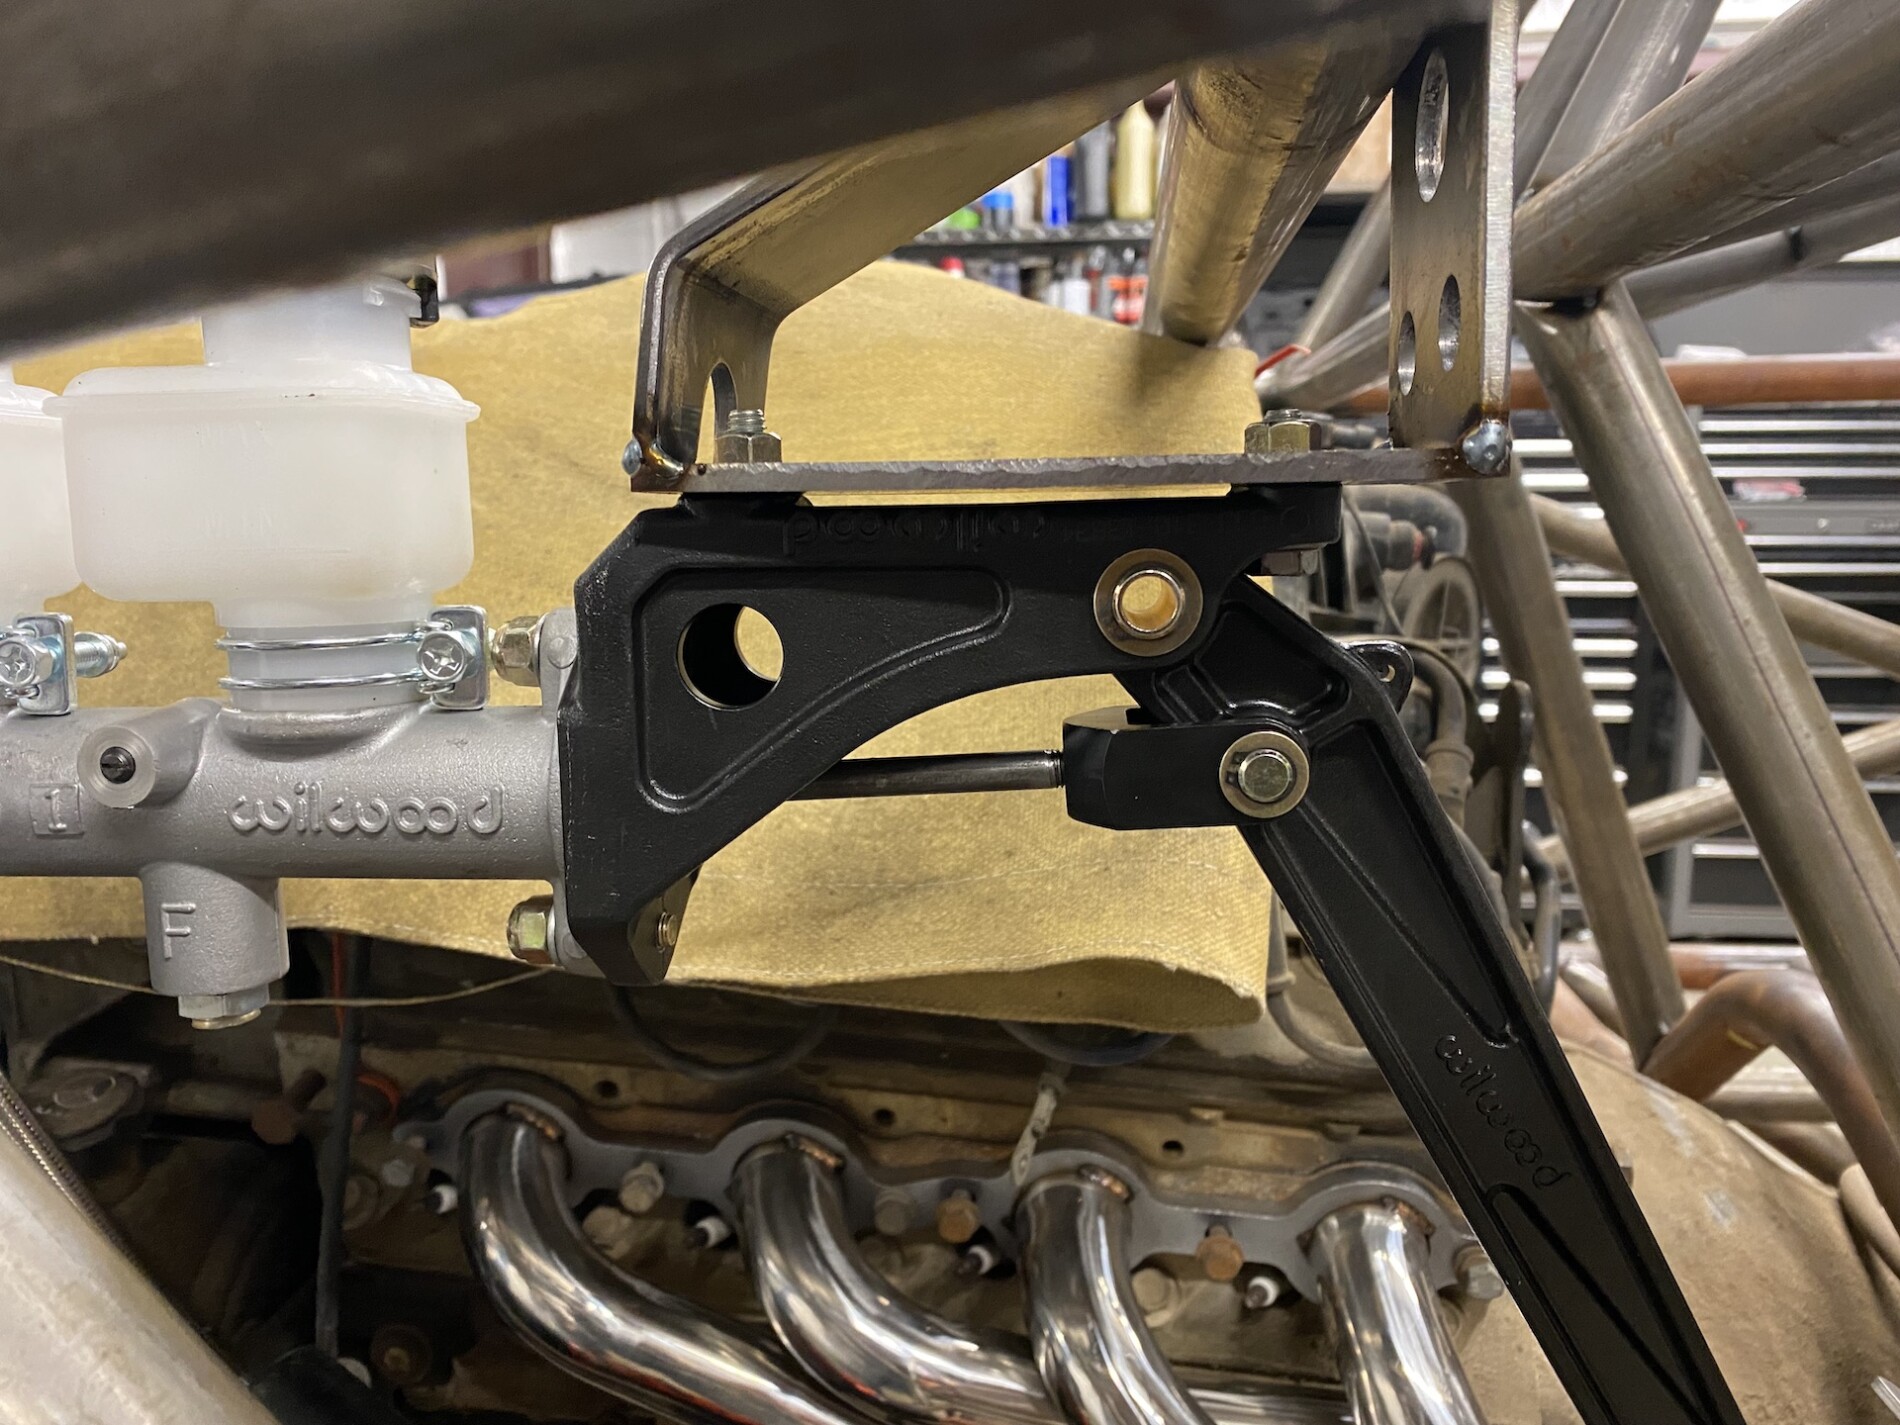
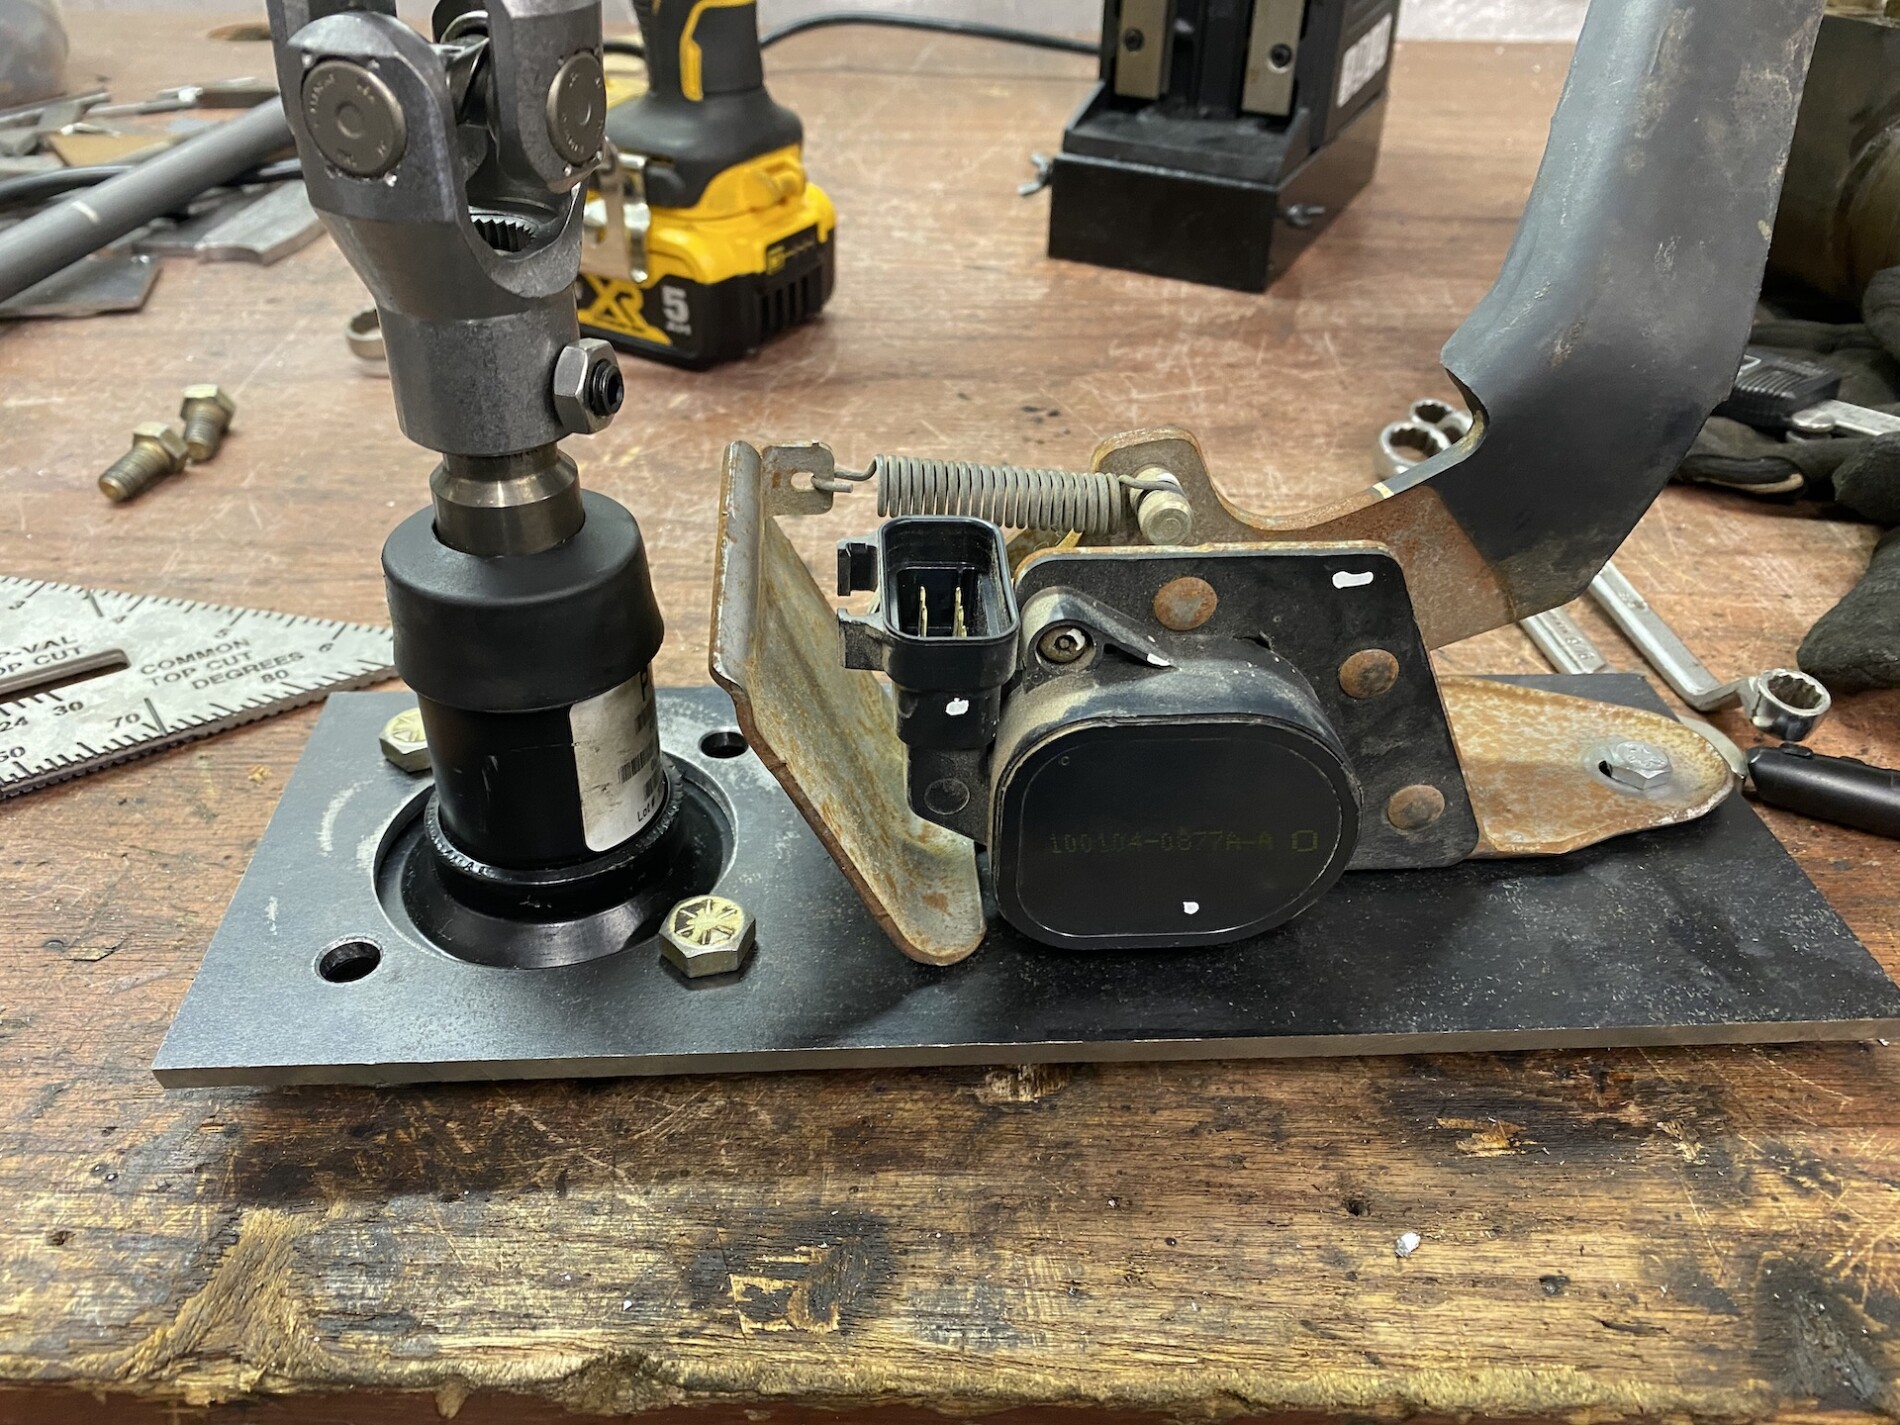
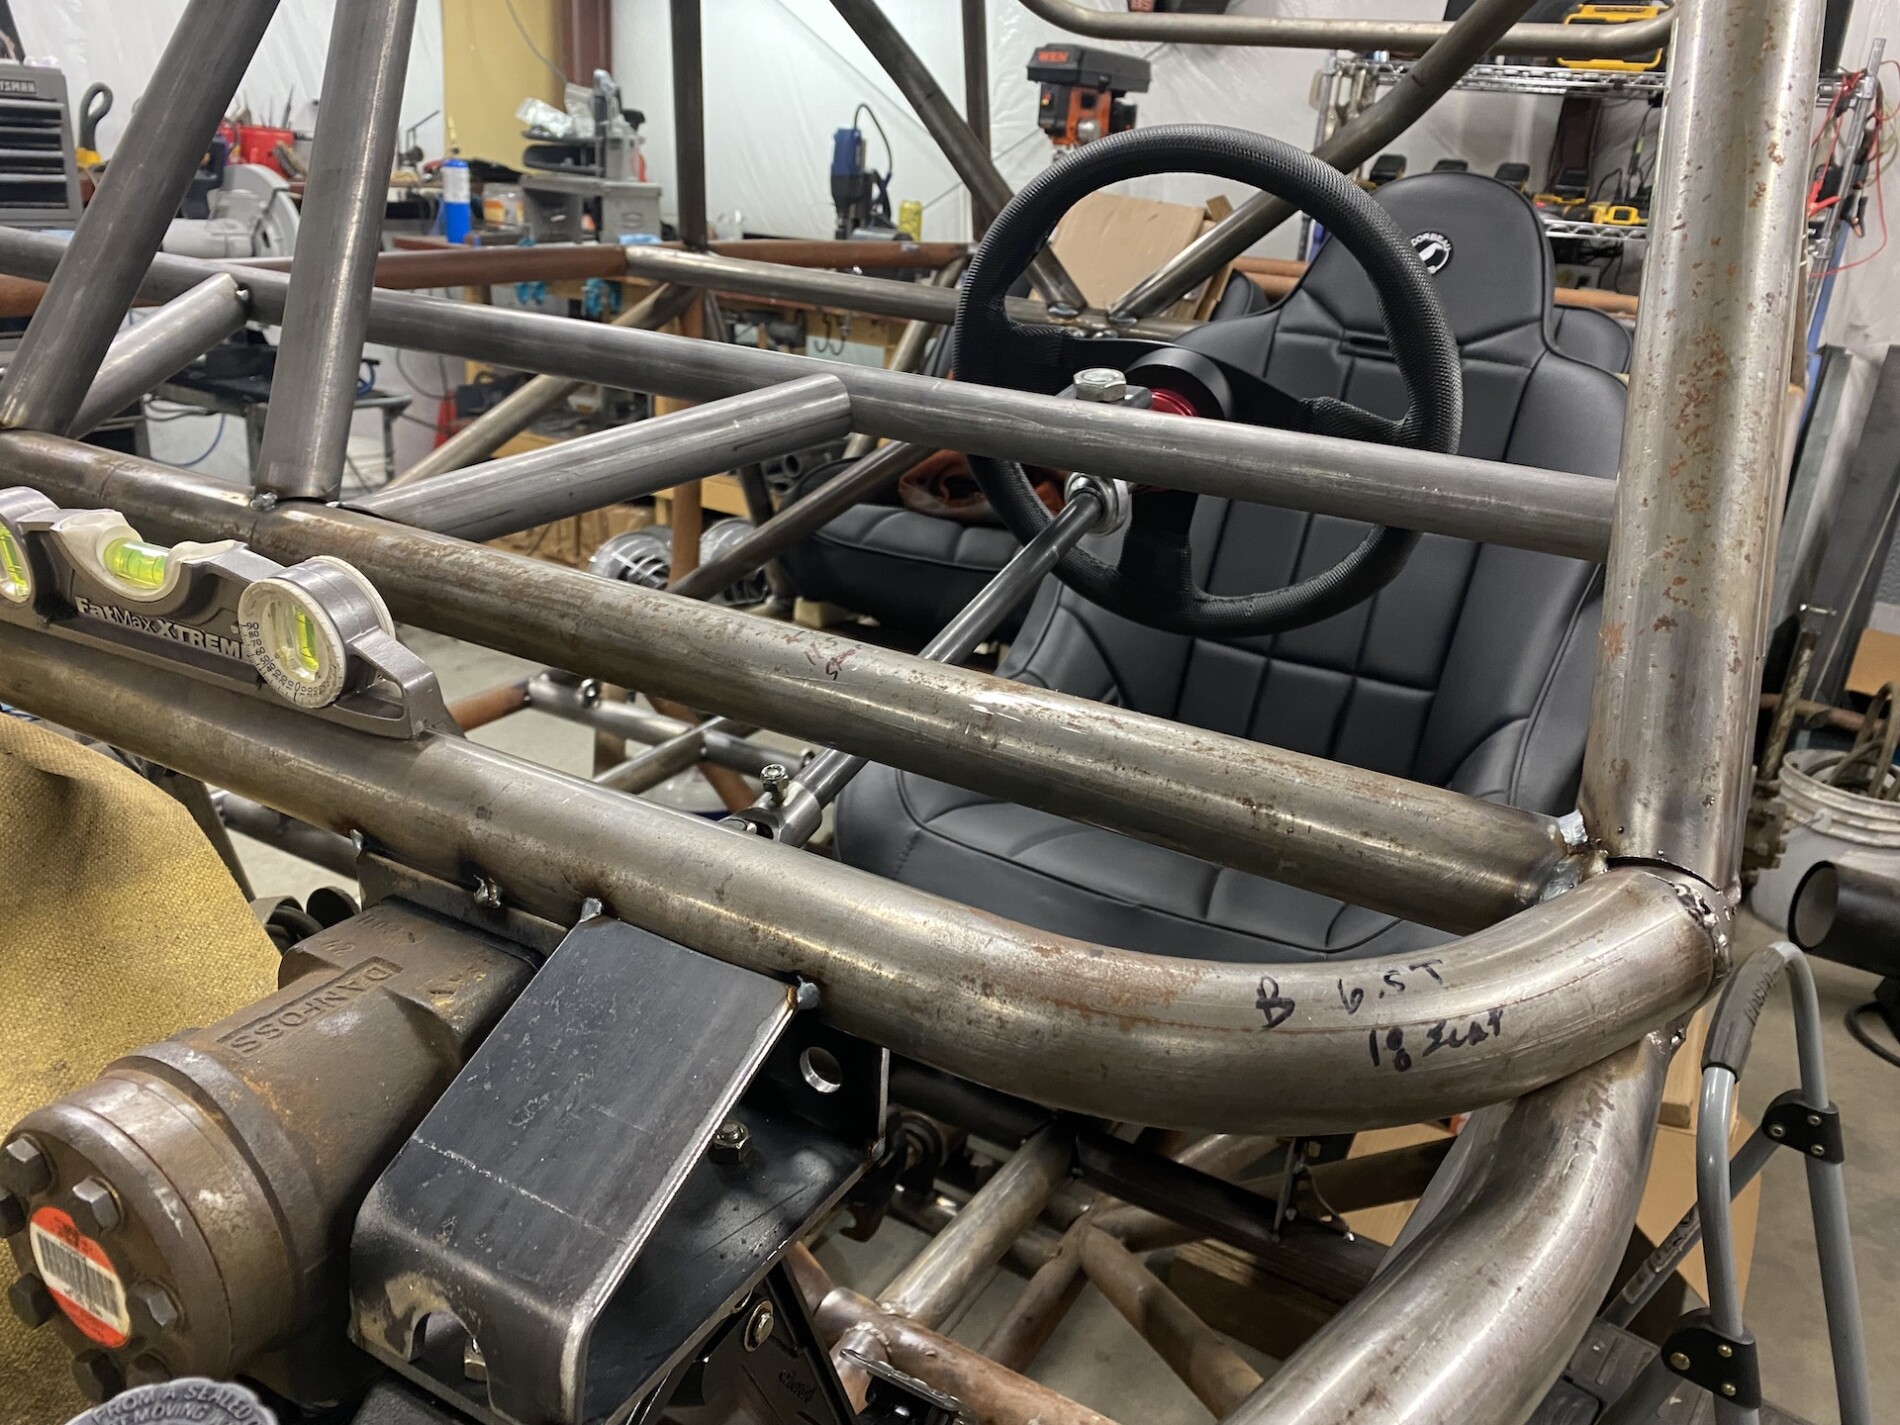
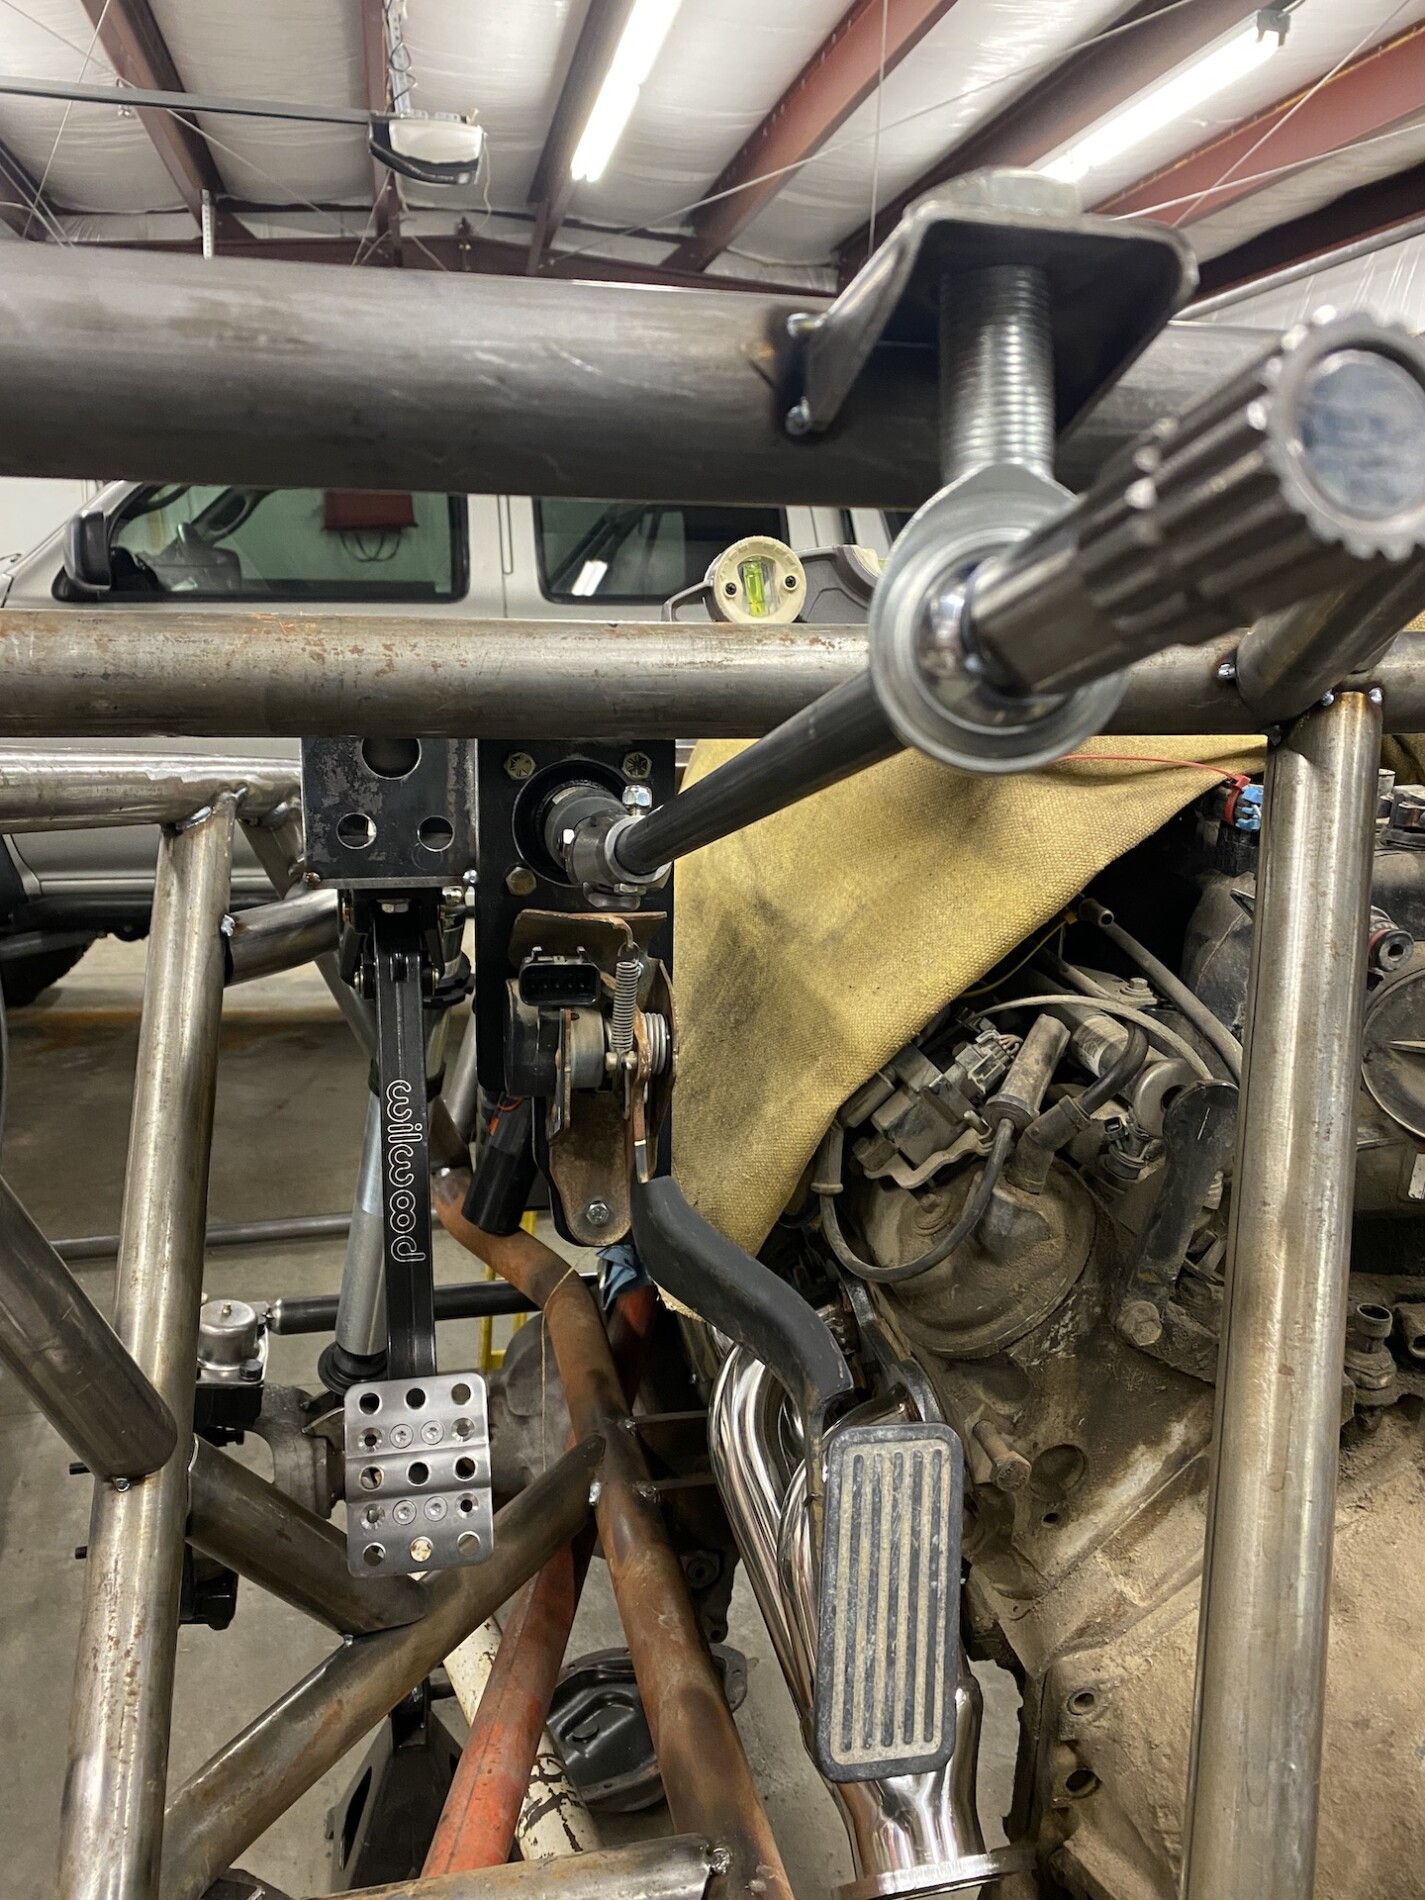
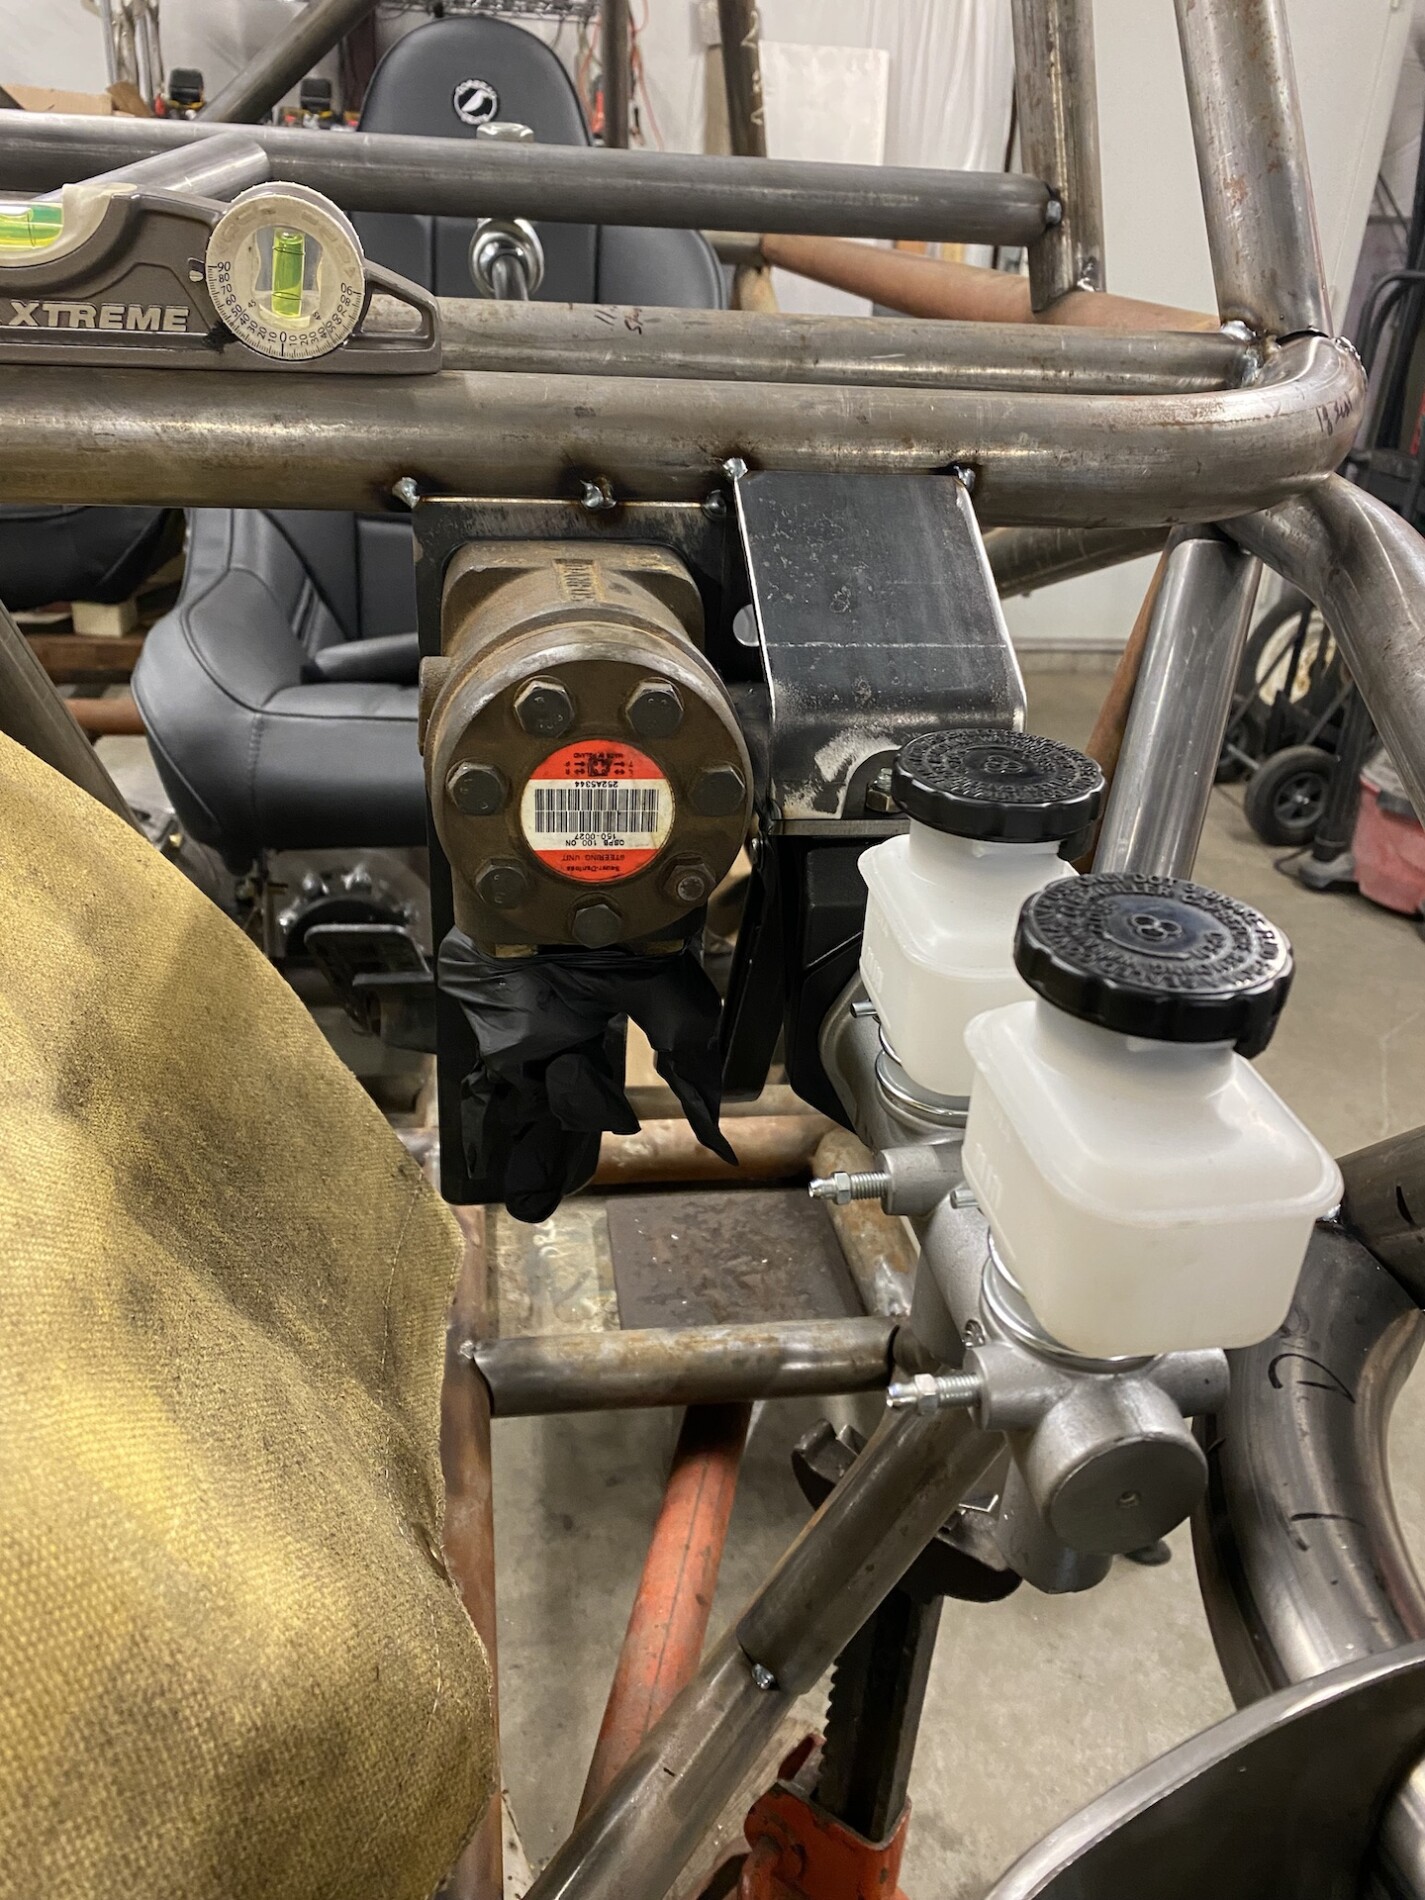
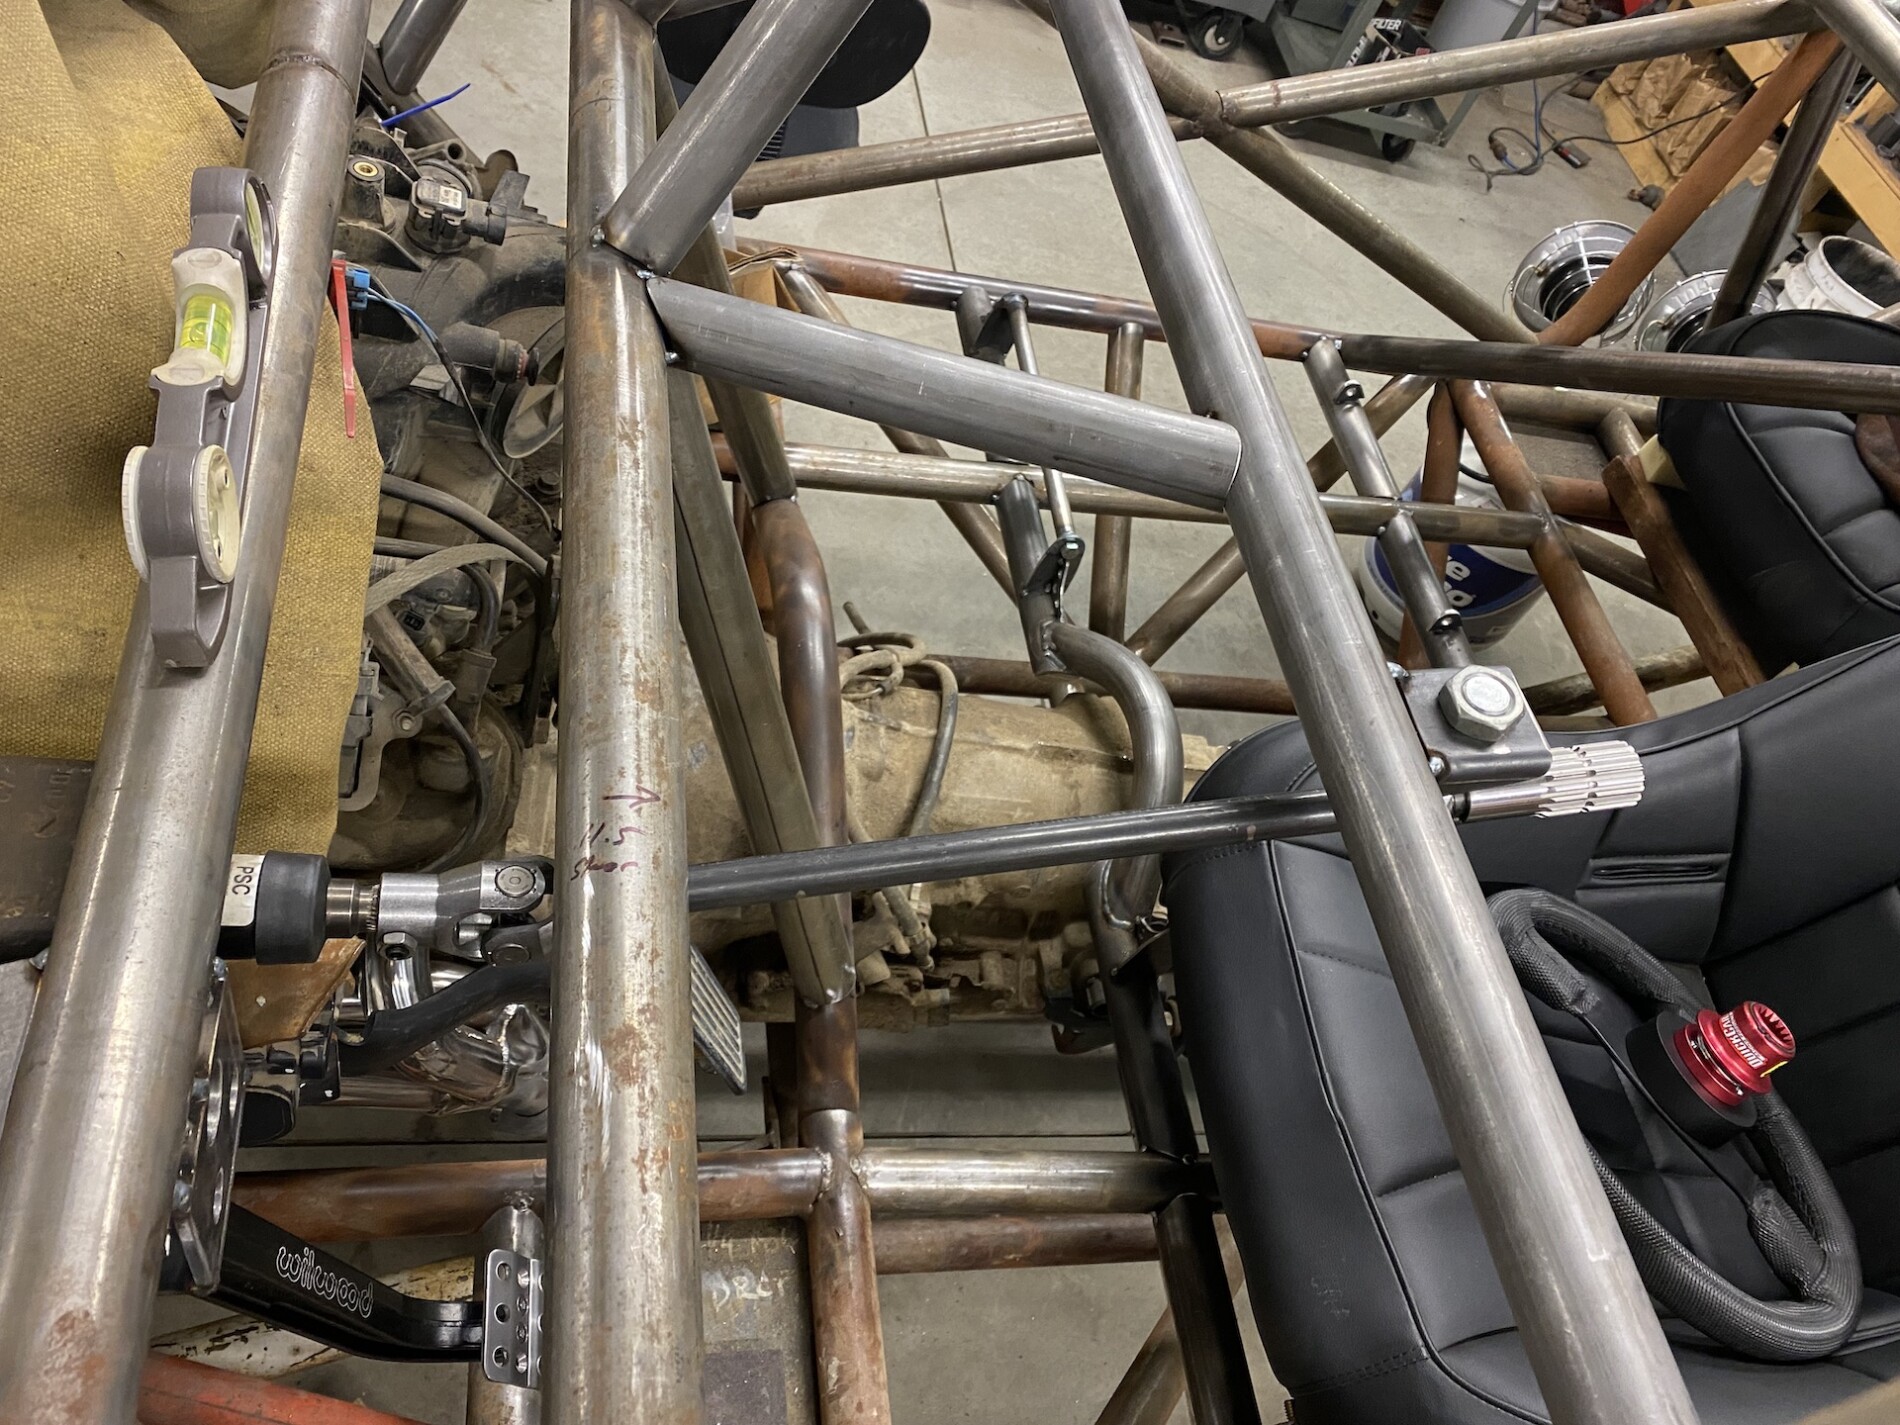
Brake, gas and steering:

duHe.jpg

dm8X.jpg

dOd7.jpg

dbDn.jpg

dgXq.jpg

dhEK.jpg

dr1Z.jpg

d9fM.jpg

dJGz.jpg


The gas pedal arm was modified to bring it closer to the brake pedal and away from the motor / headers, I just apparently don't have any photos of that at this point.
 

Herzog

somewhat damaged
Admin
Location
Wydaho
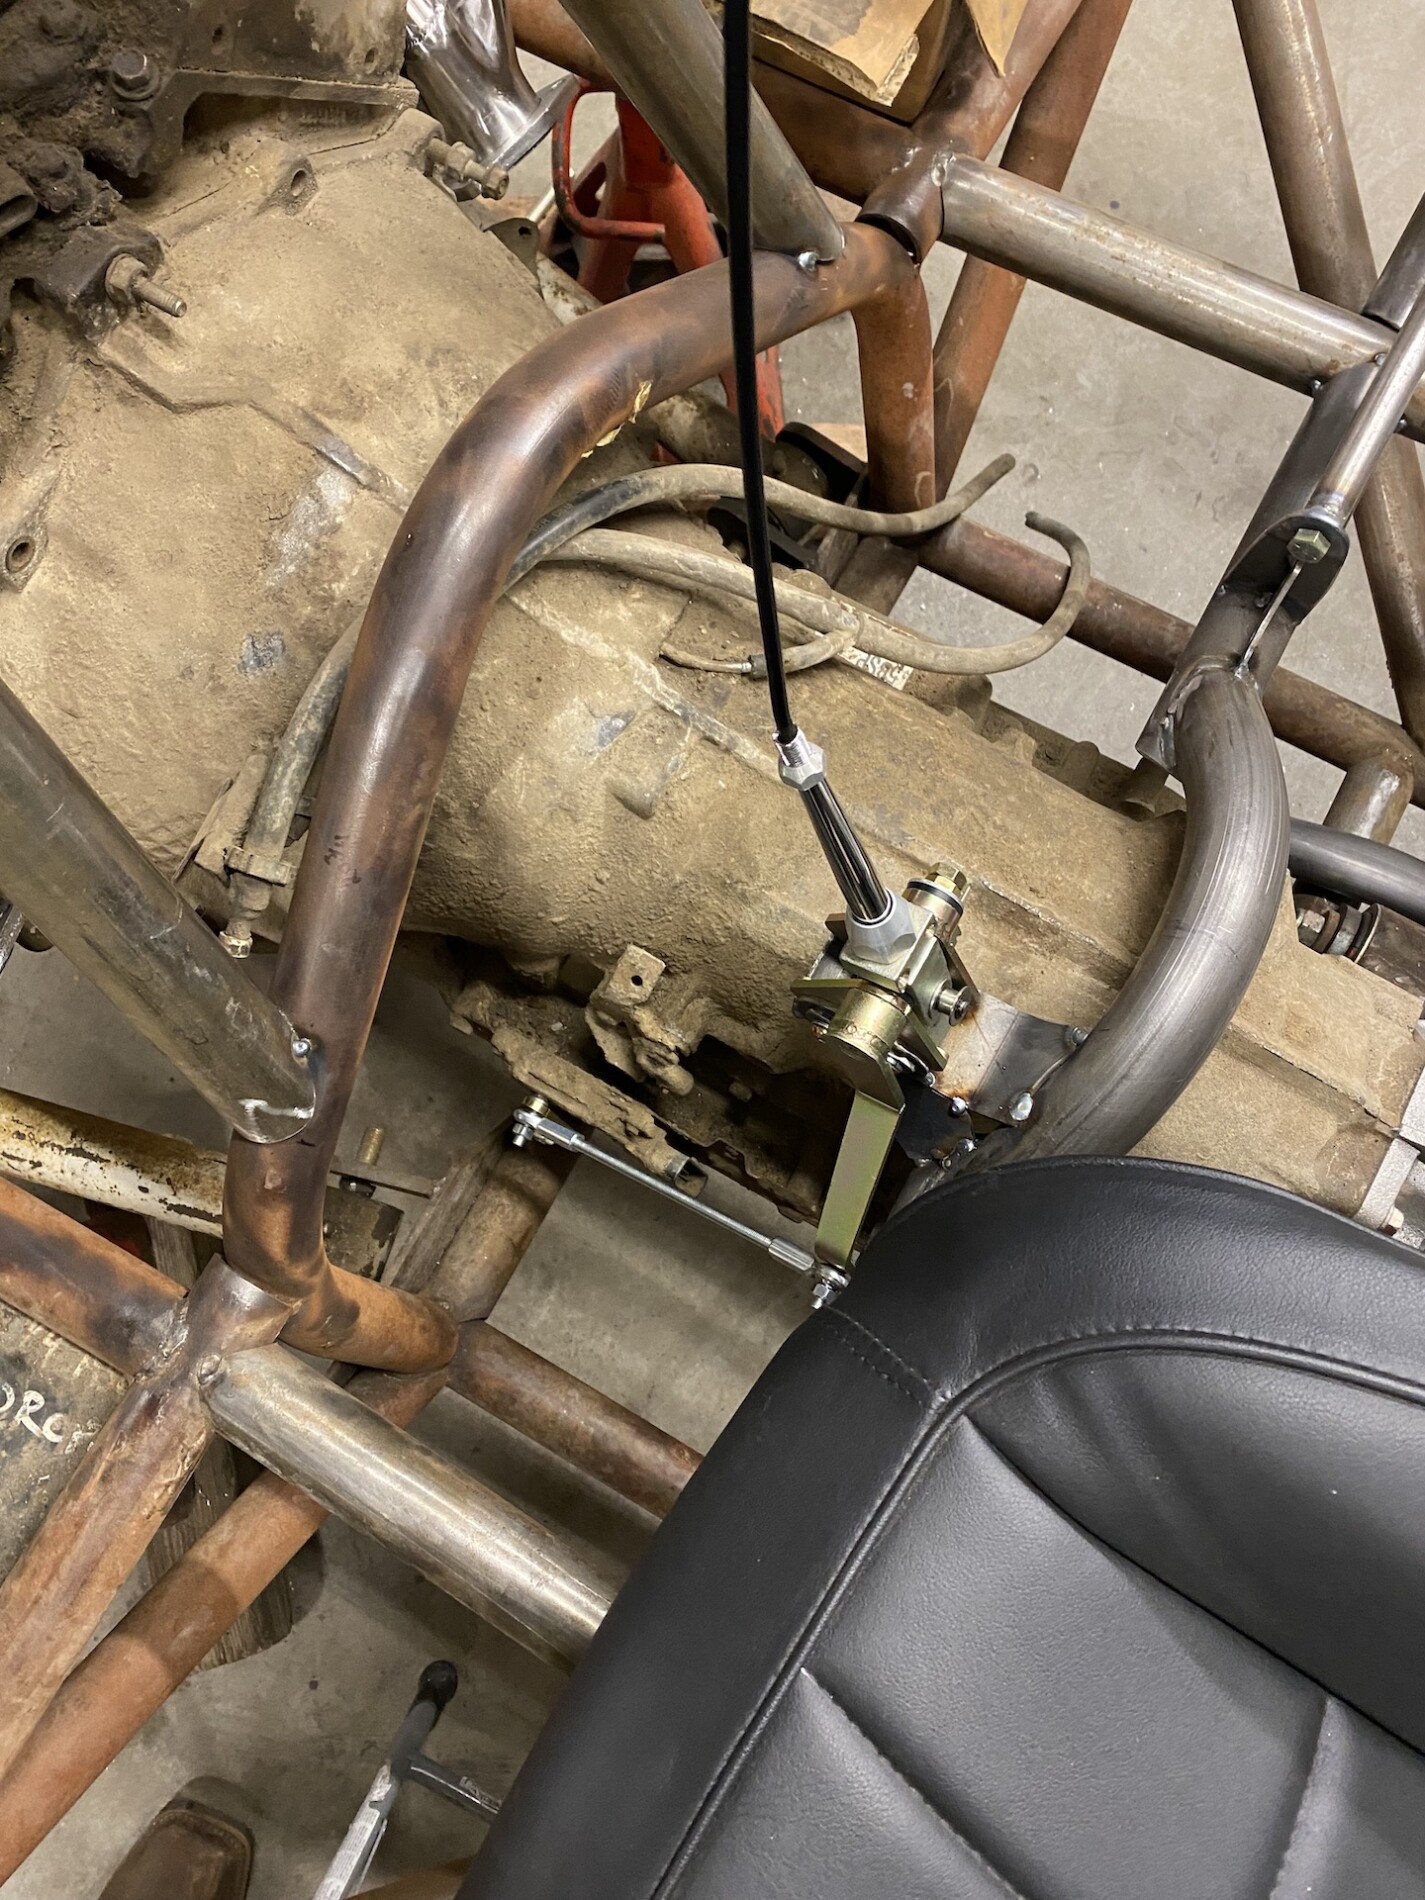
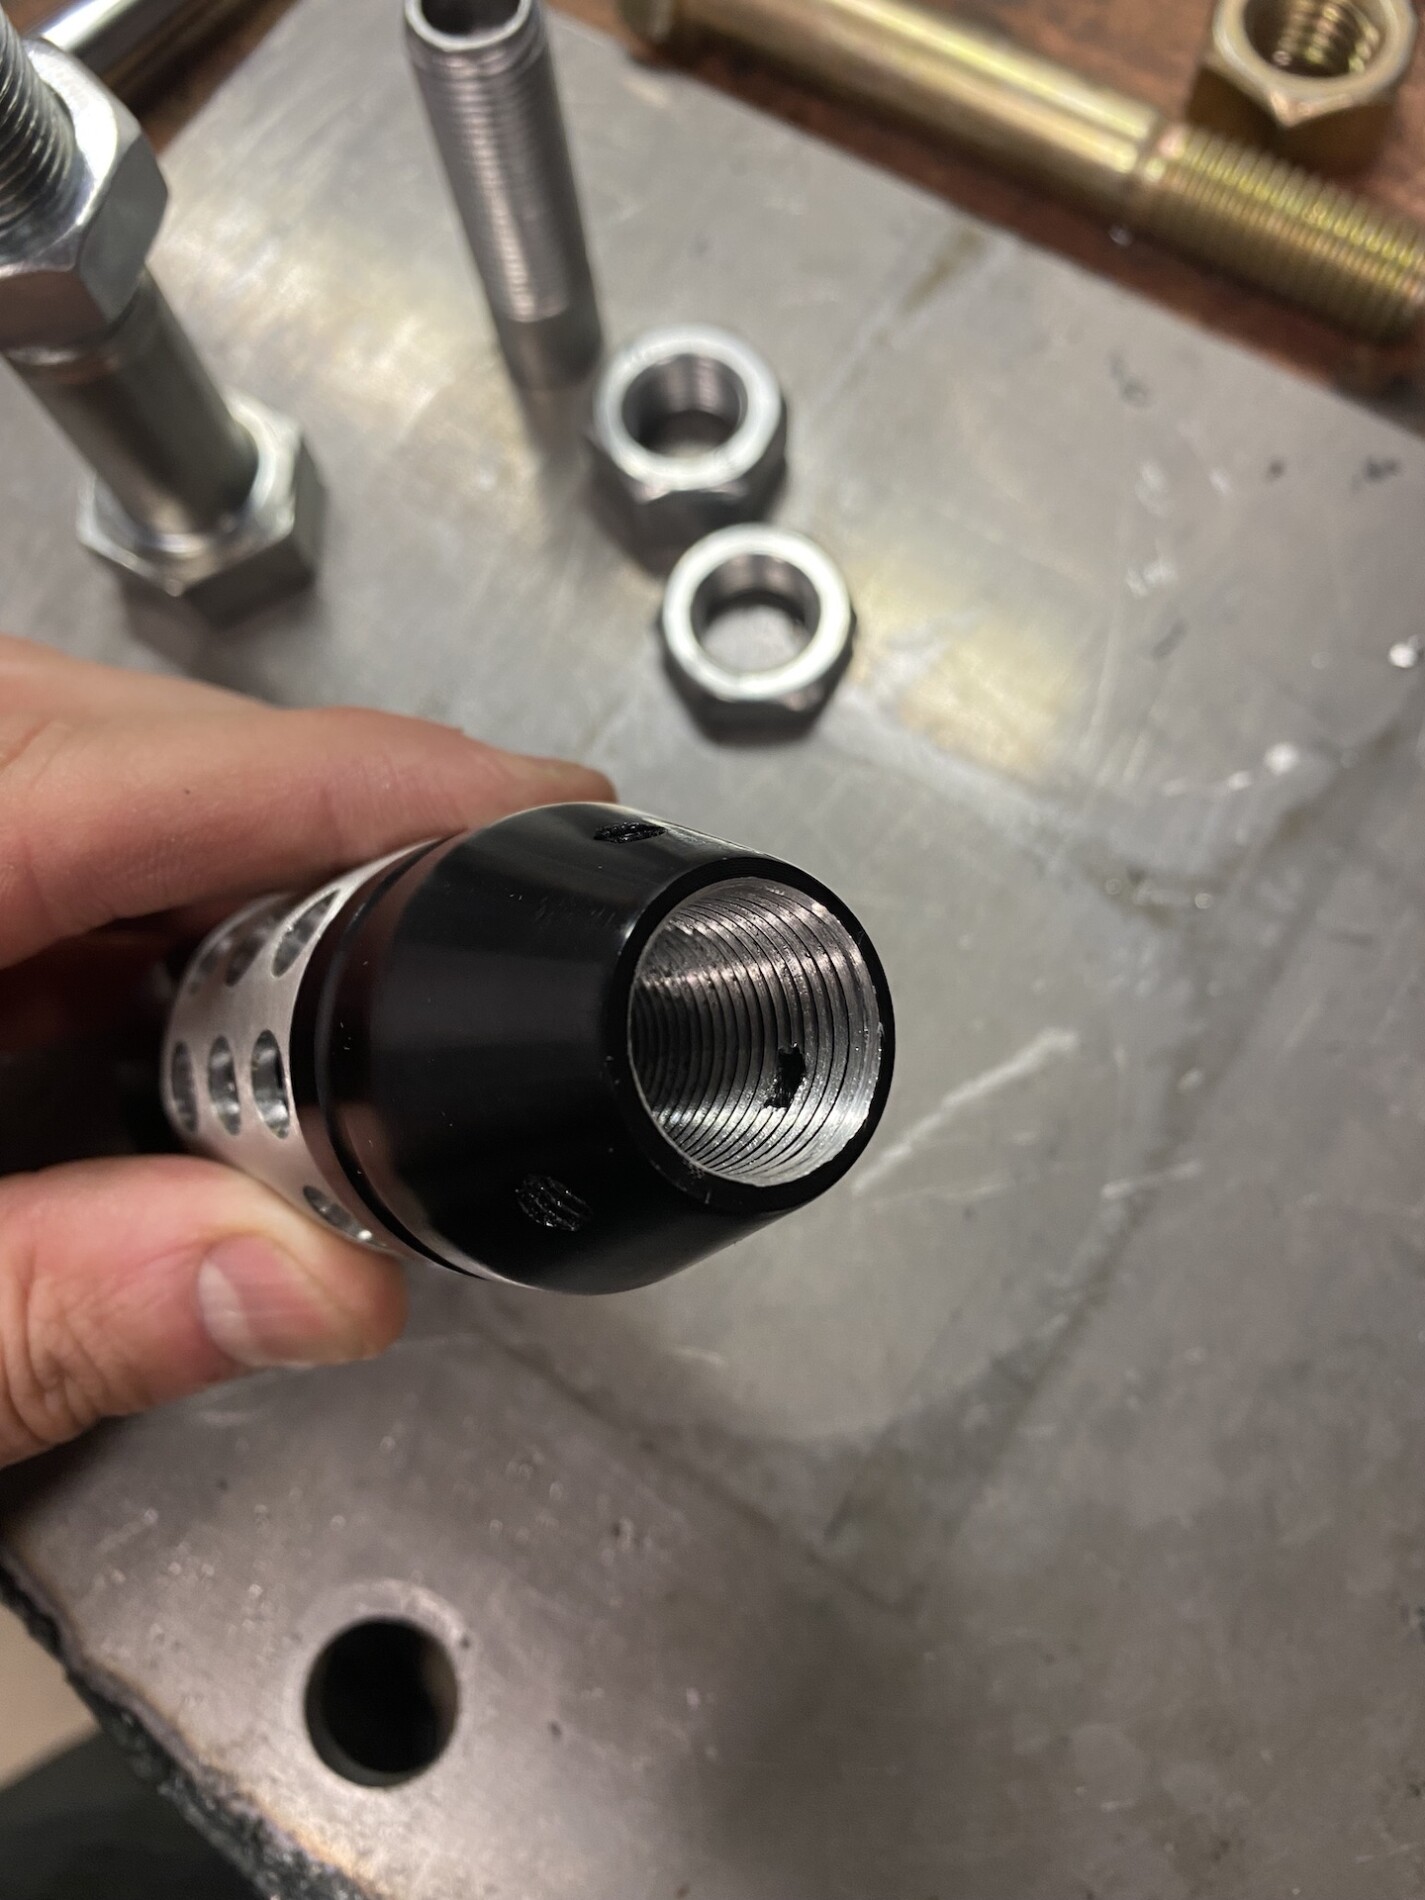
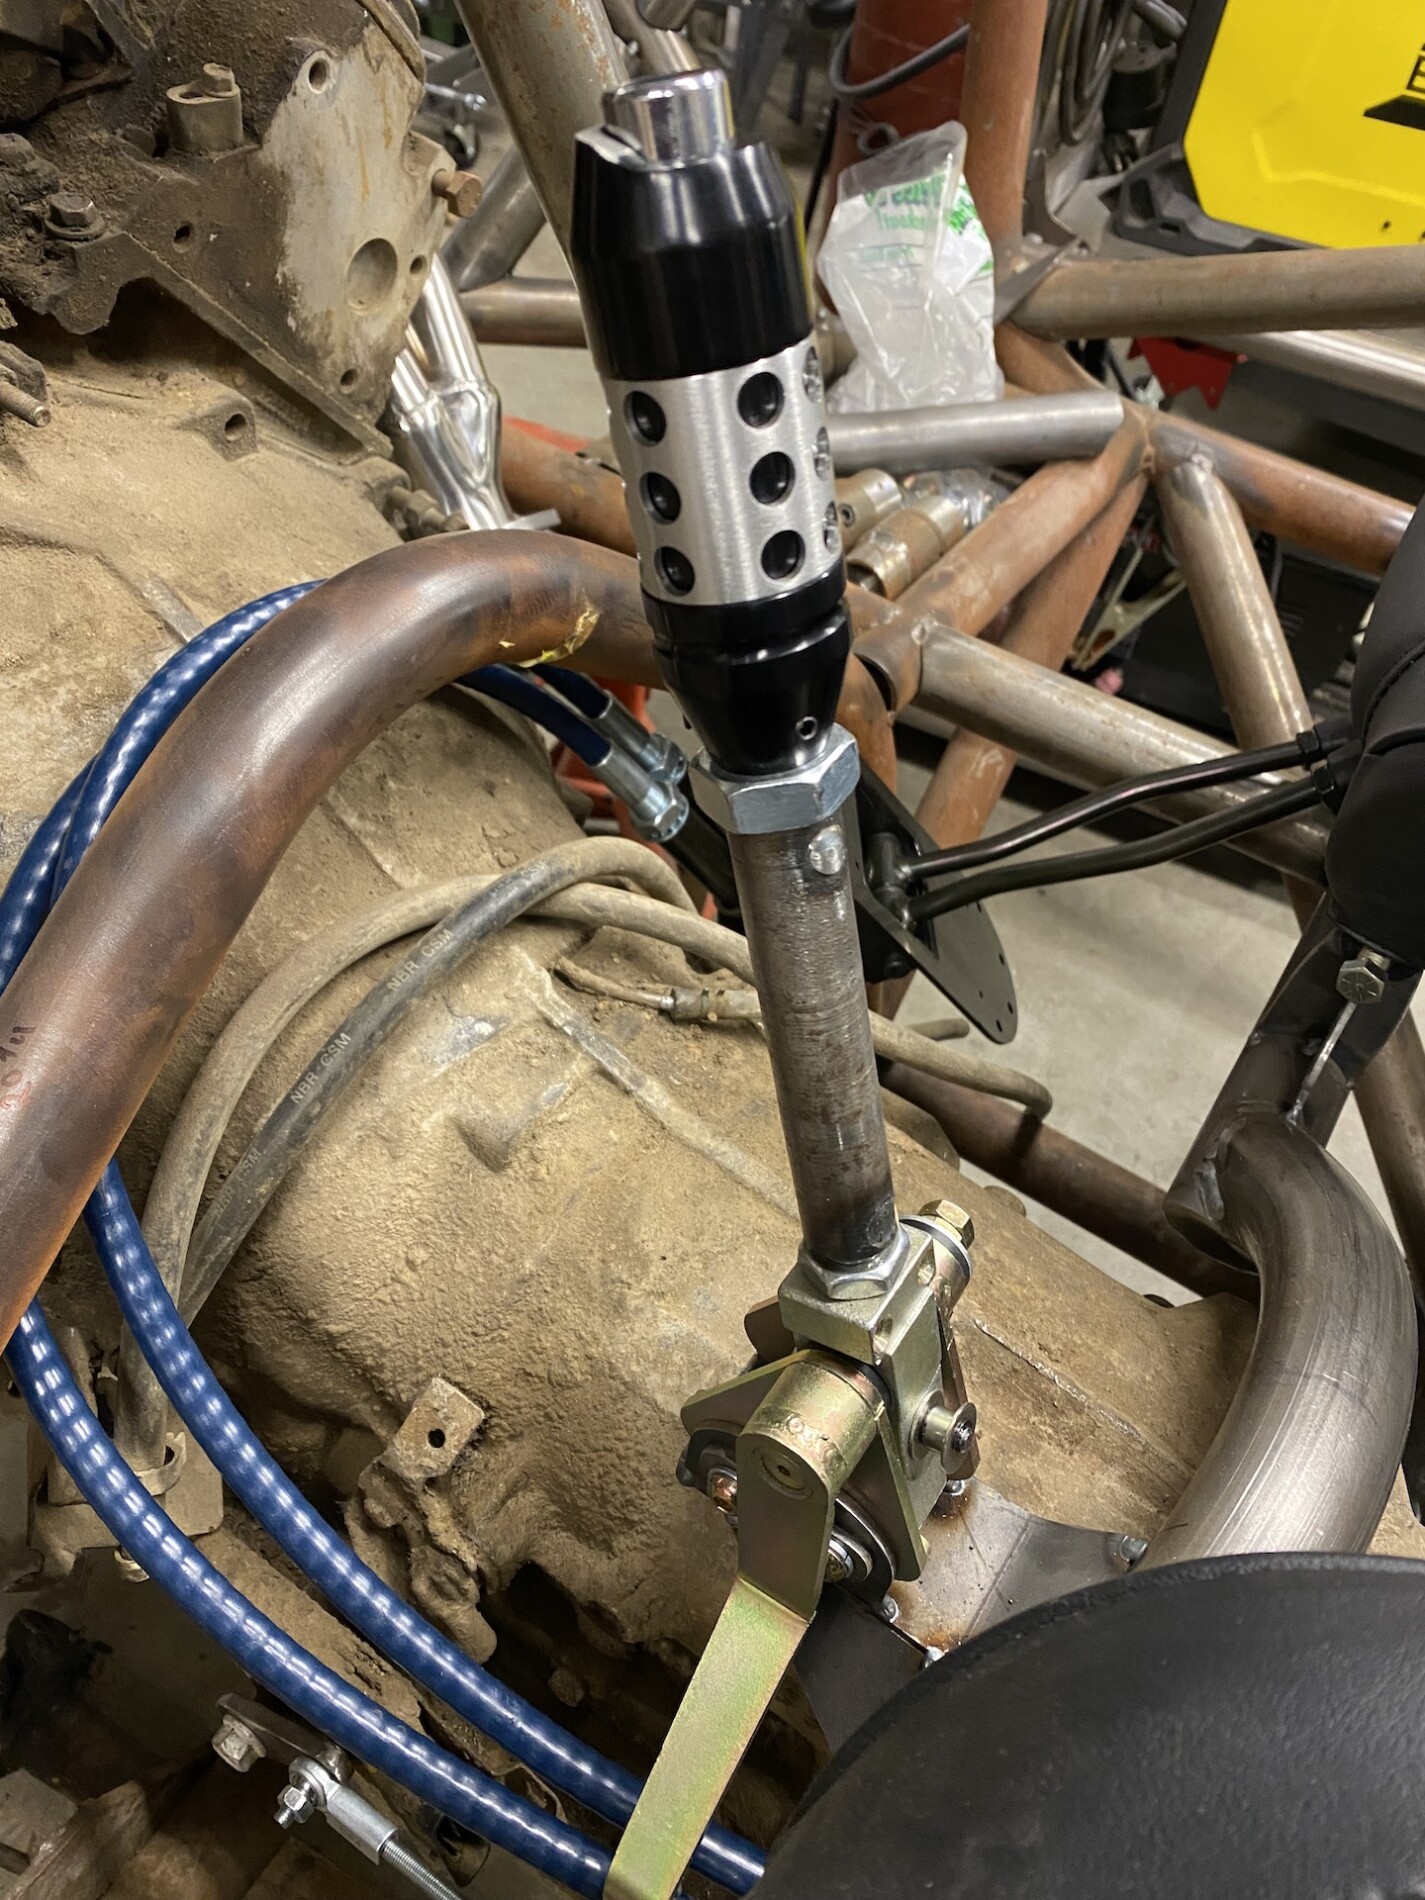
Next up was the shifter. He purchased a pretty jenky shifter which we thought was gonna work well until it showed up... but with some modifications it now works pretty well... worst case we will just pull it later and toss a winters shifter in there.


Pot metal shaft, will probably break or bend sooner than later... And the linkage angles sucked. I solve that later.

dqdS.jpg


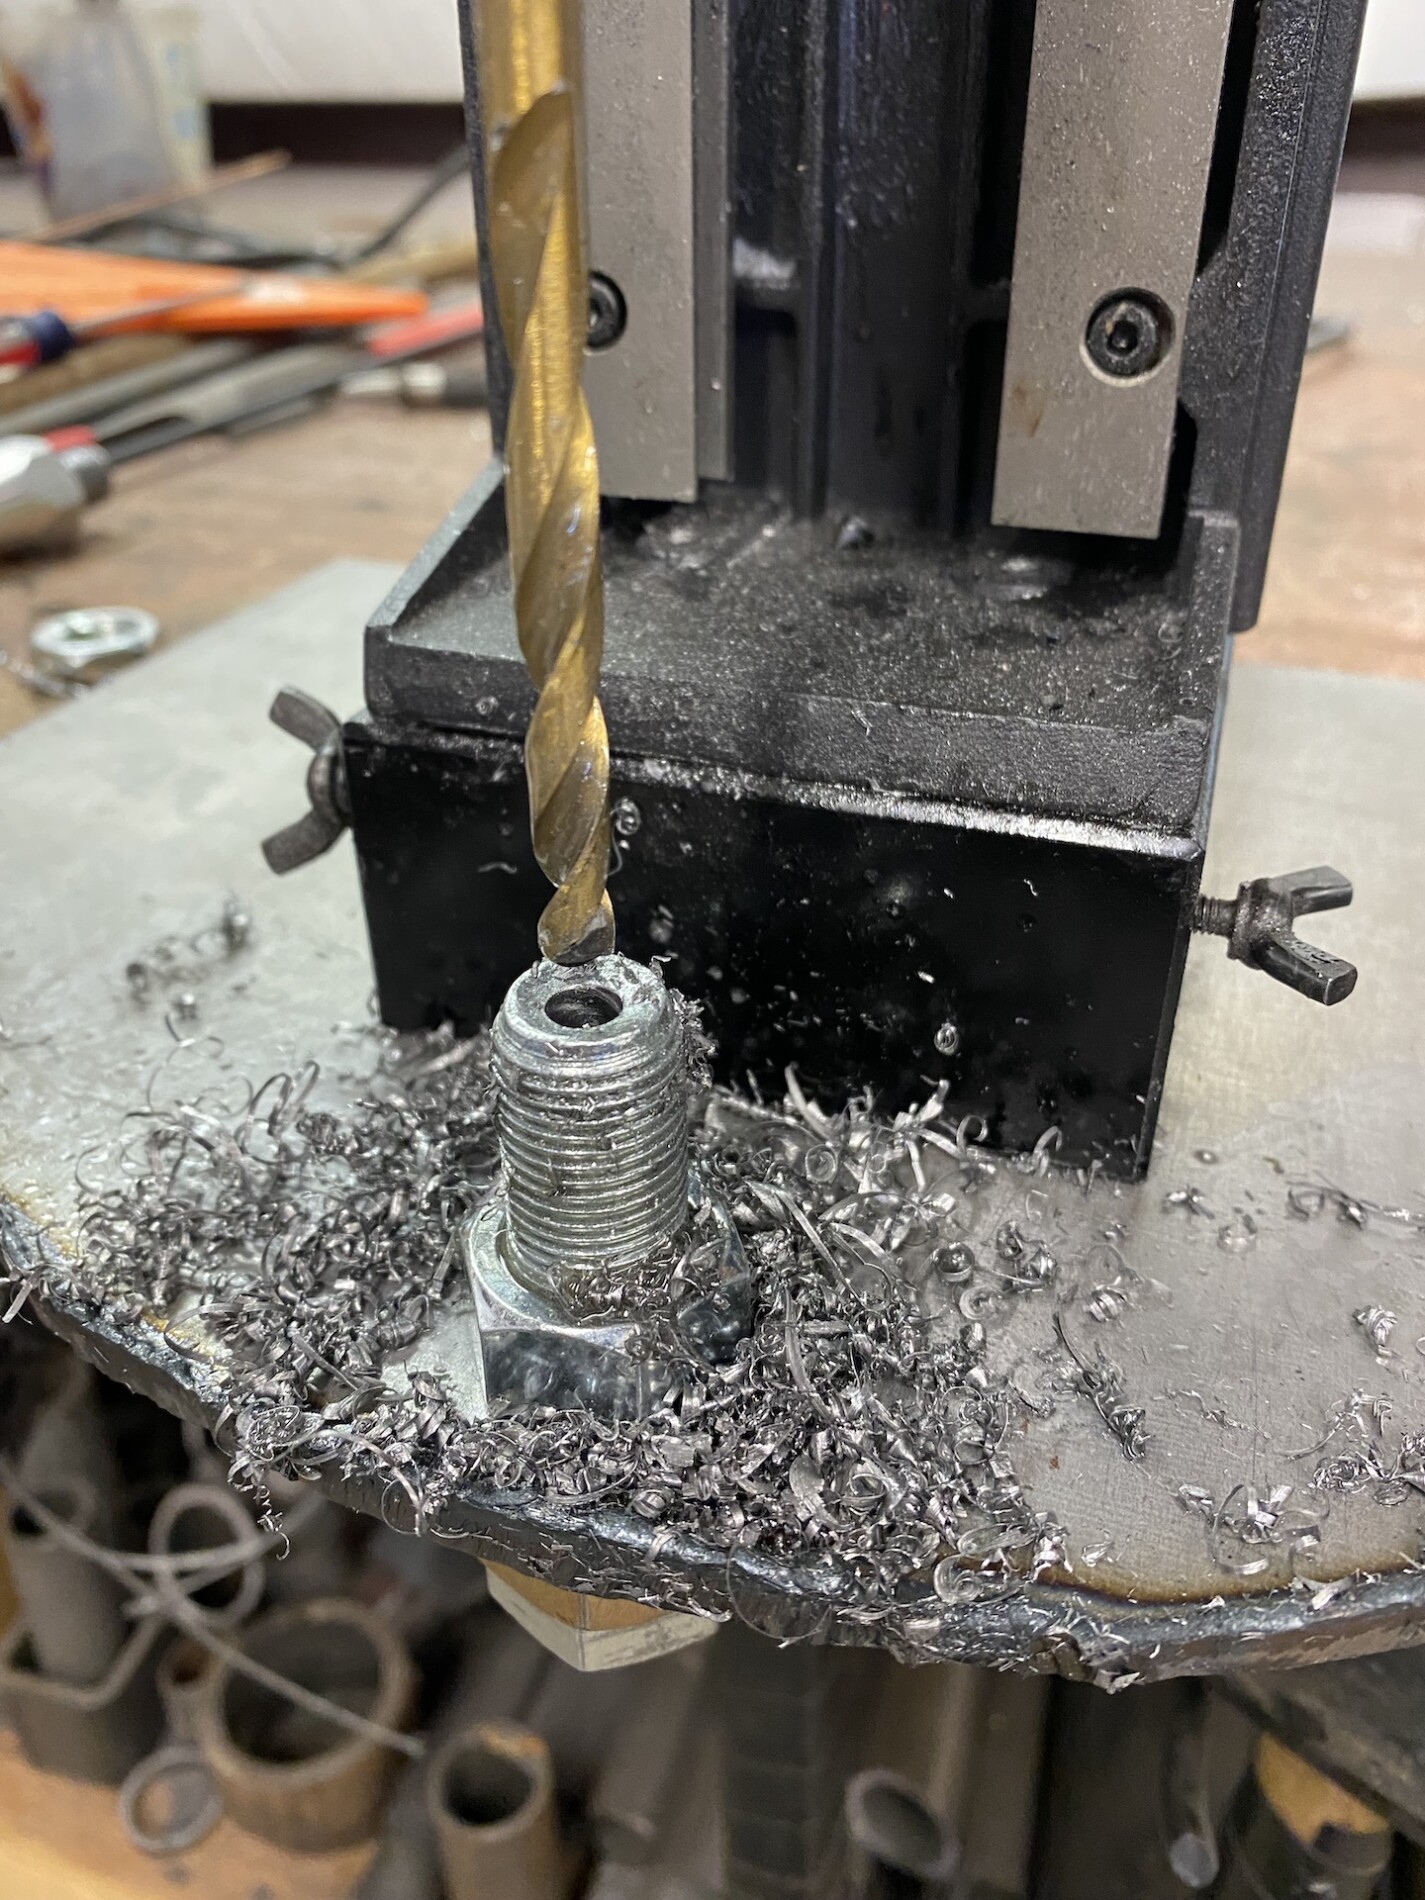
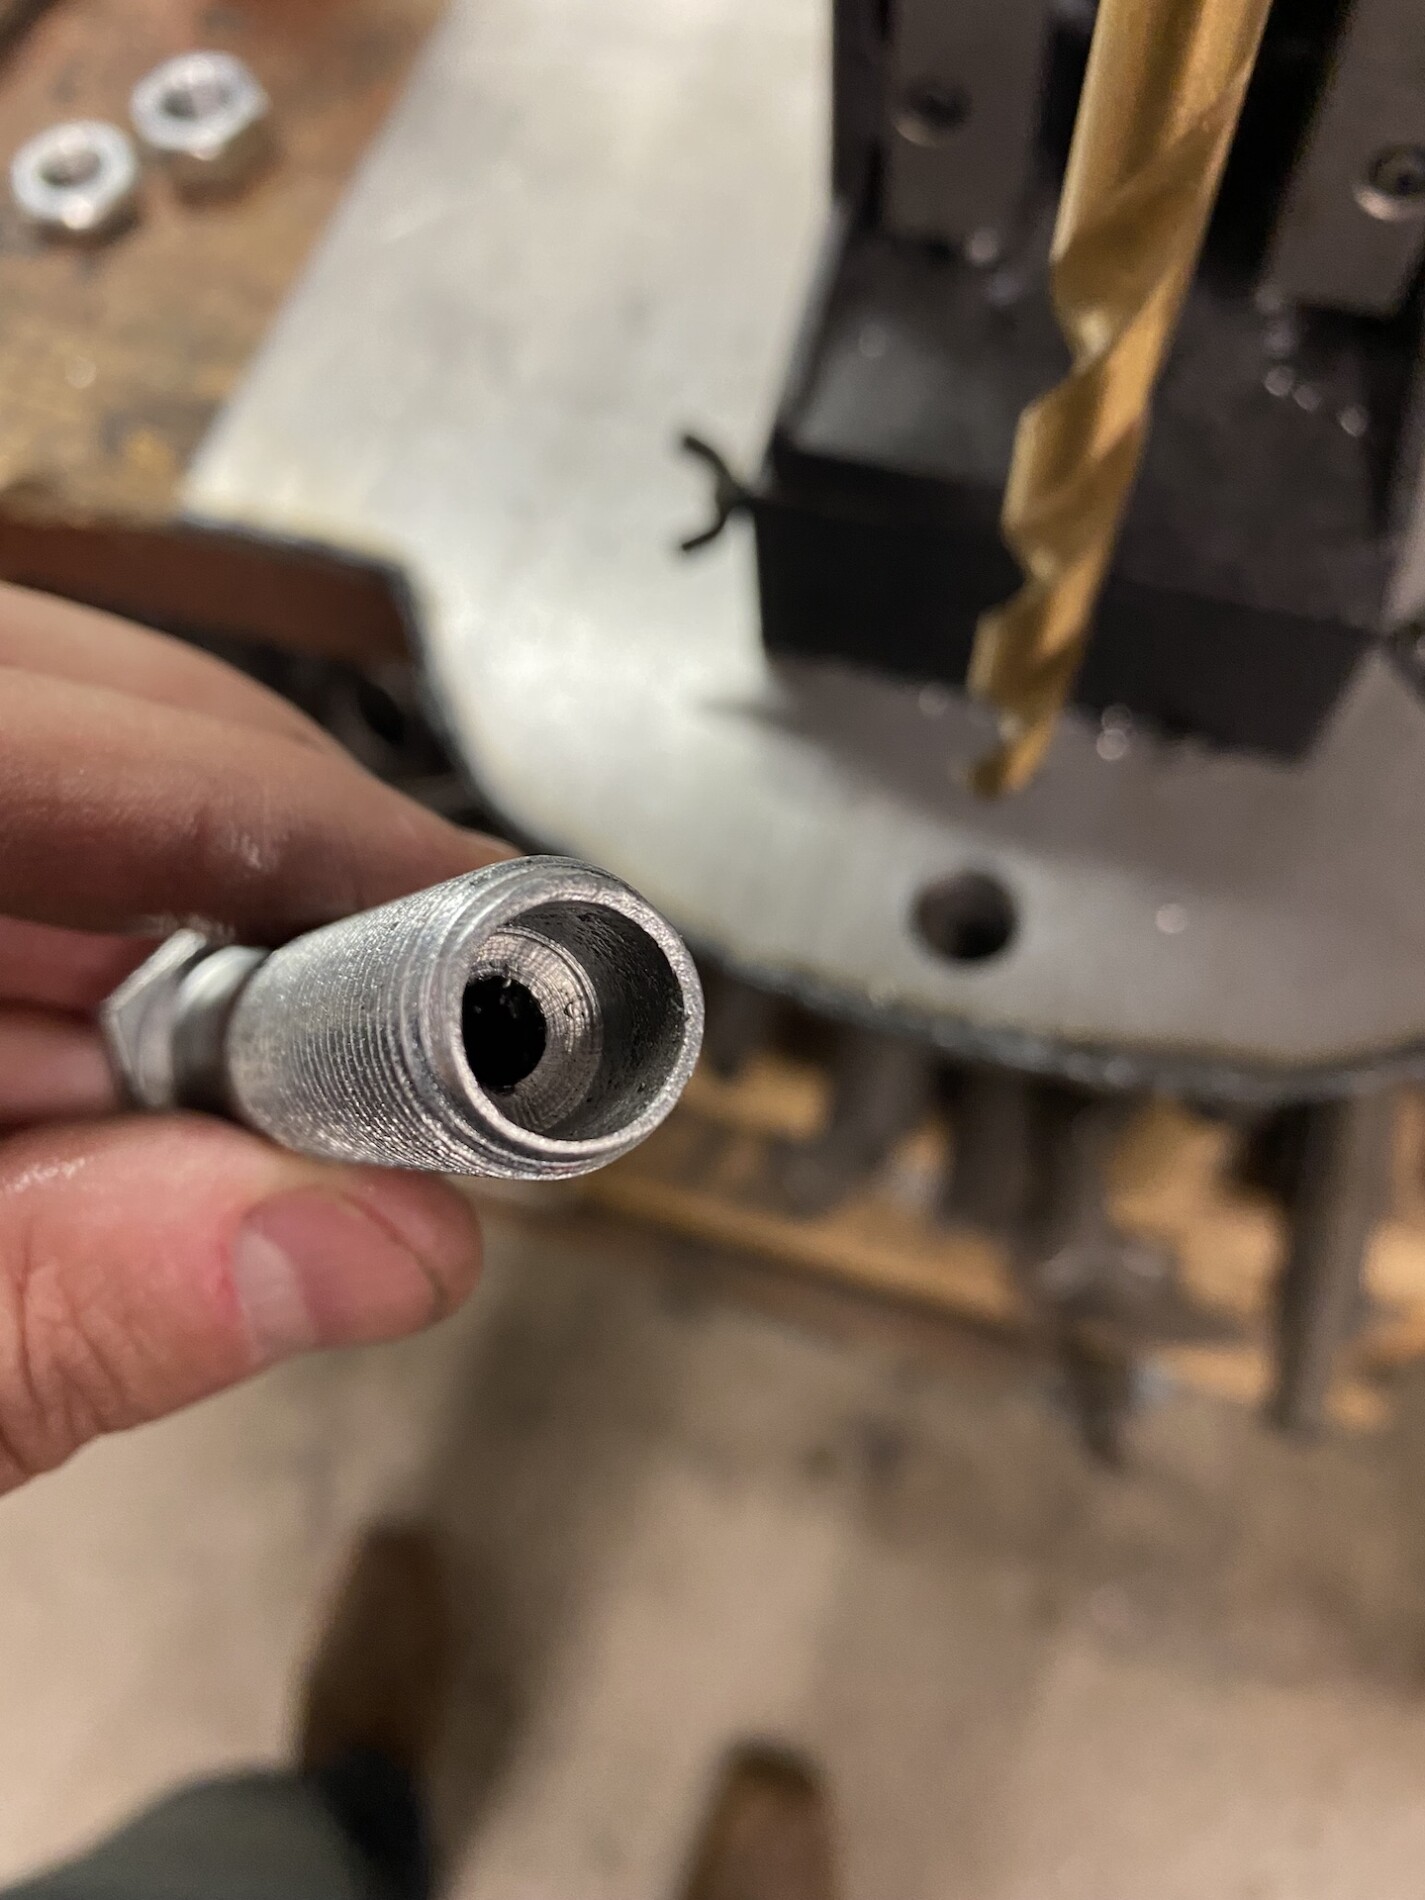
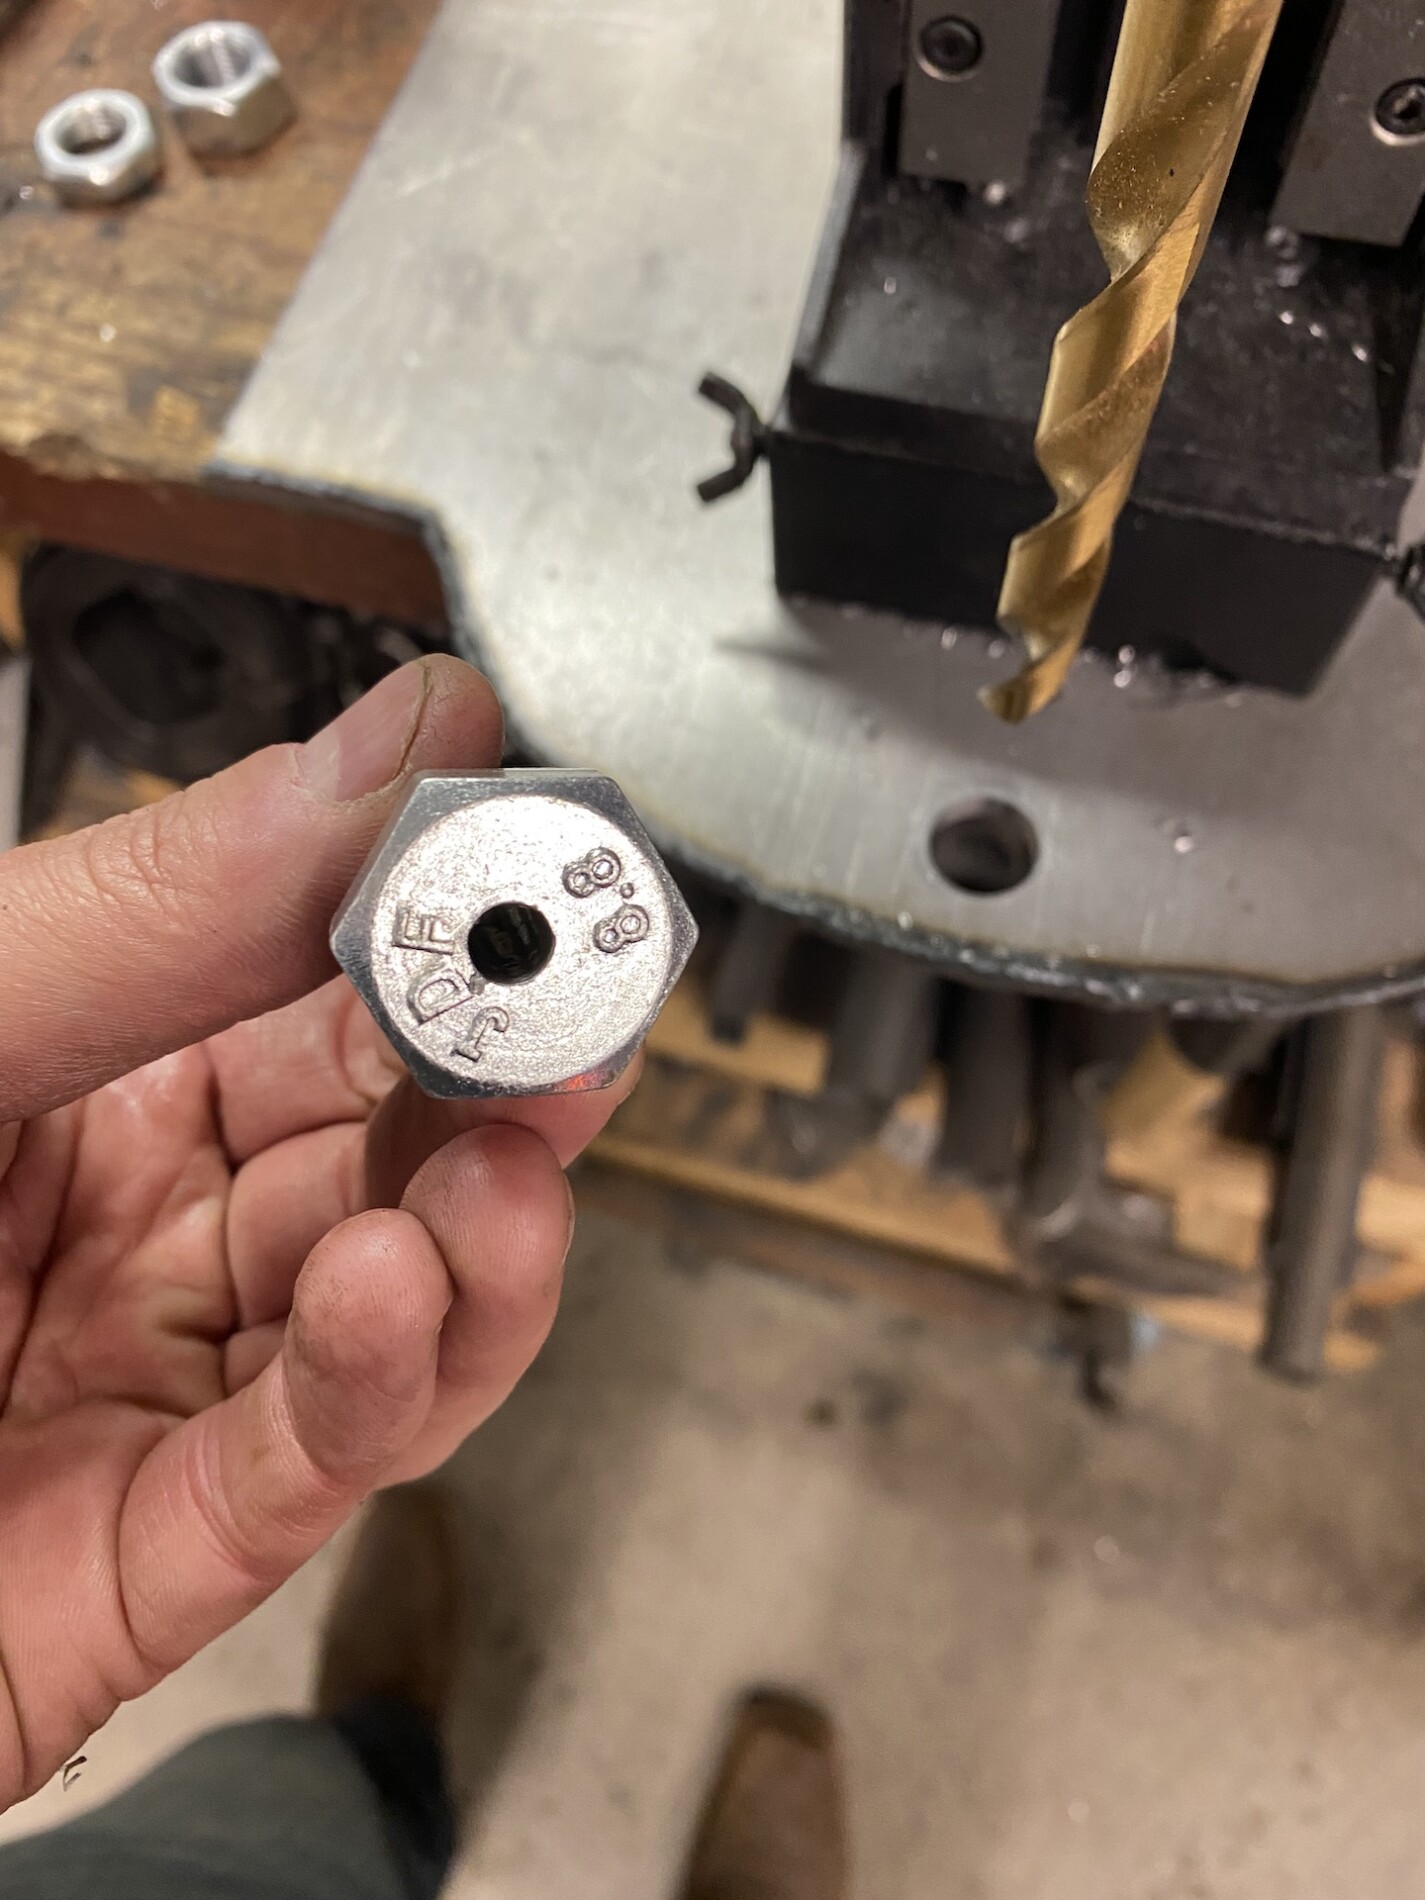
Making a new shifter shaft


dyDb.jpg

dFo5.jpg


deEw.jpg


Tapped this button handle, it was setup to just clamp on via set screws
dv1L.jpg


Much more solid and usable

dxj0.jpg
 
Top