suisuki

Chrome Won't Get ya' home
Location
Murray, UT
Thanks, it's nice to see it start to come together.
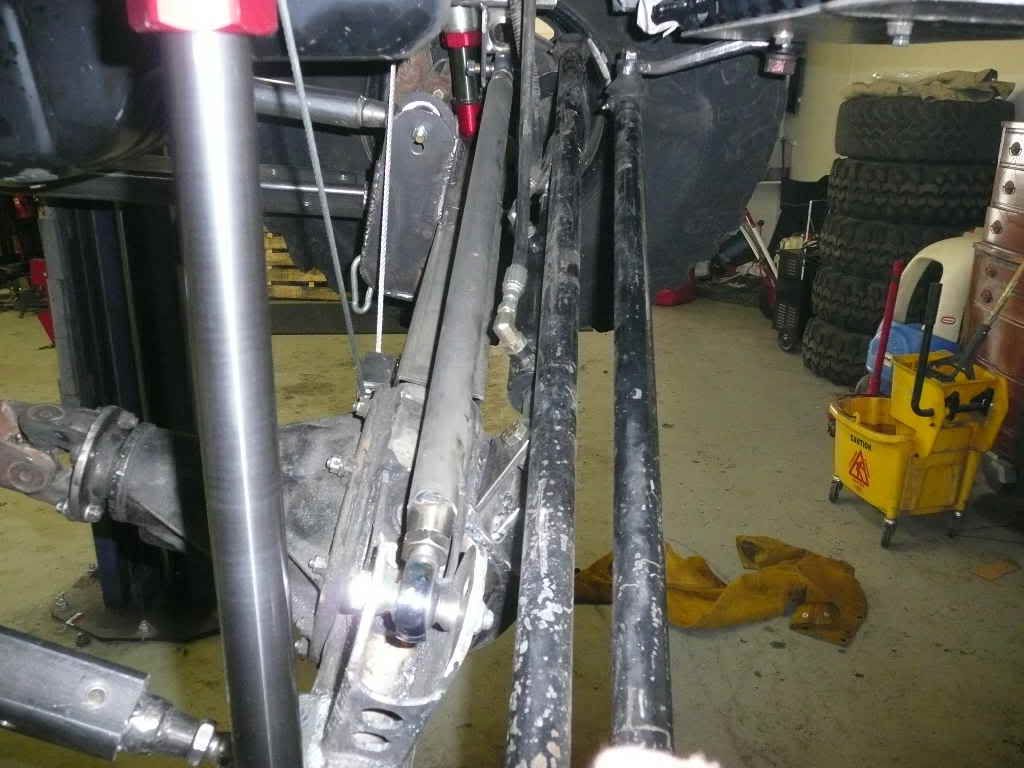
They say if it aint done twice it aint done nice but in the case of that front 3-link it took 4 trys. I'm glad to have it done and so far it has surpassed my expectations, can't wait to get it running and get it on the trail. :)
 

Mope

Registered User
Location
Pocatello, ID
What was the specs on your suspension before? Other than the yj's of course. Looks like a RR kit??? Reason I ask is I'm jealous that you got 29 inches. I can only get 20 before I lift a tire. My setup is RUF, and yota fronts in the rear. Shackles are at a ~45* angle at ride height.

Thanks, and I'm loving your project!!
 

I Lean

Mbryson's hairdresser
Vendor
Location
Utah
Wow, that driveshaft jig looks nice, but way more work than I'd be willing to go for a driveshaft. :)

I just bolt it up in position under the rig, then do just like you said. It's a built-in driveshaft lathe. :D
 

suisuki

Chrome Won't Get ya' home
Location
Murray, UT
What was the specs on your suspension before? Other than the yj's of course. Looks like a RR kit??? Reason I ask is I'm jealous that you got 29 inches. I can only get 20 before I lift a tire. My setup is RUF, and yota fronts in the rear. Shackles are at a ~45* angle at ride height.

Thanks, and I'm loving your project!!

Thanks, Yes it was a RRO Jpeater Yj conversion, with stock junkyard springs, and the extra tall shock mounts, it was is a great set-up I was always happy with it. I still have it BTW.

Nive work! So, does it run? What is left to finish?

Thanks, it doesn't run, I still have to do all the plumbing (brakes, fuel, cooling) and all the wiring, and some more welding and gusseting and bracing, skid plates, paint and hopefully thats about it.

Looks awesome, good job

Thanks Bro, stop by if you get the chance.

you better come compete at Delta may 23-24th :)

hmmmm.... shake down run/1st comp huh
maybe, It would be nice to at least come down for the trail rides, hopefully it will be done.

Wow, that driveshaft jig looks nice, but way more work than I'd be willing to go for a driveshaft. :)

I just bolt it up in position under the rig, then do just like you said. It's a built-in driveshaft lathe. :D

Yeah that was my first thought and the way I was going to do it. Seems like it would work just as well but, I thought I would have more paitence and be more accurate with it on the bench and when I looked into the spare t-case parts box I found everything I needed ready to go instantly so, I went for the jig. Making it only took me like 20 min and I liked how well it worked so I'd do it again if I needed to
 
Location
Murray
man, everything about that thing is sexy! It's good to see it sitting on its own weight. Better get my but in gear or you're going to beat me.
 

suisuki

Chrome Won't Get ya' home
Location
Murray, UT
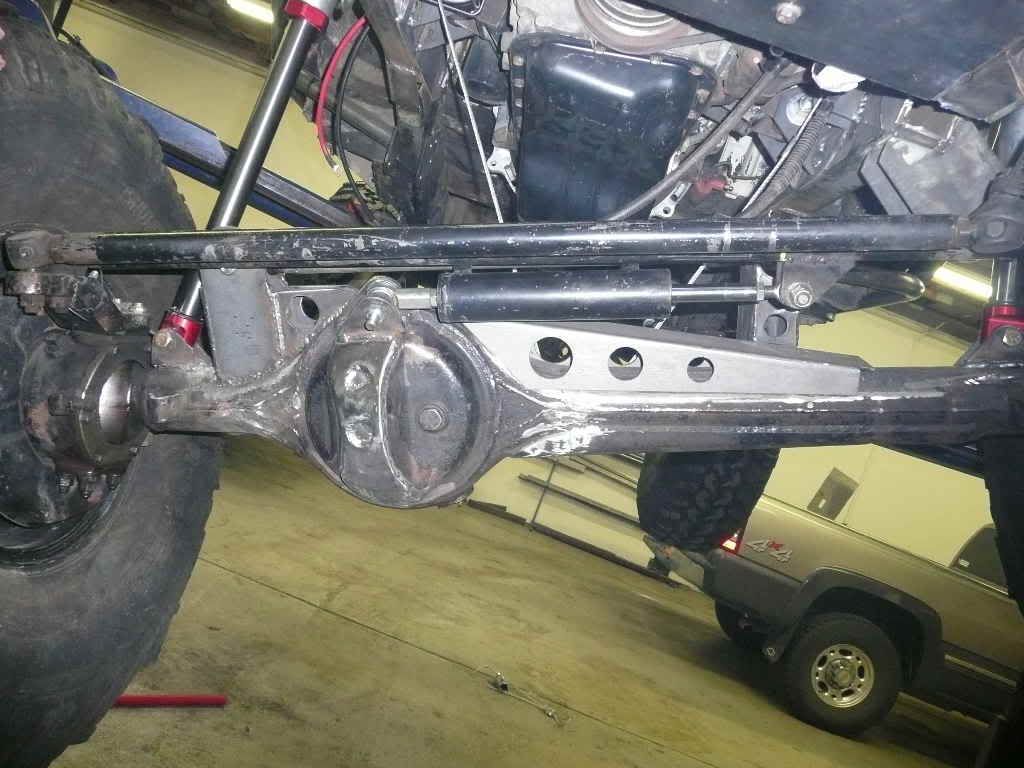
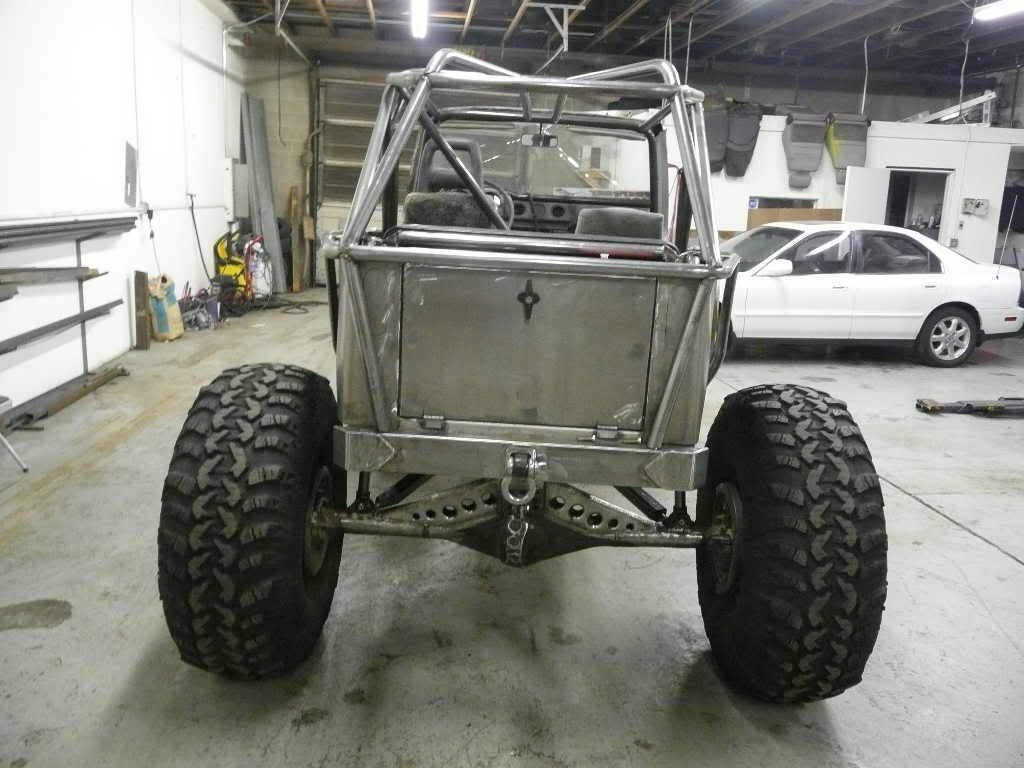
Got some front diff armor done today, and got the hyro ram mounted
P1010904.jpg

P1010907.jpg
 

jsudar

Well-Known Member
Location
Cedar Hills
Your sami looks really good.

I just had a question about your master cylinder. You said you went from a 7/8" bore to a 1 1/16" bore. Wouldn't that decrease your braking power? Or did you have to, to make up for the toyota discs?
 

suisuki

Chrome Won't Get ya' home
Location
Murray, UT
Your sami looks really good.

I just had a question about your master cylinder. You said you went from a 7/8" bore to a 1 1/16" bore. Wouldn't that decrease your braking power? Or did you have to, to make up for the toyota discs?

Thanks,

Not only does it match up better to the Toyota stuff but it's also supposed to just about double your braking power over the stocker.


Nice build and I'll continue to follow:)You will like the suby mc,I put one in my zuk running D44's and I can lock all four tire's......
 

suisuki

Chrome Won't Get ya' home
Location
Murray, UT
I got all the suspension links all welded up solid so now the suspension is 100%.
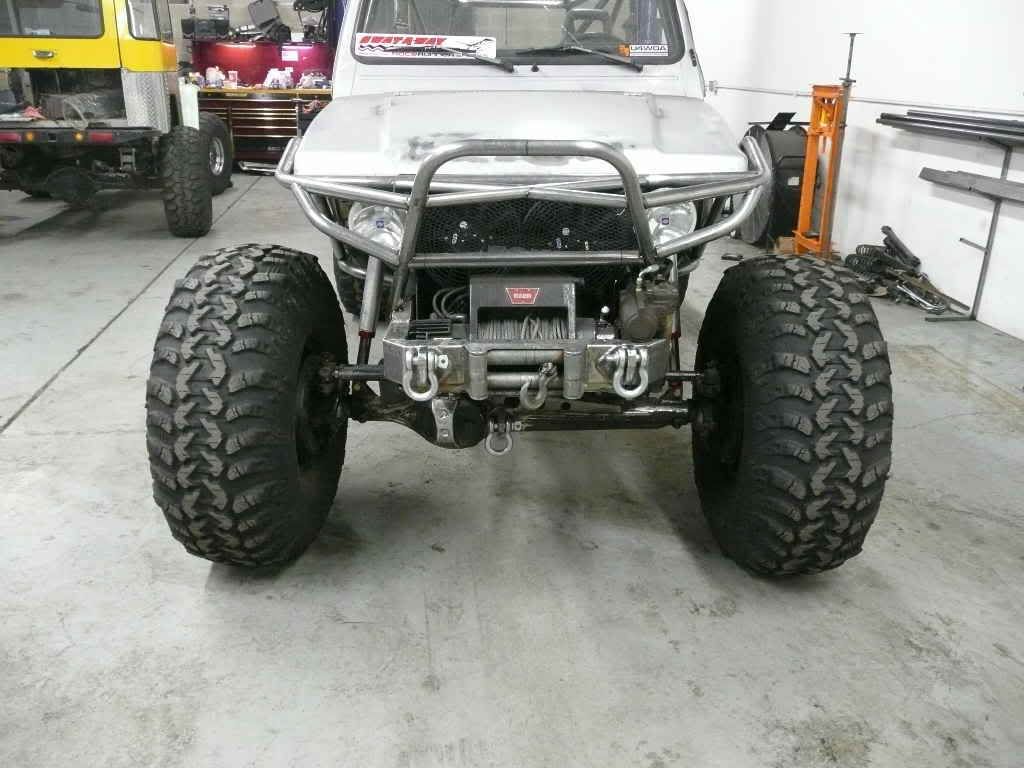
Then started thinking about anything else that needed to get welded to the axle housings before they get paint and decided I wanted some D-ring mounts on the axles so I'll have a solid point to tie down to the trailer with. Went and bought some D-rings From TeraflexPlus Thanks Carl, and some 3"x3/4" flat bar for some mount tabs. After cuting out the tabs with the P-cutter I drilled a 1" hole thru them with a hole saw (20 min a hole bummer). Here's how 3 of 4 turned out so far,
P1010921.jpg

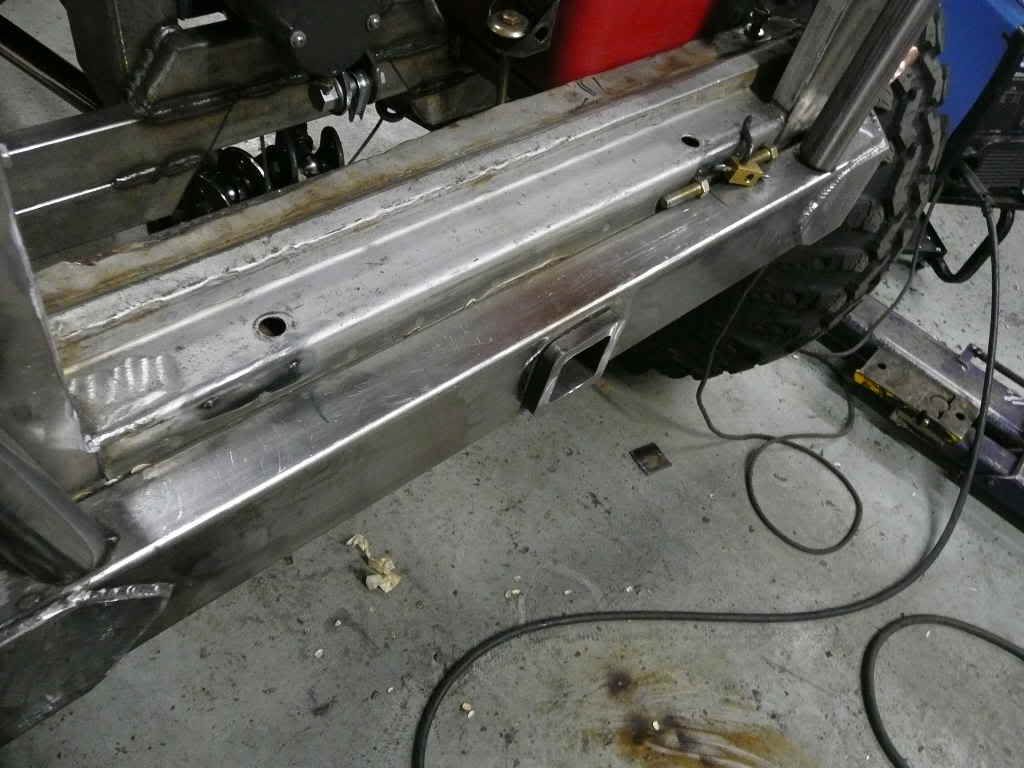
Then I started on my flush mount 2" reciever for the rear bumper.
P1010914.jpg

P1010923.jpg

I Still need to make one more mount for the rear axle but I might need a new hole saw first.
 

suisuki

Chrome Won't Get ya' home
Location
Murray, UT
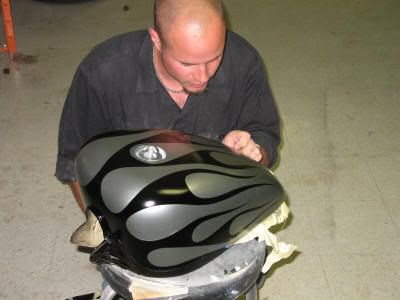
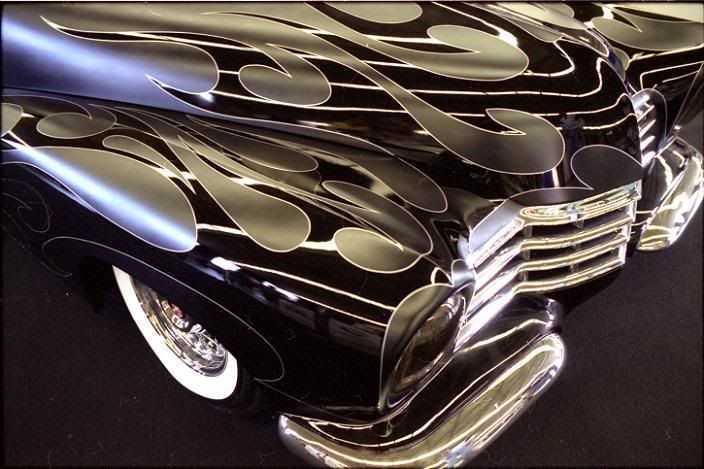
I was thinking of silver again for the body with satin-black flames, and Rust-O-Leam Hammered Black for the tube work and frame, and spray-in bedliner for the interior and inside the fenders.

something like this, I plan on doing all the painting myself.
Rybike.jpg


Here's another pic I like, but I don't plan on doing the pin-stripping, I don't want to spend that much time playing with the tape and knife.
lores_blk_flames.jpg
 

Coco

Well-Known Member
Location
Lehi, UT
That would be SICK!!!! You got good painting skills? Maybe I will have you paint my jeep sometime...haha:greg: SWEET SWEET sami! I know you have heard that just a couple times....:rofl:
 

suisuki

Chrome Won't Get ya' home
Location
Murray, UT
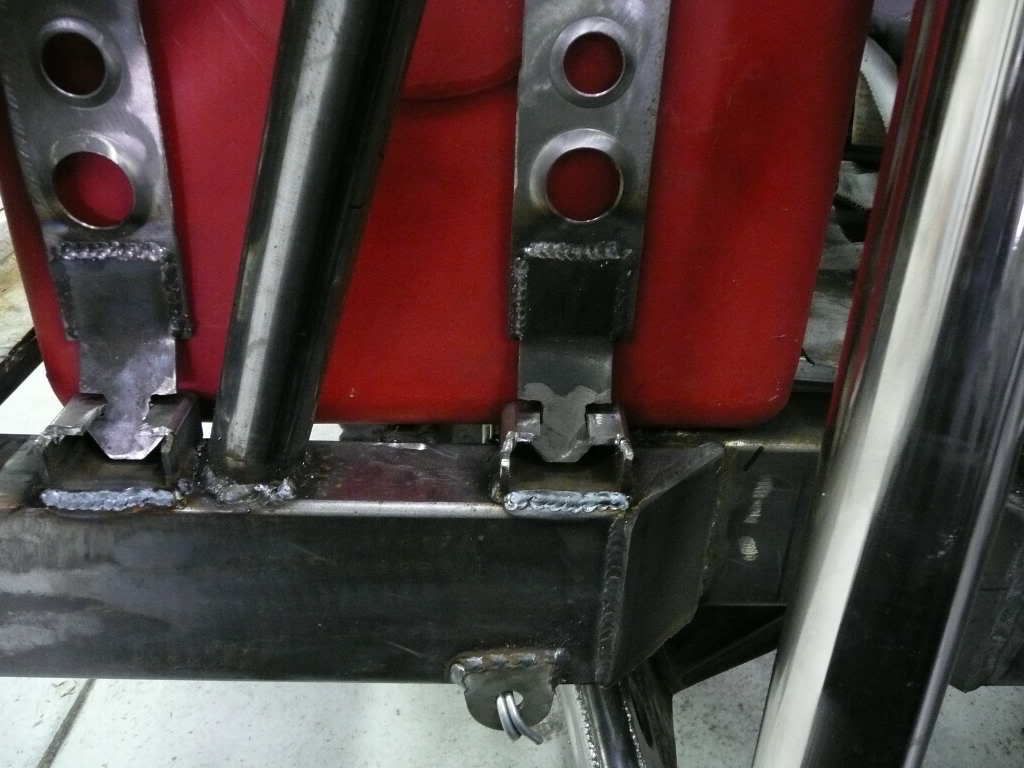
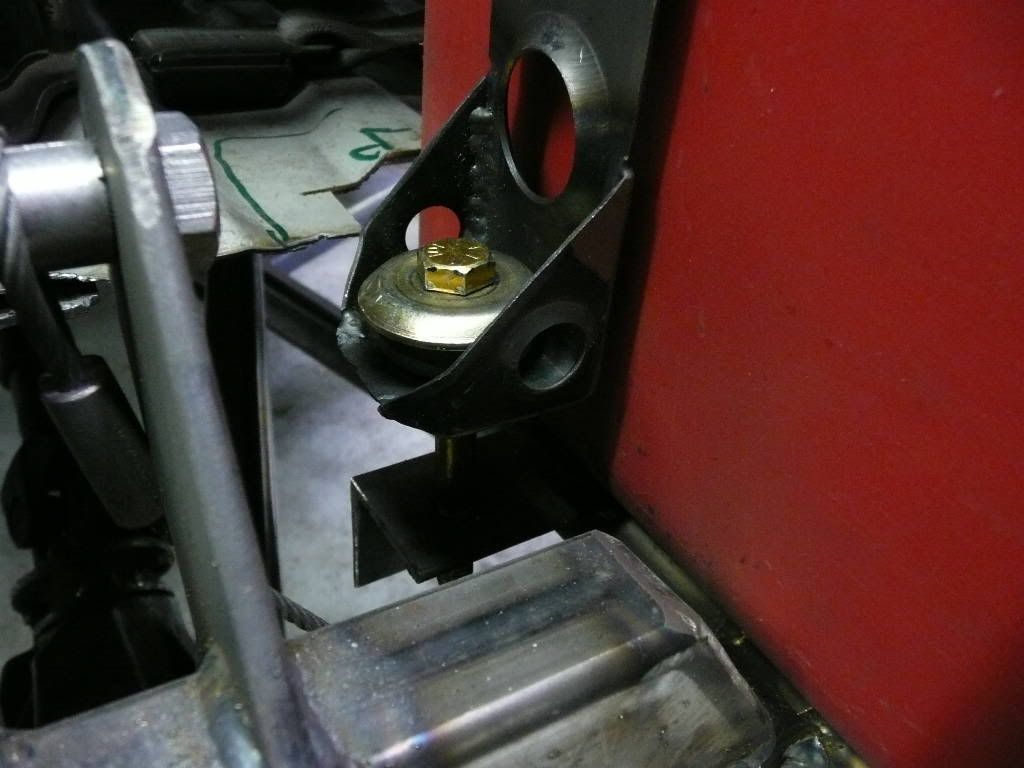
I got the fuel cell mounted, I made the dimple-died straps in Feb. out of 16ga. but just now got around to finishing the ends. On the outside I made some O.E. style arrow brackets, cause once I make the inner fenders there will be no way to get your hand in there to play with a bolt, on the inside I bolted it down but I used a rubber bushing to give the mount a little give as the tank swells.
P1010932.jpg

P1010935.jpg


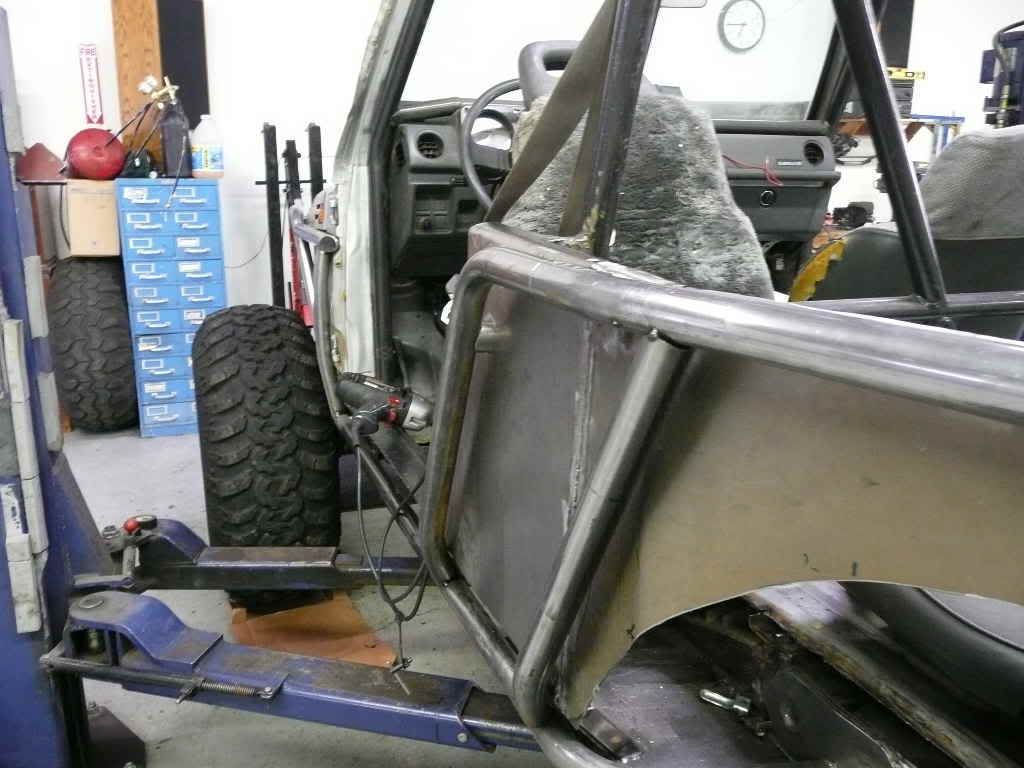
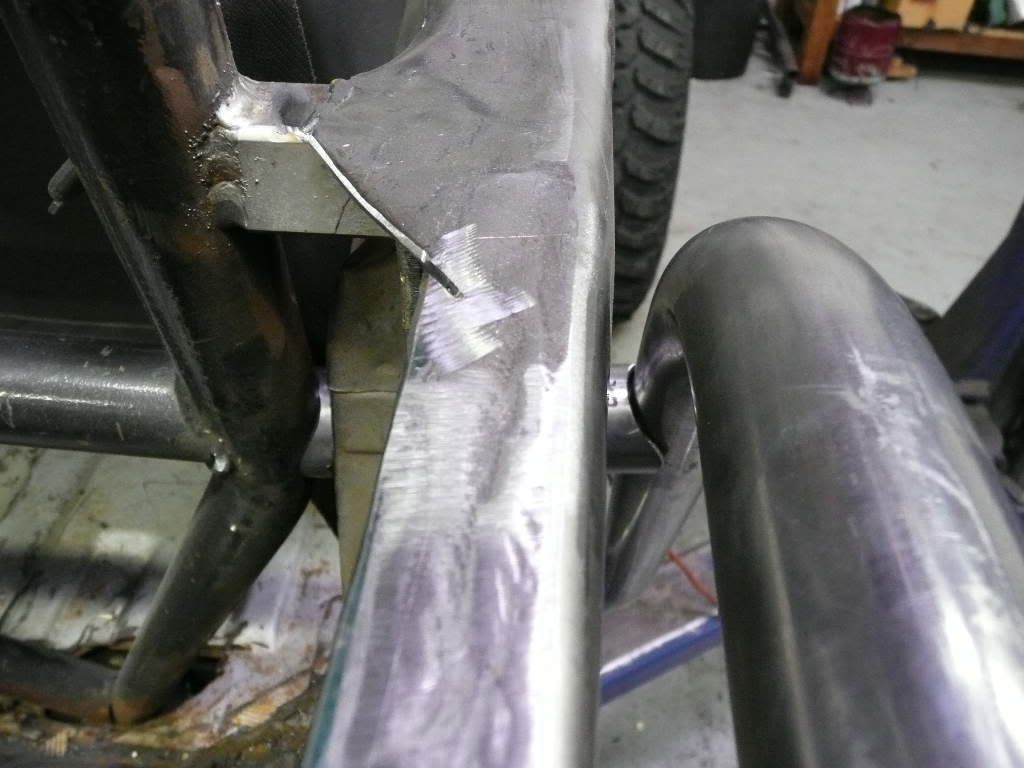
I wanted the fender tubes to tie into the B-pillar so I drilled 1 1/2" hole (with a hole saw) thru the 4 layers of sheet metal between them and added some 1 1/2" tube. Should tie them together nicely.
P1010931.jpg

P1010927.jpg
 
Top