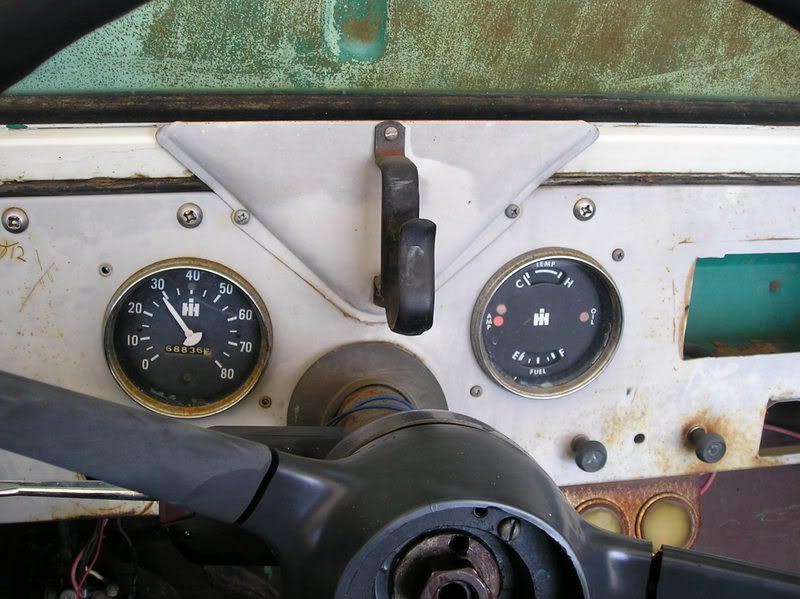
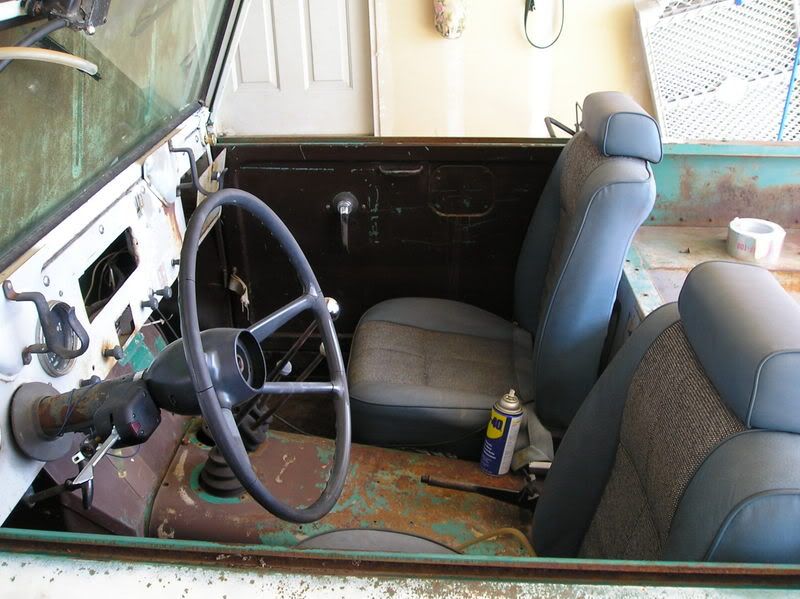
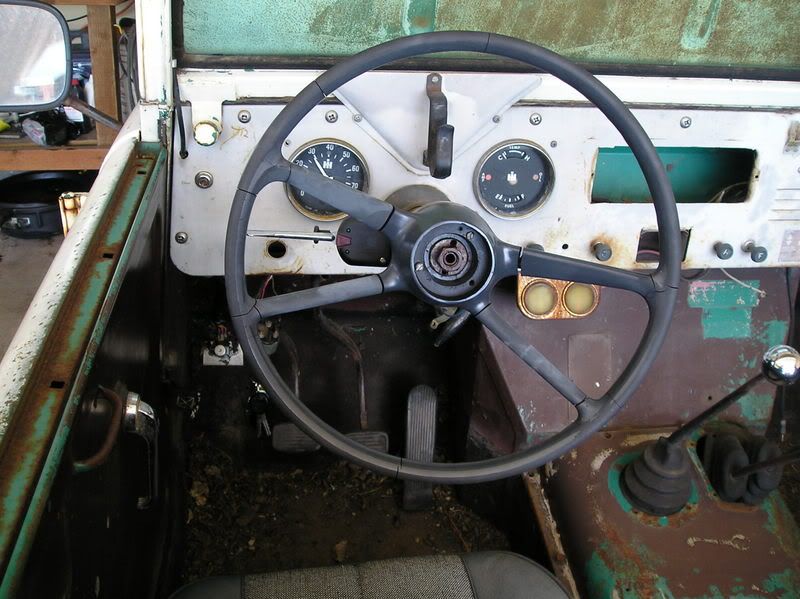
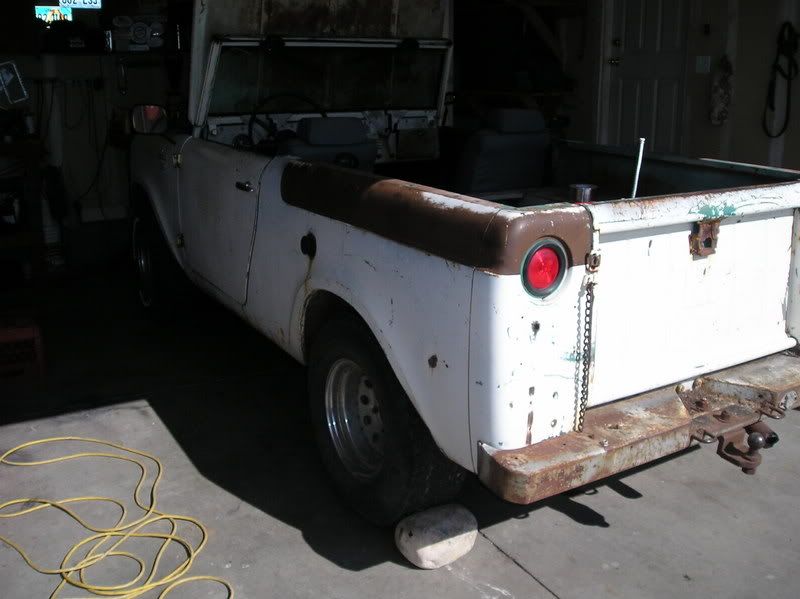
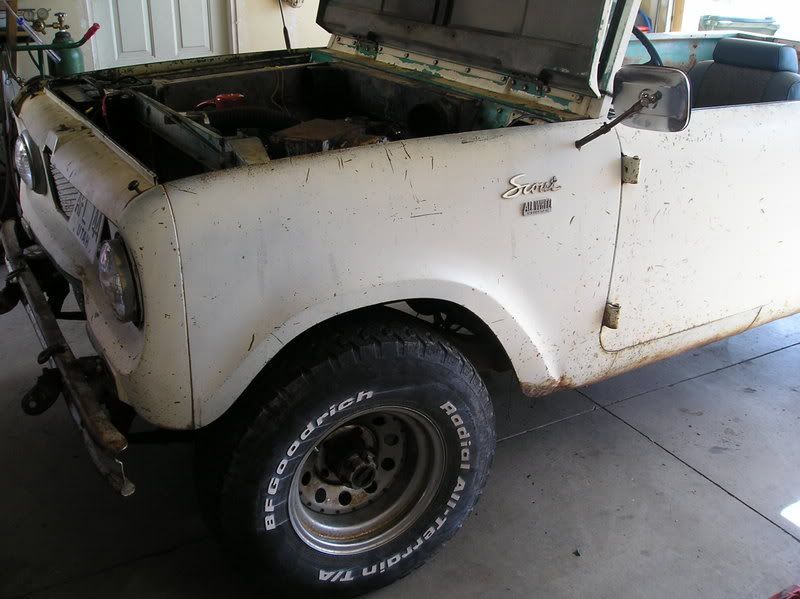
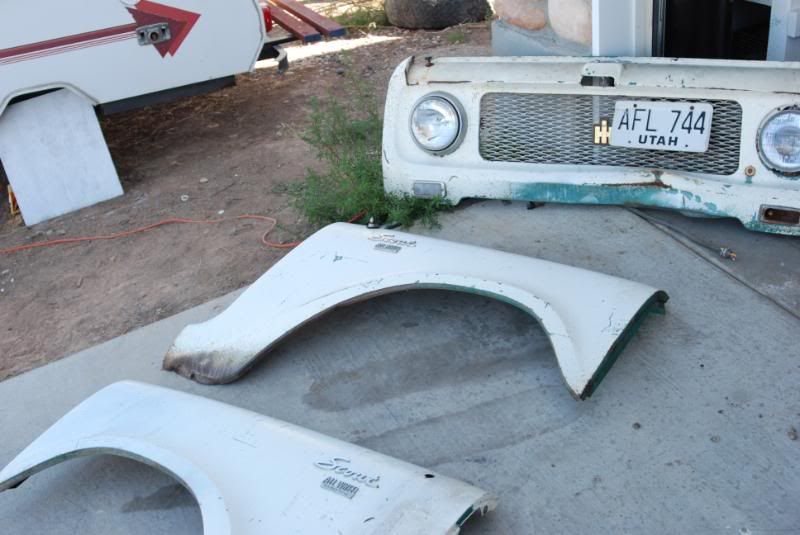
So I figured I would get some moral support from the friendly people on RME on my adventure in Restoring (mostly) a 1962 International Scout 80 
My plans are to take it back to as close to stock as I can while improving on the reliability where possible - Cooling system, electrical system (I want more than 1 fuse and an Alternator), HD steering, custom soft top (similar to OE available in 62) etc.
here is what I had posted so far on Binder Bulletin 1.5 years from now I may be done
My plans are to take it back to as close to stock as I can while improving on the reliability where possible - Cooling system, electrical system (I want more than 1 fuse and an Alternator), HD steering, custom soft top (similar to OE available in 62) etc.
here is what I had posted so far on Binder Bulletin
Well I got my ride and look forward to driving it around town... when I am finaly done with my resto.. I am currently debating on what stratagy to take on it right now..
1. Strip all of the gauges and stuff that is in it and get the body work done
Pro - it will be easier to focus on the cosmetics without all of the gadgetry in the way
Con - I can't get it out of the garage for the times that my Jeep decideds that it needs some "Assistance"
2. Get the beast mechanically sound and then do the cosmetics around the moving hulk
Pro/Con same as above but reversed..
What way do you say is the best to go?
Anyhow I am stoked.. unfortunately every time I walk by the scout I notice something else that I will have to do.. not that I am surprised by this just reminds me how much work I have ahead of me..
Here is the short list that I have so far - I know I am kinda Anal but it always helps me stay motivated when I can check off on a list something that I have completed... instead of staying Daunted with all of the things that are still left
*Change all fluids(Flush all systems, Tranny, Tcase Engine, Diffs, Radiator, Steering box) - Unknown
*Carb Rebuild (Holly 1904 1Brl) –
R-2352A,R2445A use Rebuild kit http://www.carburetor.ca/carbs/kits/CK003.htm -- 44.95
All others
http://www.carburetor.ca/carbs/kits/CK055.htm -- 40.30
and FLOAT http://www.carburetor.ca/carbs/floats/f32.htm -- 21.29
*All new Vacuum lines
*All new Radiator hoses
*Tune up (Plugs-wires etc)
*Thermostat
*Oil pan gasket
Flywheel cover - Unknown
Verify integrity and adjust brakes
*Wiring Harness and all wiring (minus Gauges unless necessary to run)--4wheelinjunky.com - http://store01.prostores.com/servlet...om/Detail?no=1 $74.95
Repair Dents (front and passenger rear ding in driver rear hard top passenger rear)
Clean all metal body surfaces to steel
Paint Interior (Rhino line or Herculiner) and Exterior (Implement Red and White)
Undercarriage (sandblast, Paint and sprayed with rubberized undercoating)
Windshield Gasket - Unknown
Rear Tail light replace with originals - Unknown
Front Driver headlight Bezel - Unknown
Front Driver Marker cover - Unknown
Front seats and brackets - Unknown
Rear Seat - Unknown
Steering wheel - Unknown
Heater ducting
Passenger side fuel tank clean and seal
Fuel gauge repair
Speedo cable and gauge
Heater fan and heater stuff
Tires
Clean Wheels
Radio/Speakers – Unknown
Anyhow more to come -- this will be a slow building thread as I am on a tight budget and have to wheel and deal
Well the build has officially begun
Sunday my friend and I pushed the beast up the driveway and into the garage (after the gratious permission of my wife to render the garage usless for parking for X# of months).
Performed a compression test Resulting with 1 120PSI 2 120PSI 3 115PSI and 4 118PSI so everything is even and I don't think that a rebuild is needed .
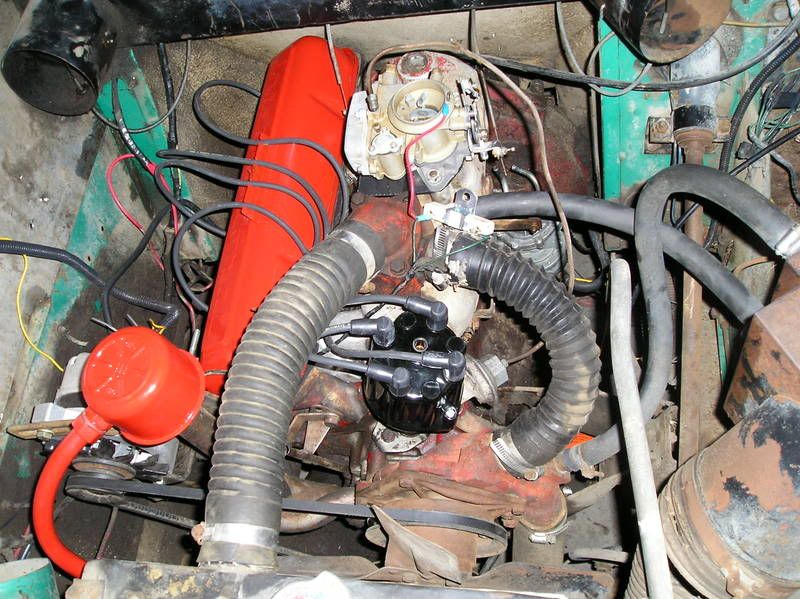
Last night I pulled the carb (preping for rebuild) Oil pan (had about 1/4 inch of sludge at the bottom) cleaned and put a shiny coat of Ford red on it, pulled the Valve cover for cleaning and a new coat of paint. put in new plugs, wires, cap, rotor, points, condensor, ballast resistor and a HP Coil.
A new thermostat and a cooling system flush is on tap for tonight as well as pulling the fuel tanks to take them to Jmac Radiator here in Salt Lake for a total overhaul.
Slowly but surely I am getting this beast going.
Slowly but surely I am getting this thing going ... The man in Brown dropped off a few packages last week -- Carb rebuild kit, 1/8 hard gasket material for carb heat sheild, new wire'n harness, 5 volt reducer for the gauges...
So I got the carb rebuilt last night and built a new carb heat sheild and got 90% of my ignition componants installed (all but the Coil and ballast resistor due to the fact that I wanted to pull the PCV valve and see if it was working... well no rattle in the PCV valve so I dropped it and all of the fittings into my carb cleaner overnight to see what that will do for me.. otherwise I will just pick up some more hose and a PCV that will fit the hose size and see if I can build something that way... That and run to the VW shop and see if I can get a new Rod-end for my throttle peadle
Hopefully I will get the beast running tonight just have to pull out the dwell meter, vacume gauge, Tach and timing light and see if I can get it all tuned up for a late night run around the block
The beast -- IT runs...
So last night I riged up a PCV valve, hooked up the carb linkage and the rest of the ignition system (coil, balast resistor etc).. and started her up...
-- Right off the bat I was worried the the "economizer" or Power valve was bad. I was lucky enough to have one that was not rebuildable and it was flooding like mad... after some tinkering I noticed that I was getting fuel coming into the carb at the copper seal between the float valve and the carb body.. DOH.. so I crank down on it to tighten it but it was still letting fuel through.. So I decided to remove the seal and see what it would do.. and that did the trick (stupid seal)..
Put it all back together and crank it over again... Backfire... Hmm this is better but the timing must be off.. 5 minutes of dinking around with the timing finaly getting it set at 0 BTDC and it starts right up.. 15 more minutes dinking with idle speed, Dwell, timing and fuel mixture...
For a 40 year old engine this thing is now running SMOOOTH!
I took it for a drive around the block (it was getting dark so I had a few people flashing their headlights at me but I don't have the headlights hooked up so I just enjoyed the streetlights ) Anyhow it drove around rather nicely.. other than slipping out of second gear a couple times!! good thing the next item on the list it a tranny and T case rebuild... (well replace gaskets and anything else that needs help while I am in there )
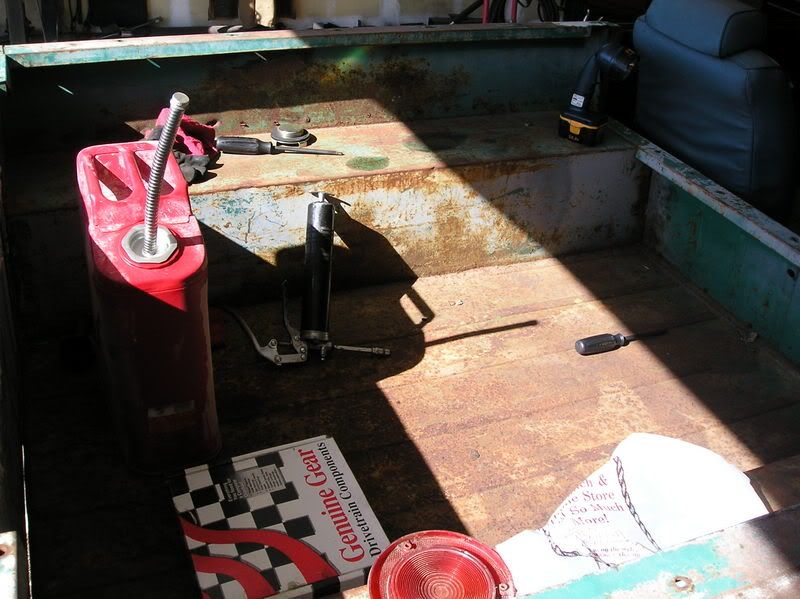
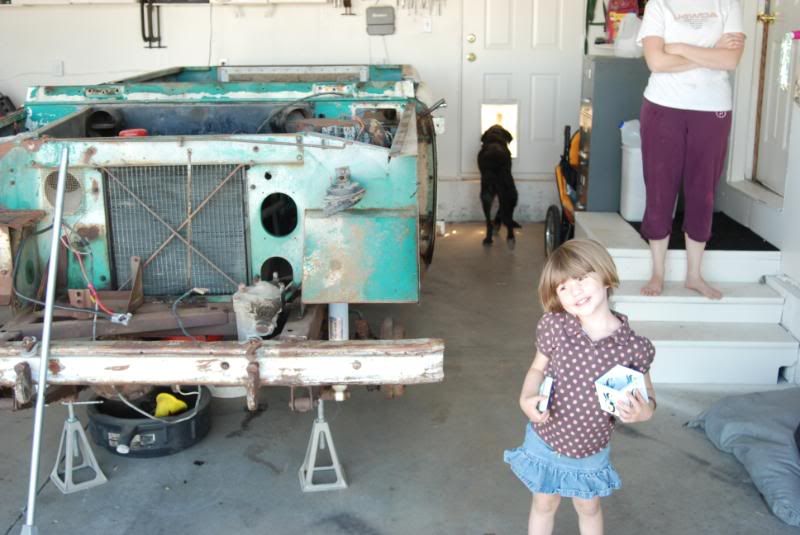
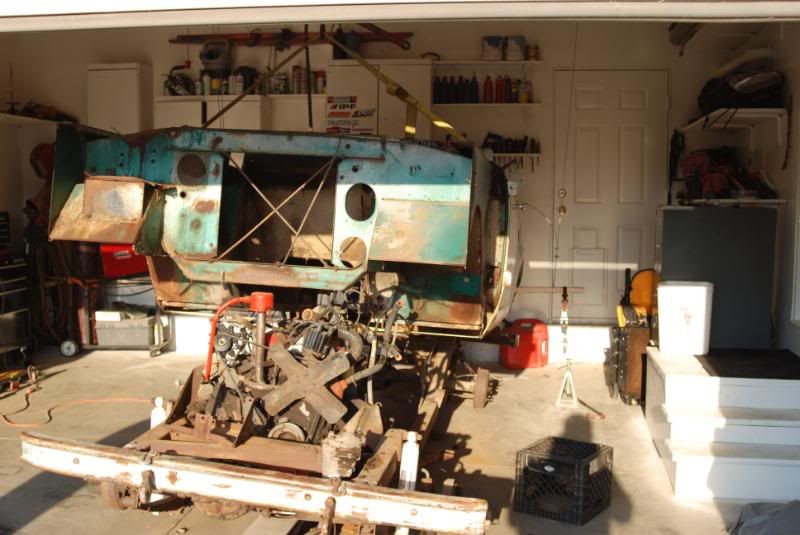
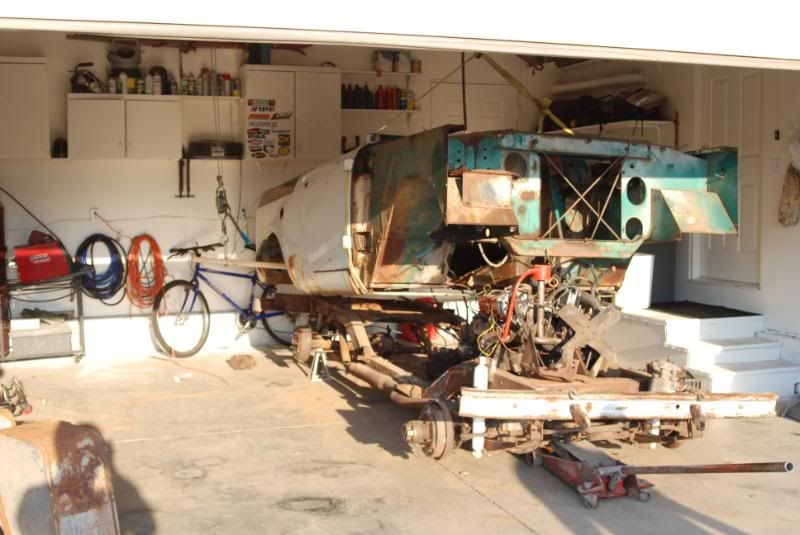
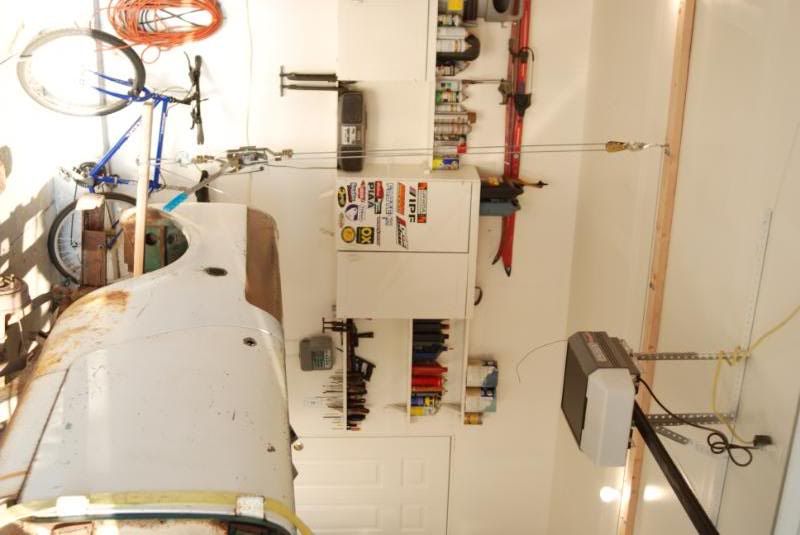
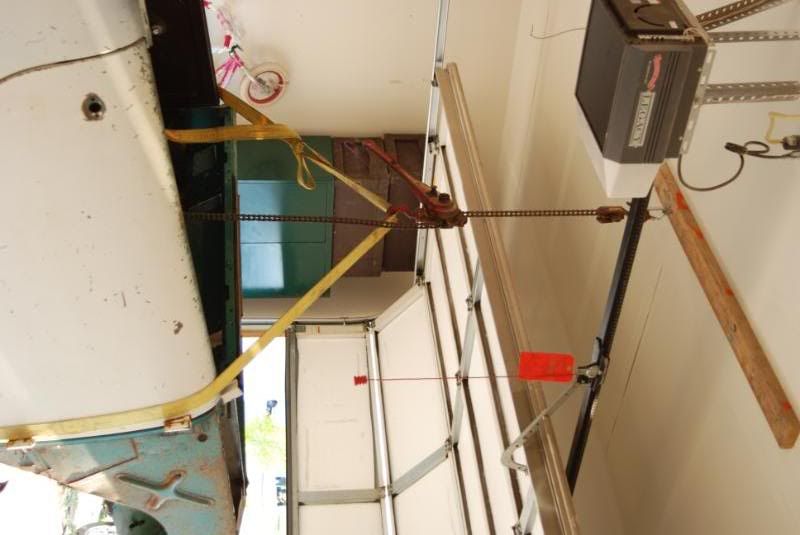
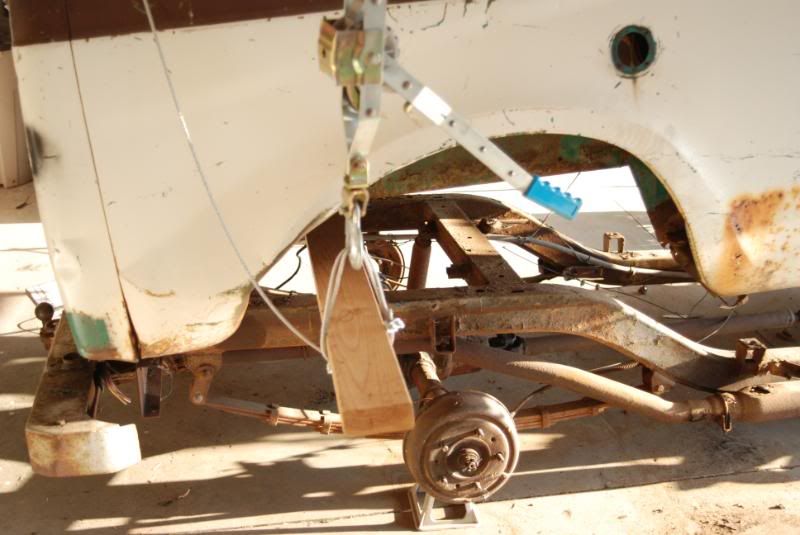
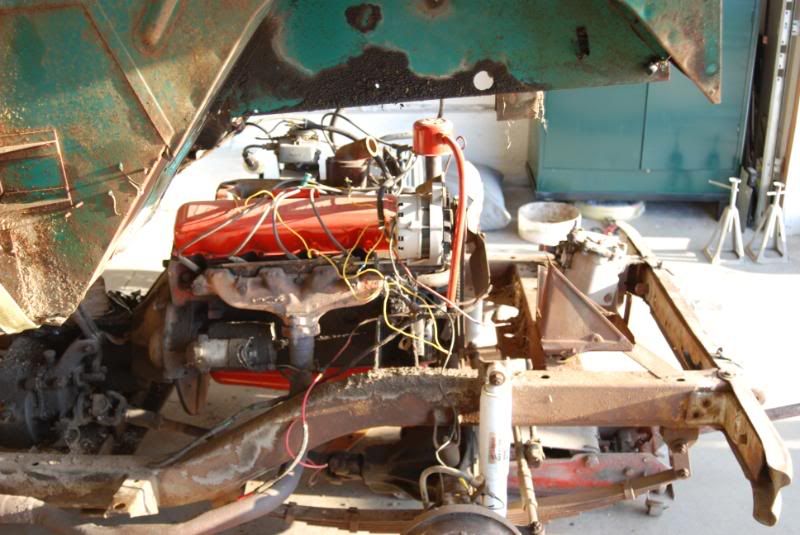
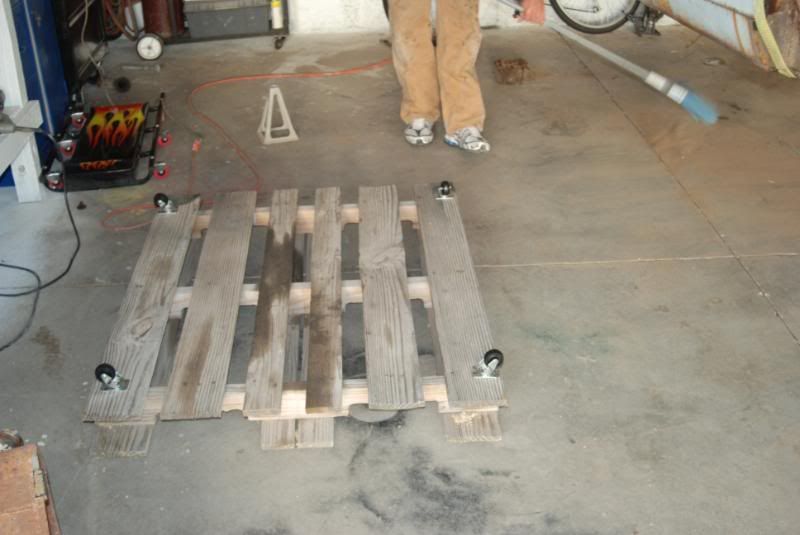
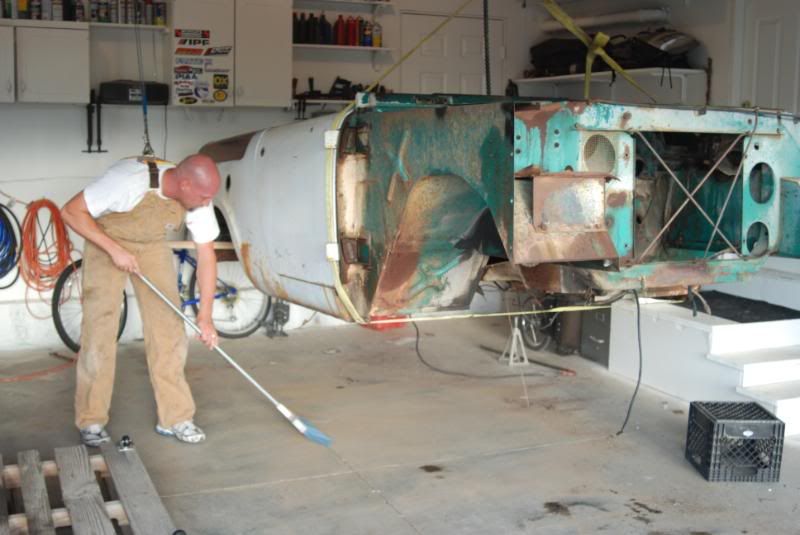
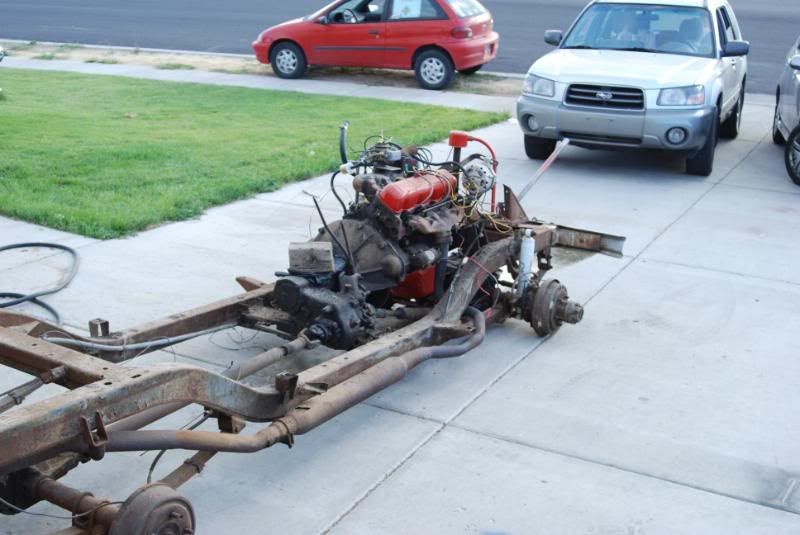
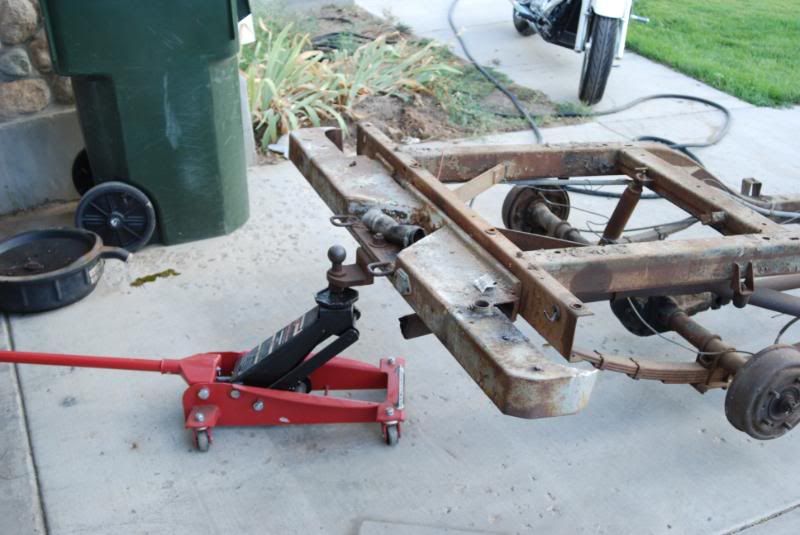
So I figured a resto thread is useless without some pics.. I don't have any prior to starting working on it (got excited).. but here it is in my garage
