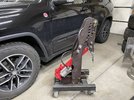
Friday evening I got a little work done on the Chevy Stepside for JJ (NICEGUY01).
Pulled the front hub assemblies apart and removed axle shafts before dropping the front axle out of the truck. As I was disassembling the front hubs I noticed that there were two different styles of hubs. One appeared to be the OEM GM/Spicer and the other was either a standard Warn of the Mile Marker knockoff. I contacted the owner and he ran and grabbed a new set of Warn Premium hubs for when it goes back together.
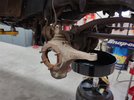
My axle fixture came in handy yet again. Sure glad I took the time to fabricated this a couple of years ago. I only wish I would have built it 20+ years ago when I thought about how nice it would be to have.
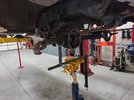
Front axle ready to mount into the axle fixtures on the fabrication table for disassembly and reassembly.
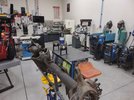
Before closing up the shop Friday night I popped the cover off of the rear axle housing to allow the fluid to drain. Gears looked good and oil wasn't too awfully bad.
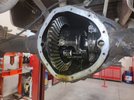
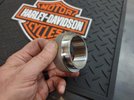
I then shifted gears briefly as my order from McMaster Carr arrived so I thought I would knock out another small project for another RME forum member. A gentleman brought me a stainless steel keg that he needed some bungs welded in as he was going to use it on his rat rod project.
Saturday morning my son came over to service his wife's car so I thought I would hurry and knock out the keg project so he could help me lift the axle housing onto the fabrication table into the fixture.
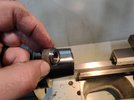
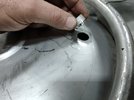
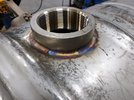
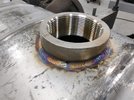
Drilled a 2.25" hole and deburred it.
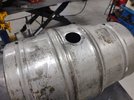
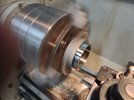
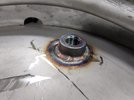
Then drilled a couple of .750" holes in one end and deburred them.
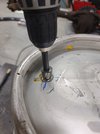
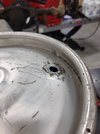
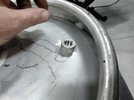
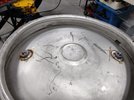
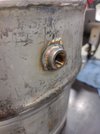
On the opposite end I had the main tap to close up and wouldn't you know it, the slug I cut out of the 2.25" hole was the perfect size other than the hole in the middle. I tossed it on my shop made argon purge box and welded up the center hole then metal finished it.
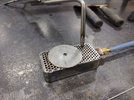
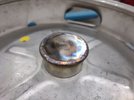
Tap hole filler cap metal finished and welded to the end of the keg.
More to follow......


