4biker's Jeep Trailer thread - I hope I do this right

K

King Midas

Guest
I like what you have done so far. It looks tough enough to handle the frame flexing while on the trails. It looks like your making storage compartments? Great idea if so! More compartments the better! How much water do you plan on packing in it?
 

4biker

Active Member
I like what you have done so far. It looks tough enough to handle the frame flexing while on the trails. It looks like your making storage compartments? Great idea if so! More compartments the better! How much water do you plan on packing in it?

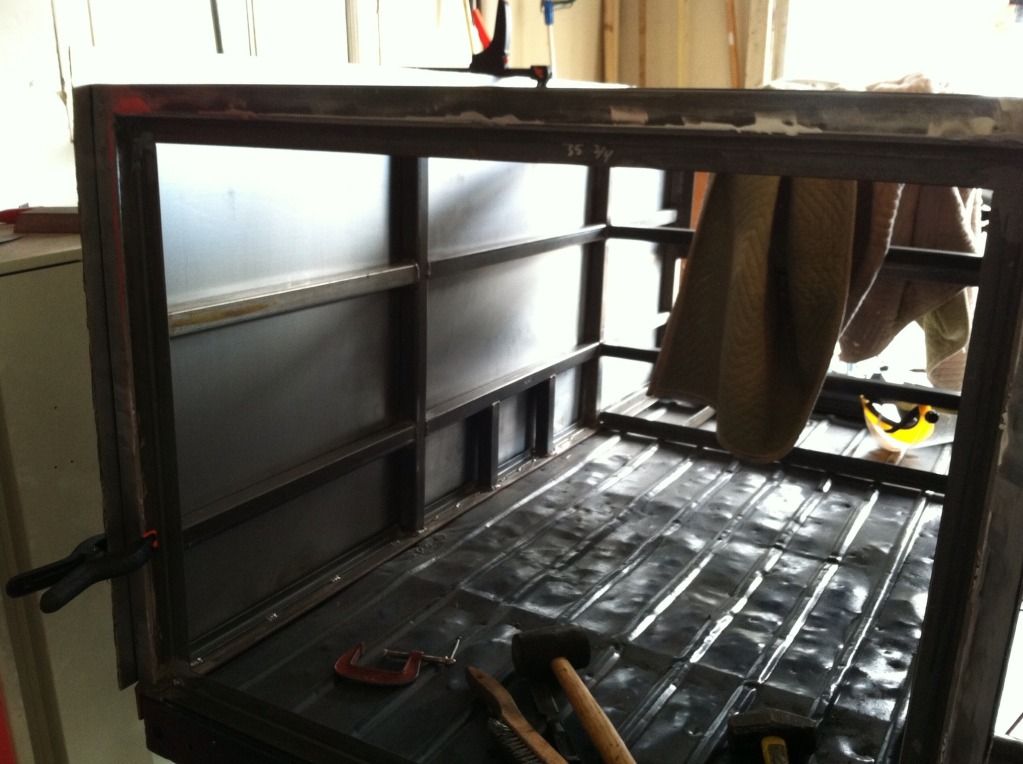
The front compartment will house the battery and inverter, and either the fridge/cooler or water tank. The water tank can be placed on either side of the dividing wall between the front and rear compartments. I'm expecting the water capacity to be between 12 and 18 gallons. This way I have a huge room for baggage, etc. and a smaller room for small loose stuff like recovery gear, jumper cables, extension cords, etc. I'll also put boxes on either side of the main framework that run the length of the trailer, like the Adventure Trailers Horizon model.
Thanks for the input!
 
K

King Midas

Guest
Water is heavy! So consider putting your tank above the axle for better stability and center of gravity? Just a thought! How many watt inverter do you plan on using?
 

4biker

Active Member
Water is heavy! So consider putting your tank above the axle for better stability and center of gravity? Just a thought! How many watt inverter do you plan on using?

Yeah, I was worried about that. I'll have a battery in the front (1000W inverter) so it will already be heavy on the tongue. I just don't want any situation where it will be overloaded in the back of the trailer, especially when it's loaded with bikes on the roof and back, or a heavy RTT. With that, I'll probably put the water tank behind the dividing wall so it's sitting in the baggage compartment. That will put the weight just in front of the axle. The water tank is long, tall, and skinny, so I can put it up against the wall, or lay it on the floor, depending on the weight needs. I've got to figure out what the tongue weight will be, and set up from there. Depending on the setup, I'll be putting my large propane bottle somewhere as well, so I can balance the weight a little bit with that. Thanks again for the input - hopefully I'll get it right (enough) ;)
 

4biker

Active Member
Well, I was able to get some stuff done over the weekend


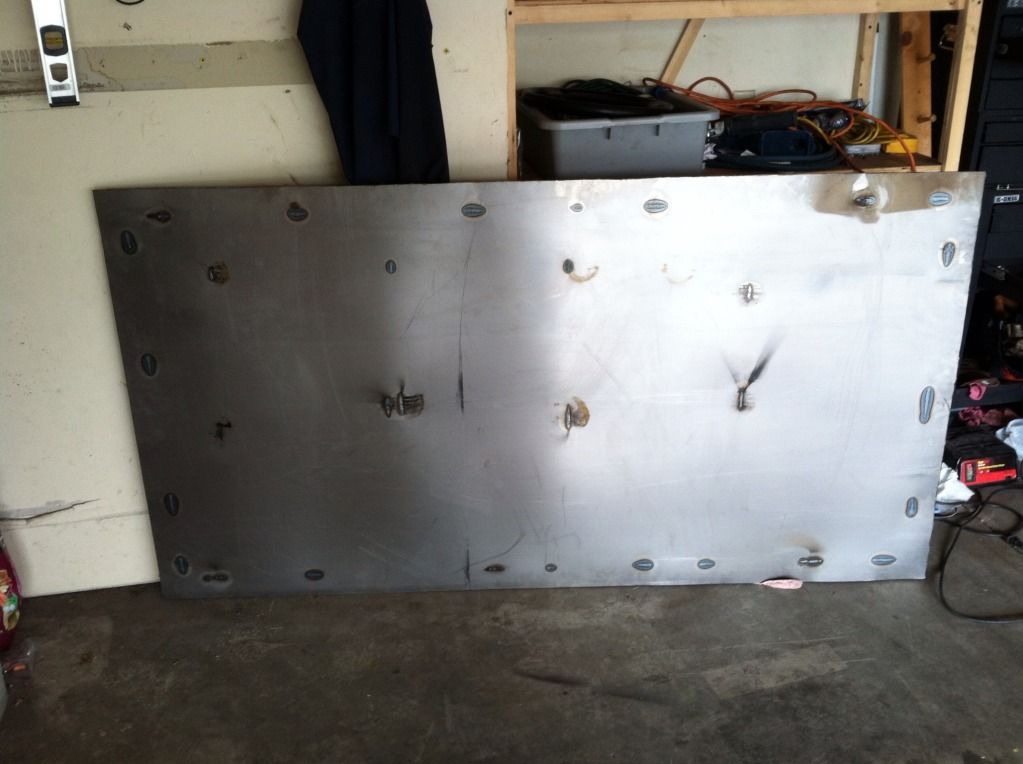
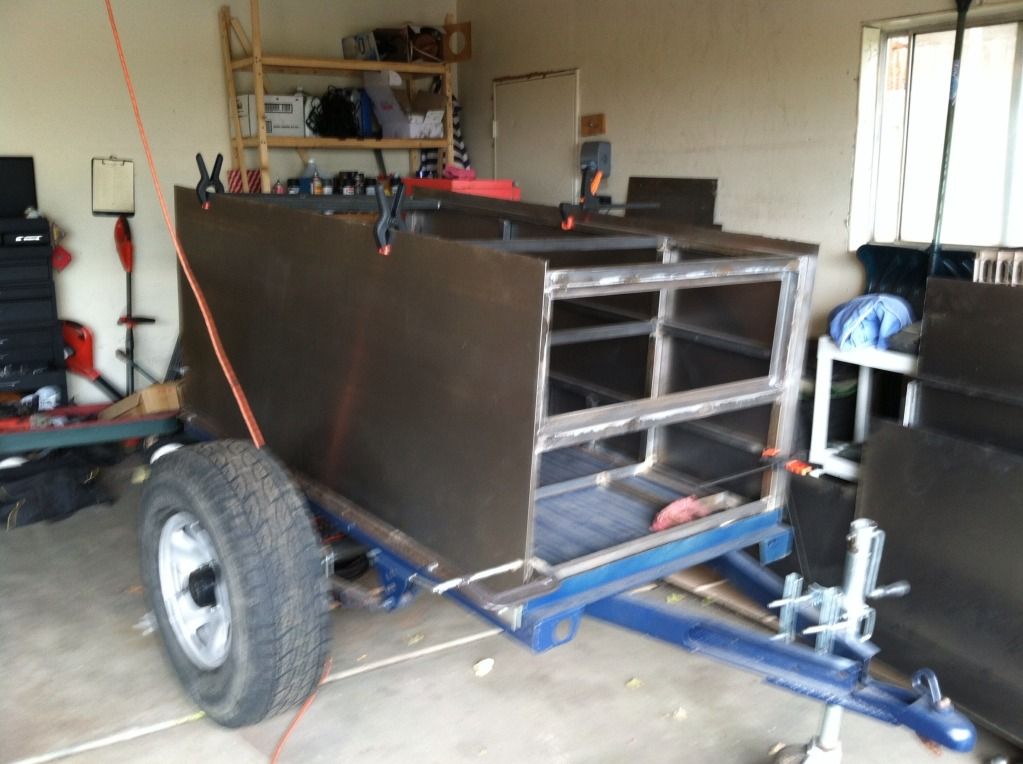
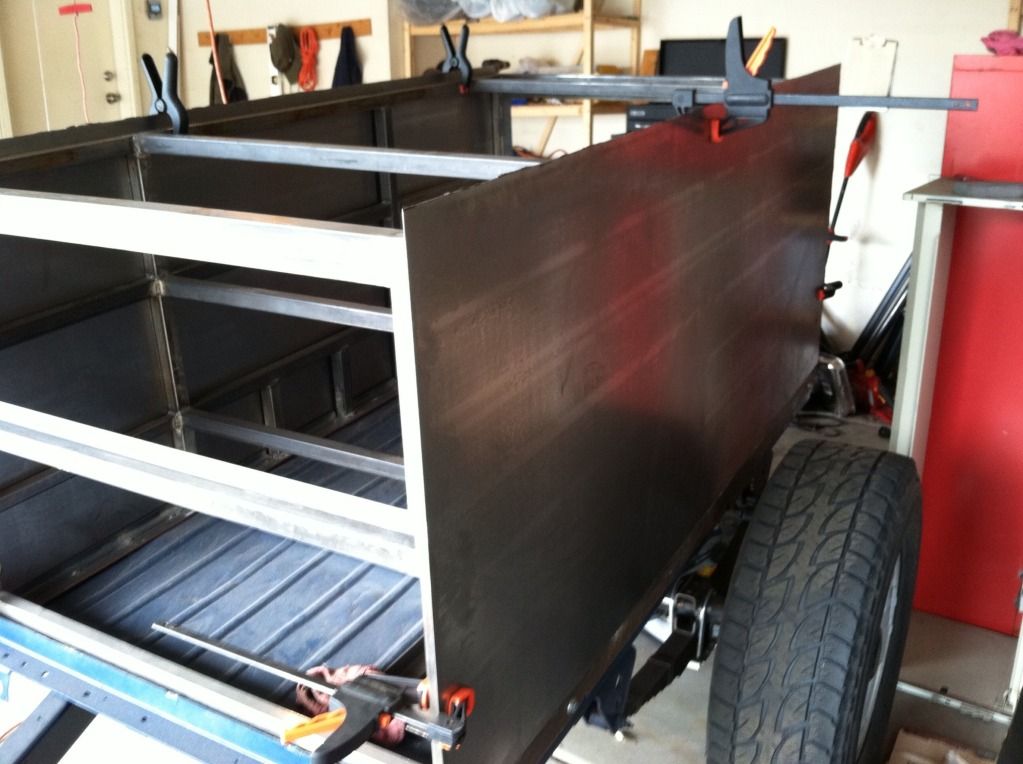
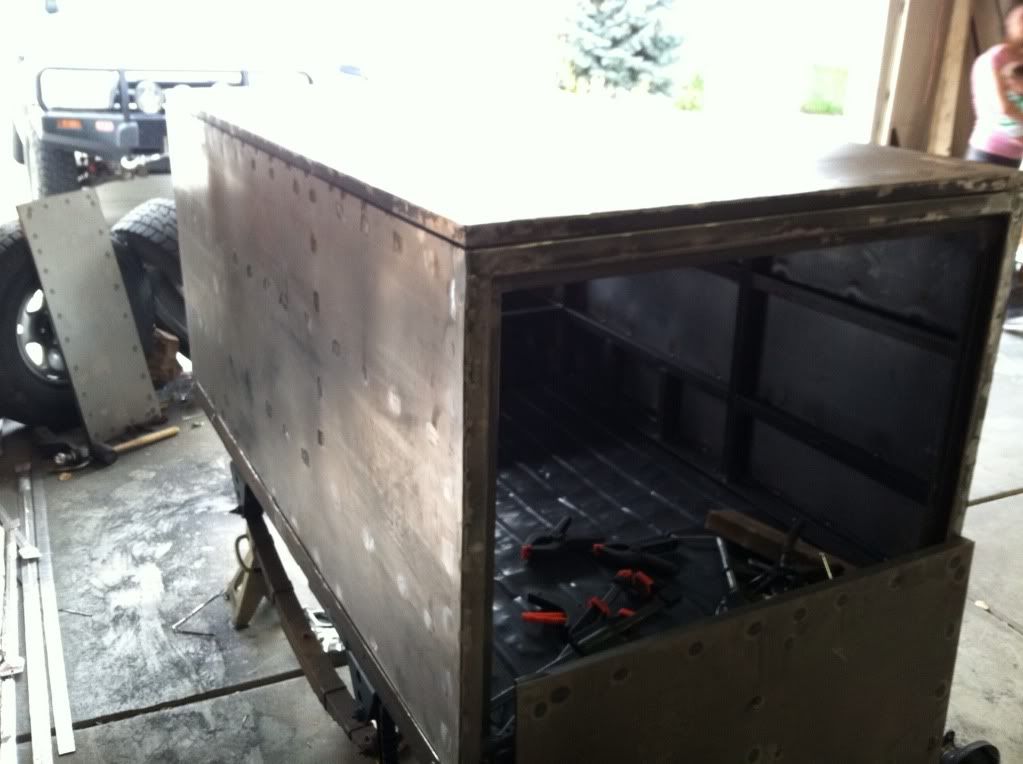
I picked up 3 sheets of 16g steel and started cutting and welding.


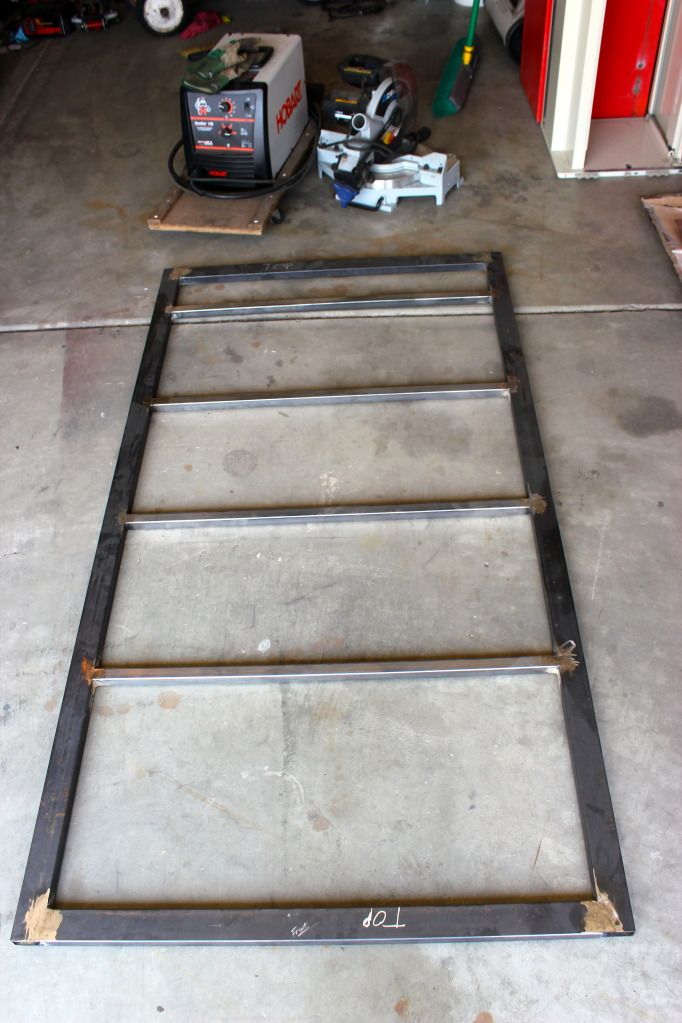
Here is the roof - I wish I were happier about it, but it'll turn out ok


This is the frame of the roof:
IMG_3837.jpg


Here is the sheet on the frame (this is unfinished - I'm gong to set apart a day to weld the rest of this and a bunch more)
0C803808.jpg


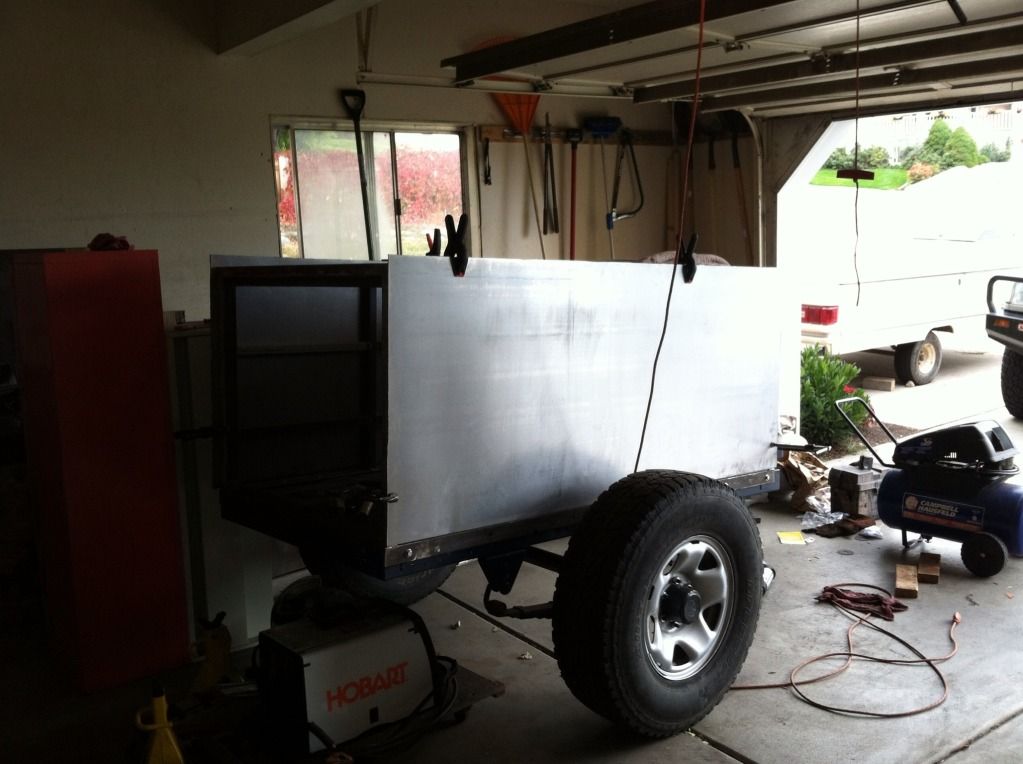
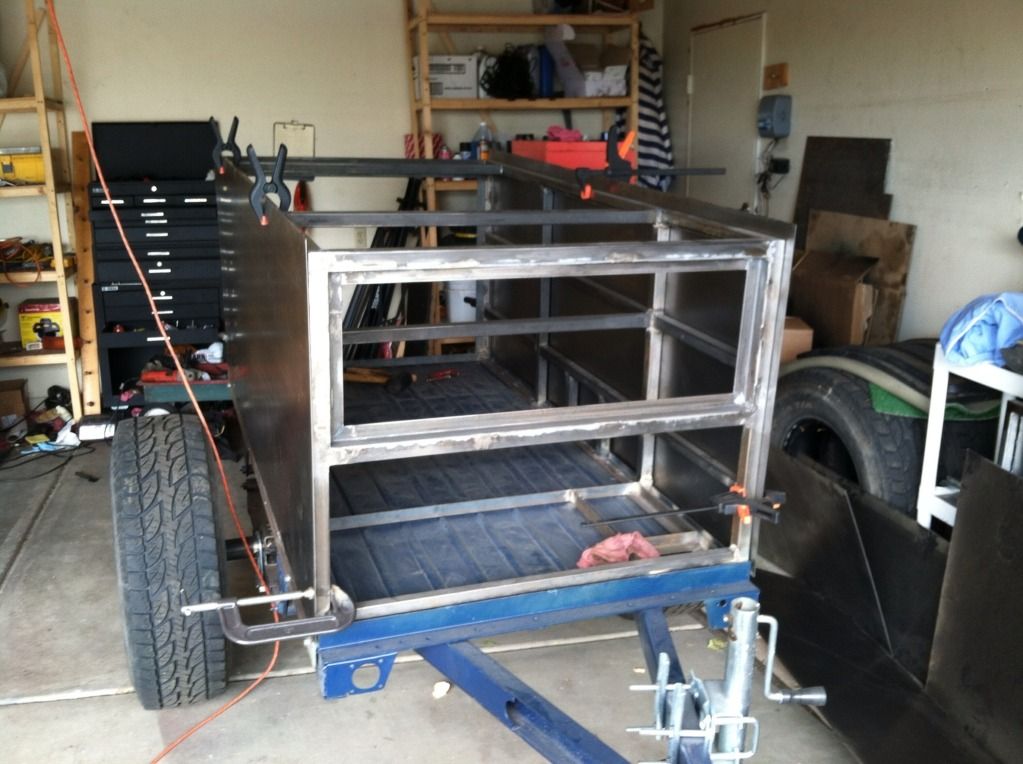
Here are the sides - they're cut oversize so I can get them fitted well, but they're clamped to the trailer to get them out of the way
55A401C4.jpg


C0266076.jpg


203C627C.jpg


9FDA5D2B.jpg


9A0BF4FF.jpg


I've got the skin for the doors cut as well, so most of the cutting is done. I just need to fit everything, weld it, and make it look good. Then I can mount the doors and roof. Then I'll start on the fenders. I REALLY want to get this thing out of the garage before the snow flies.
 

4biker

Active Member
It seems like skinning the thing would be super easy, but it's just been a big process to get even to this point. Hopefully everything will come together and I'll be happy with the finished product.
 

4biker

Active Member
I must have forgotten to post up here about the axle & wheels.

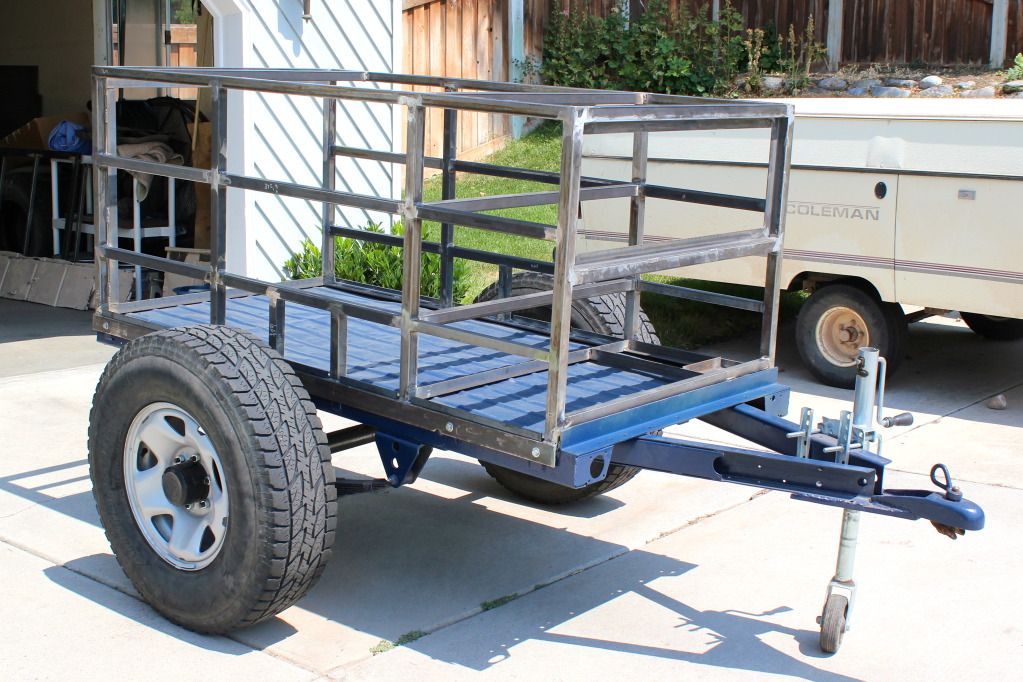
I decided to go with 60" to match the 4Runner's track width. The wheels are steel 16x7's and the tires are 265/75/16's I already had lying around from when I put the 33's on the 4Runner.


IMG_3835.jpg


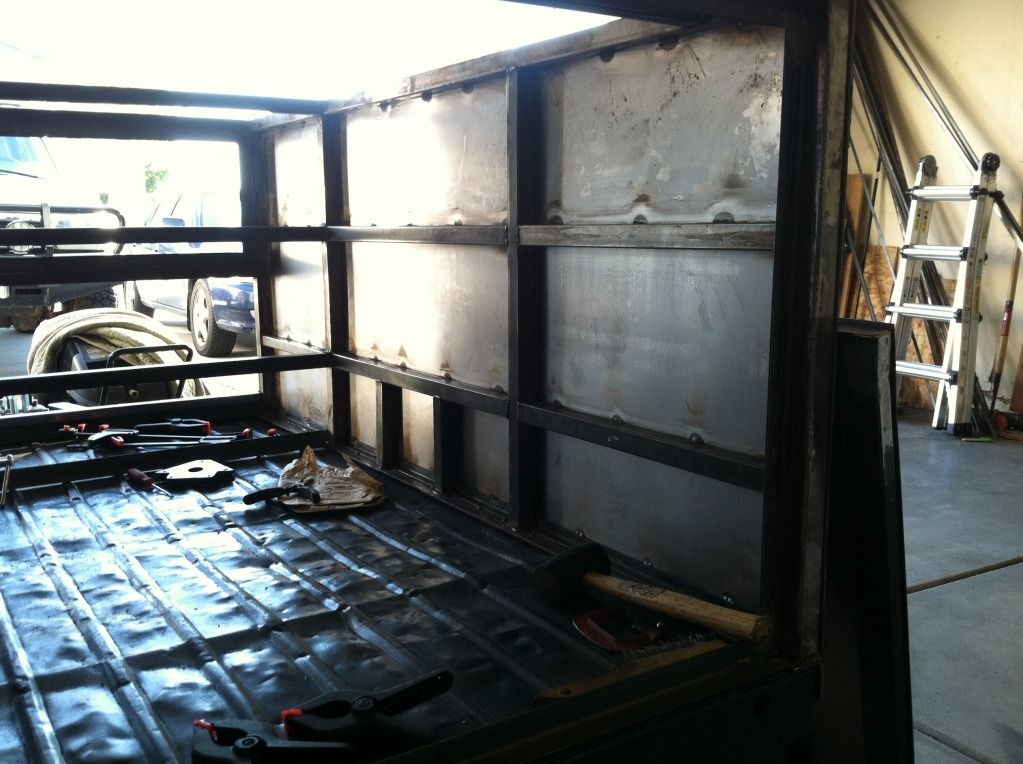
You can see that I capped all of the open tubing and got a lot of it cleaned up. I bondo'd around the door openings to keep it looking clean and keep the dust out as much as possible. I want it to at least look nice. I definitely wanted to put the battery tray in place before skinning the thing, so I did that on Saturday.


Then I cleaned the garage so my wife can fit her car in again. Yay!
More of the same:


IMG_3833.jpg


IMG_3831.jpg


IMG_3830.jpg


I actually took it for a spin around the block on Saturday and it's pretty jouncy. It'll obviously need shock absorbers, and it will settle with a little more weight, when I put on the roof with rack, doors and skin.
 
Last edited:

4biker

Active Member
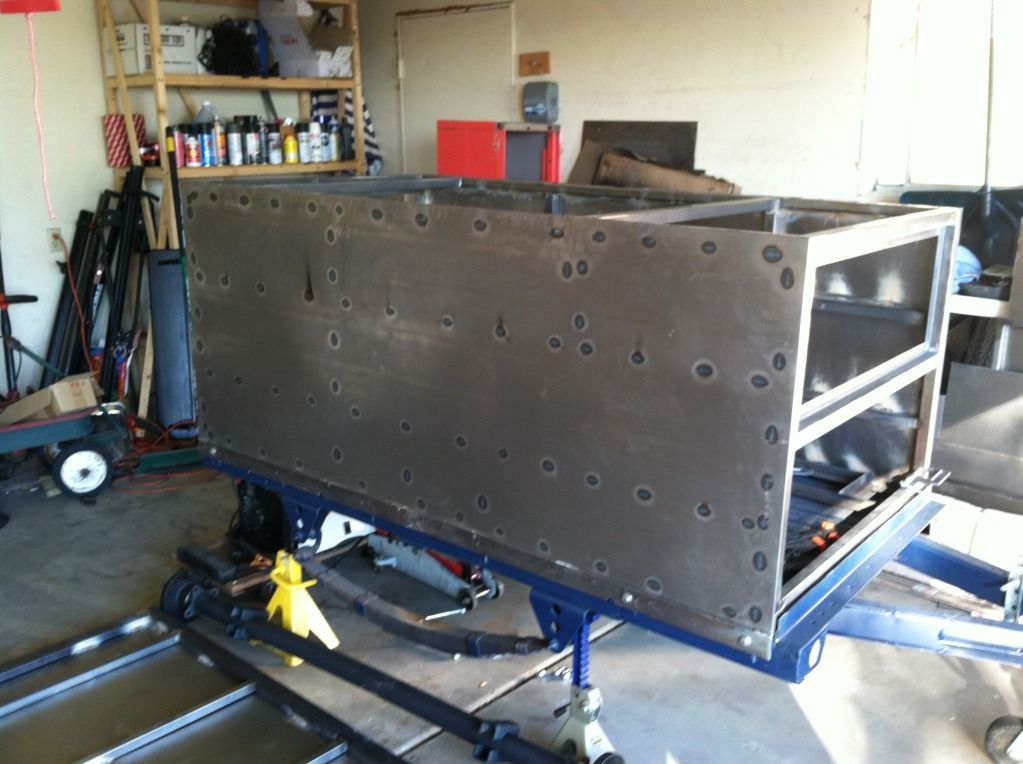
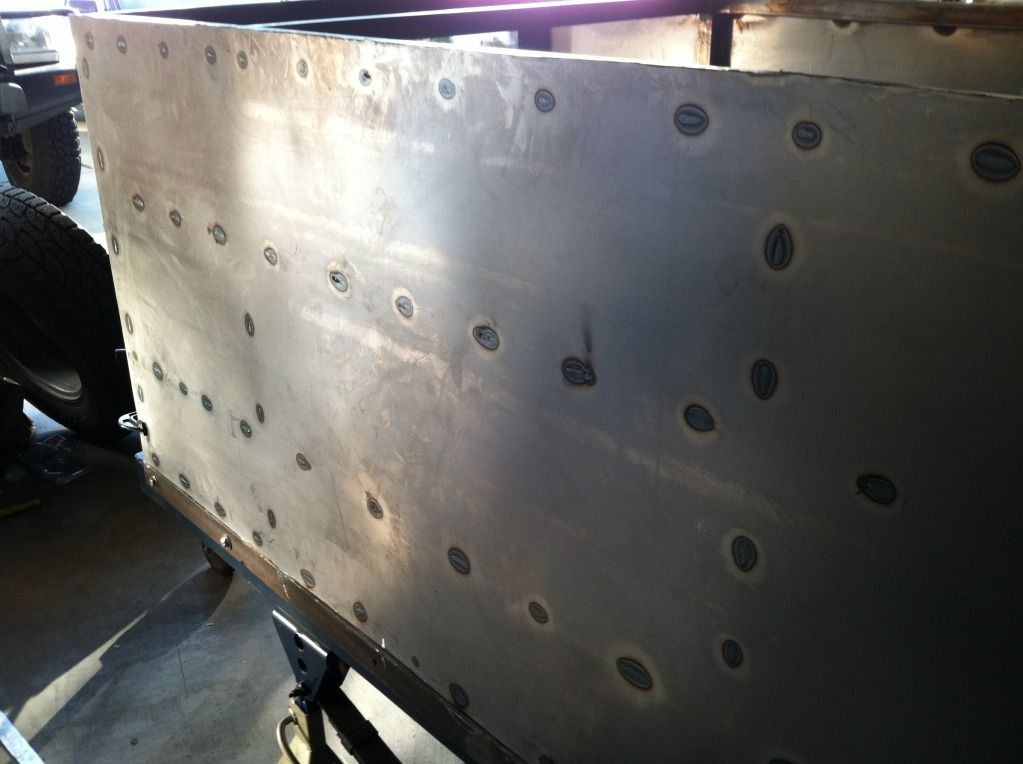
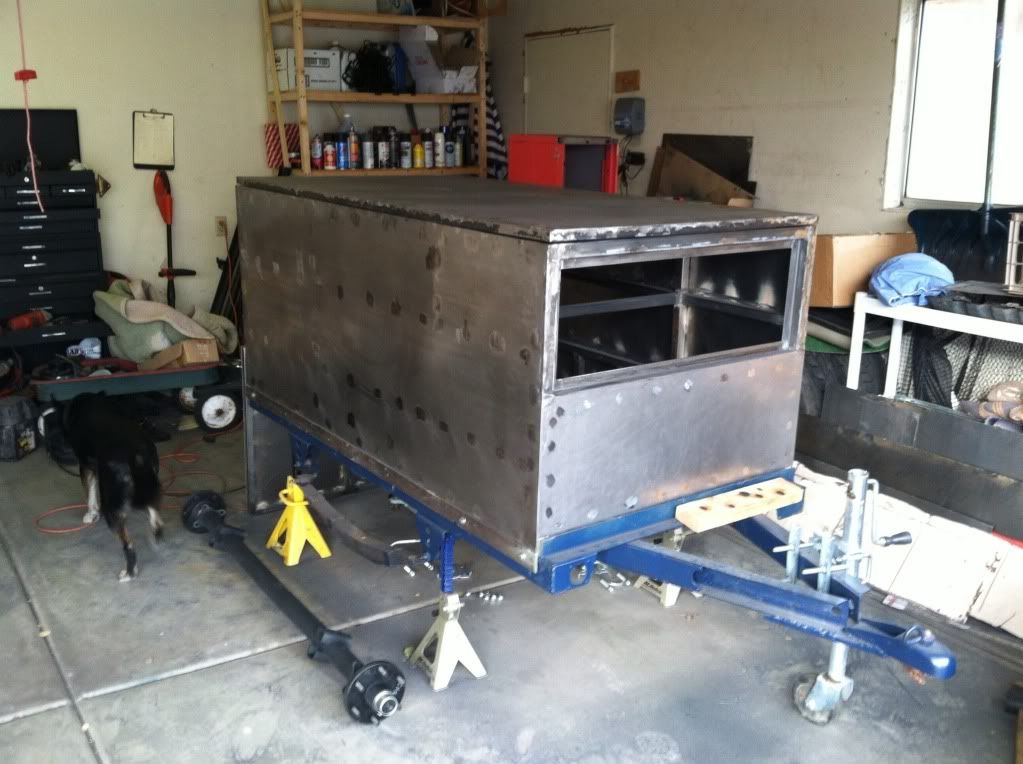
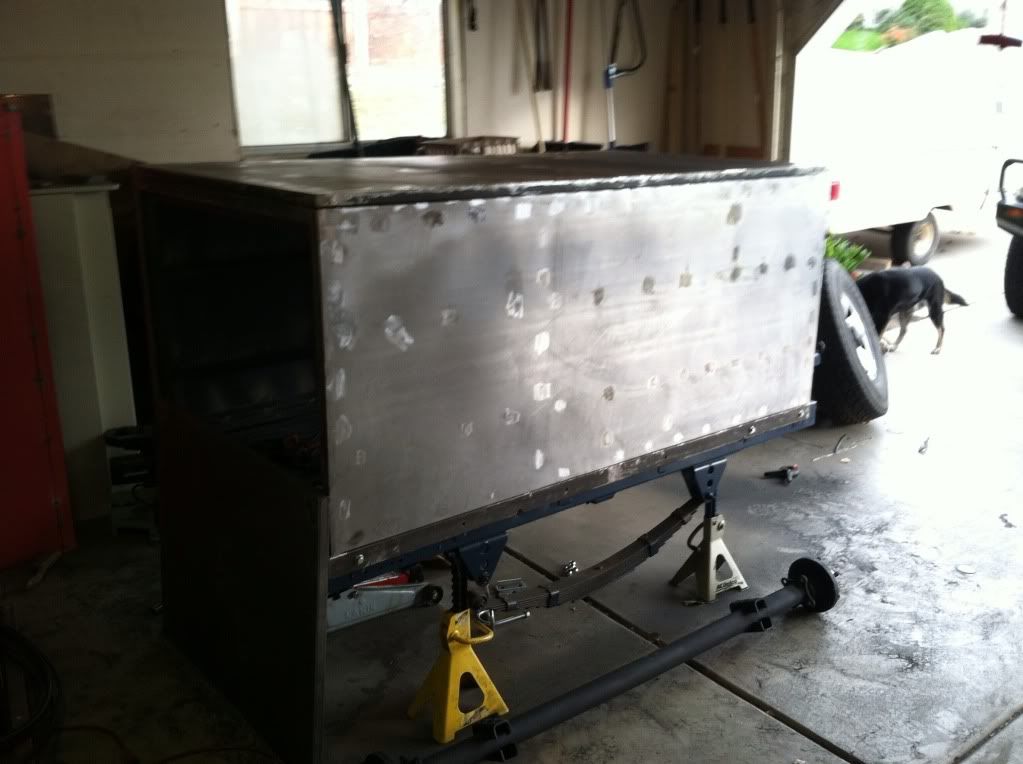
Ok I pulled the axle off, got it primed and painted, then got new mounting hardware for it, since the ubolts were a little short with that tall leaf pack. Between priming, painting, etc., I got the skin for both sides test fit, cut to size, and finally welded on. I'm super proud of the work I did on this today, but there's more to do still. I managed to get great welds down and keep them small so the sheet didn't warp as bad as on the roof. Even when I bang on it there's no drumming at all, and it's a pretty good fit.

9E303CE7.jpg


752E9E96.jpg


13EDE986.jpg
 

4biker

Active Member
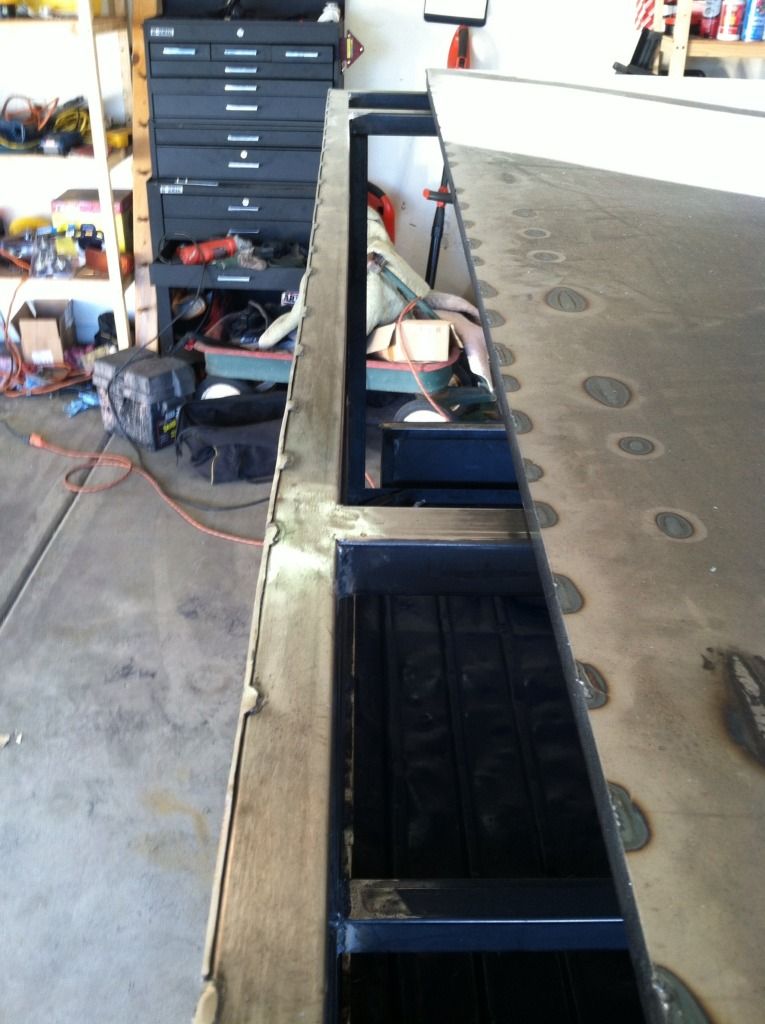
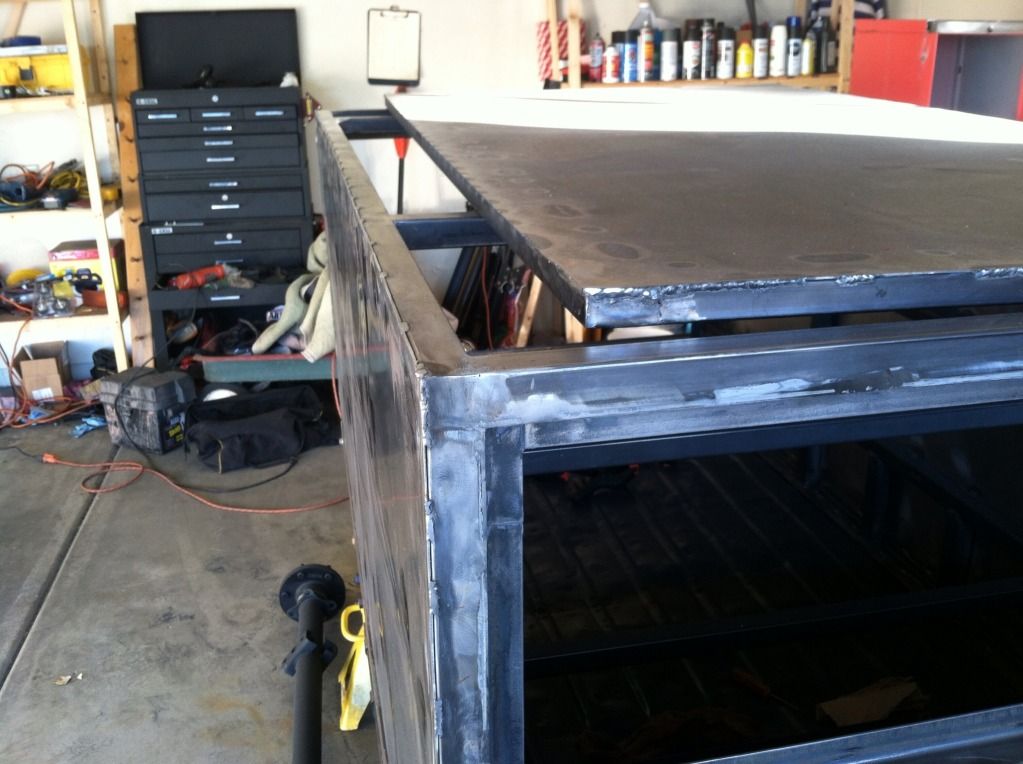
ok - quick update. I've been pouring some serious time into this thing the past couple of weeks, and I've made some good progress. I got the skin all welded up on all exterior surfaces now so now it's just a matter of fitting the sheets and making it look less home-made if possible. I've been making extensive use of my angle grinder - with the exception of the welder it's the most valuable tool I've had on any project, hands down. Flap discs are also a gift from heaven. I've run into an issue on the roof - when I welded the skin on, I got a little overzealous and made some excessively long beads, which warped both the skin and the frame a little bit. I'm not too worried about it, but we'll see what it takes to actually fix it when it's time to cross that bridge. The next step is cleaning up everything and applying bondo - my first real experience with body work! Fortunately I'll be eventually covering a lot of the sides with the fenders and side boxes if I get that far.

9FCE63B0.jpg


091D76DB.jpg


1B97303B.jpg
 

4biker

Active Member
Thanks - it's been a time sink, but pretty rewarding to see where it currently stands. I'll be happy when I can pull it up the canyon instead of looking at an unfinished box. It's interesting how little I think of changing on the 4Runner when I still have so much work to do on this. I have a mild case of Auto ADHD like some others on here but this is a great focus point.
 

skippy

Pretend Fabricator
Location
Tooele
I havent read the whole thread so i may have missed it but what thickness steel did you use for the skins?
 

4biker

Active Member
All the skins are 16g. I could definitely have gone thinner and maybe riveted them on, but this is plenty heavy duty and the welding is turning out nice for the most part.
 

4biker

Active Member
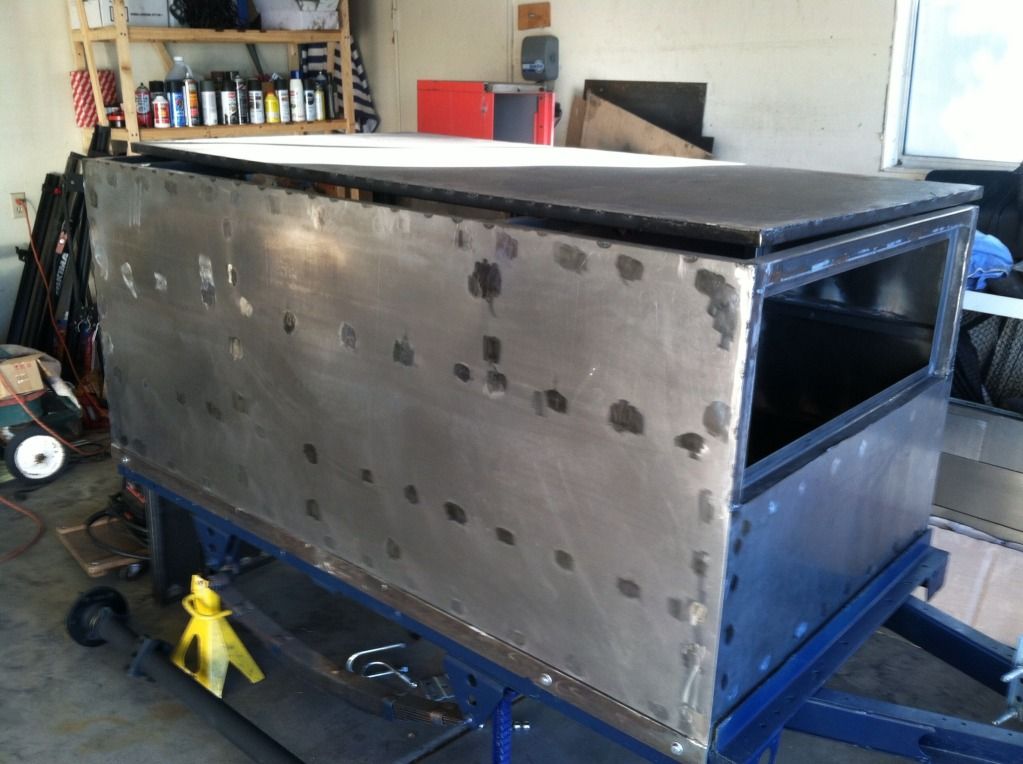
More progress today. I hit it hard with the grinder for a couple of hours, so now all the panels are flush with the frame and the welds are ground smooth. I worked on fitting the roof piece again, and that's going to turn out nice. Next I have to give it a quick once-over to make sure it's ready, then clean it up with acetone and put on some body filler. Hopefully it'll be purdy when it's done!

07EFE450.jpg


415C0127.jpg


63E6ADCF.jpg


164367FF.jpg
 

4biker

Active Member
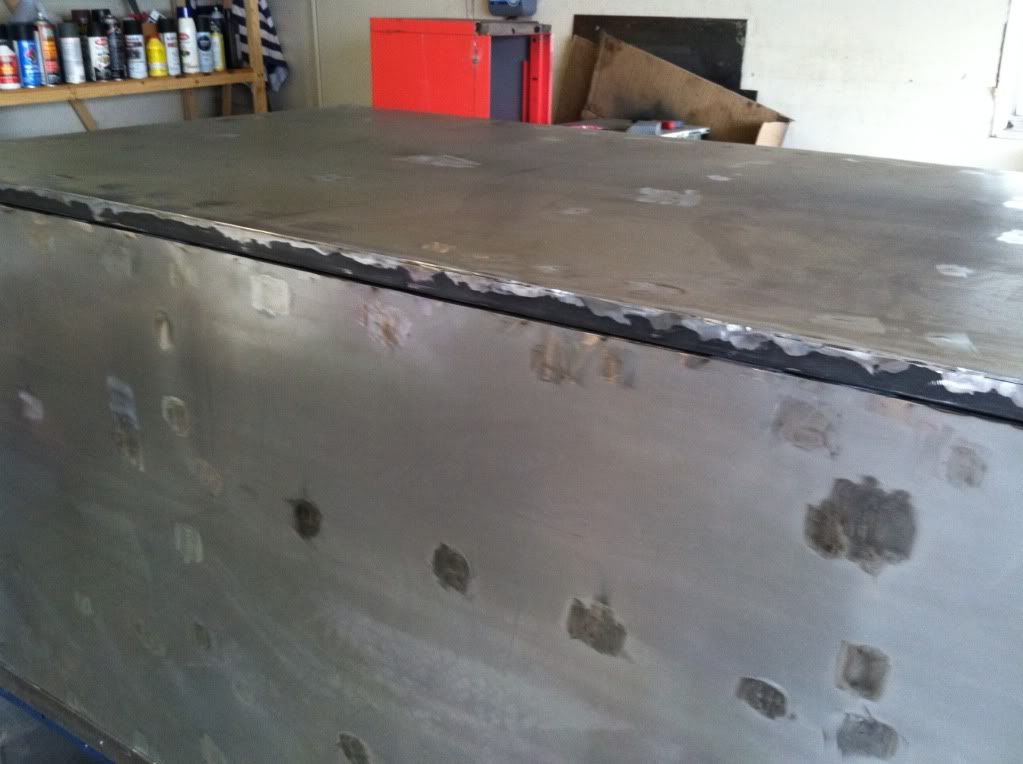
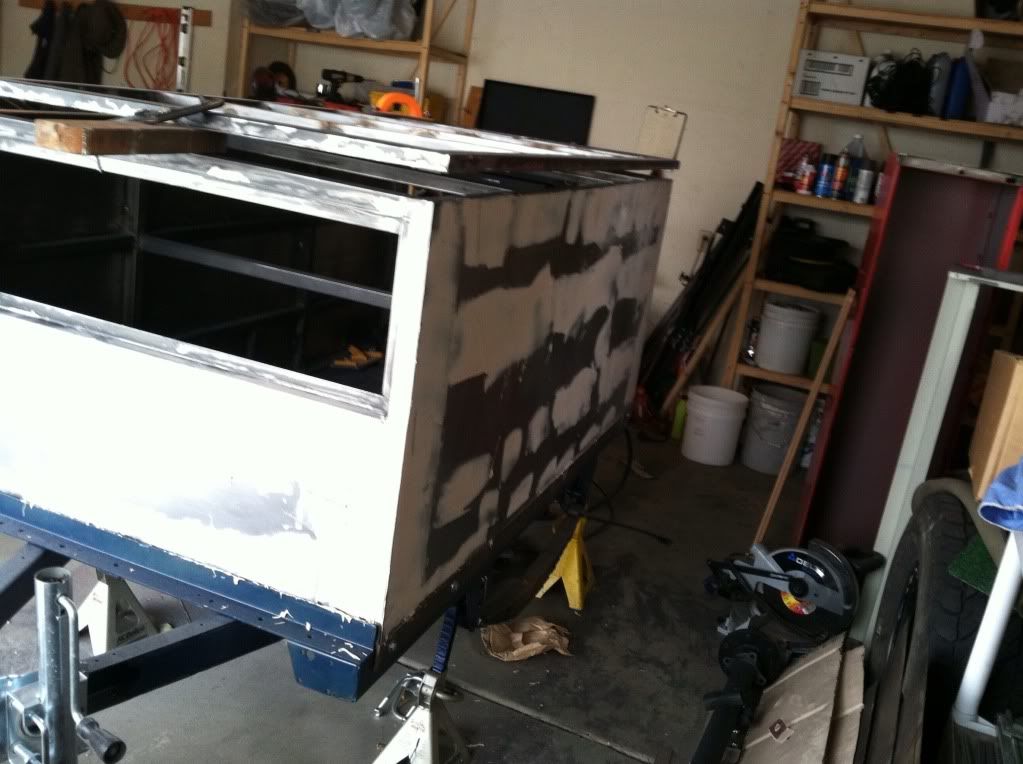
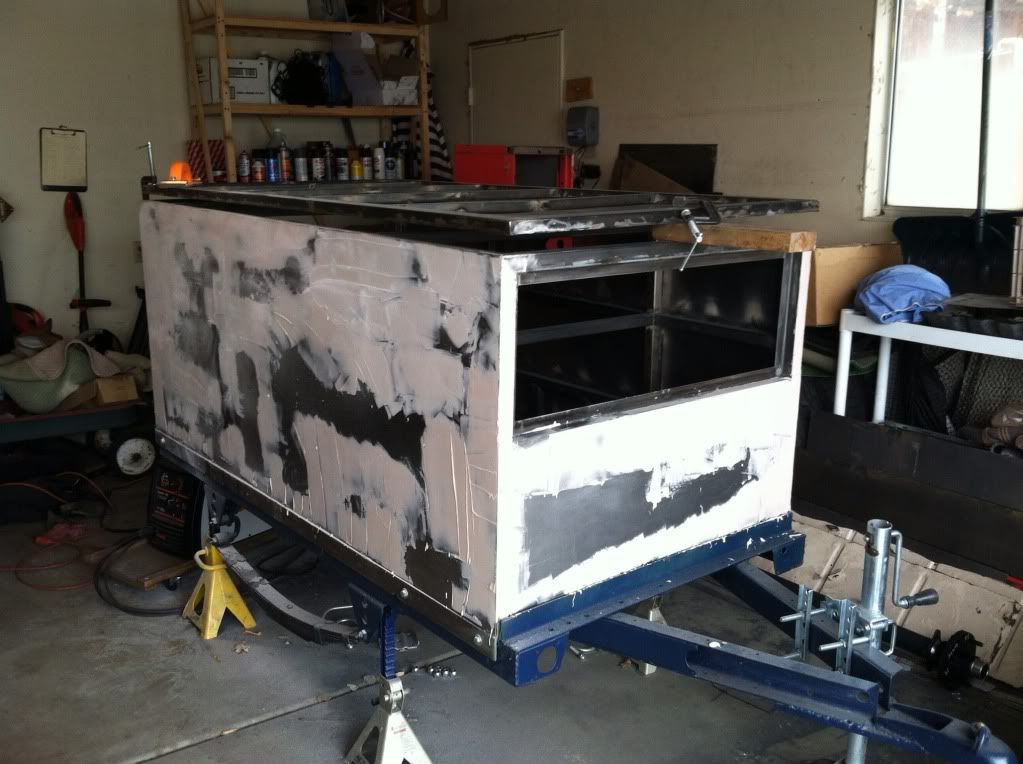
I got a little more done last week. I really needed to straighten the roof since it warped while I was skinning it. I think I've gotten that pretty well under control and it will seal 100% when it's done. I also started putting on body filler to cover the welds. I'm obviously not good at this - it reminds me of mudding sheetrock, which is more of an art than a science. I'm not an artist, so I'll just keep working until it's acceptable. This is how it looked before it started snowing last week:

0999F43C.jpg


6B8086FD.jpg


I'll hit the ridges with 120 grit flap disc and sand it flat with a wall sander. It seems to work ok - just lots of time. It won't have to be perfect since I'm putting fenders and boxes on the sides, but I want it to at least look good
 

4biker

Active Member
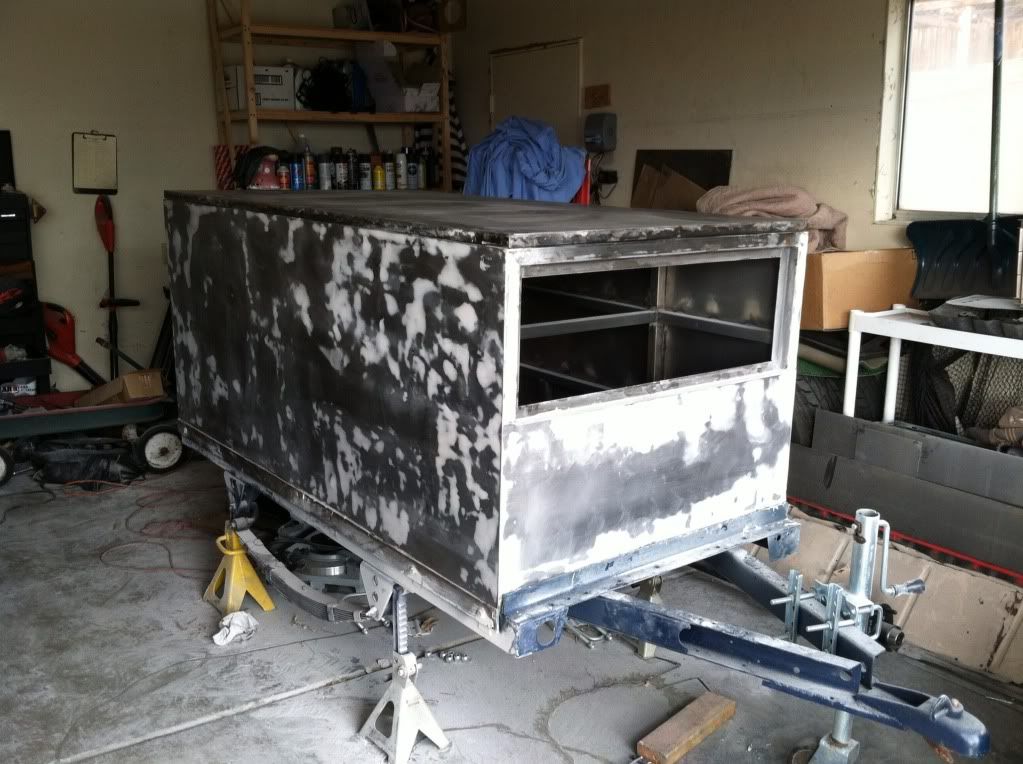
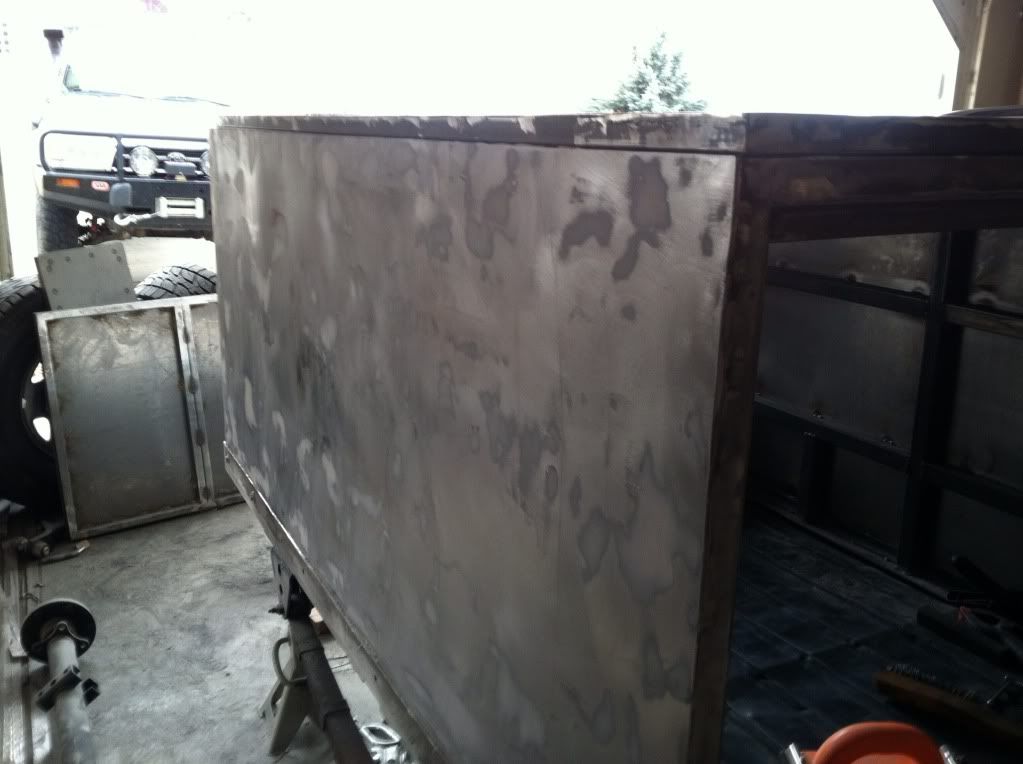
I love that I'm actually making progress on this from week to week. I put in a BUNCH of hours the last two weeks getting the bondo sanded smooth. I now understand that I'm not good at body work.

At all.

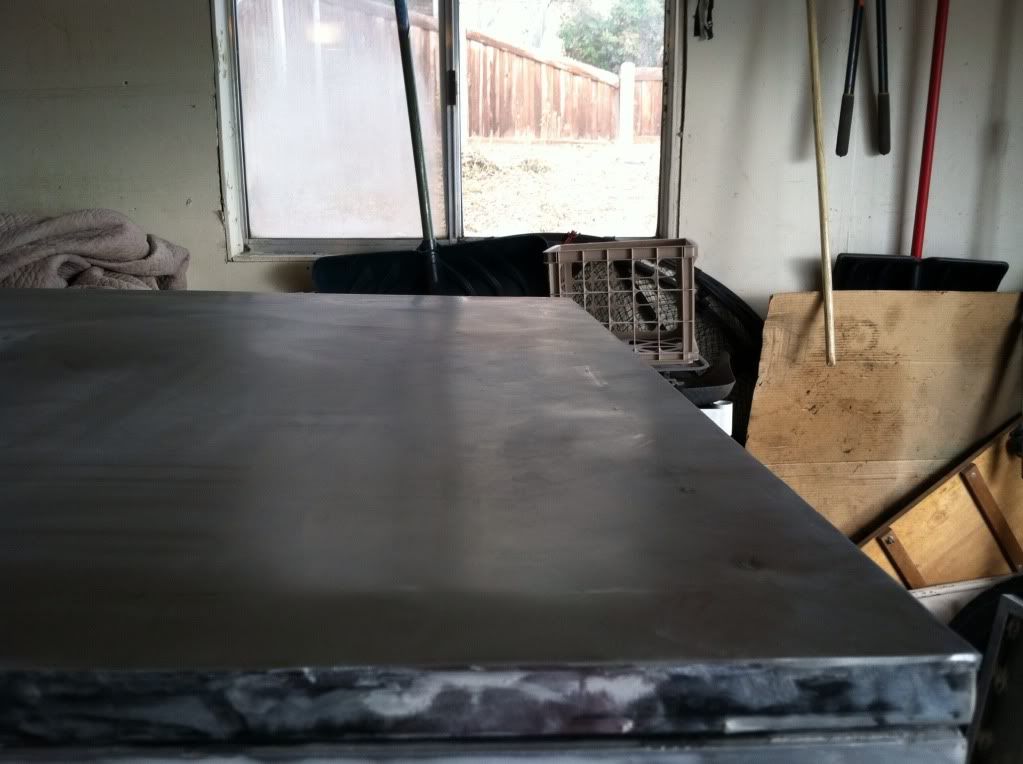
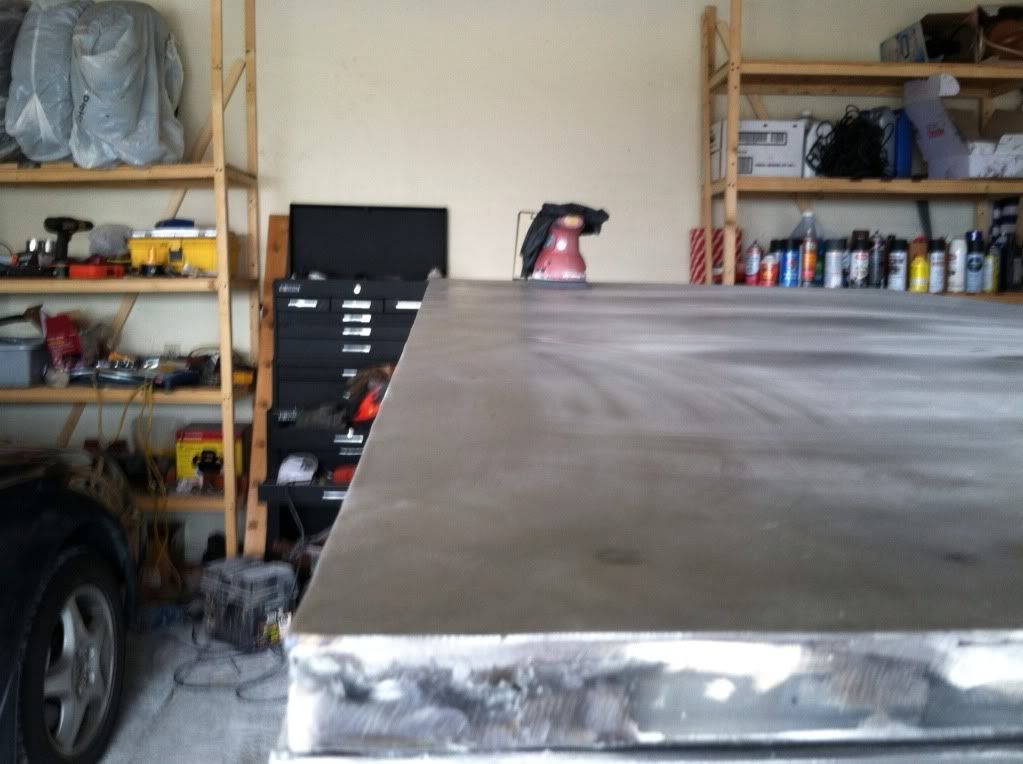
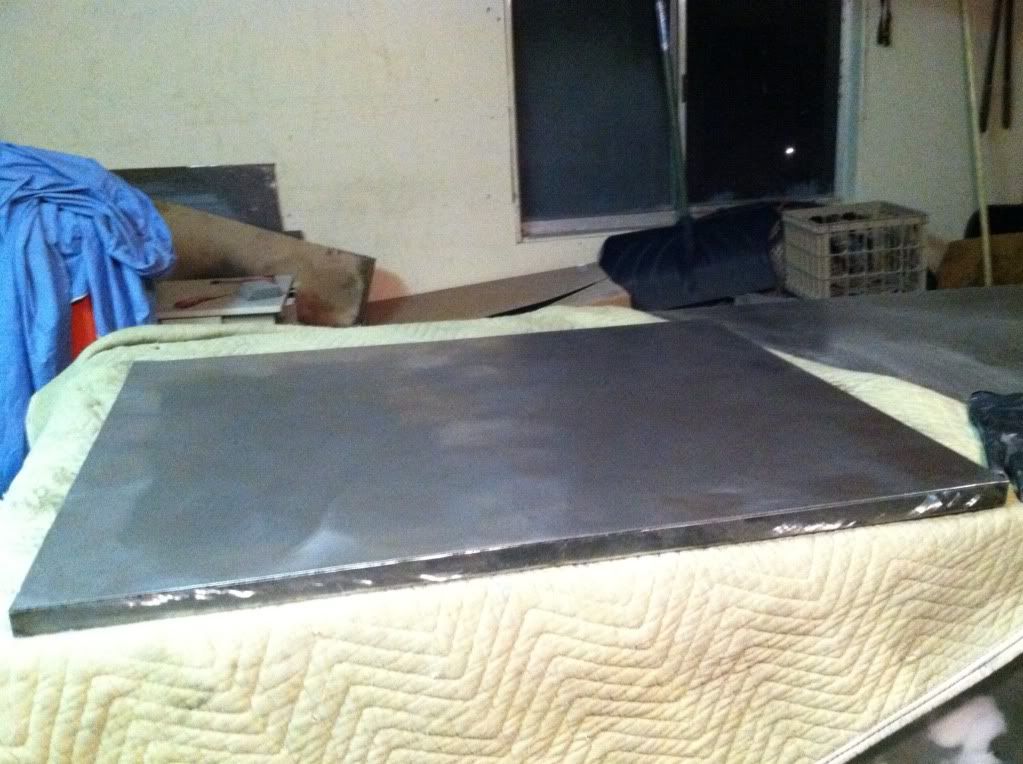
Really I'm just doing a huge surface area and it's tough to make it perfect. I ended up sanding down to the parts that I was trying to cover in a couple of different areas, so I'm debating whether I'm even going to bother doing more bondo on those areas again. However, the tool of the week is my new Harbor Freight orbital sander. That thing is an absolute champ. I picked it up for about $17 after discounts when my Ryobi mouse detail sander died. The orbital does such good work that I might not even bondo the roof or the doors. It may just be because I'm sick of sanding, but I'm debating whether it's really worth it.

Here's what I've got to show for my work:

6DECA417.jpg


4FDAE70A.jpg


B7843570.jpg


A1E449F6.jpg
 

4biker

Active Member
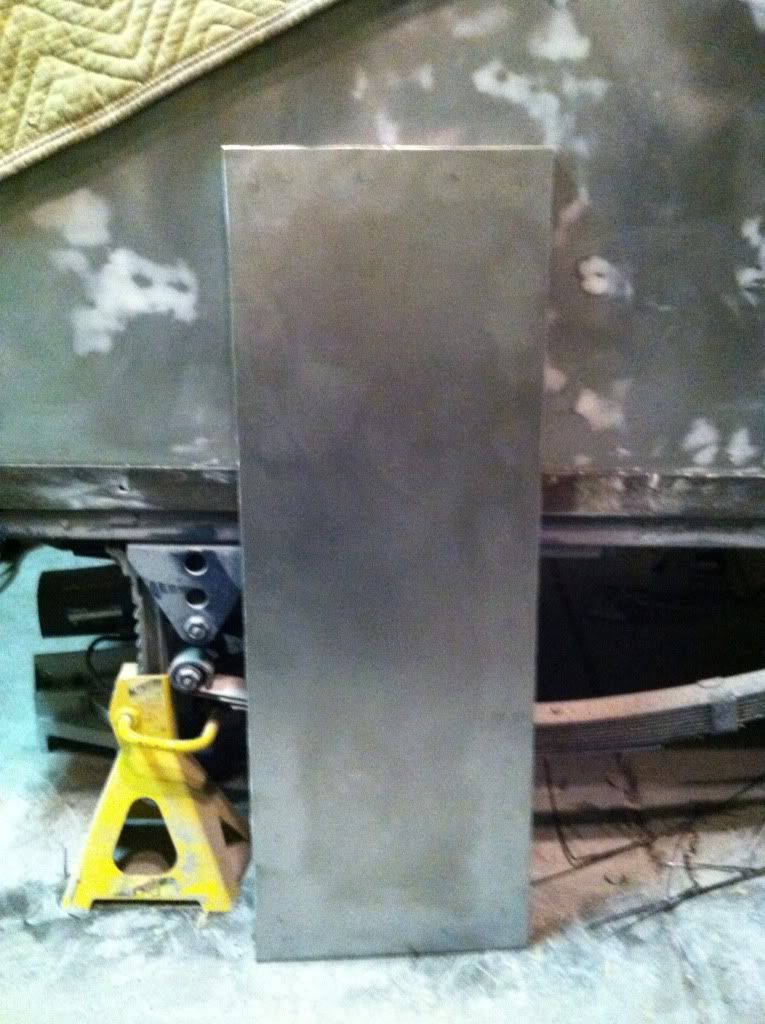
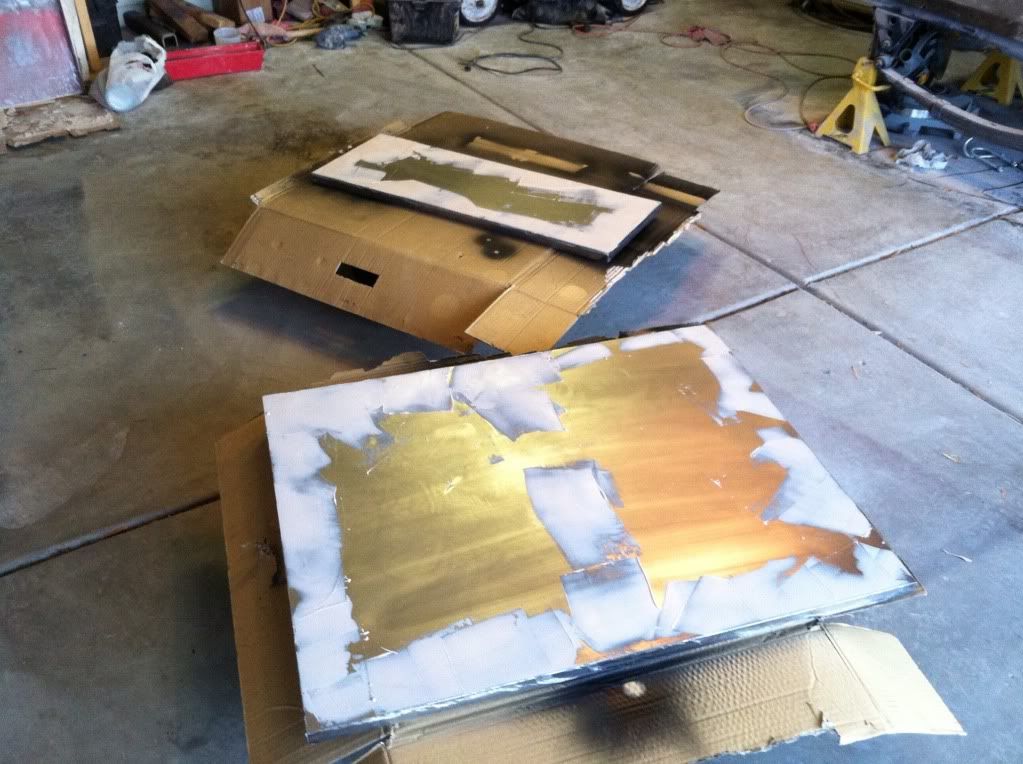
tonight I had some free time while the wife and kiddo were out on the town with some neighbor ladies. I trimmed down the skin on the front & rear doors and sanded the outer welds down

185904A5.jpg


BD5F9887.jpg
 

4biker

Active Member
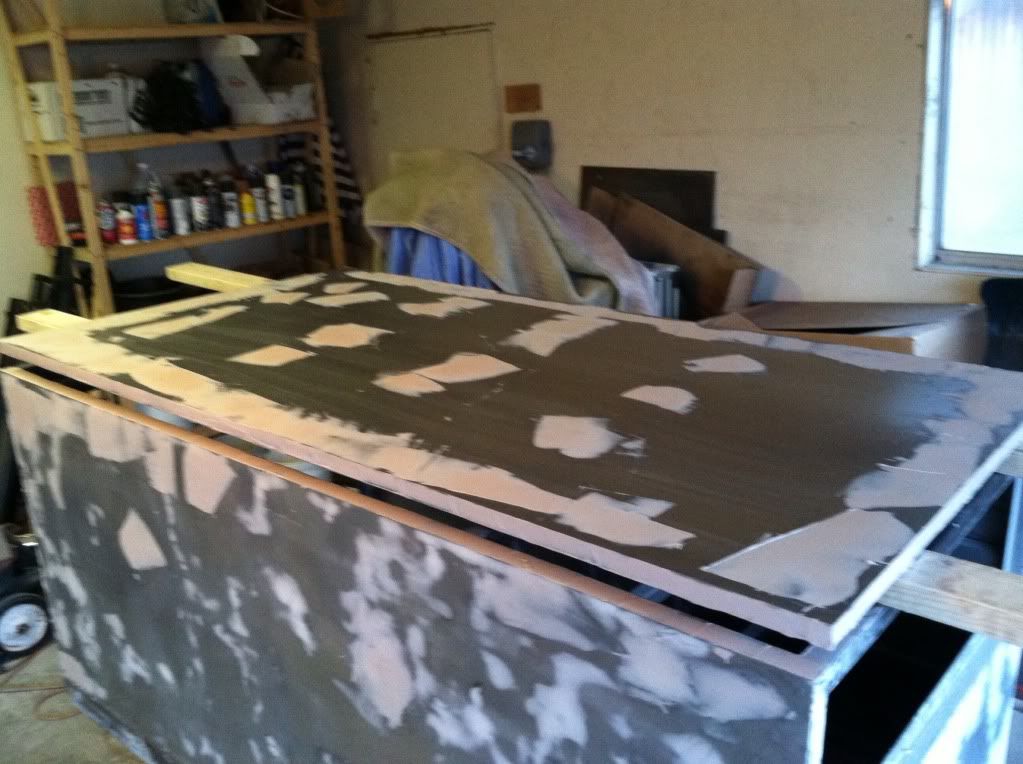
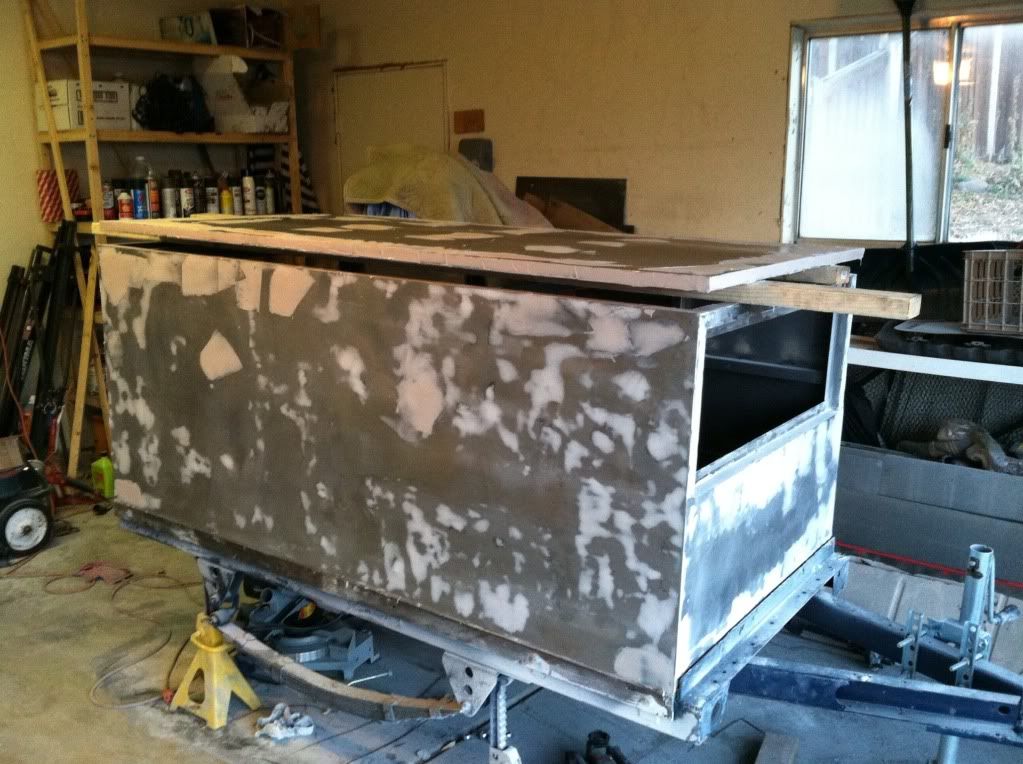
I got up early this morning and put bondo on more stuff. I wasn't going to but I folded. I got the roof, top of the frame/body, and most of the panels on the doors. Hopefully I'll be finished filling and sanding the big stuff by Saturday.

DE4EC8D3.jpg


B85DCCCA.jpg


0CCD870A.jpg
 
Top