Micropolishing

Just saw this thread.

Good call on the Cryoheat. I've used them on some of our race motors on our Banshee's, LT500's and even the GS1100 that we had in our sand drag quad as well as my transaxle in my sand rail. They were good to deal with and very professional.

Mike
 
Did you treat the bearings too? Are they steel or ceramic? This stuff fascinates me, I definitely plan to do it in the future.
The bearings are OEM and were cryoheat treated but not micropolished. There is a noticeable difference in the smoothness of the bearings.
 
2 months since I tore this bike down to get this motor built for Loretta's.......I figured I would have the bike together and broke in by now, but as always, things move slower than planned. I am just thankful I have given myself enough time since our first regional is 3 weeks away. It took about a week longer than planned to get everything back from CryoHeat and I had a shipping nightmare with FedEx that resulted in it taking just over 2 weeks to get a box with 4 cranks in it to Texas.

The cylinder for this bike will be back from Lynks Racing in Vermont on Tuesday of next week and my cranks should arrive from Texas at about the same time.

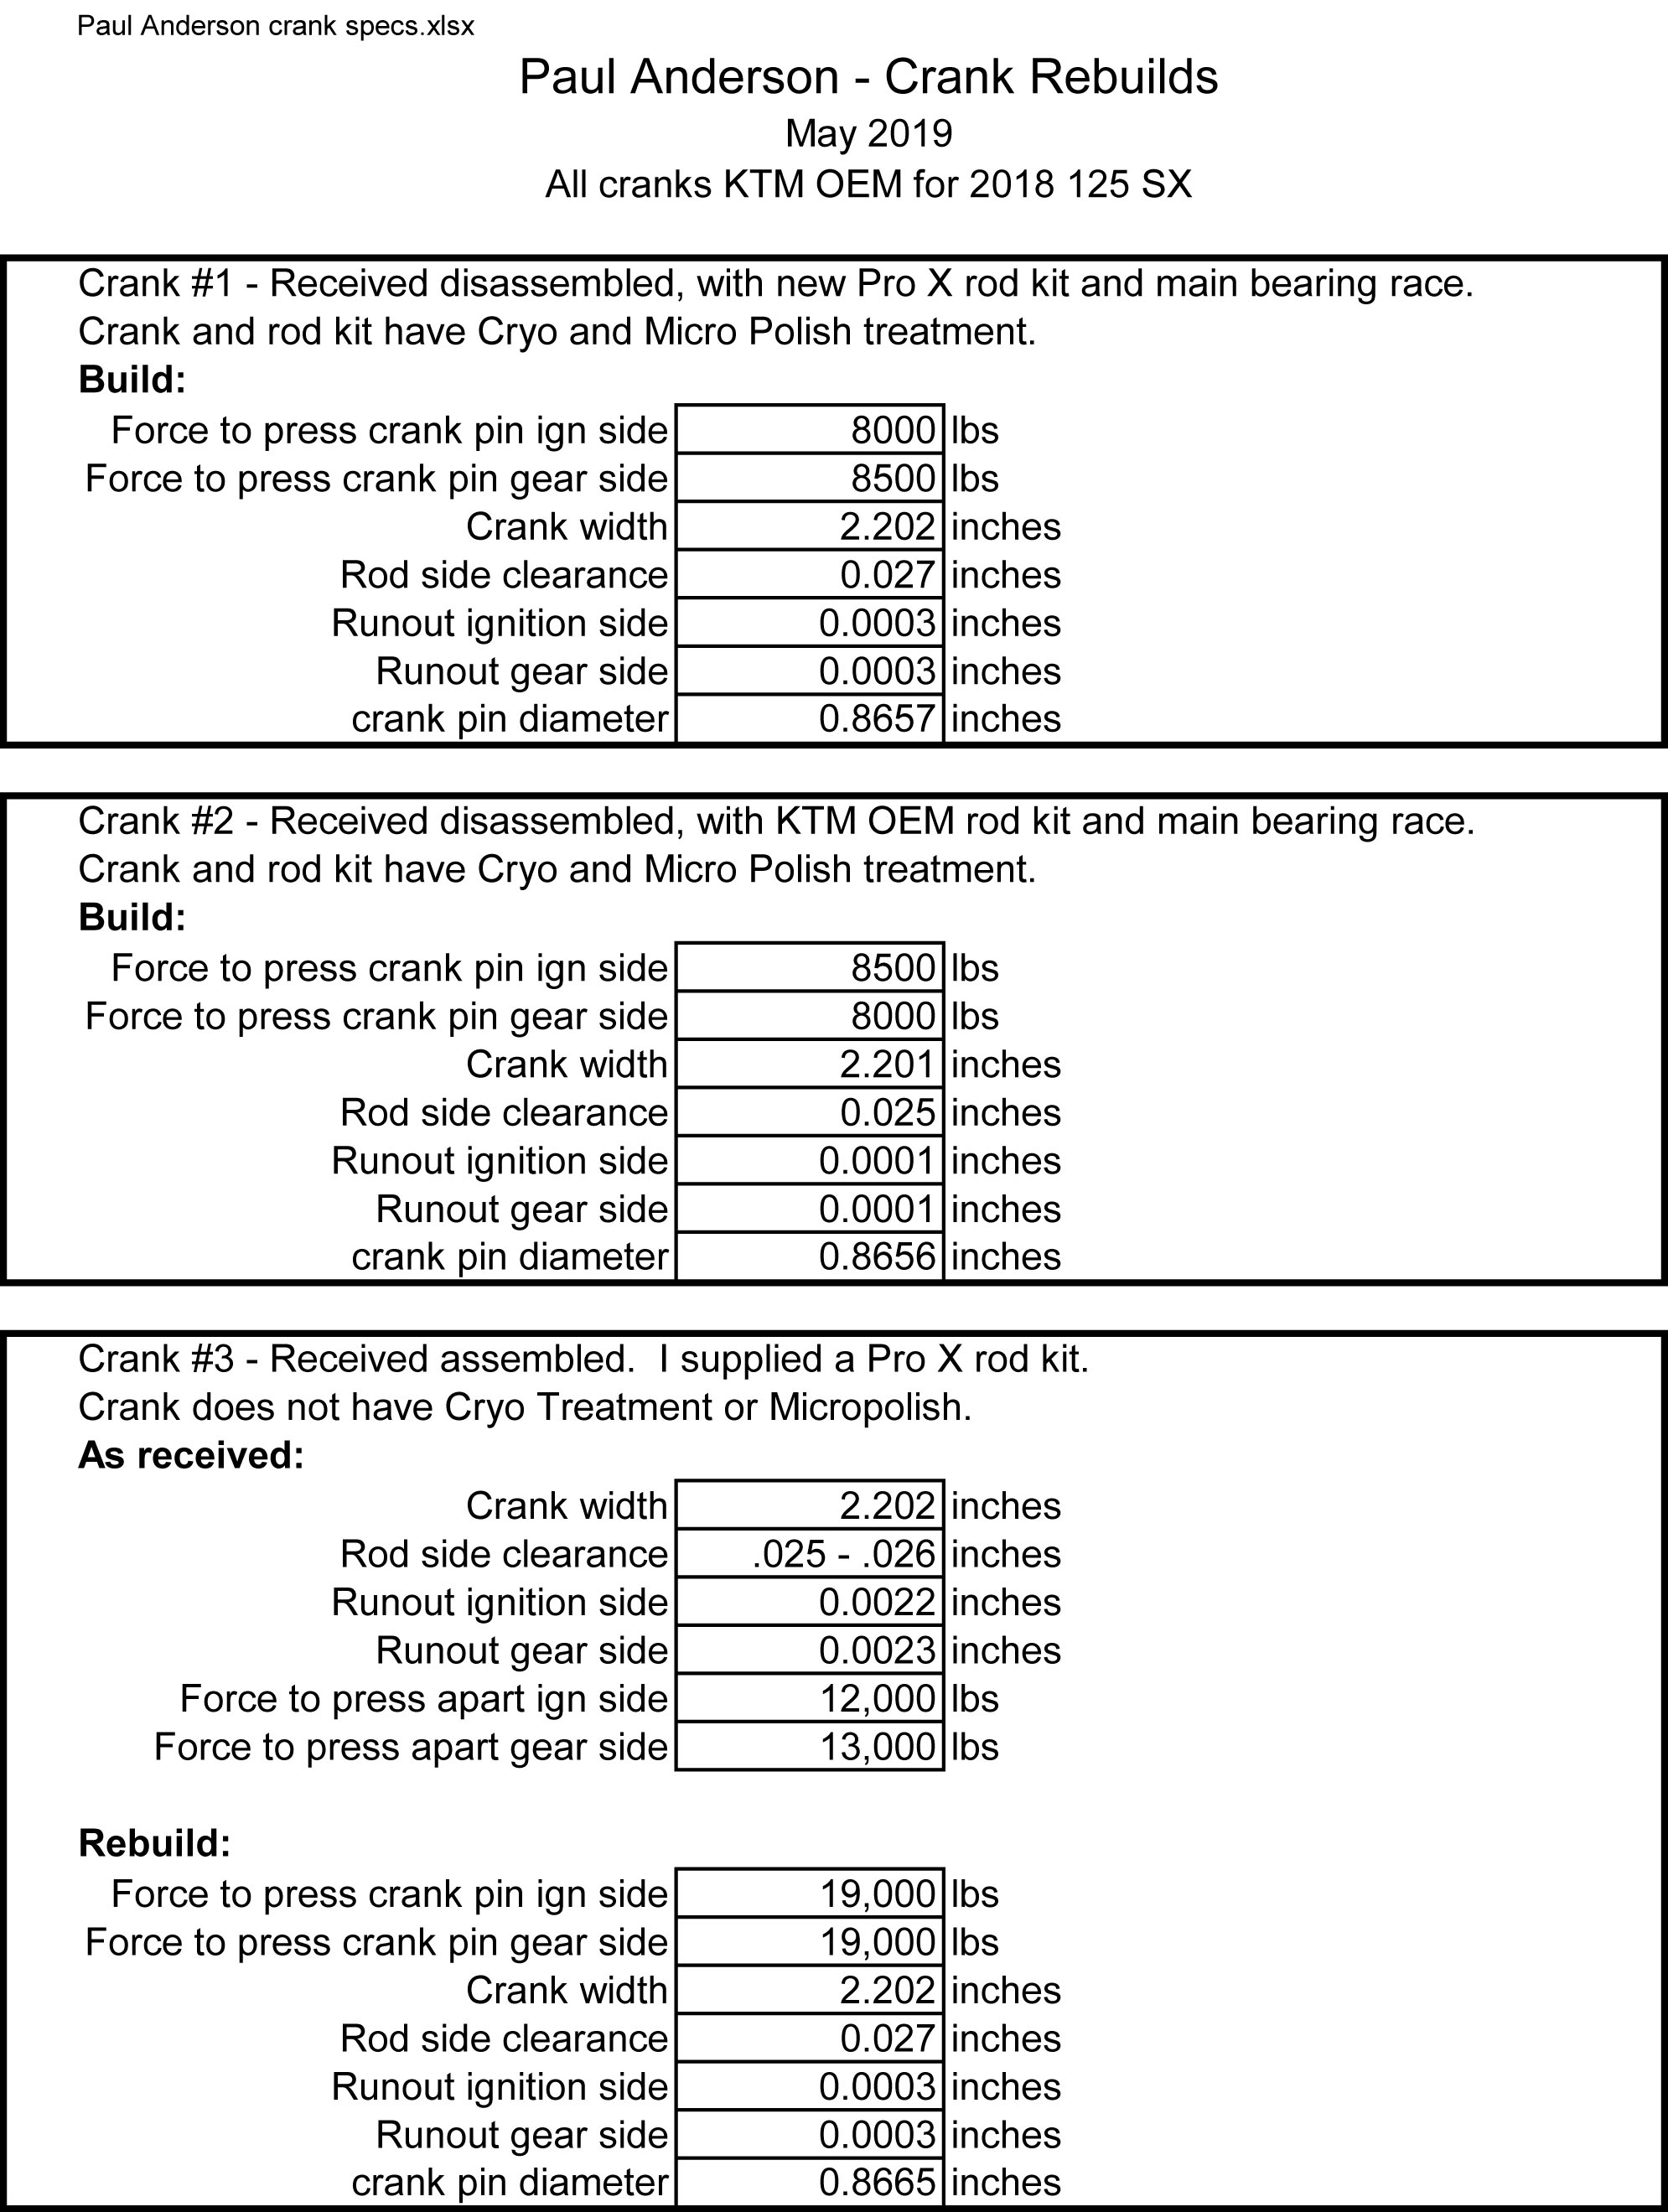
As far as the cranks go, Andrew sent me the build sheet with the runout numbers. Crank 1 & 2 on the build sheet are the CryoHeat treated and micropolished cranks, so I do not have any pre tear down numbers. Crank # 3 is a friends crank that I sent with mine to be rebuilt. His pre tear down numbers are pretty typical for a KTM crank. The rebuild run out numbers that Andrew accomplishes are pretty damn impressive. He commented to me in an email how smooth and wet the micropolished parts felt. He was surprised by the reduced force to press the pins in and so he measured them to make sure they were within a good tolerance. There is about a .0008 difference between the polished and non polished pin. Not enough to be concerned with but it took half the pressure to install it. Kind of an indication of what kind of friction reduction is achieved through this process.

Here is the build sheet for the cranks.

6Sjw.jpg
 
2 months since I tore this bike down to get this motor built for Loretta's.......I figured I would have the bike together and broke in by now, but as always, things move slower than planned. I am just thankful I have given myself enough time since our first regional is 3 weeks away. It took about a week longer than planned to get everything back from CryoHeat and I had a shipping nightmare with FedEx that resulted in it taking just over 2 weeks to get a box with 4 cranks in it to Texas.

The cylinder for this bike will be back from Lynks Racing in Vermont on Tuesday of next week and my cranks should arrive from Texas at about the same time.

As far as the cranks go, Andrew sent me the build sheet with the runout numbers. Crank 1 & 2 on the build sheet are the CryoHeat treated and micropolished cranks, so I do not have any pre tear down numbers. Crank # 3 is a friends crank that I sent with mine to be rebuilt. His pre tear down numbers are pretty typical for a KTM crank. The rebuild run out numbers that Andrew accomplishes are pretty damn impressive. He commented to me in an email how smooth and wet the micropolished parts felt. He was surprised by the reduced force to press the pins in and so he measured them to make sure they were within a good tolerance. There is about a .0008 difference between the polished and non polished pin. Not enough to be concerned with but it took half the pressure to install it. Kind of an indication of what kind of friction reduction is achieved through this process.

Here is the build sheet for the cranks.
6Sjw.jpg
That’s awesome to see real numbers for this stuff. Amazing how much reduction in friction!!
 
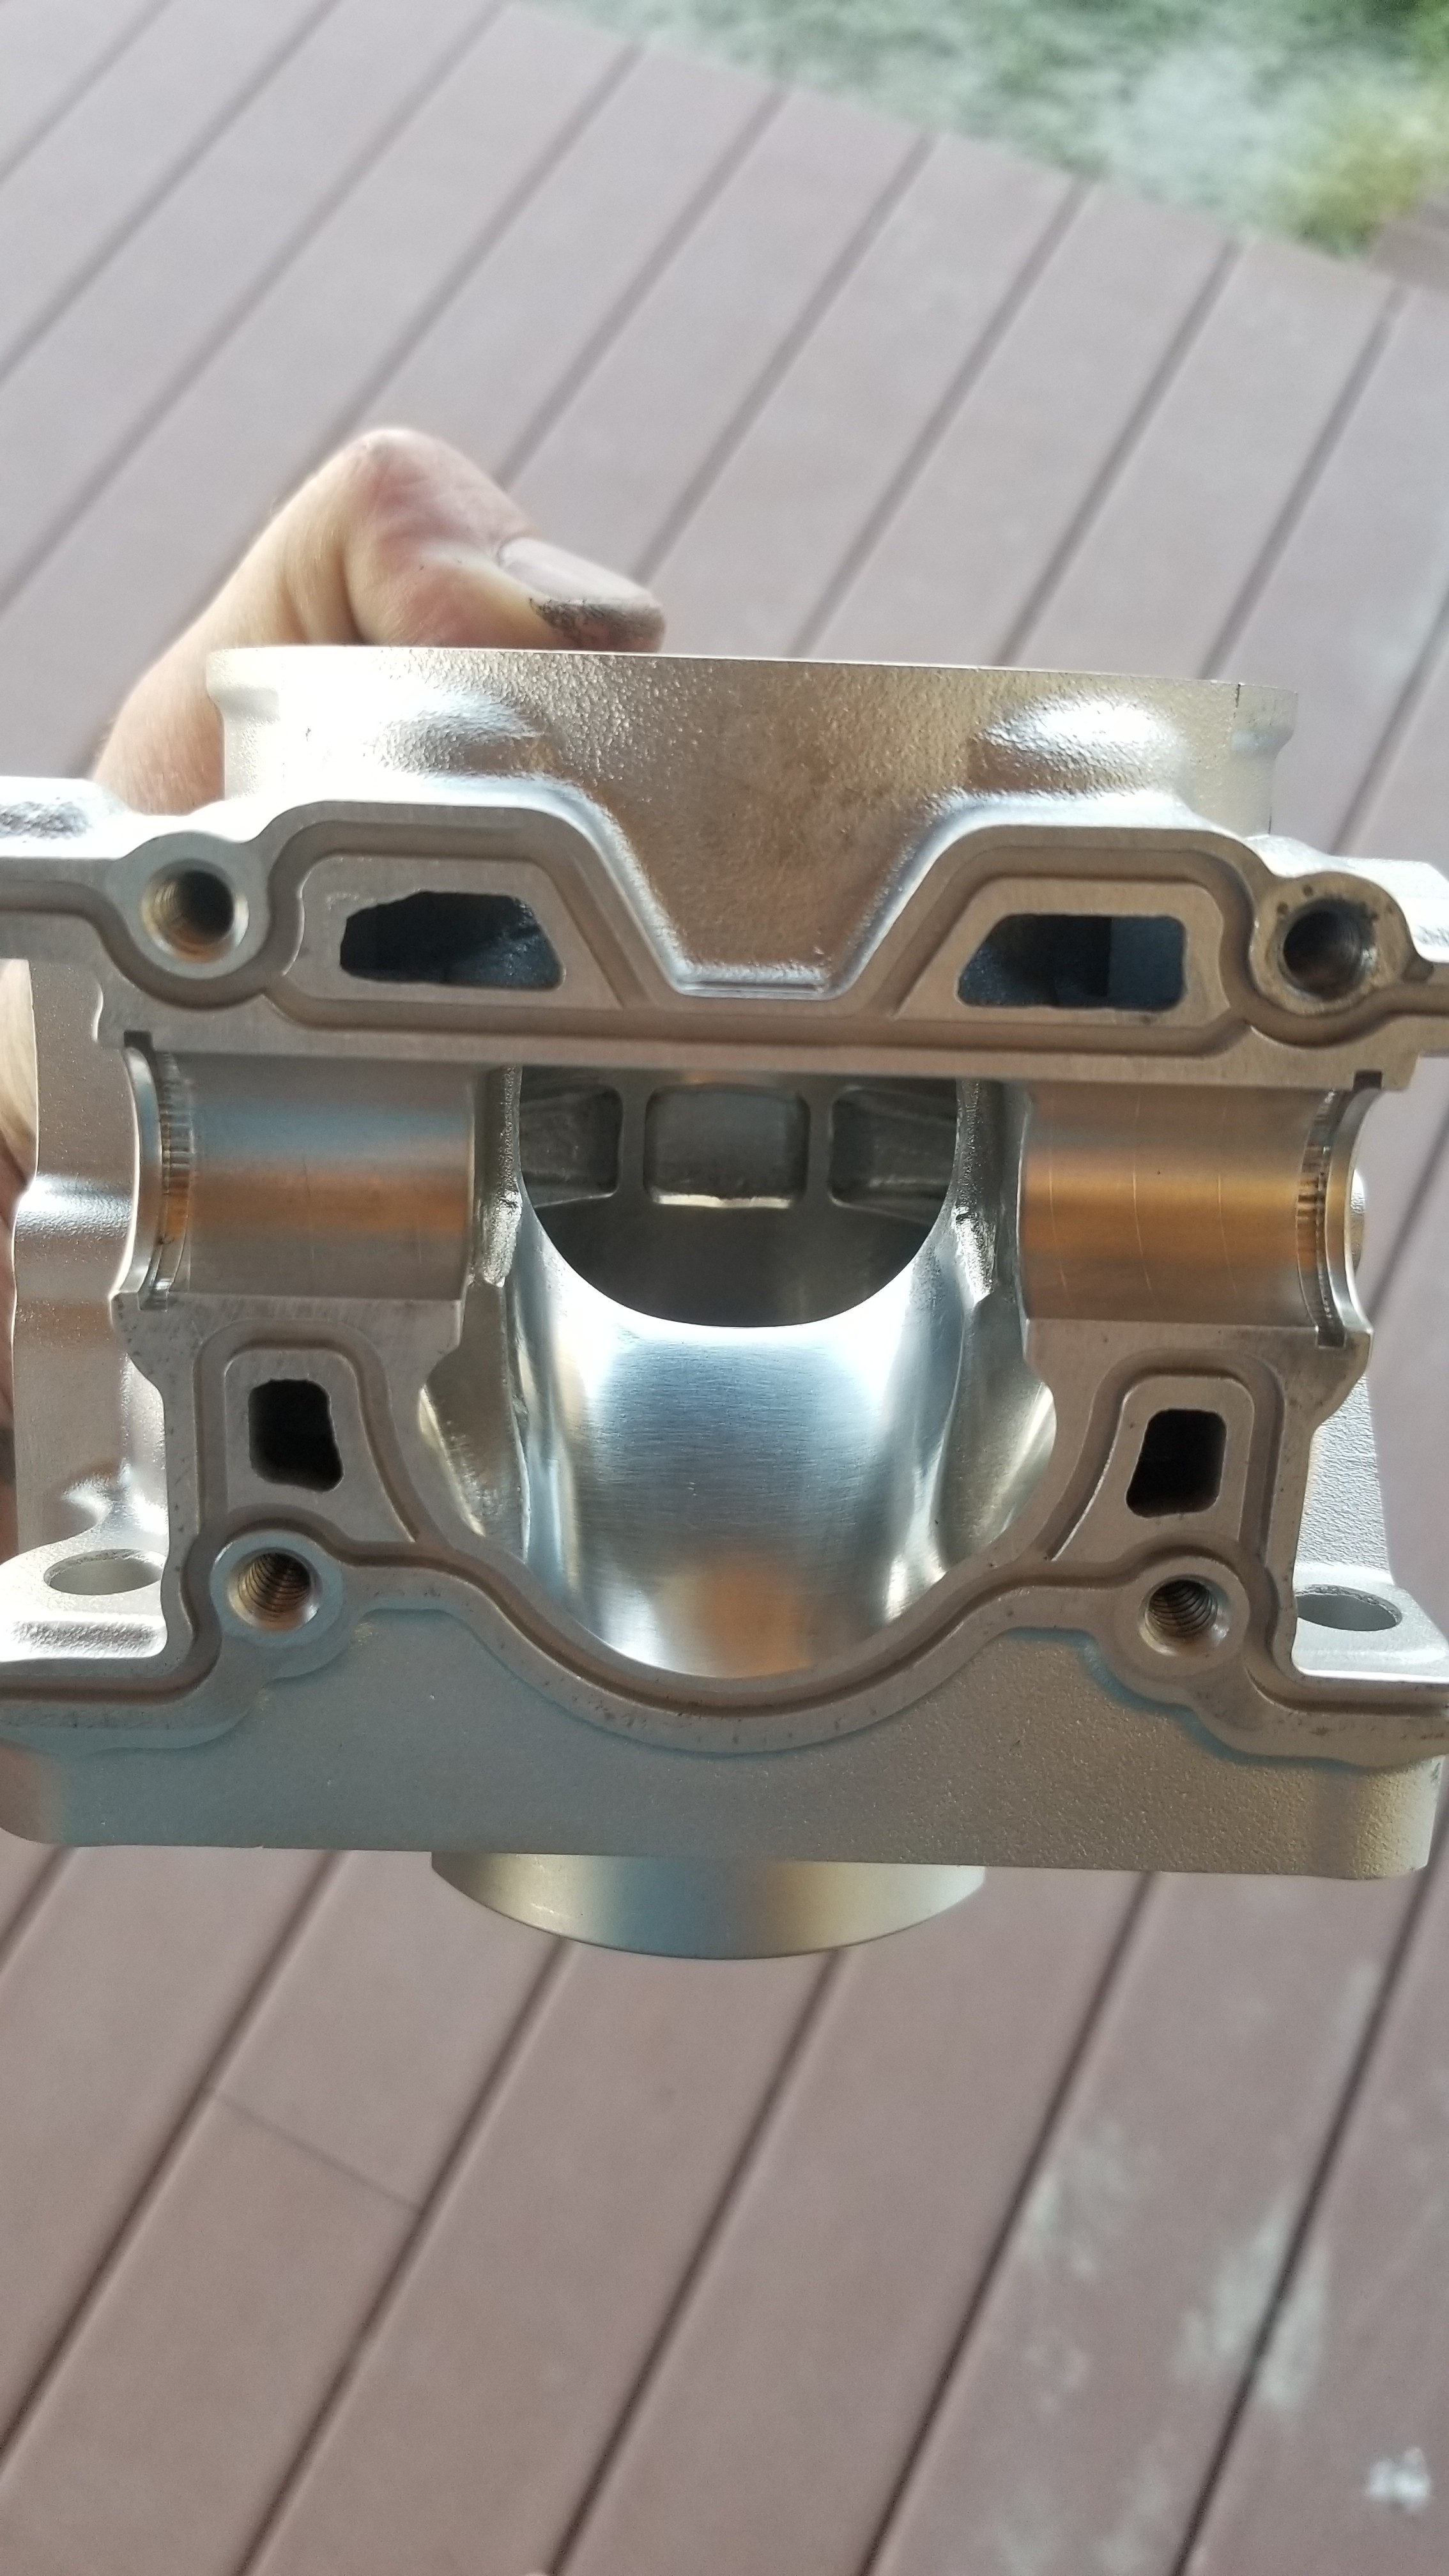
While this is not directly related to micropolishing, I thought I would post up a picture of the my cylinder that I just got back from Lynks Racing. This is my first time using Lynks Racing but have heard a lot of good things about Greg's work. He does motors for many of the KTM Orange Brigade riders. Every cylinder I have had ported in the past obviously gets the intake transfers and exhaust ports cleaned up, but this is the first time I have ever had somebody polish them to an almost mirror finish.

Can't wait to get this motor together this week and broke in this weekend.

6TKL.jpg
 
My Beta and Leimomi’s KTM uses orings. Both bikes constantly cut their orings, I’d rather have an exhaust gasket or a solid flange.
 
I have completely forgotten to update this. First thing is.......the bike puts out an incredible amount of power. I would love to put it on a dyno and see what numbers it gets but dont really feel like spending a couple hundred bucks to do it. Jack has his hands full keeping the front wheel from wanting to come up on him.

Through all the regionals and racing at Lorettas the bike ran incredibly well. I put it together with a 2 ring piston that was Cryoheat treated but switched to a single ring before Lorettas that was not treated. Josh said that the cryoheat treatment would extend service life and now I believe him. My usual piston change timeline has been between 20 to 25 hours. I always measure ring gap clearances when I put it together and when I take it apart. The piston I took out right before Lorettas had about 18 hours on it. A non treated piston would show a ring gap change in the range of .005 to .008. This Treated piston only showed a change of .001 after the 18 hours.

Jack spent the month of July leading up to Lorettas training in North Carolina at the Bennick compound with Daxton Bennick, Hayden Deegan, and a few other national champions. He grew a lot as a rider and as a man. He had to take care of his bikes, do his laundry and cook all his own meals.

You can see him in a lot of the Deegan38 YouTube videos during July. This one from Lorettas shows his Moto 1 start and what a challenge it was to keep the front of the bike planted. His start is at about 1:20

 
On the motor I built for Lorettas, everything makes a difference. The cryo treatment makes the parts stronger and reduces the amount of tolerance change when the metal heats up as well as reduces some friction and the micro polishing takes the friction reduction to the next level.

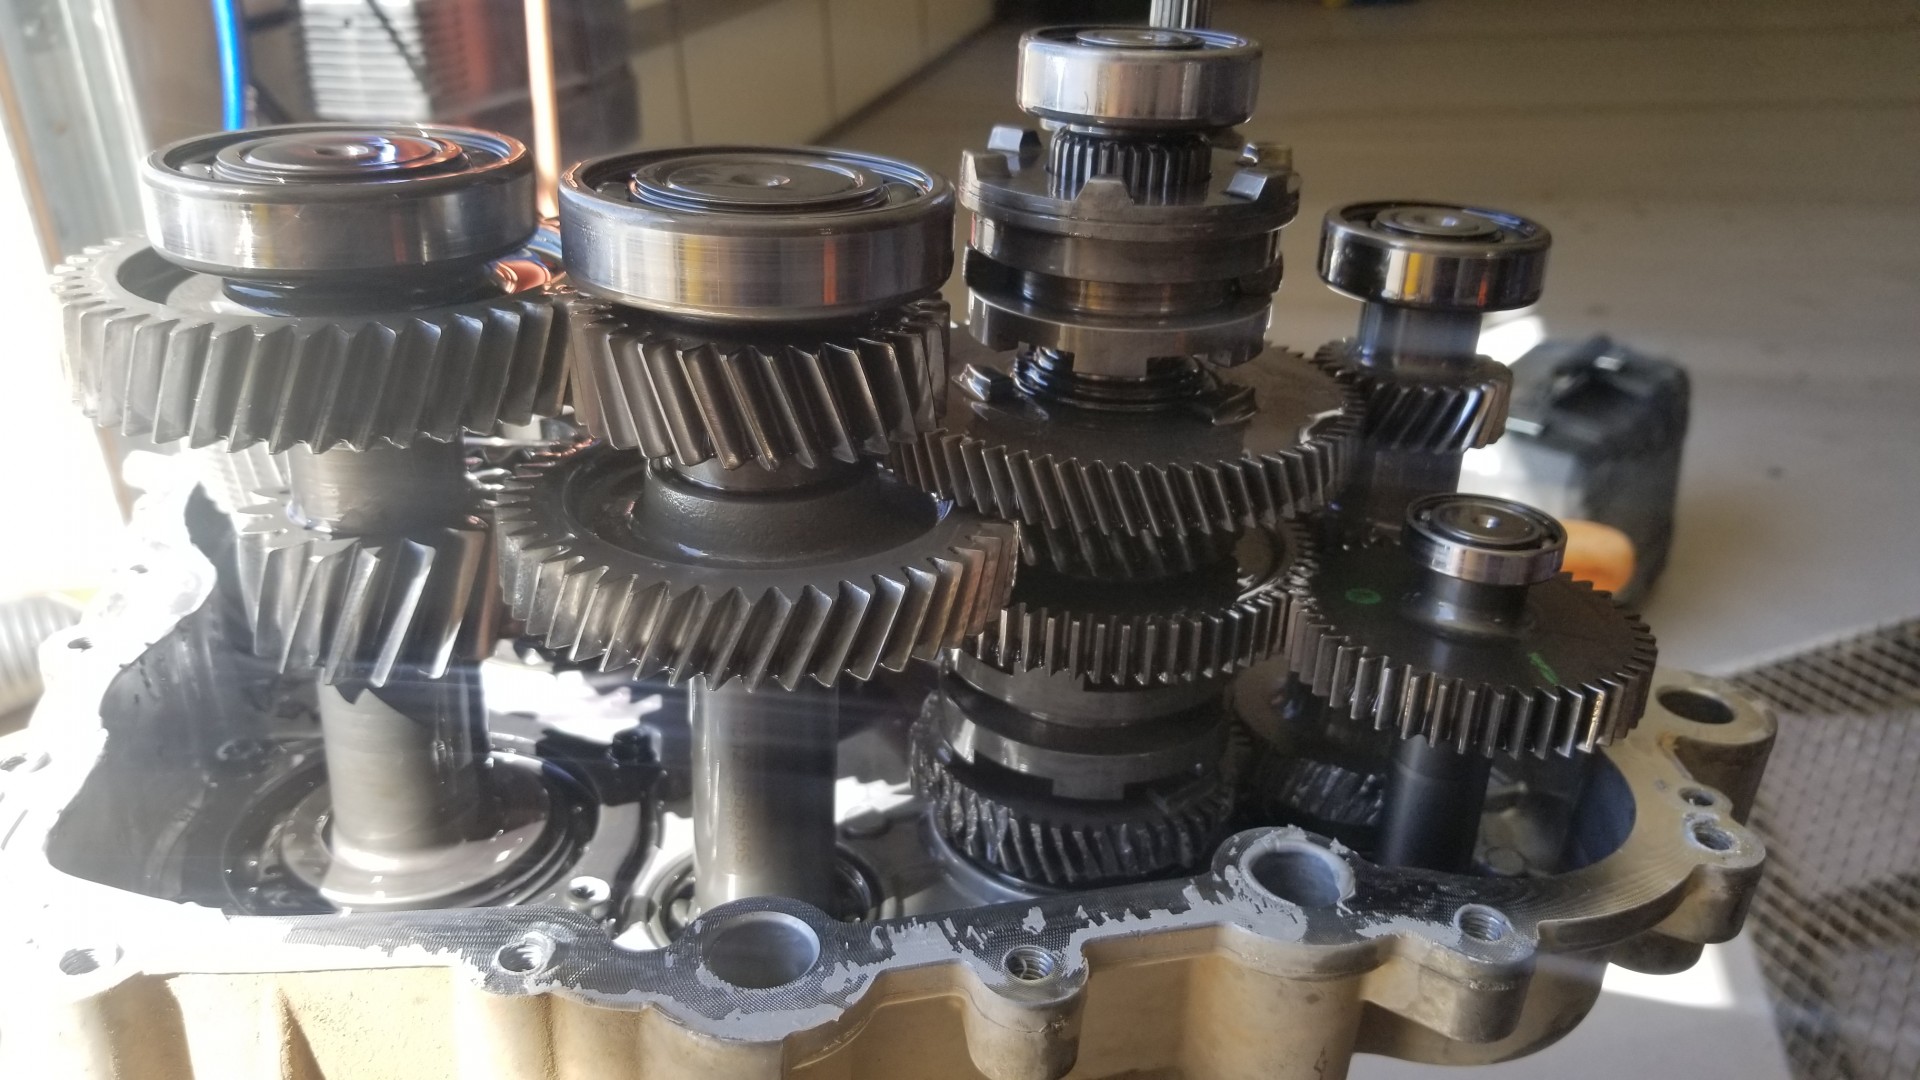
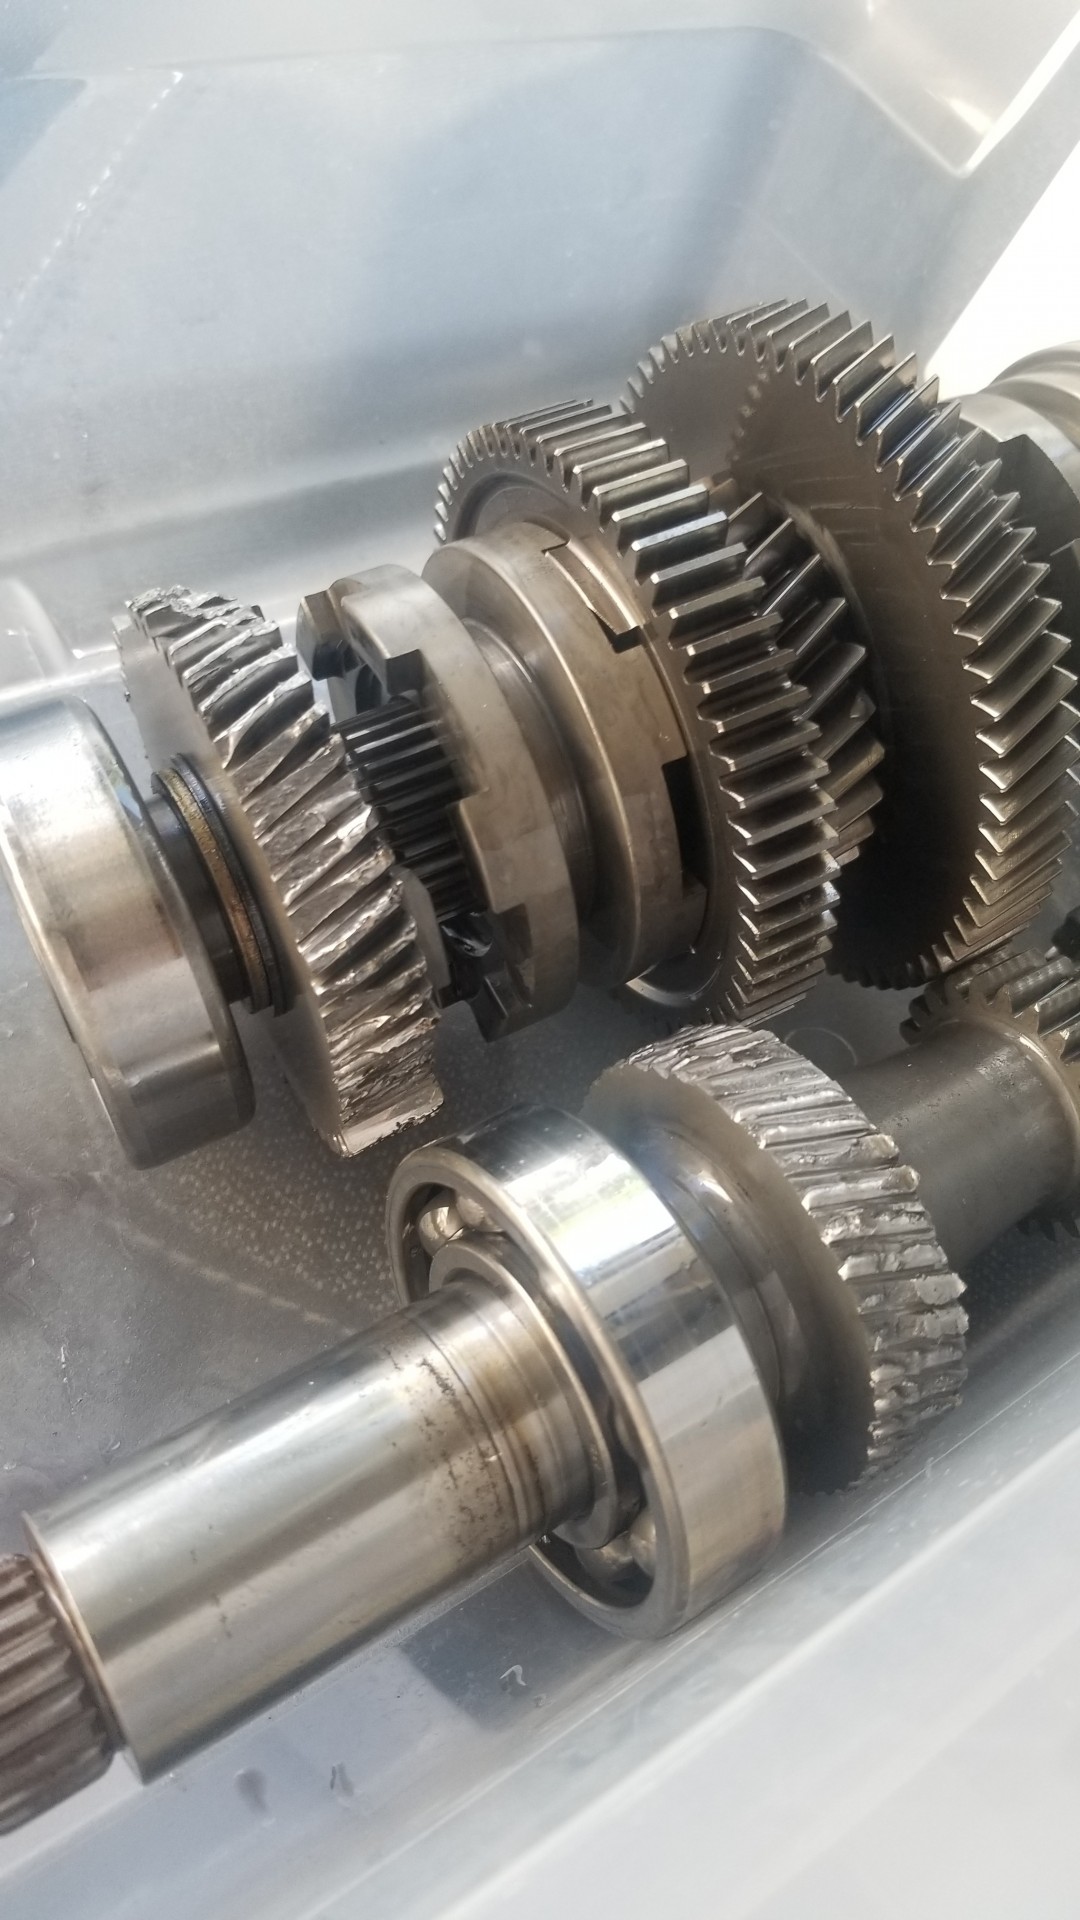
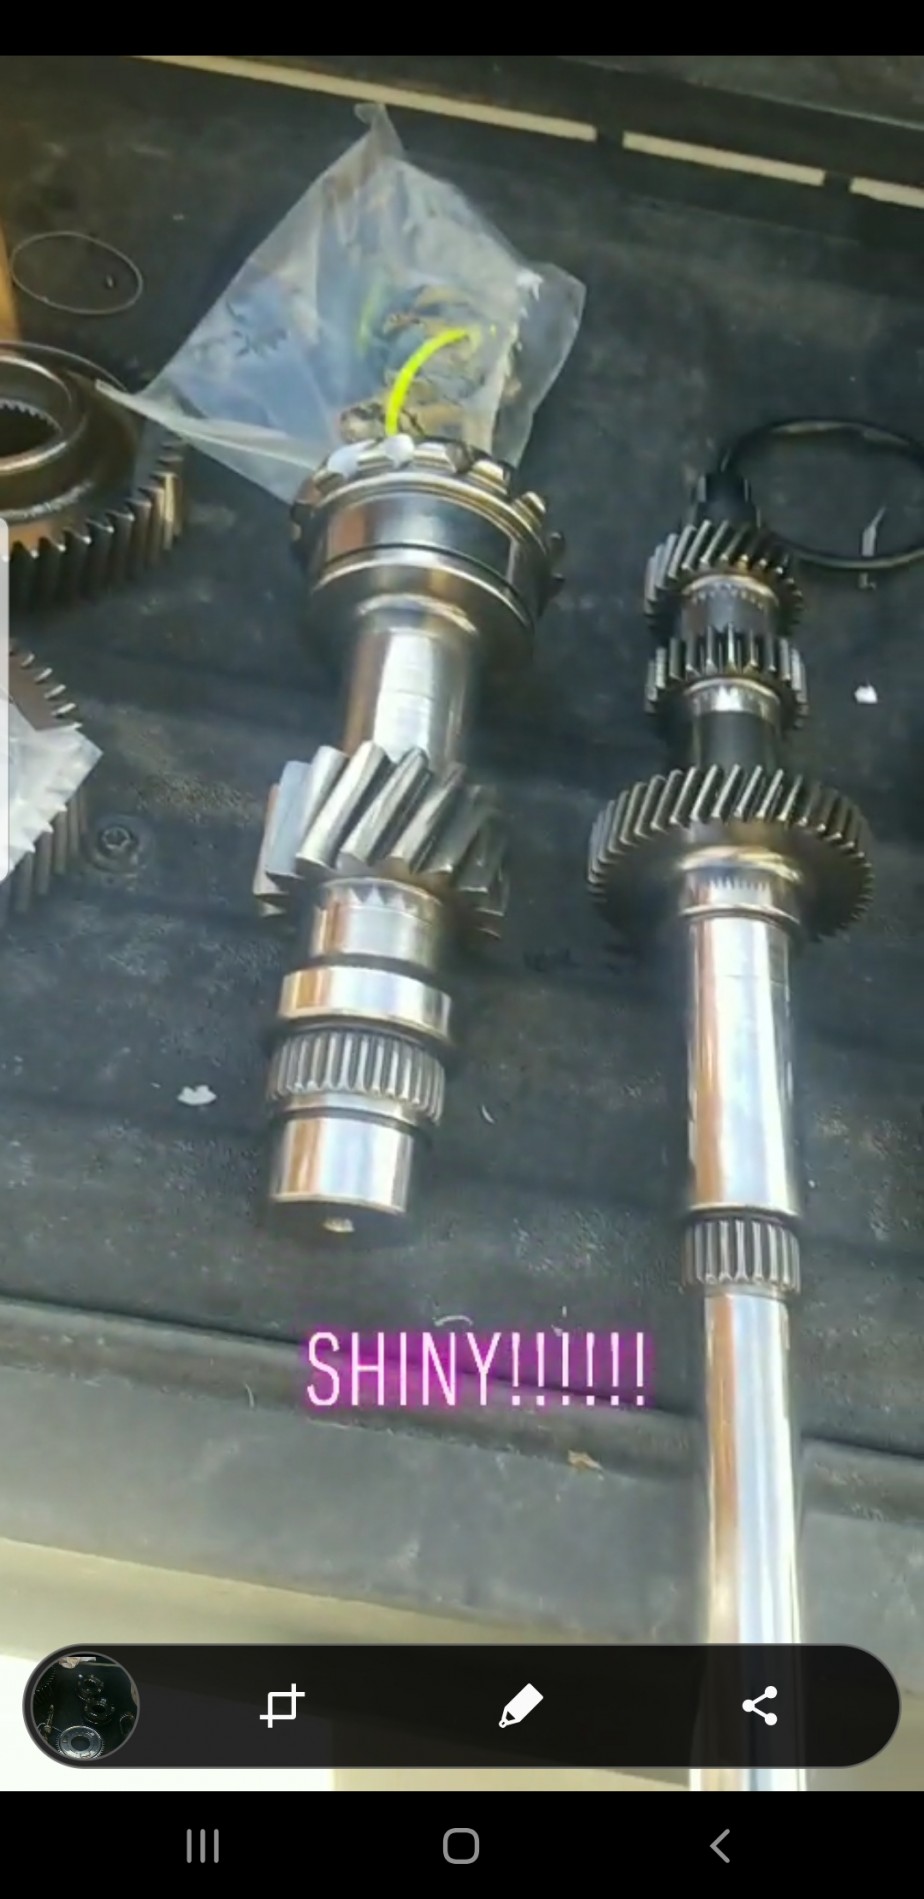
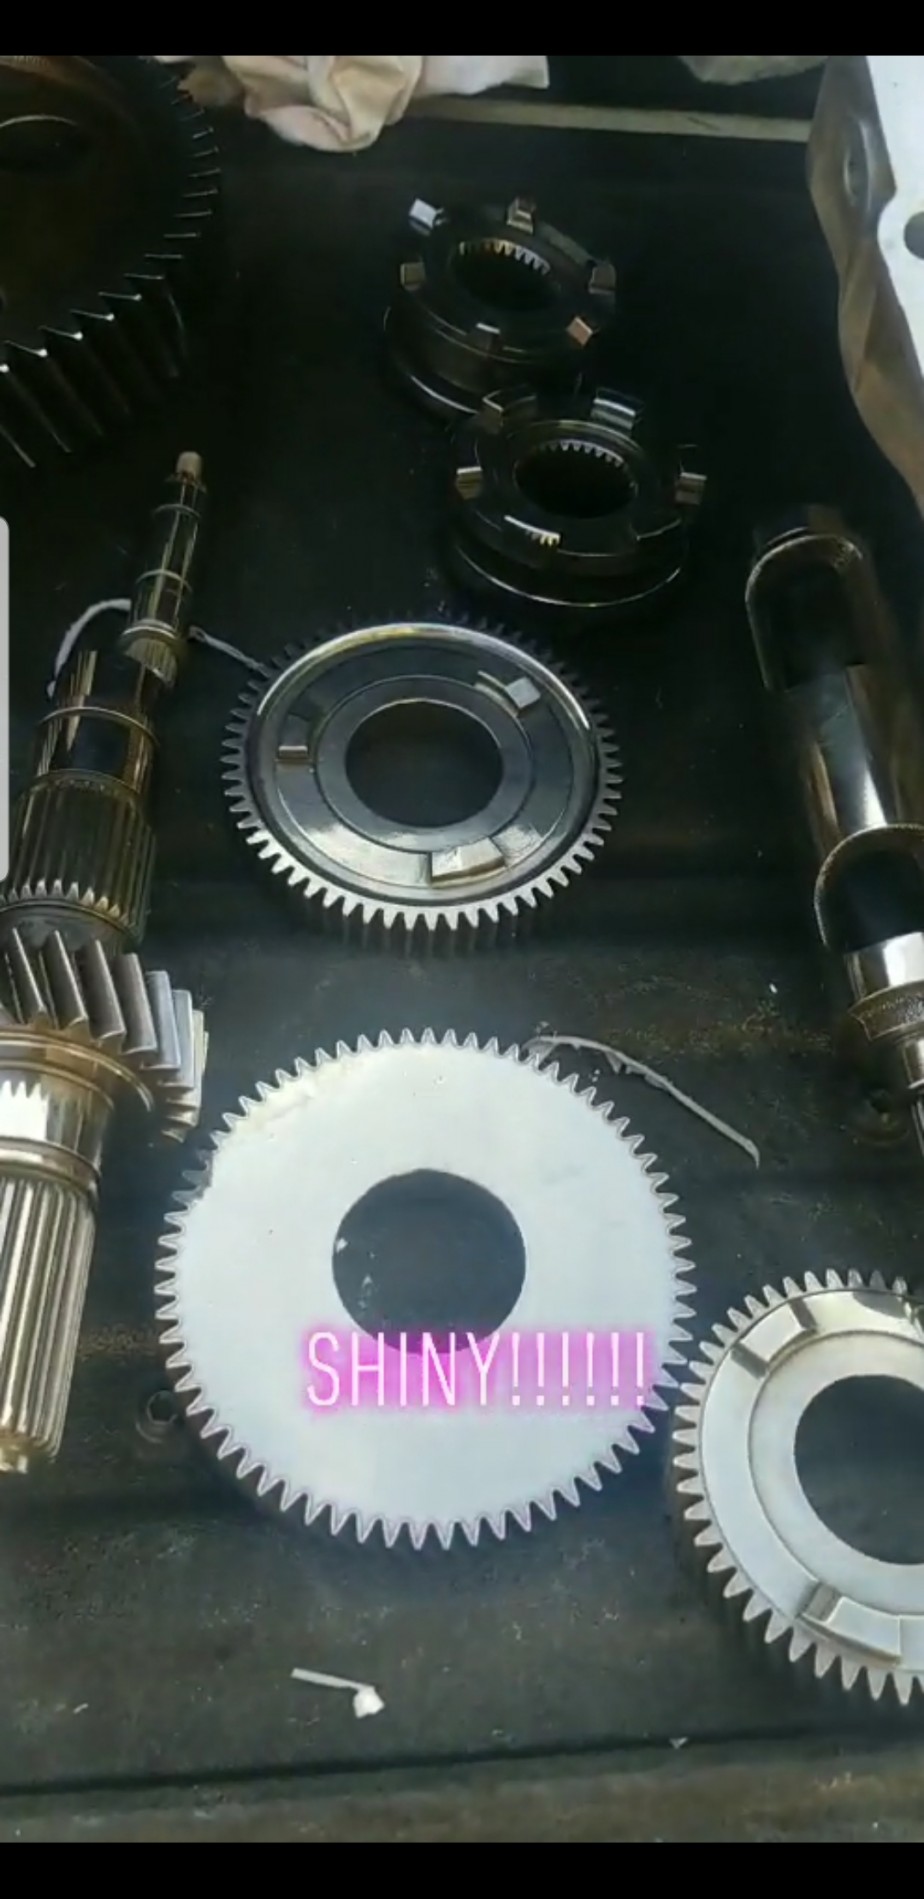
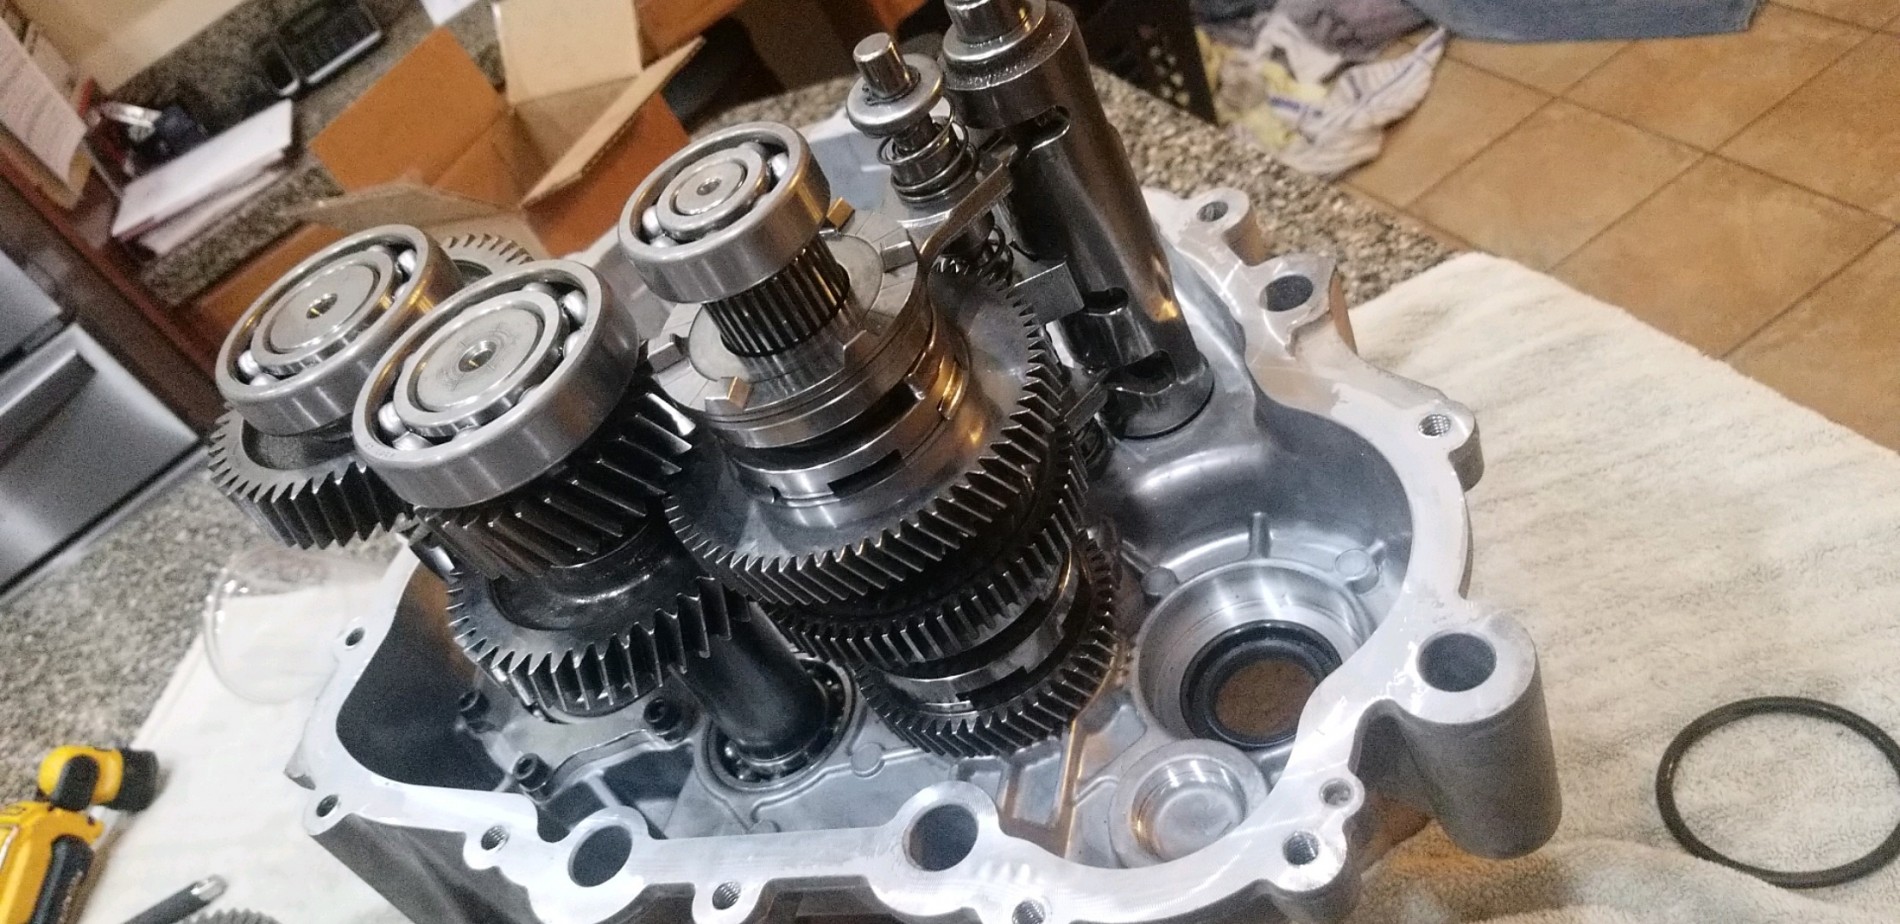
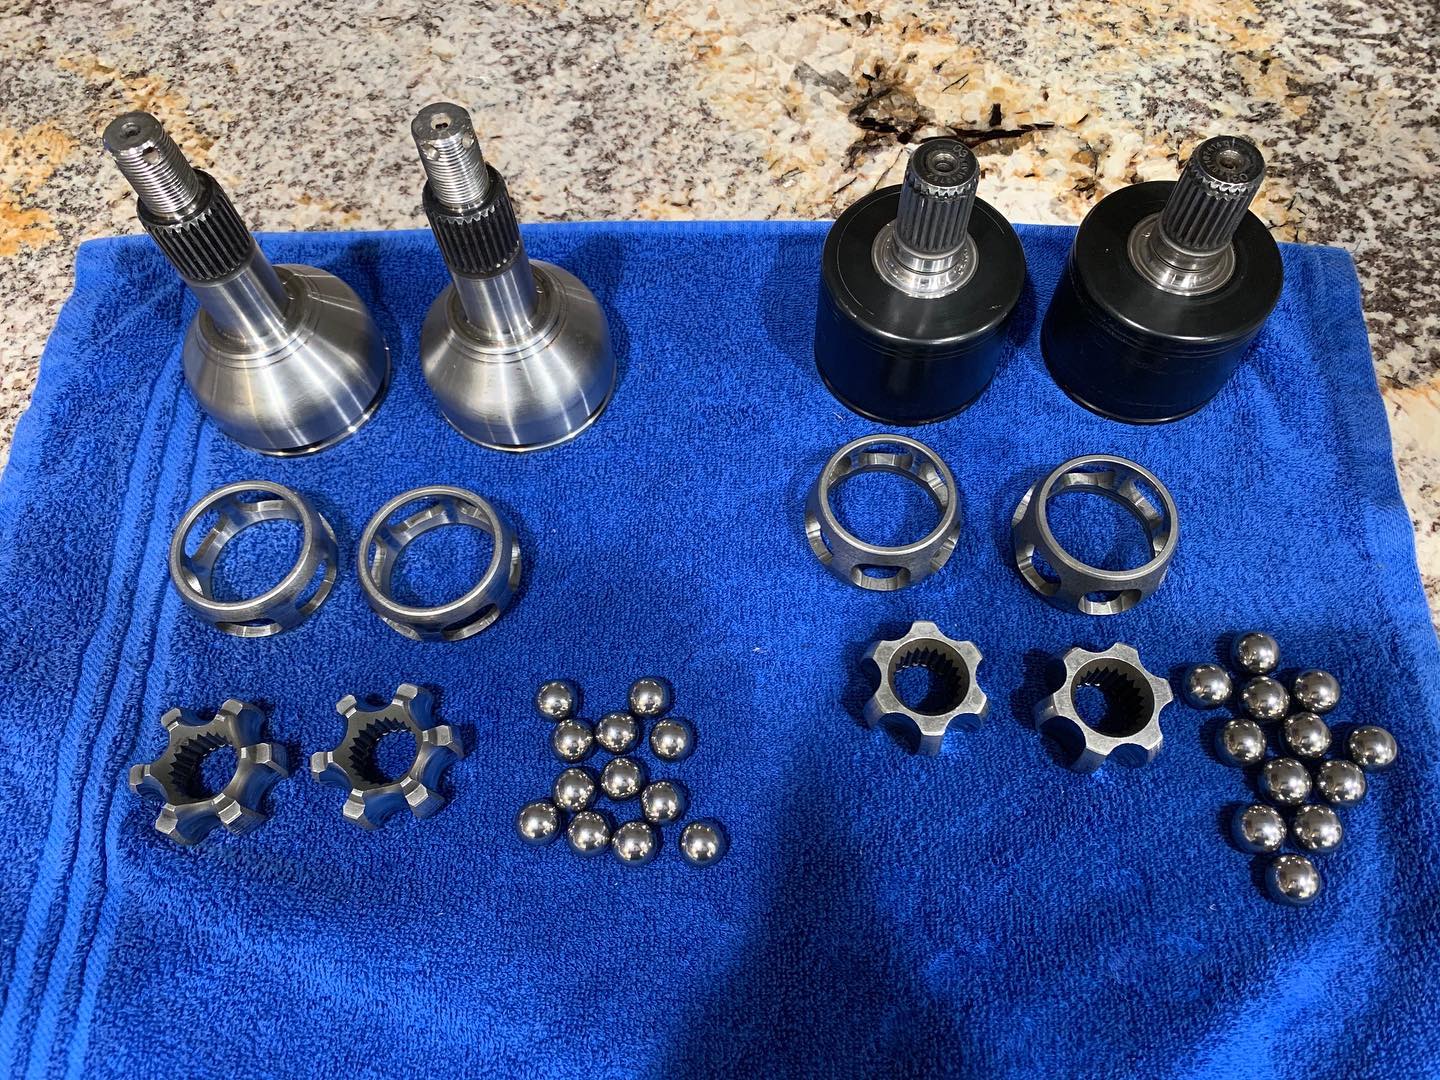
For the RZR I did it mainly for strength purposes. To see the difference in the parts the second picture is the shaft on the bottom is the input shaft I torches and the third picture the right shaft is the new input after CryoHeat treatment and micro polishing.
 
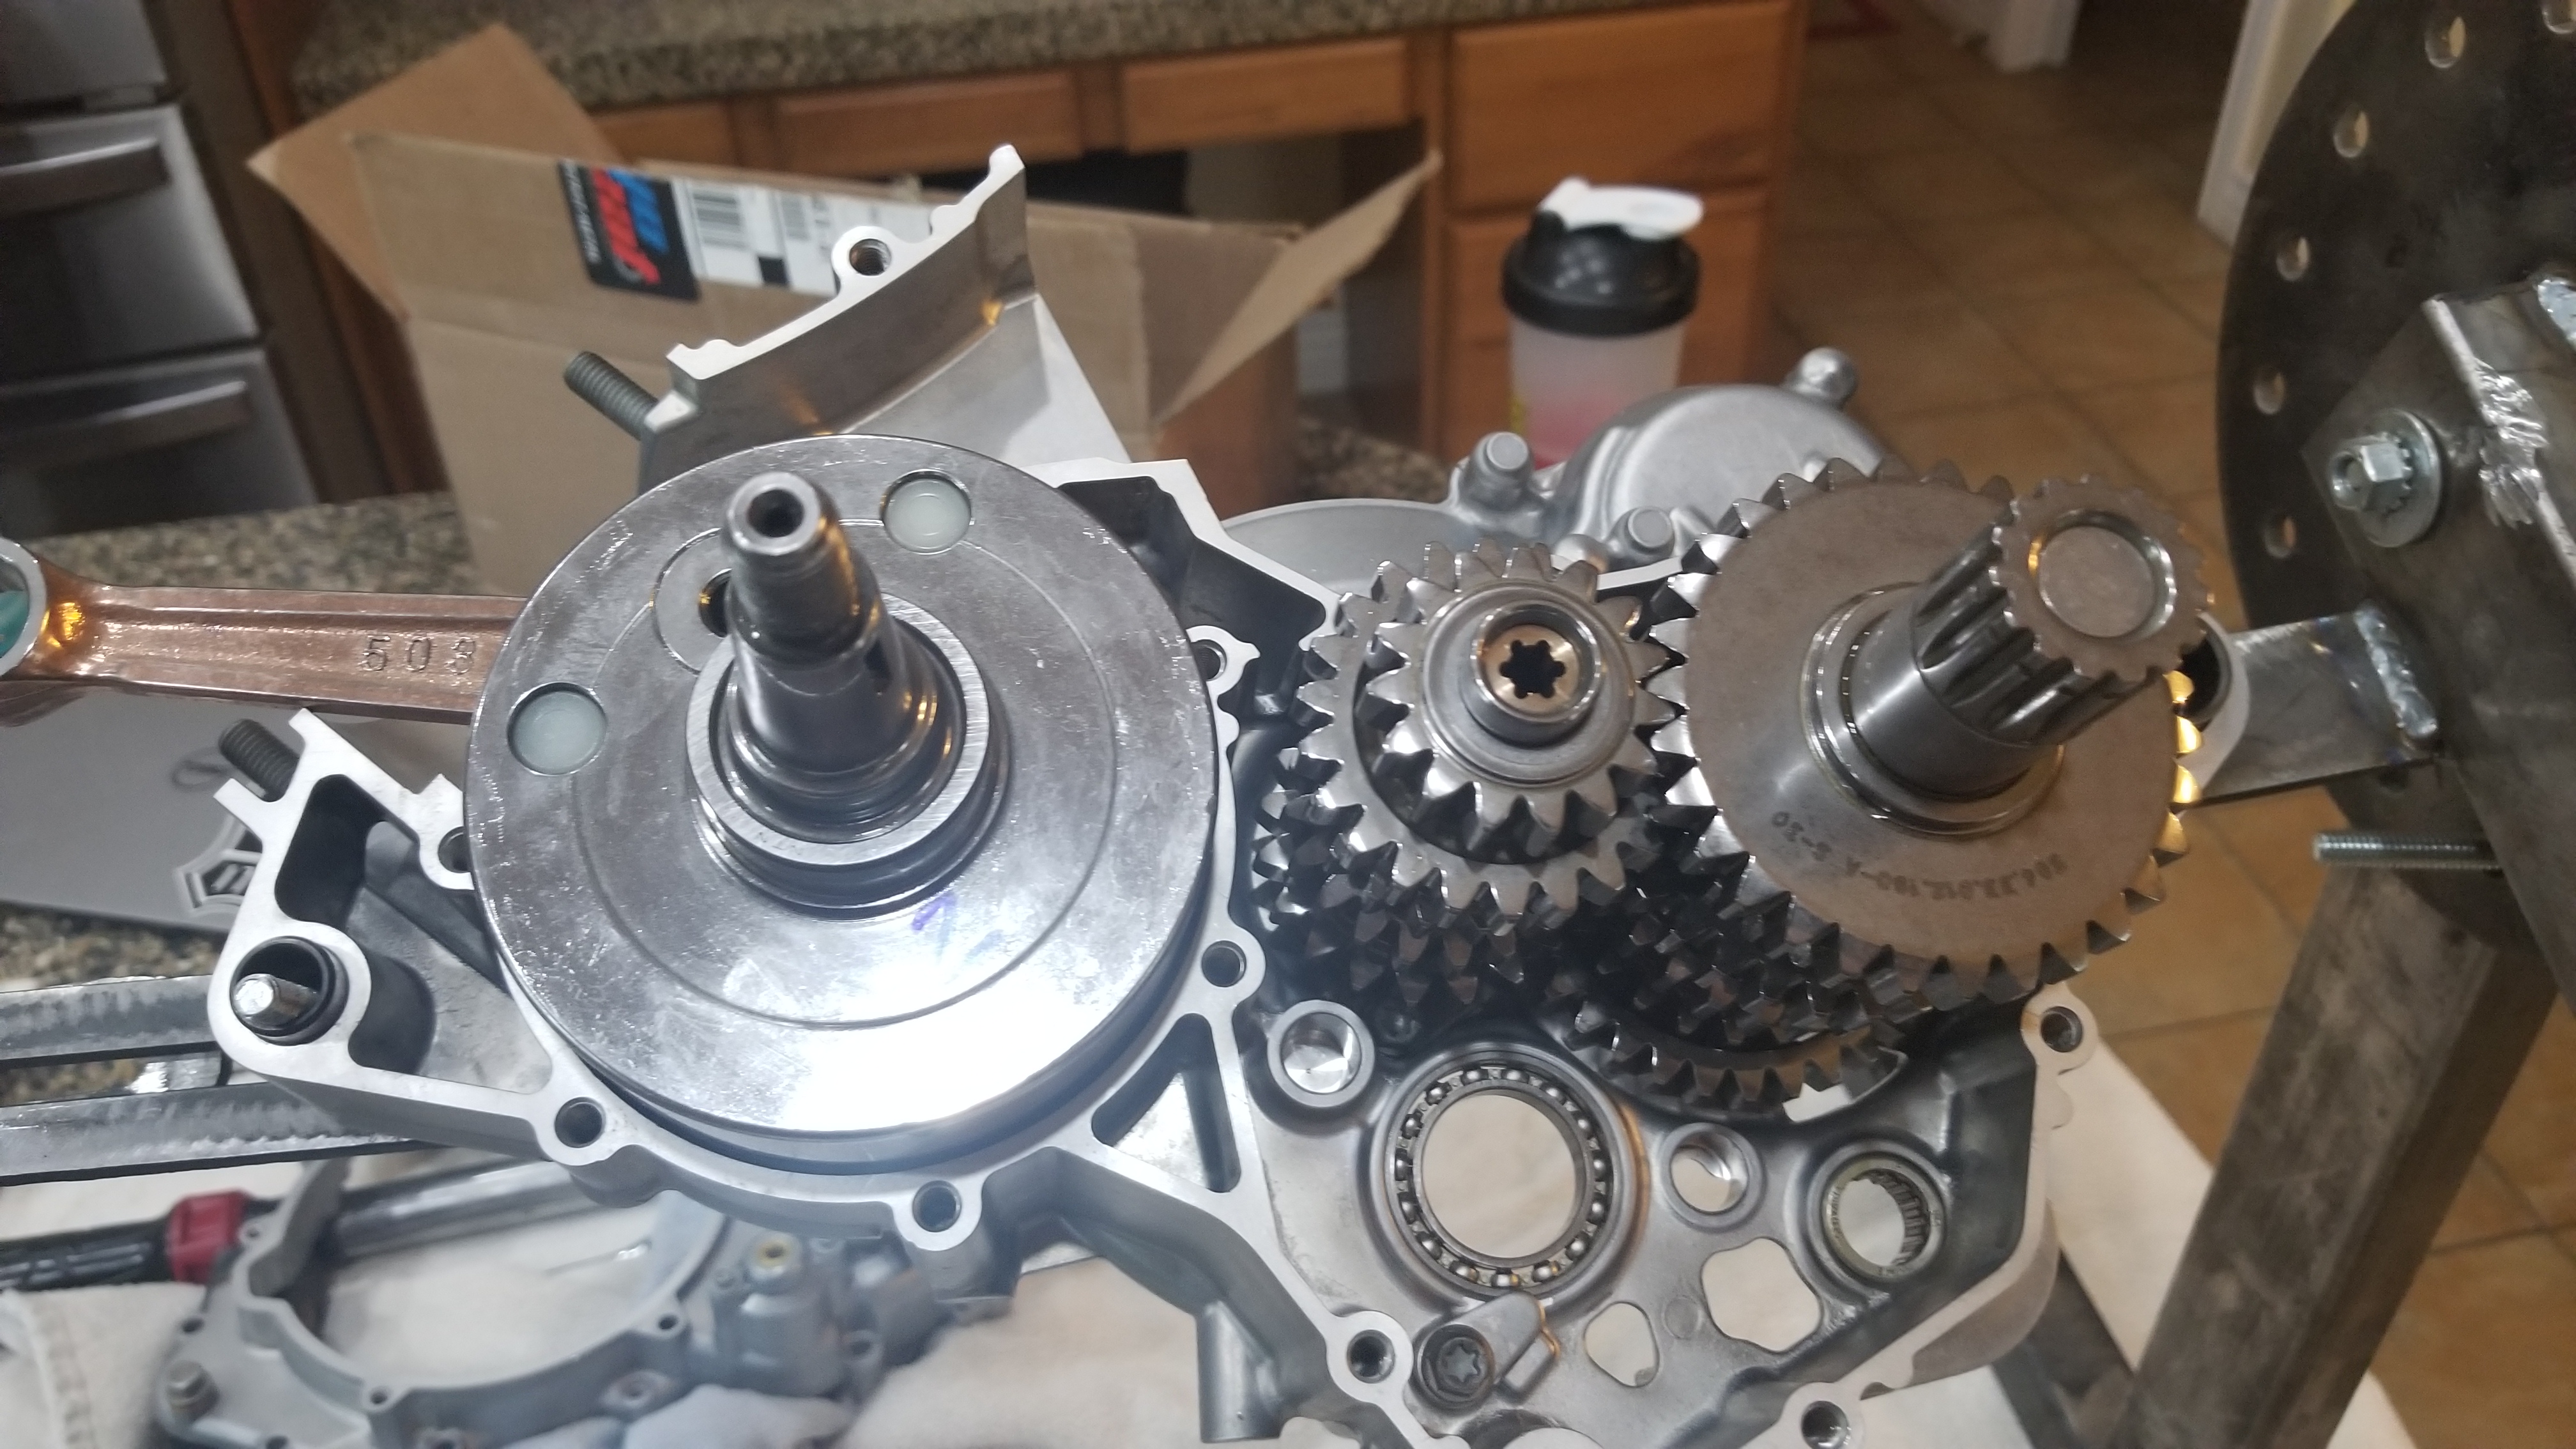
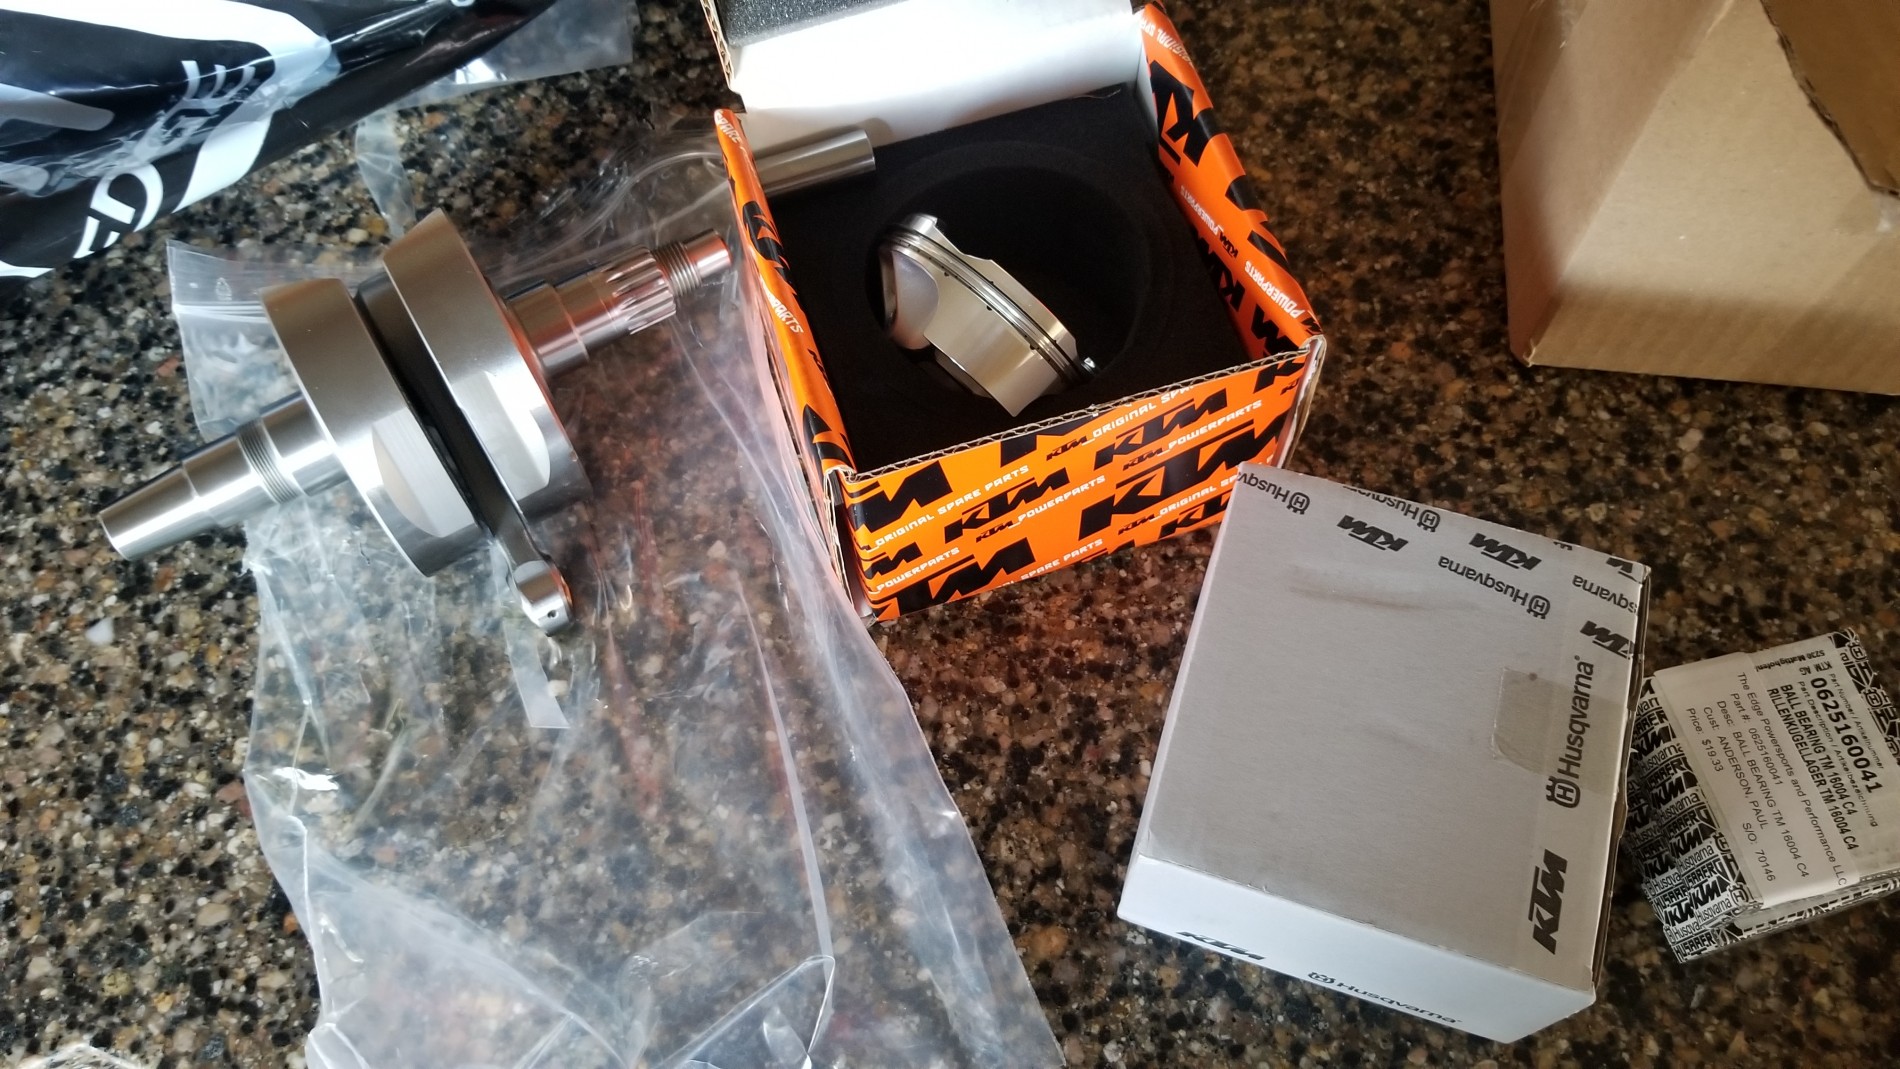
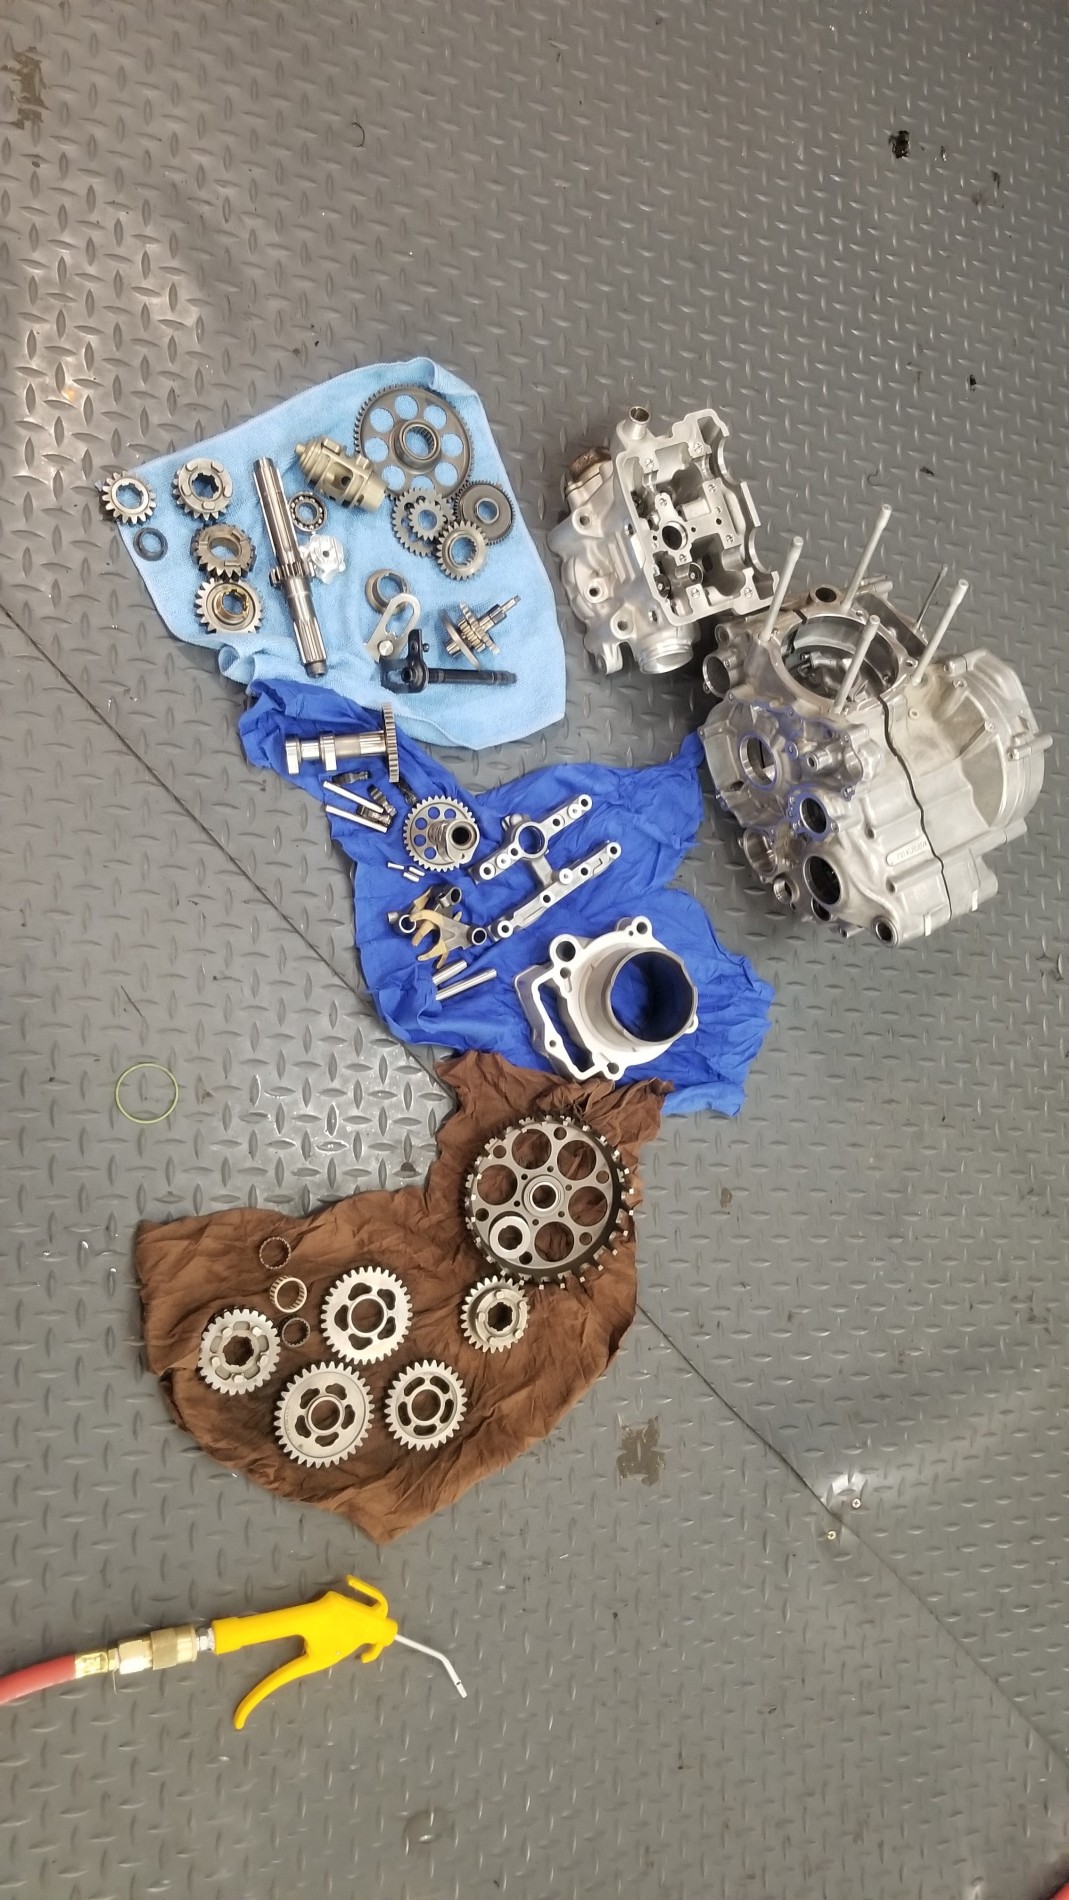
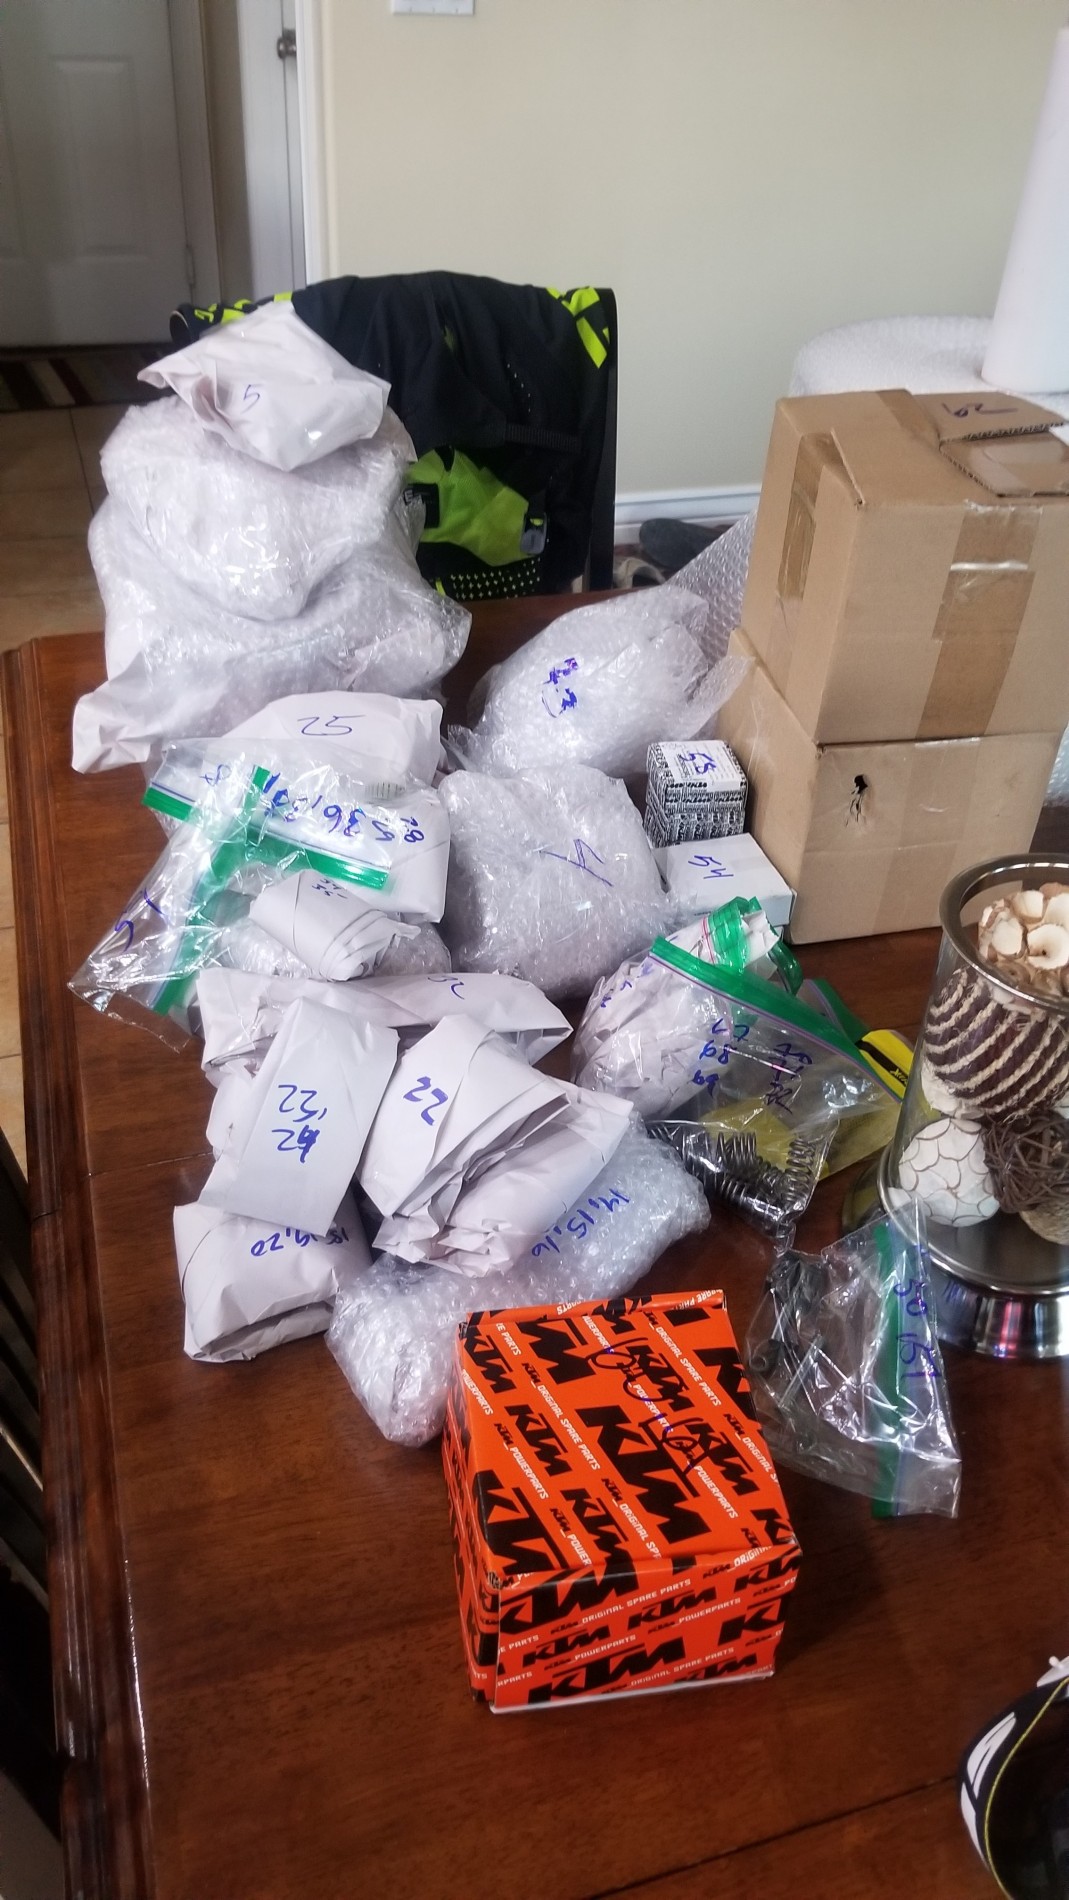
Onto the next round of micropolishing. With just over a month and a half until the NHHA season starts back up I decided it's time to freshen up Jack's 250 since it has about 65 hours on it. It could go a little longer but since I have a bad case of the "might as well since it is apart" syndrome, I said in the beginning that when it came time to do a top end on his bike that I was going to tear it down and give it the full treatment. He has been in St. George for the summer living with my sister and working, so not having the bike home yet is complicating the process. While the crank still has a ton of life in it, I did not want to do this project with a 65 hour crank, so I bought a new one......as well as new transmission bearings.
WWYw.jpg

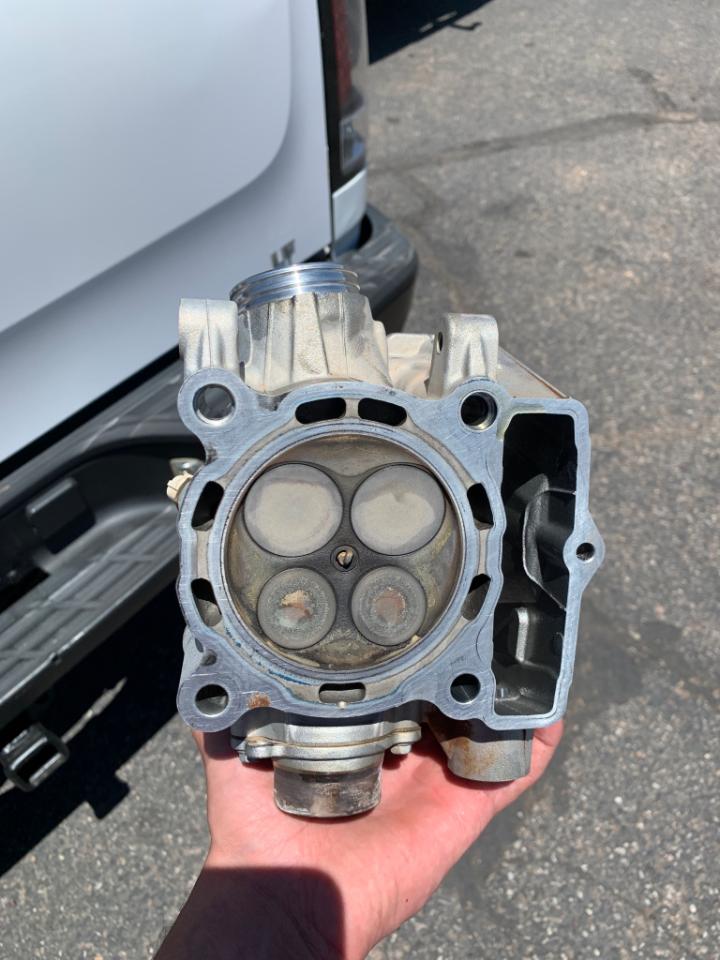
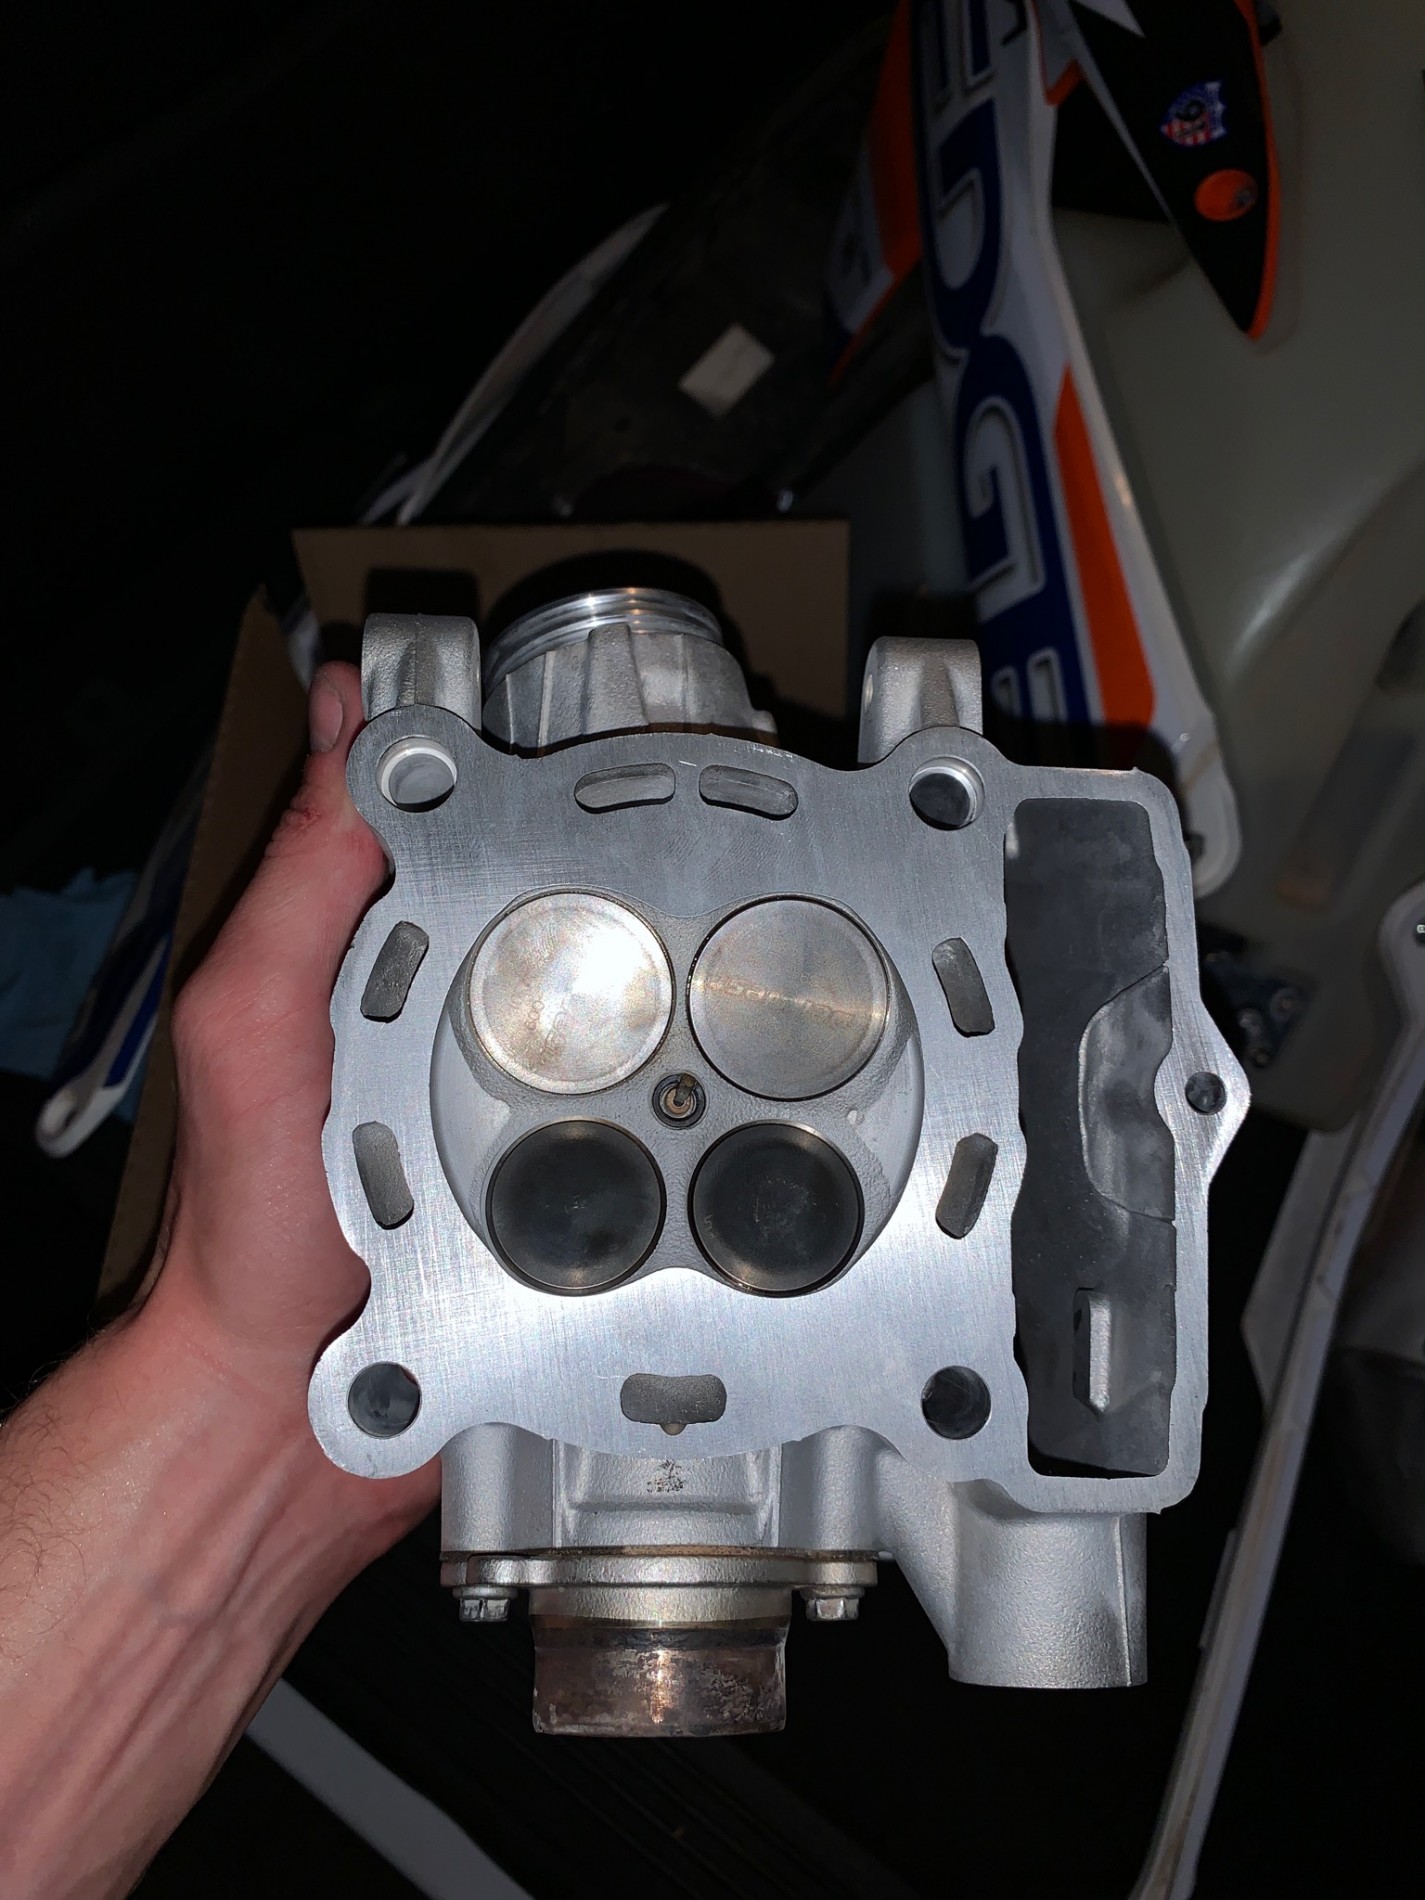
I had a friend help Jack get the head torn off on Monday and he took it over to Fast Heads to get looked over and have the carbon cleaned up. Sometimes it is good to be friends with people since Brent got it done in 48 hours when he is usually 2 weeks plus on turnaround.
Before
WpT0.jpg

After.......everything checked out and looked good.
WcrL.jpg


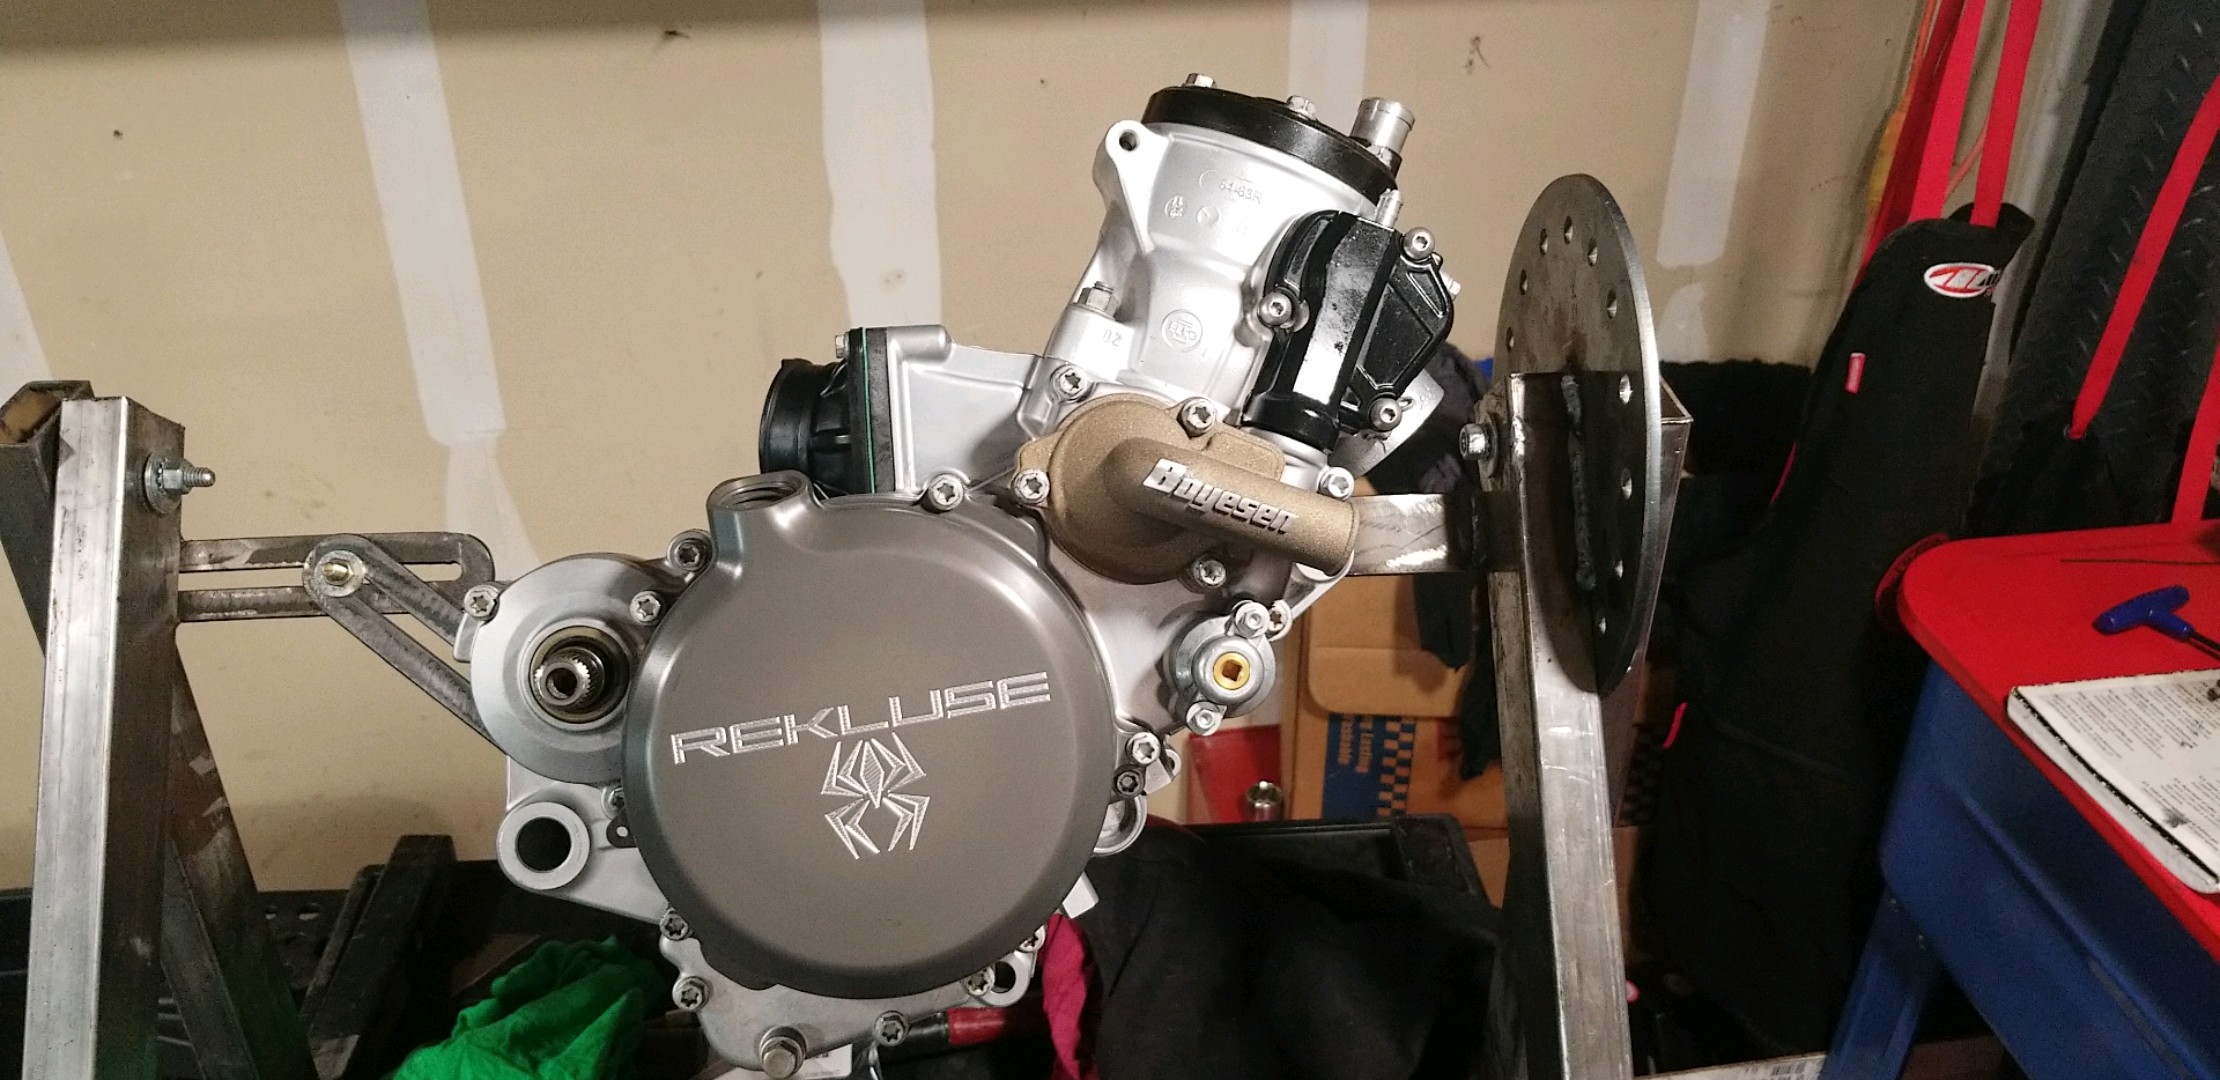
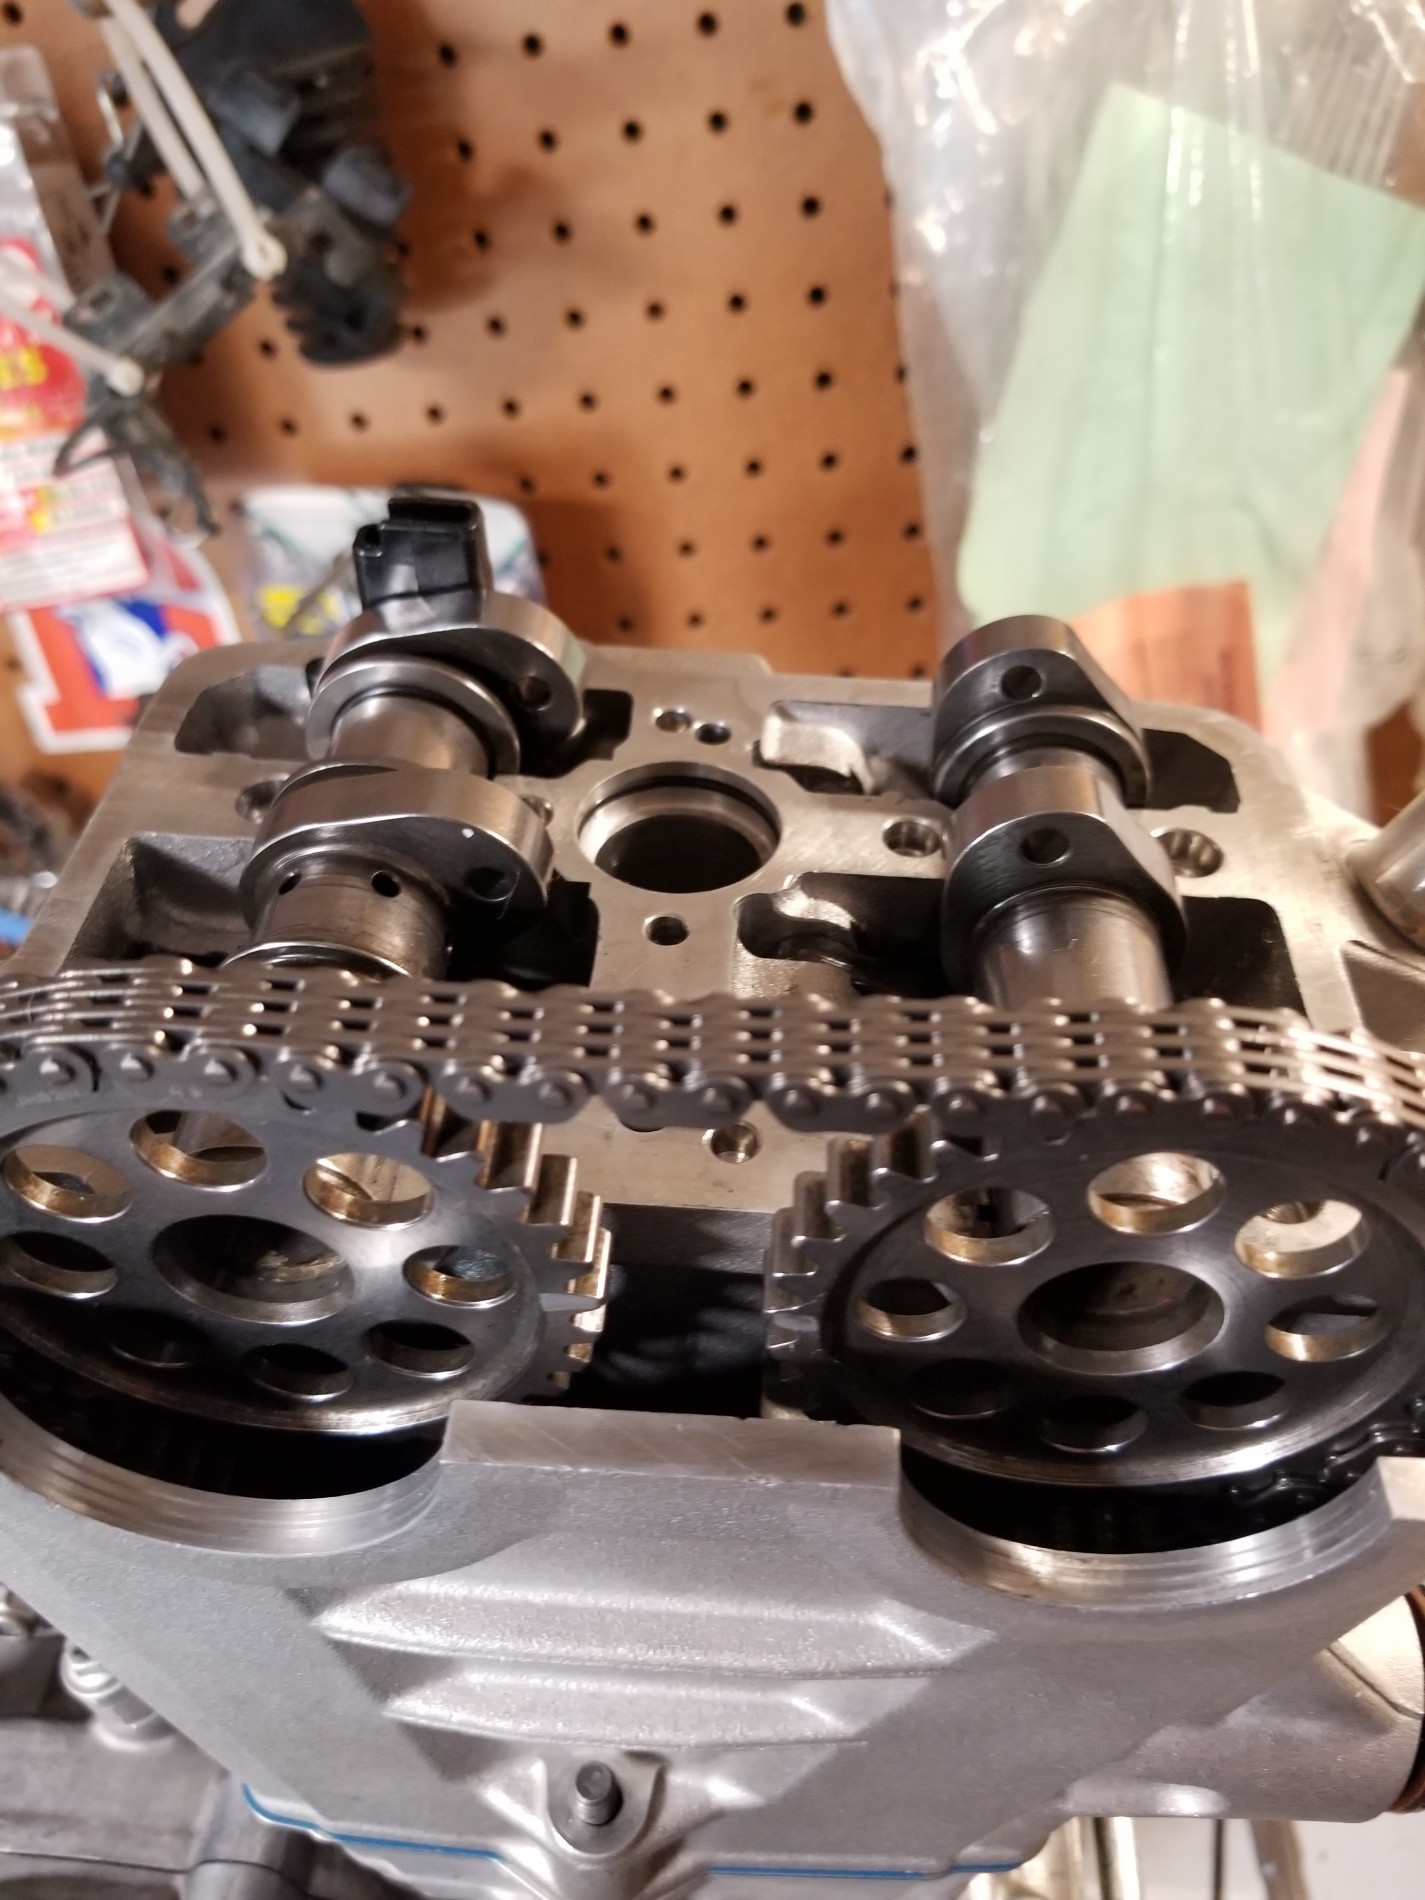
This build will get the full CryoHeat treatment and micropolishing of every rotating part that can be polished including the cams, valves and valve springs. Like the 125 build, this bike will also get the Rekluse Core Manual Torque Drive clutch that has 11 fibers and plates instead of the 7 that are in a stock pack. I will post more pics when I get the bike on Sunday and start tearing it apart.
 
Bike fired right up and sounds good. Seemed to be less "rattling" from the motor...... shifts like melted butter on your fingers.

This is only the 2nd time i have built a 4T motor from the ground up. ...... was nervous when firing it up. There is just too many small things compared to a 2T....... like 2 random circlips left over I had to figure out where they went. Fortunately it was for retaining a couple oil seals in the outer clutch cover and were easy to get to
 
Back
Top