Project: Bush Baby

Bob B

Registered User
OK.. some update crap.. It's been a long time since I have really done any serious work on this thing because I moved and have been trying to get settled in the new place. Plus I am WICKED good at procrastinating!:ugh:

So I got out and did some work this weekend.

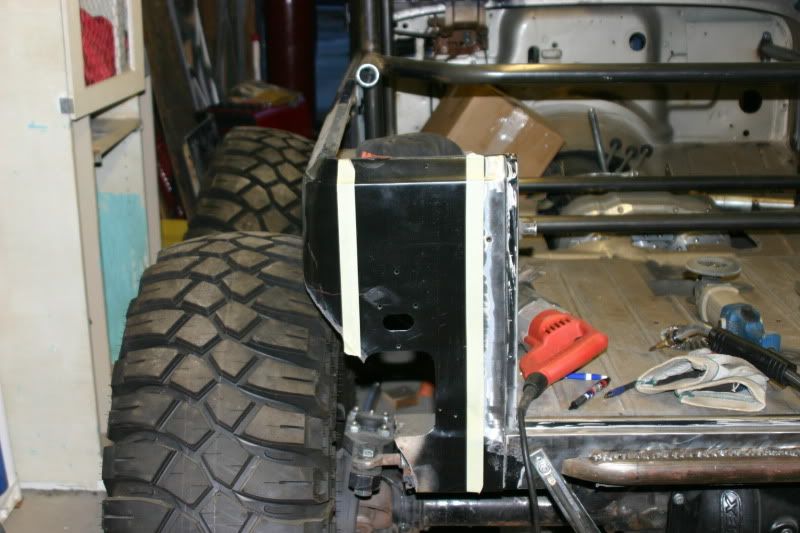
I changed my mind on the rear of the jeep ,because the lowosity of the jeep plus the rear steer made for some serious tire cutting so I removed the never used back half of the cage:
IMG_7313.jpg

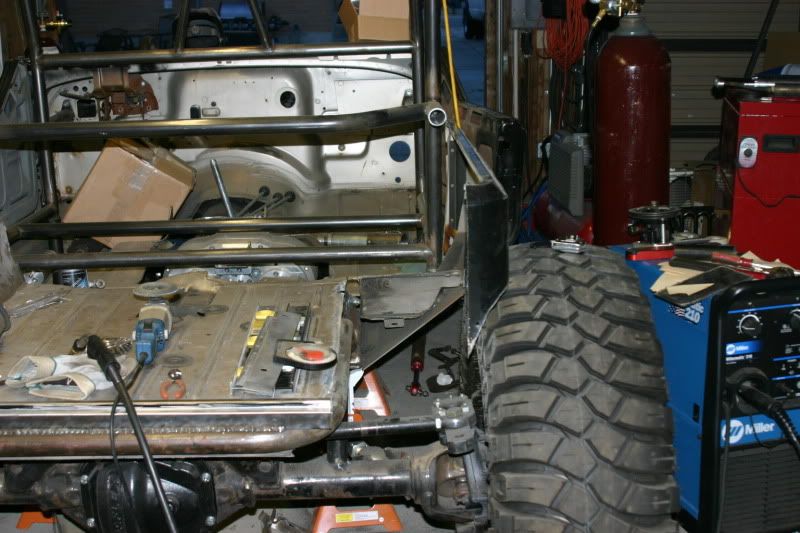
then cut out the fender wells and narrowed the floor 3in and went from this:
IMG_7316.jpg


to this (I Know its a different side of the jeep.Thats not what i'm referencing)

IMG_7315.jpg


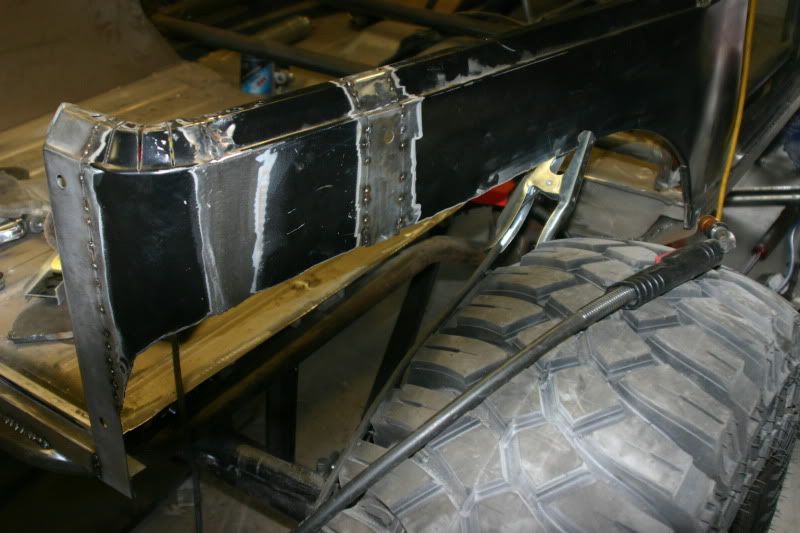
did a little patch panel work and ended up with:
IMG_7330.jpg
 

Bob B

Registered User
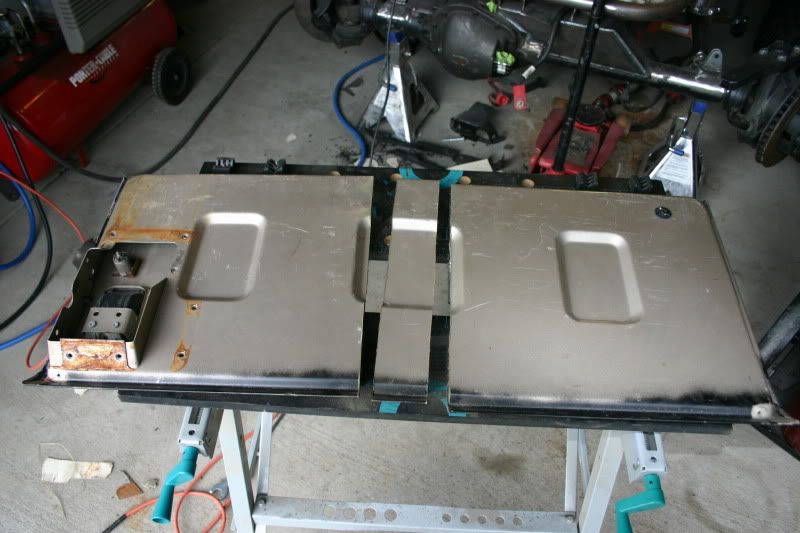
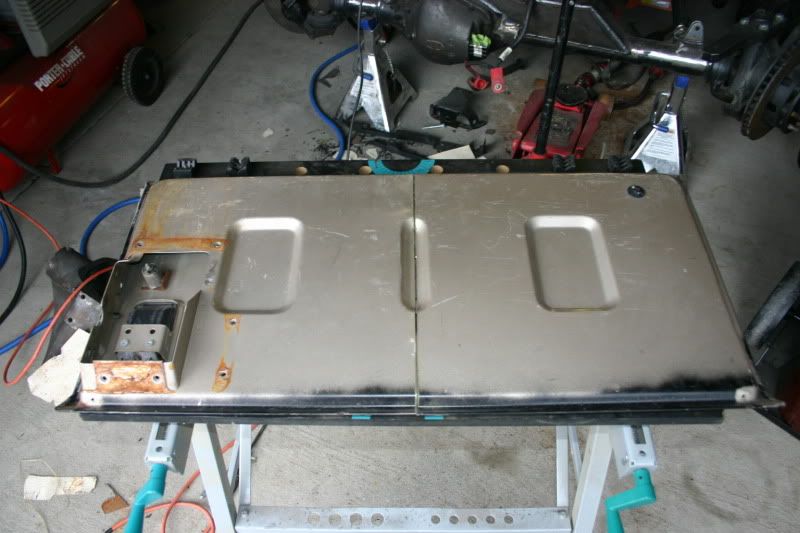
So then after both sides where done with the acception of final welding and metal finishing it all, I narrowed the tailgate:
The cut:
IMG_7335.jpg


The end result:

IMG_7336.jpg


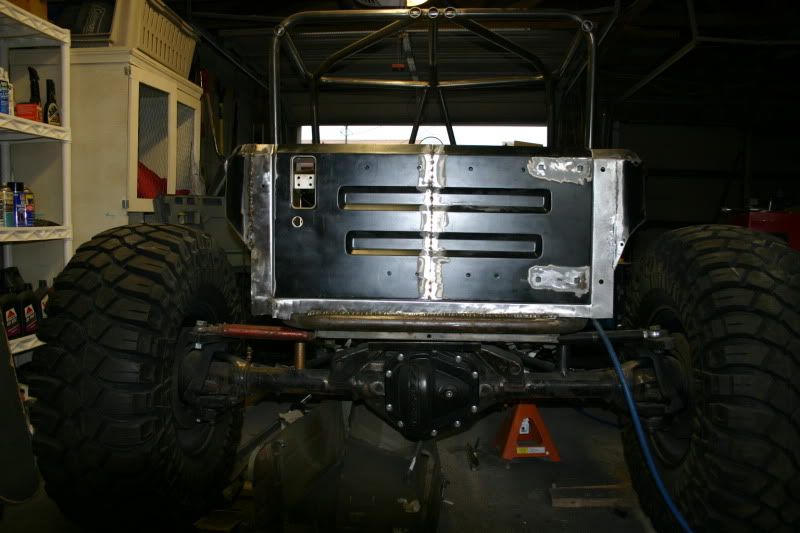
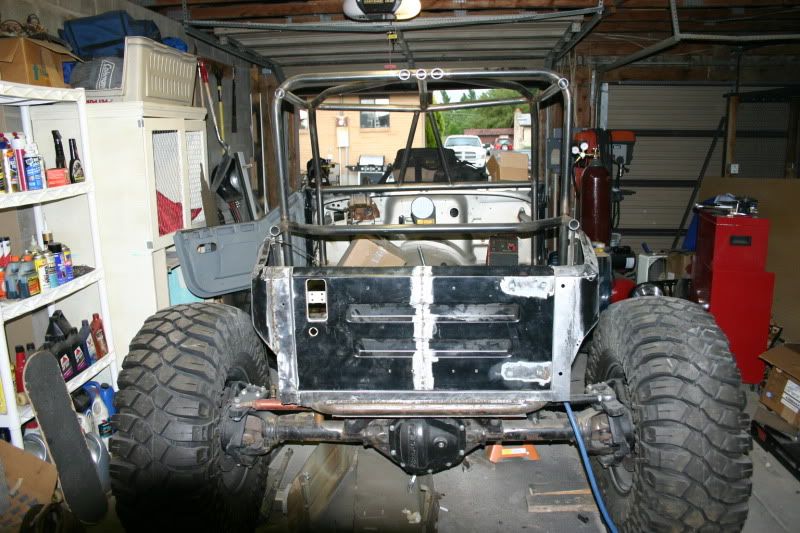
Then I ended up with this. I know it looks square, but it's just rough right now as I am going to "sculpt" it later.

IMG_7340.jpg


IMG_7341.jpg


I am going to weld in the tailgate, but haven't cause I still need to do a tube for the rear suck down and fender wells, coilover mounts and I need to figure out if the rad will fit in the front or if it's going to find a home in the back.
I am also going to cut the fenders up some and weld in a tube along the bottom of the fender to help strenghten things and to protect the tires

Hopefully this build should get a little quicker as I now have a deadline I really wanna make!
 
Last edited:

Bob B

Registered User
sorry I haven't posted anything, I've just been trying to get it done more than document it,. SO no... I guess you will have to post some more up..

(I fear how this will go)
 
Last edited:

I Lean

Mbryson's hairdresser
Vendor
Location
Utah
no... I guess you will have to post some more up..

(I fear how this will go)

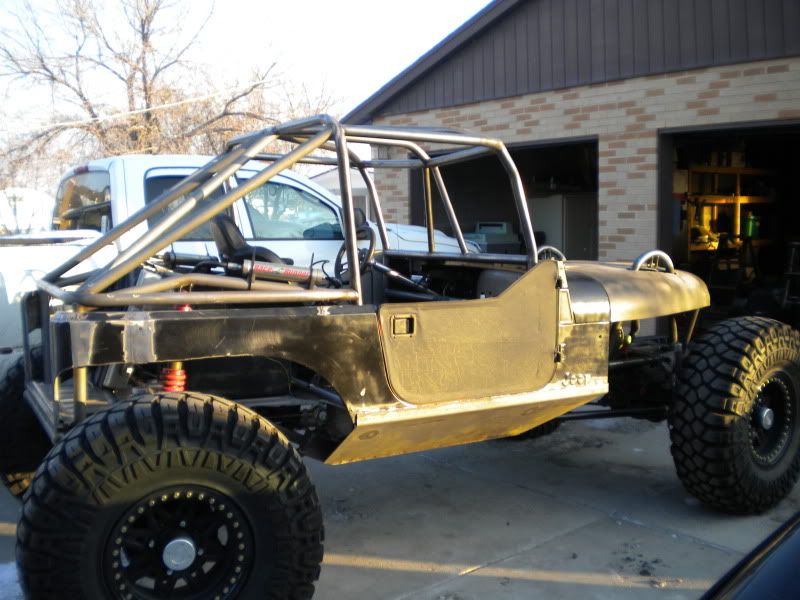
UPDATES! Sorta against Bob's will, but you deserve updates when the project is cool.

The new rear 'cage profile. More will be added, naturally.....

attachment.php


Bump cans:

attachment.php


attachment.php


This looks like a canvas waiting for someone's creativity, to me. ;) Photoshop, anyone? :D

attachment.php


And, the mad scientist himself:

attachment.php
 

Attachments

  • DSC05954.JPG
    DSC05954.JPG
    78.8 KB · Views: 242
  • DSC05955.JPG
    DSC05955.JPG
    80.6 KB · Views: 242
  • DSC05956.JPG
    DSC05956.JPG
    63 KB · Views: 237
  • DSC05957.JPG
    DSC05957.JPG
    72 KB · Views: 240
  • DSC05958.JPG
    DSC05958.JPG
    53.4 KB · Views: 241

Bob B

Registered User
a few more update pics..
redid the cage, mounted coilovers
DSCN0022.jpg


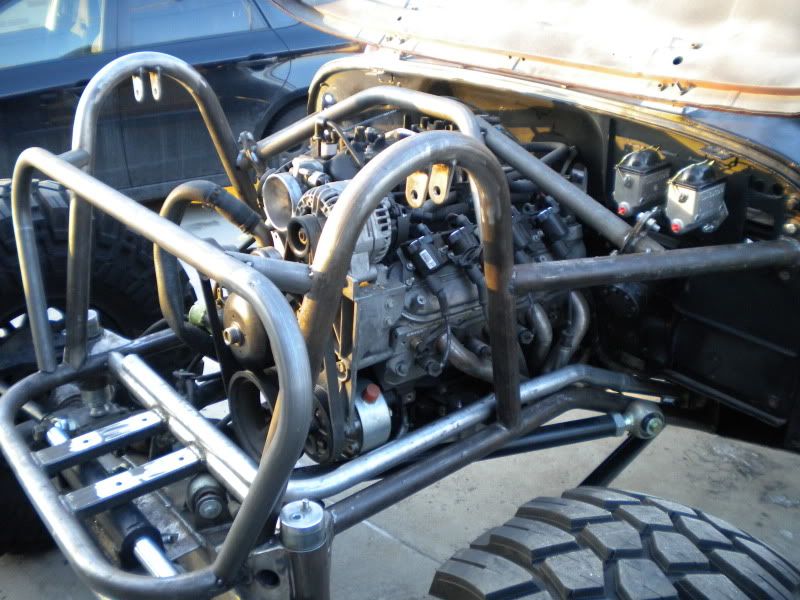
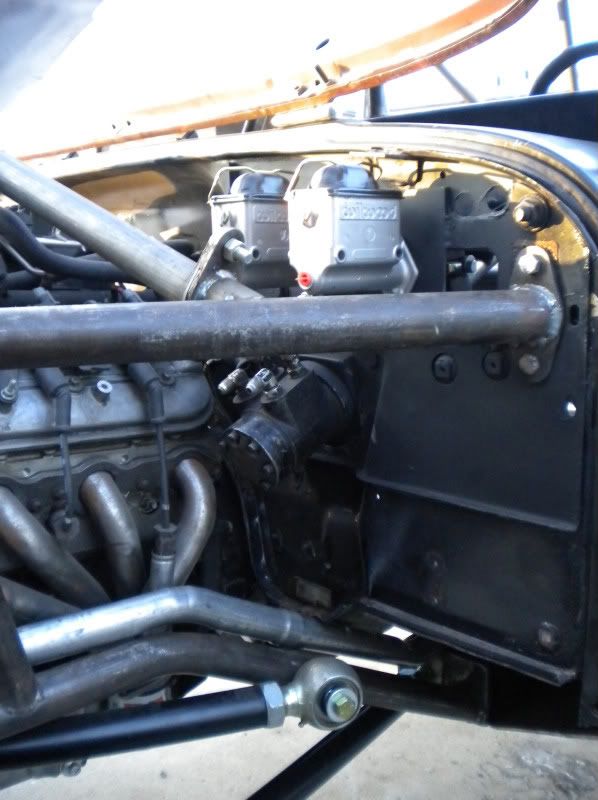
engine cage, winch mount and inner grill hoop along with the orbital and masters mounted. you can also see one of the hard lines for the coolant to go to the radiator in the rear. Also got the front airbumps installed. I still have to double shear the upper control arm mounts at the frame and box in the boat sides. They will also get a 1/4 layer of UHMW.
DSCN0031.jpg

DSCN0033-1.jpg

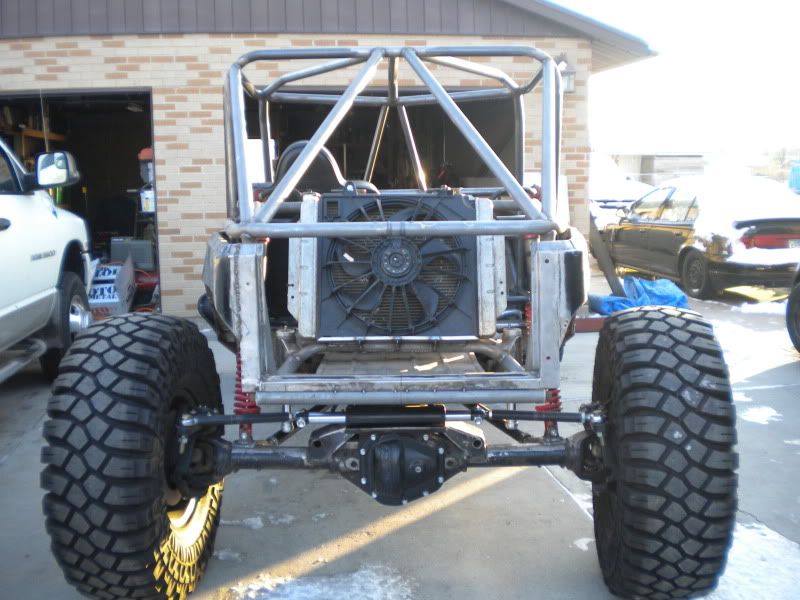
got the radiator mounted up in the rear, built a truss in the floor that the rear axle will come up into @ full compression, just have to redo the rear floor. the rear suck-down winch in mounted in front of the rad, but I don't hae any pics of that mount. rear airbumps are mounted and cut and redid the rear frame rail tube, so it houses the anti-rock.
DSCN0021.jpg
 
Last edited:

Bob B

Registered User
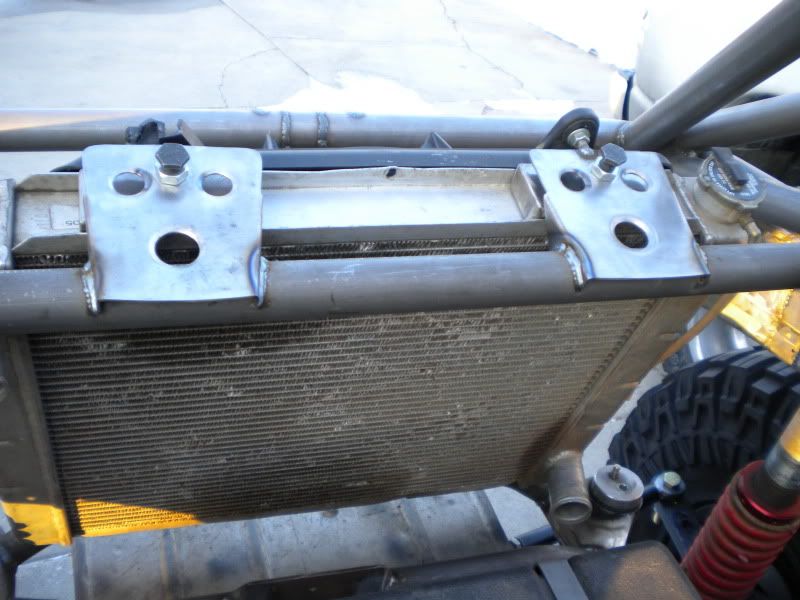
another pic of the rad mounts. You can see the rear airbumps and kinda make out the rear suck down winch mount.
DSCN0034.jpg

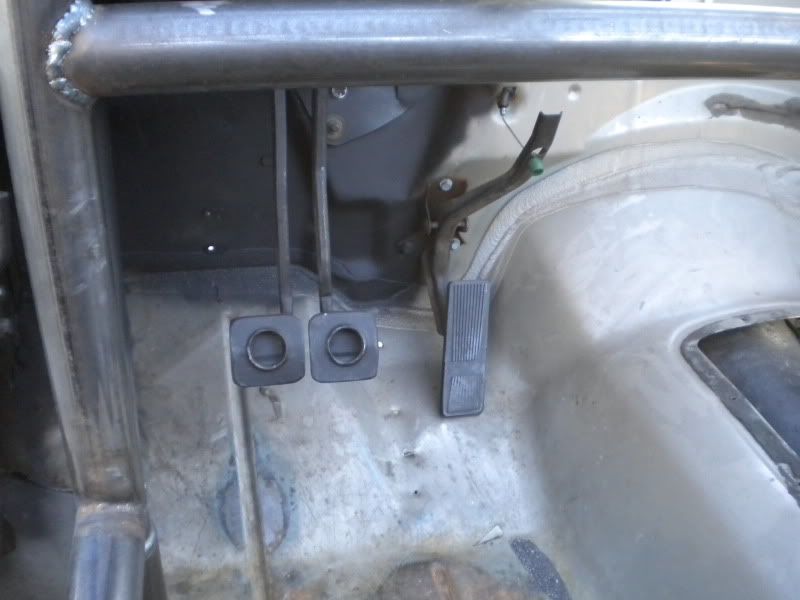
pic of the dual pedals. One for the front brake and one for the rear.
DSCN0025.jpg

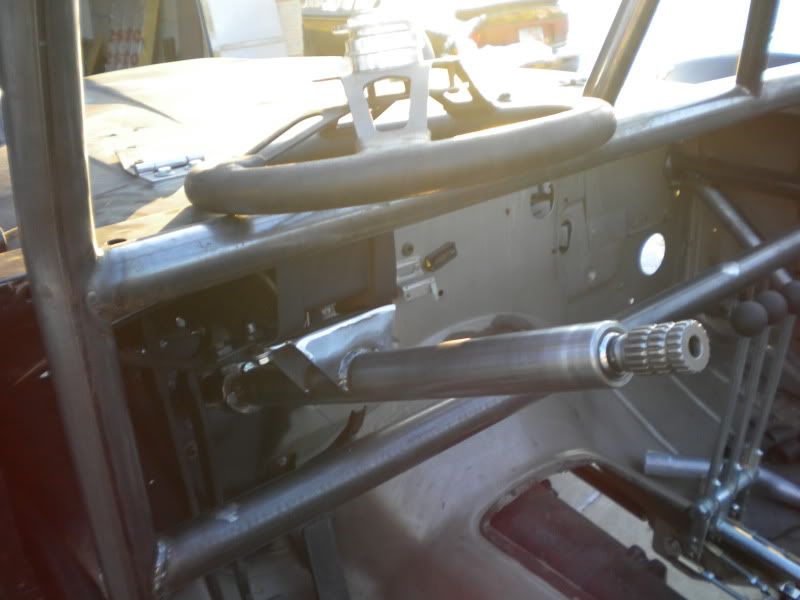
made a steering column and I am in the process of building a/an aluminum dash. That lower bar is going to get cut out.

DSCN0026.jpg

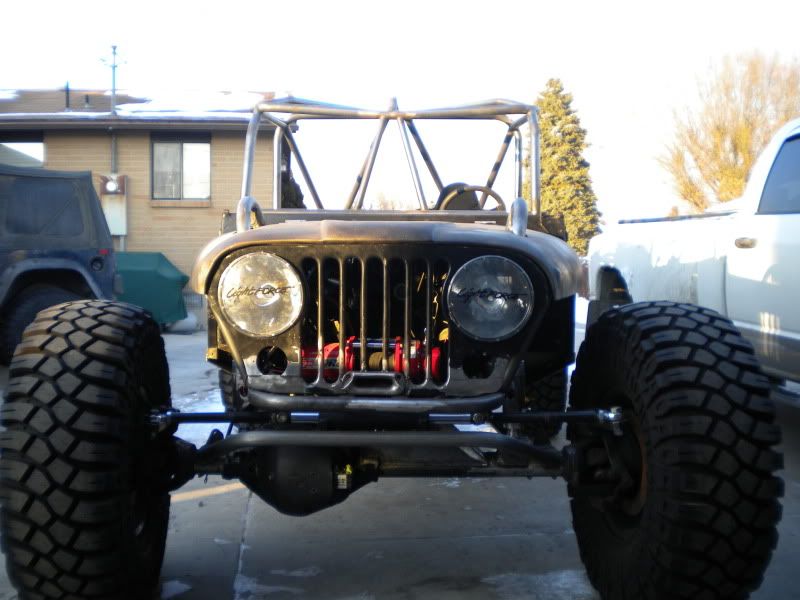
And finally a pic of the sorta finished front. The winch sits behind the grill and will most of the time be a attached to the front axle as a suck-down but aslo fit through the little fairlead incase I need to winch forward. I also have to finish the turn signals, I replaced the orange bulbs with a 100W driving light so I can shut the big ones off and still have forward lights... if I'm following someone. They might melt the lenses, but then I'll just change to 55w bulbs and try again. This pic is of it sitting on the bumps at full stuff, so it will go up about 4-5 inches.
DSCN0023.jpg


Still have to figure out fenders and theres lots left to do, so I'll try to keep updating. Let me know what you think.. I'd love to hear any feed back.
 
Top