Toyota Project: TacoCart

Herzog

somewhat damaged
Admin
Location
Wydaho
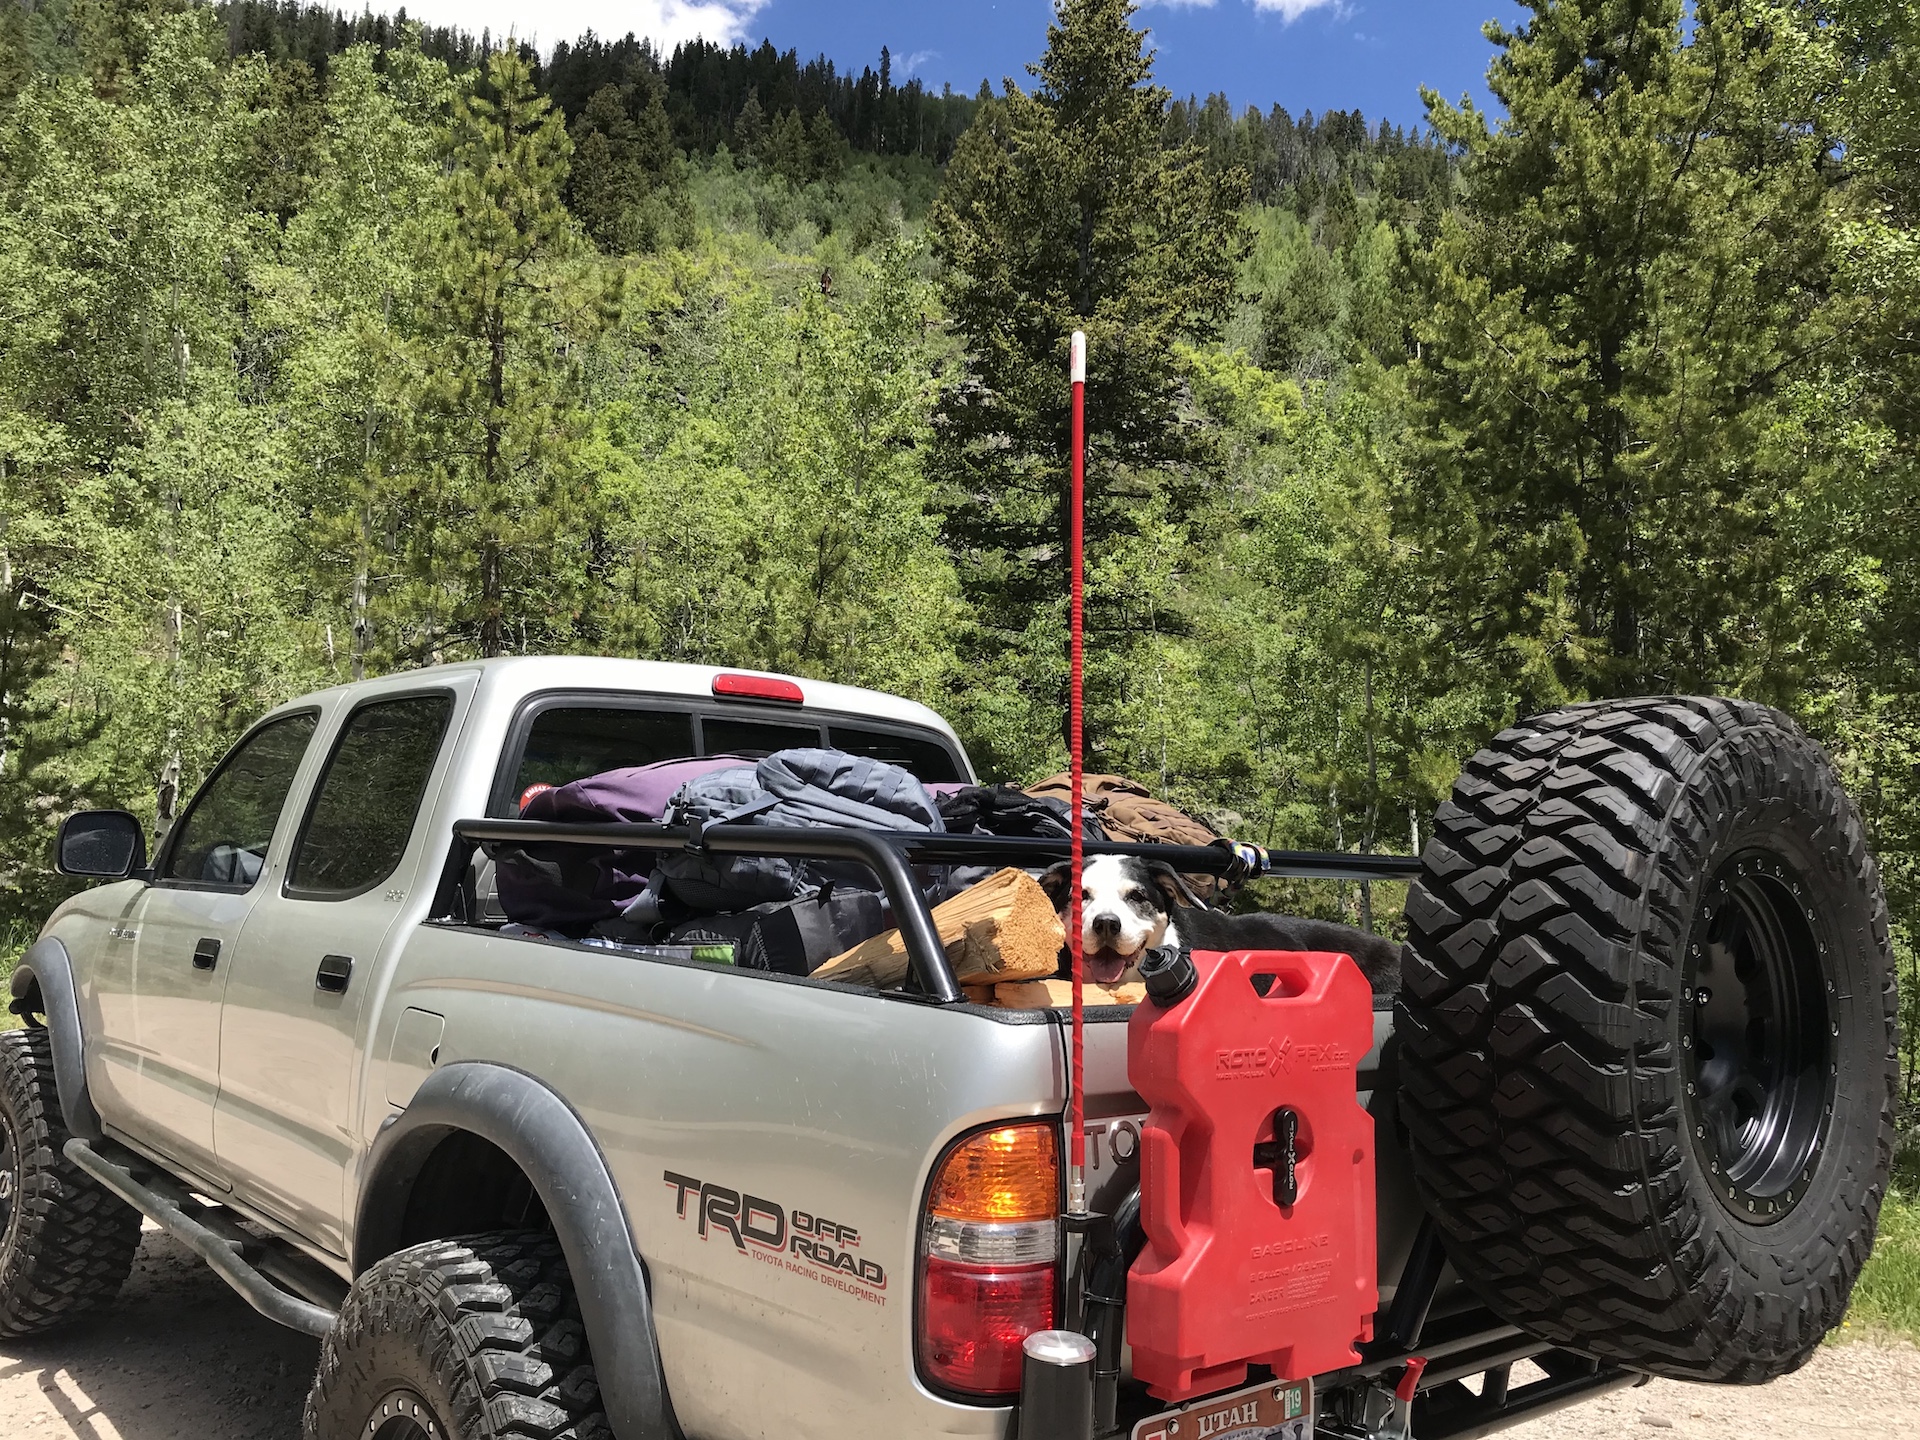
Just a little more taco spam. Headed up the mountain last Tuesday to get some camping in before the 4th rush happened. The bed rack made it nice to attach various crap to it and not worry about losing anything. So far I'm glad I added it. I think very soon I'll be adding a removable extension for the canoe.

zGB3.jpg


zKp9.jpg


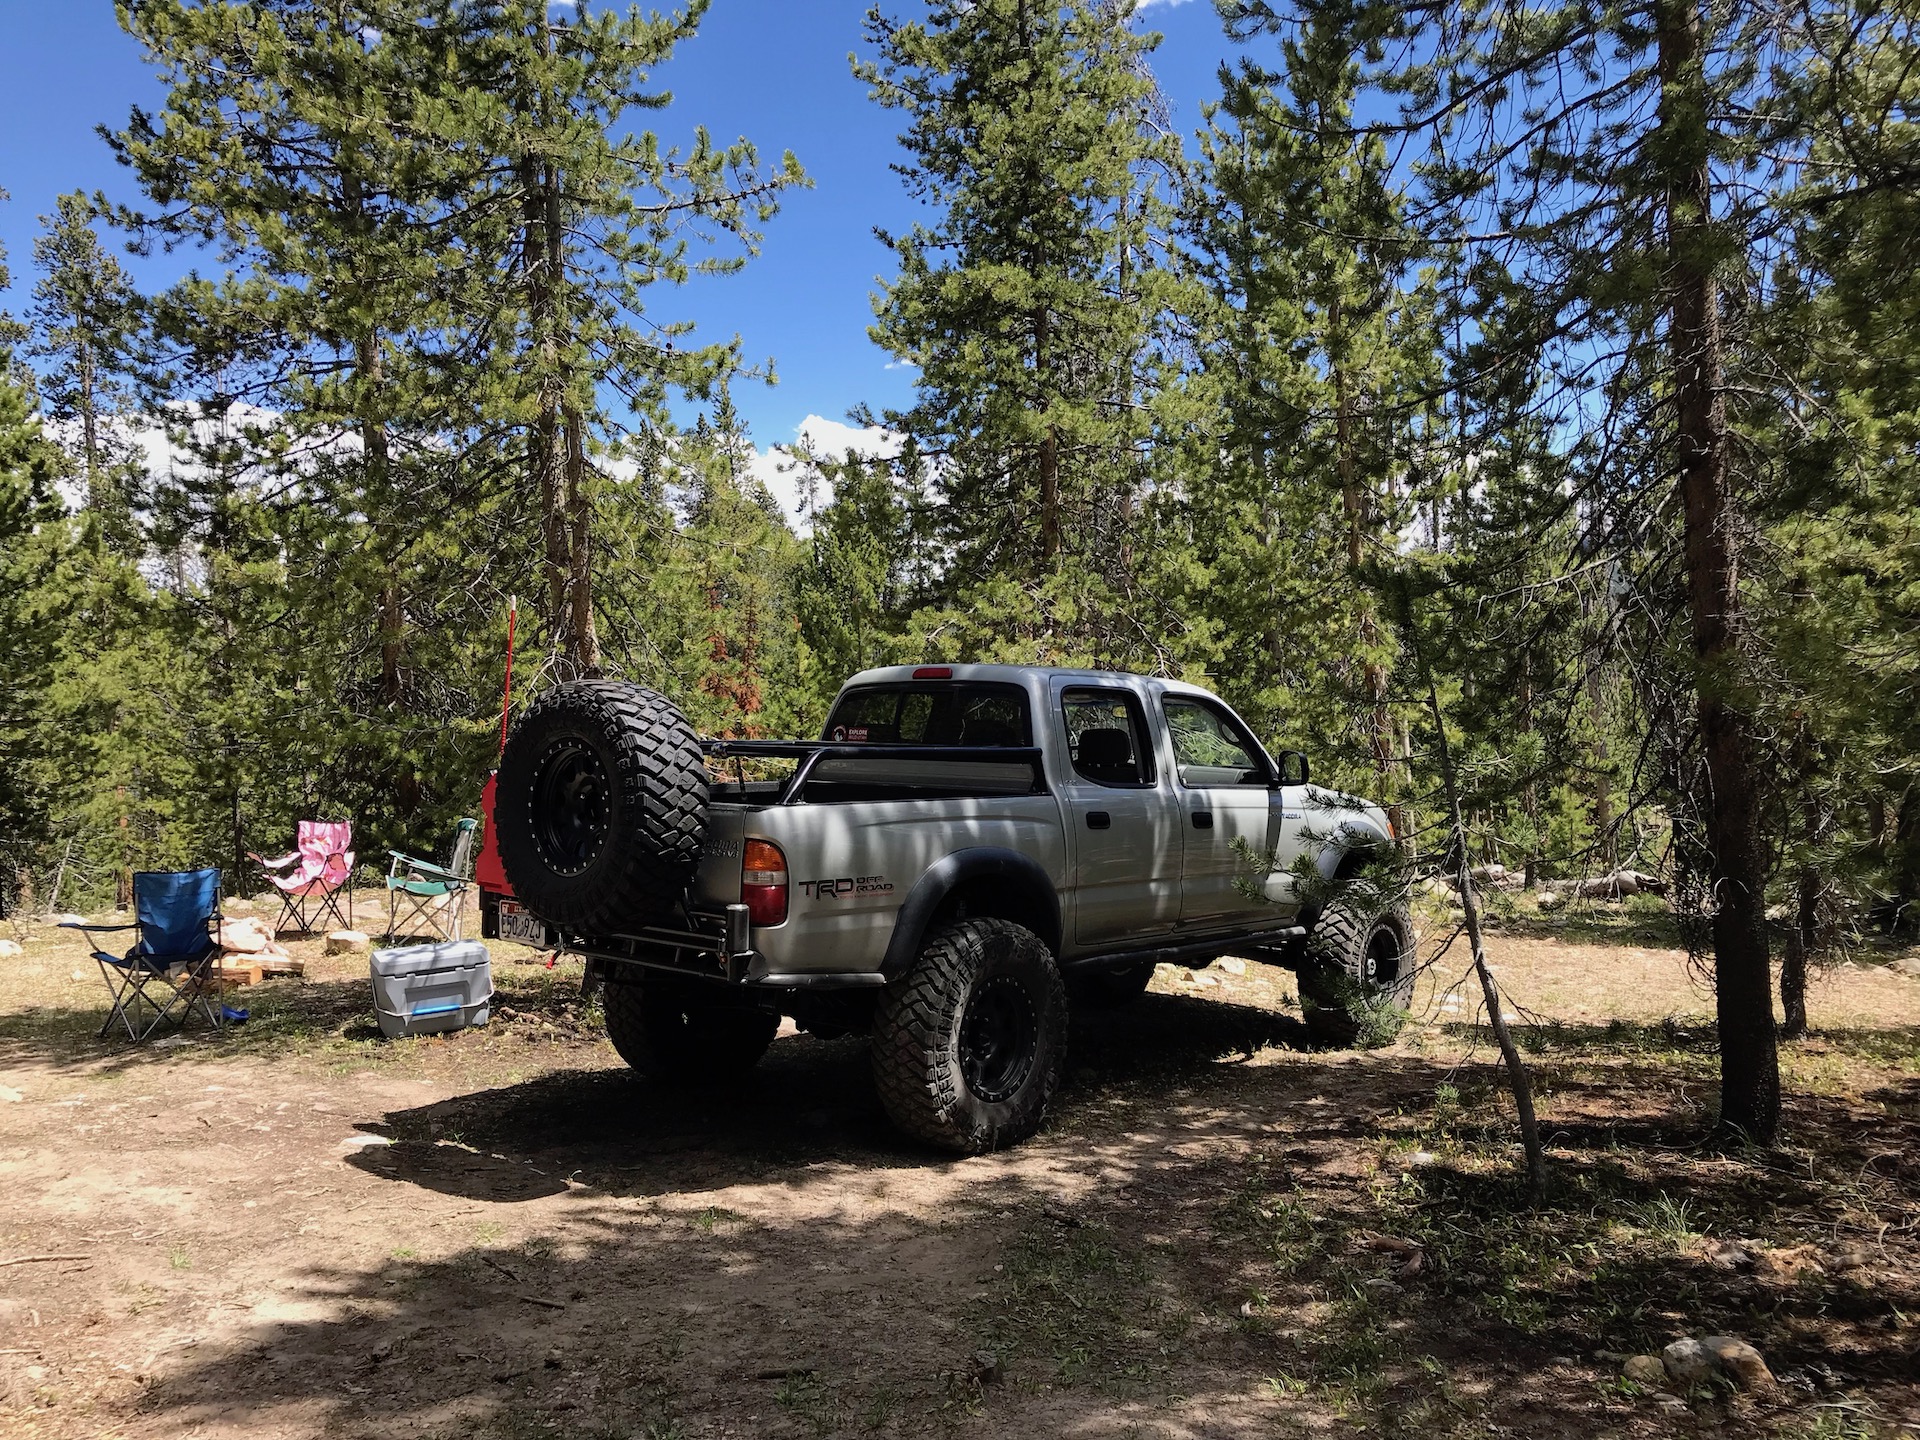
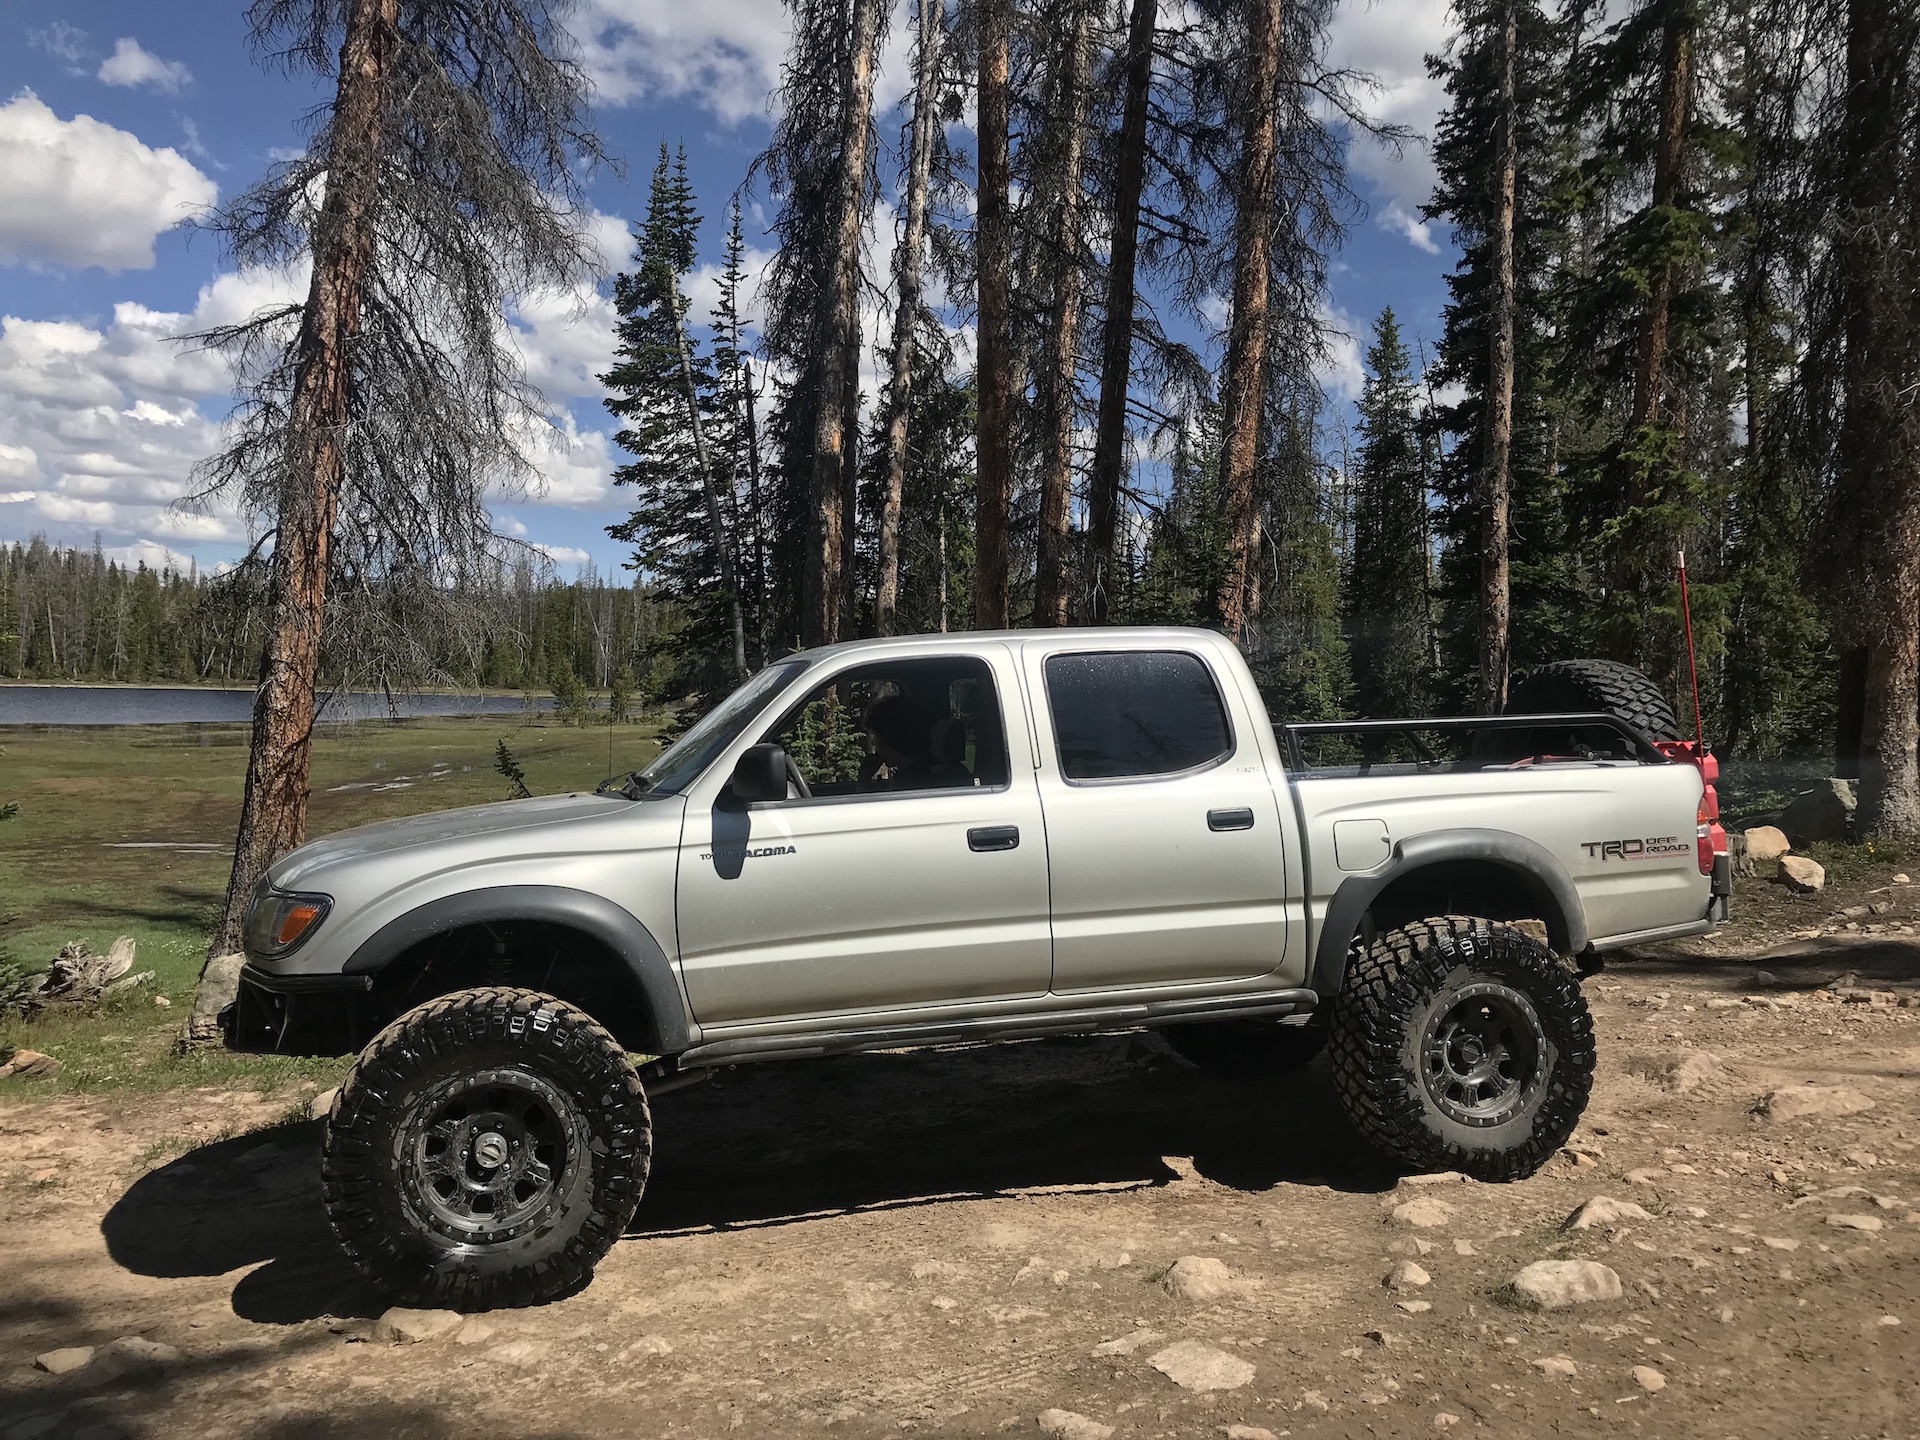
Then on Friday I took it back up to do some camp site recon. Found a bunch of new to me lakes and good spots. Pretty happy with how well it handles the bumpy forest roads.
zWq6.jpg


:beer:
 

Herzog

somewhat damaged
Admin
Location
Wydaho
Back at it!

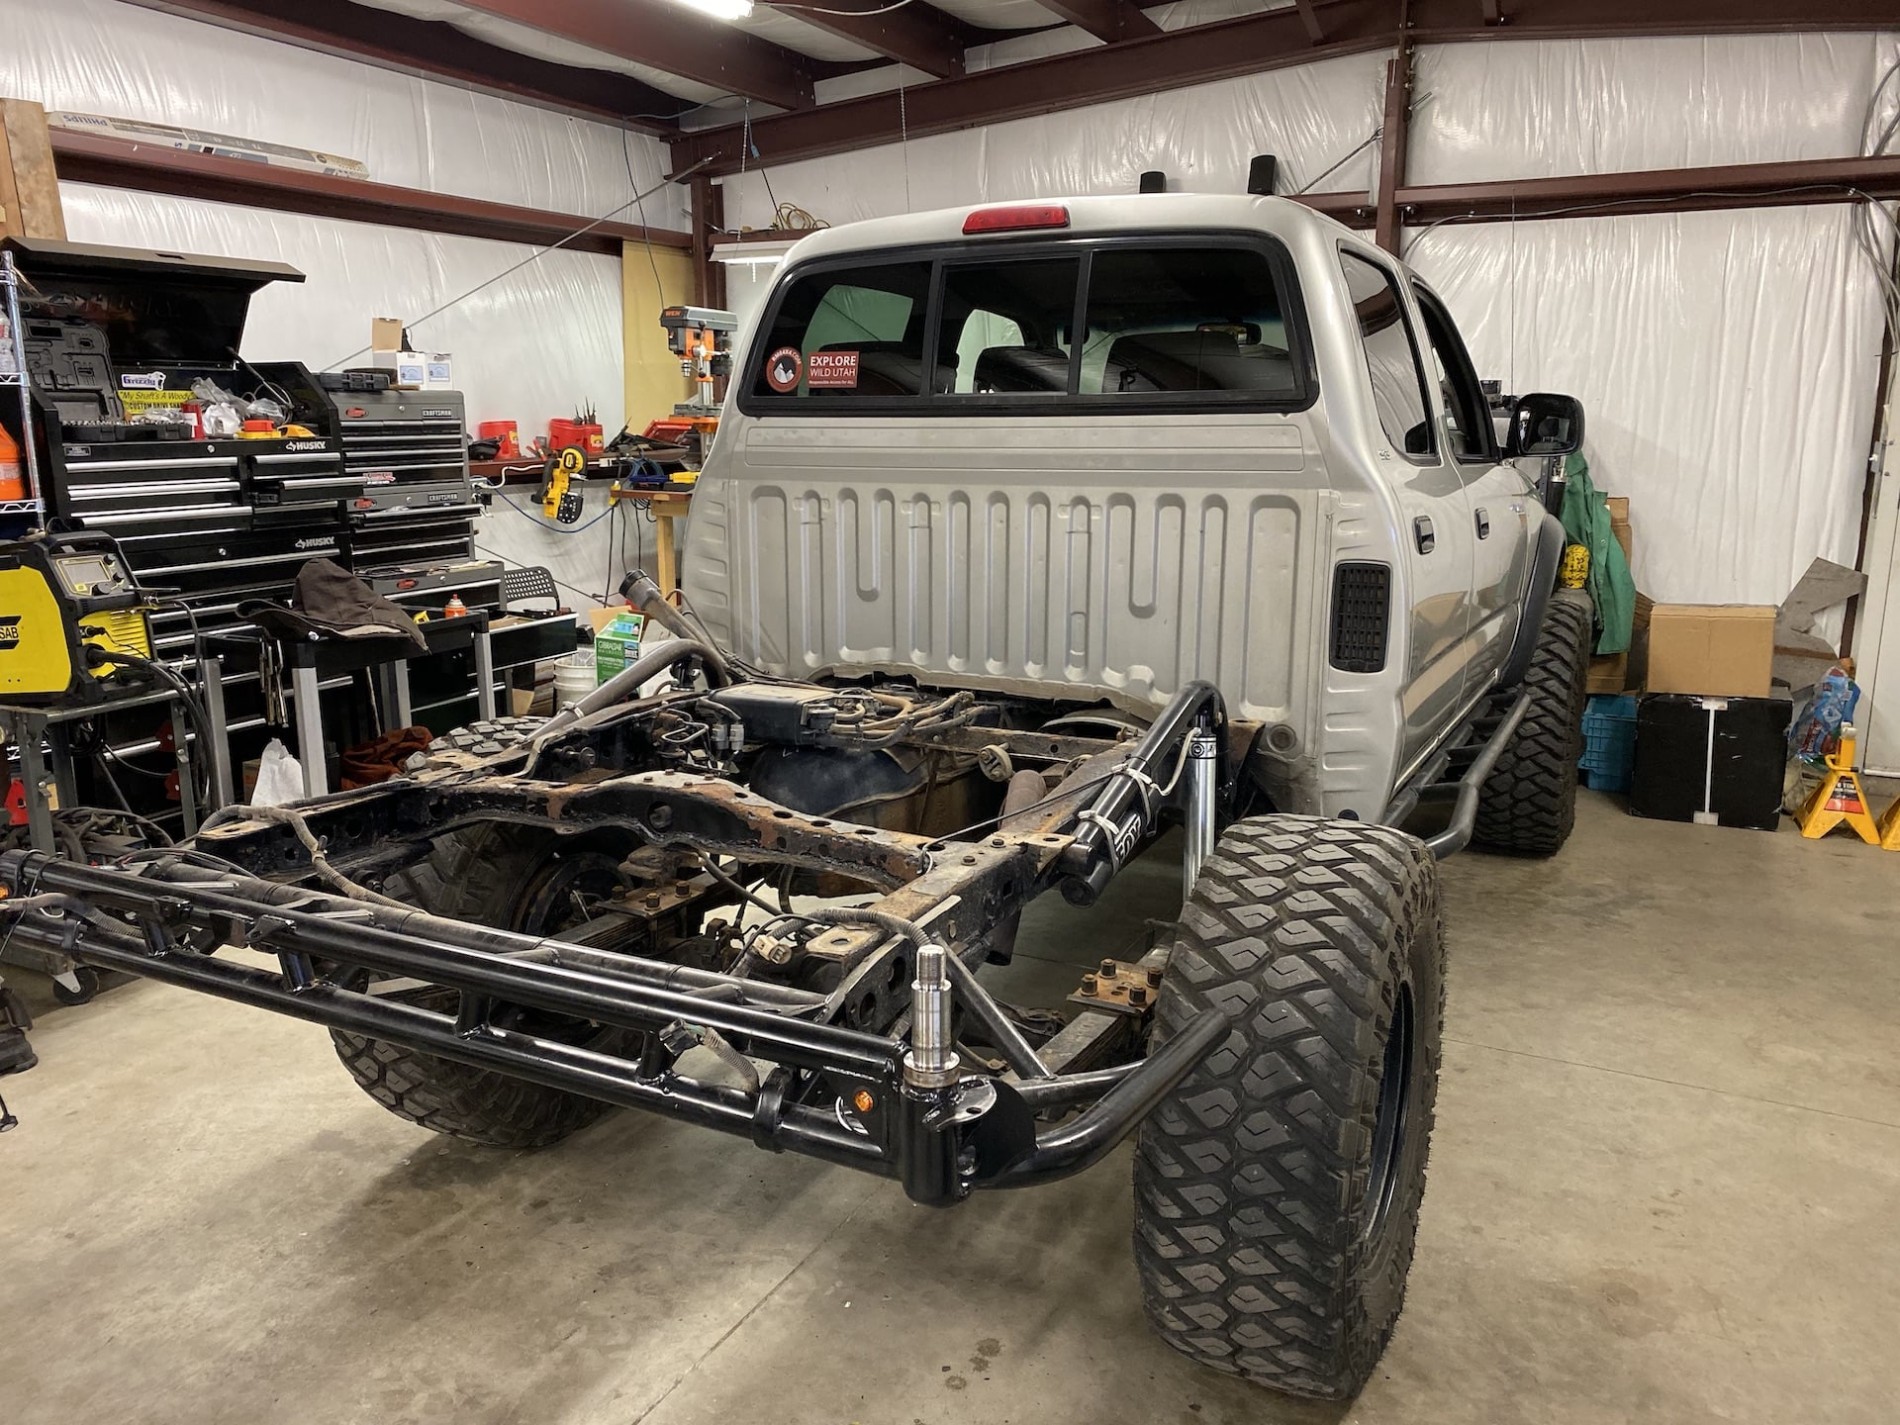
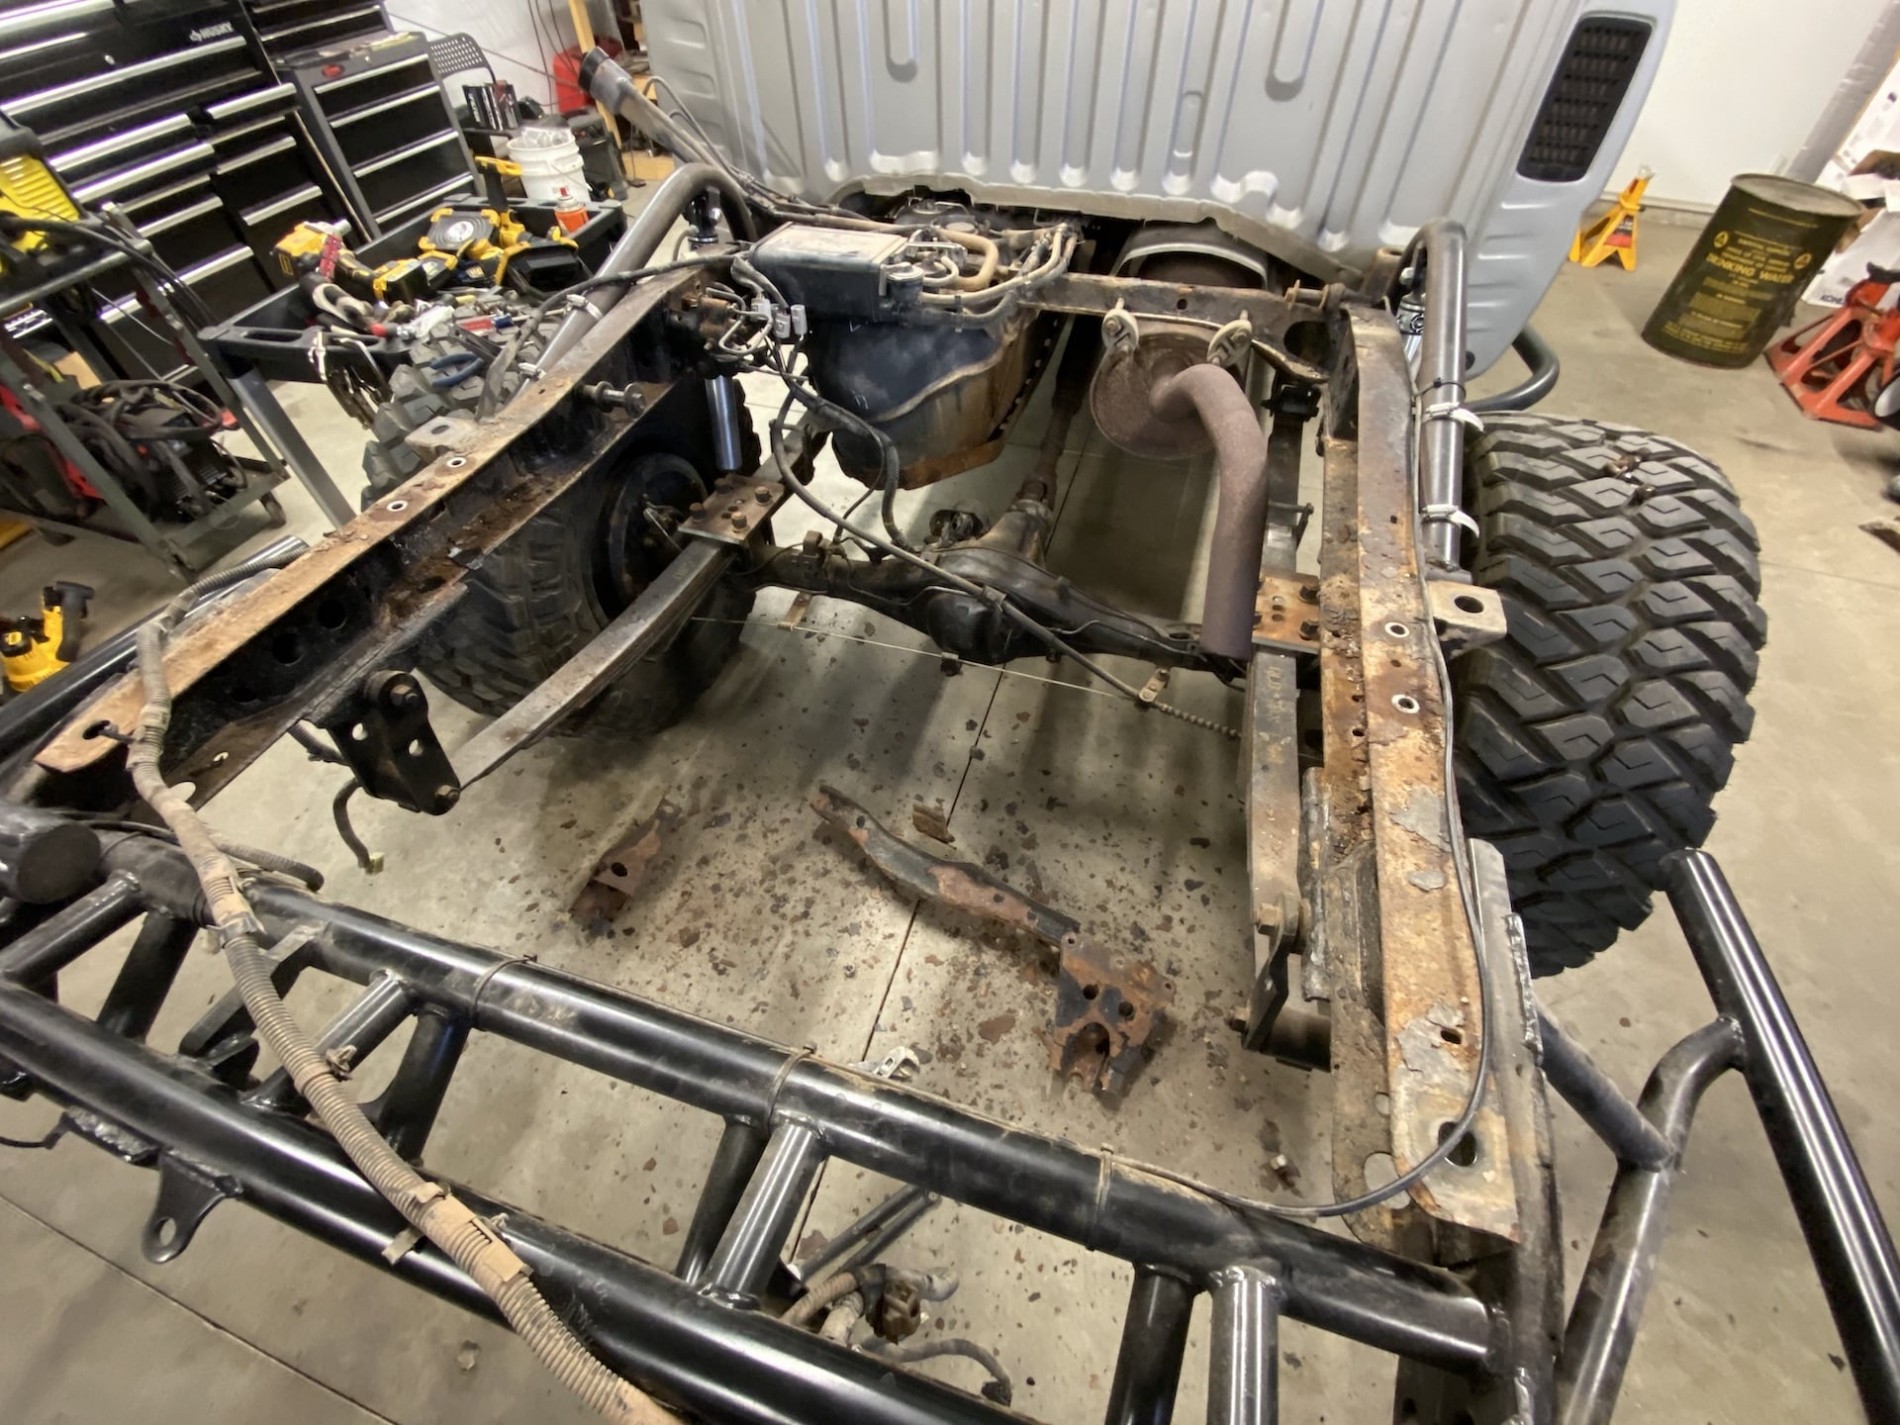
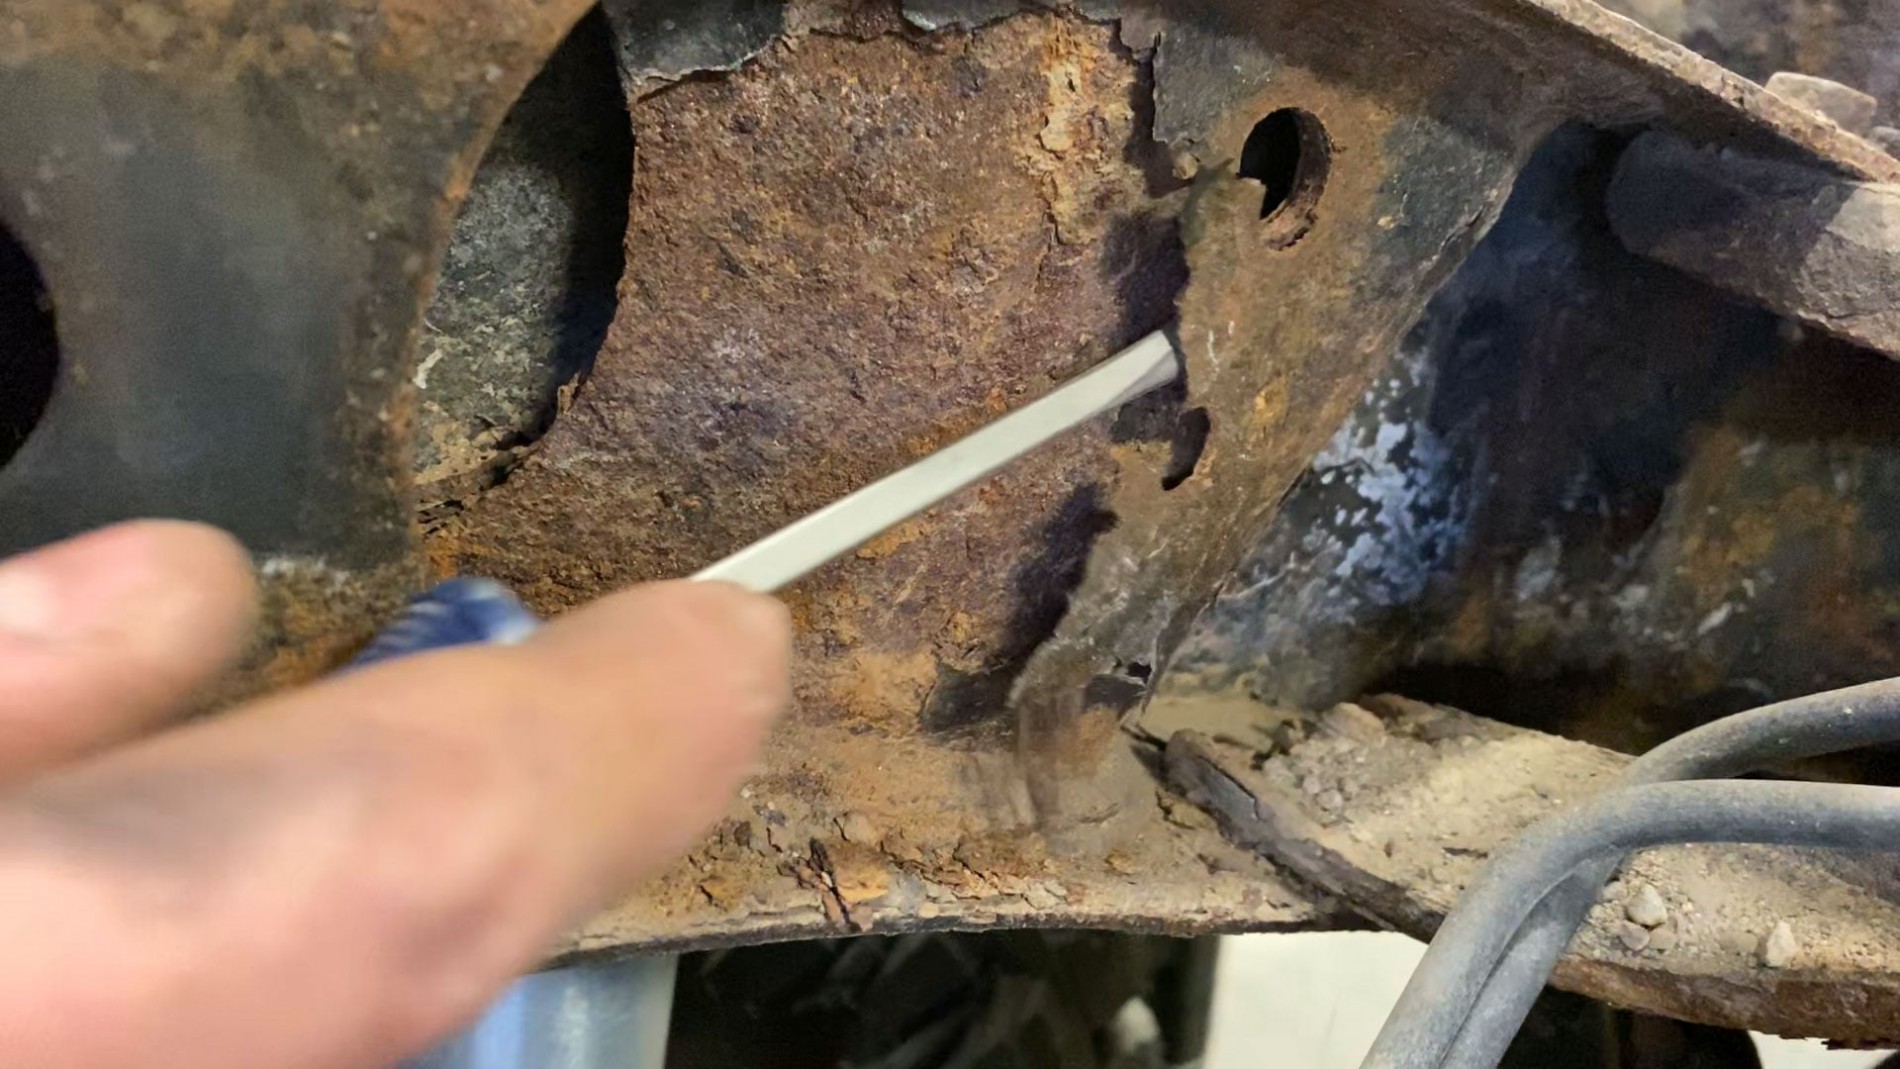
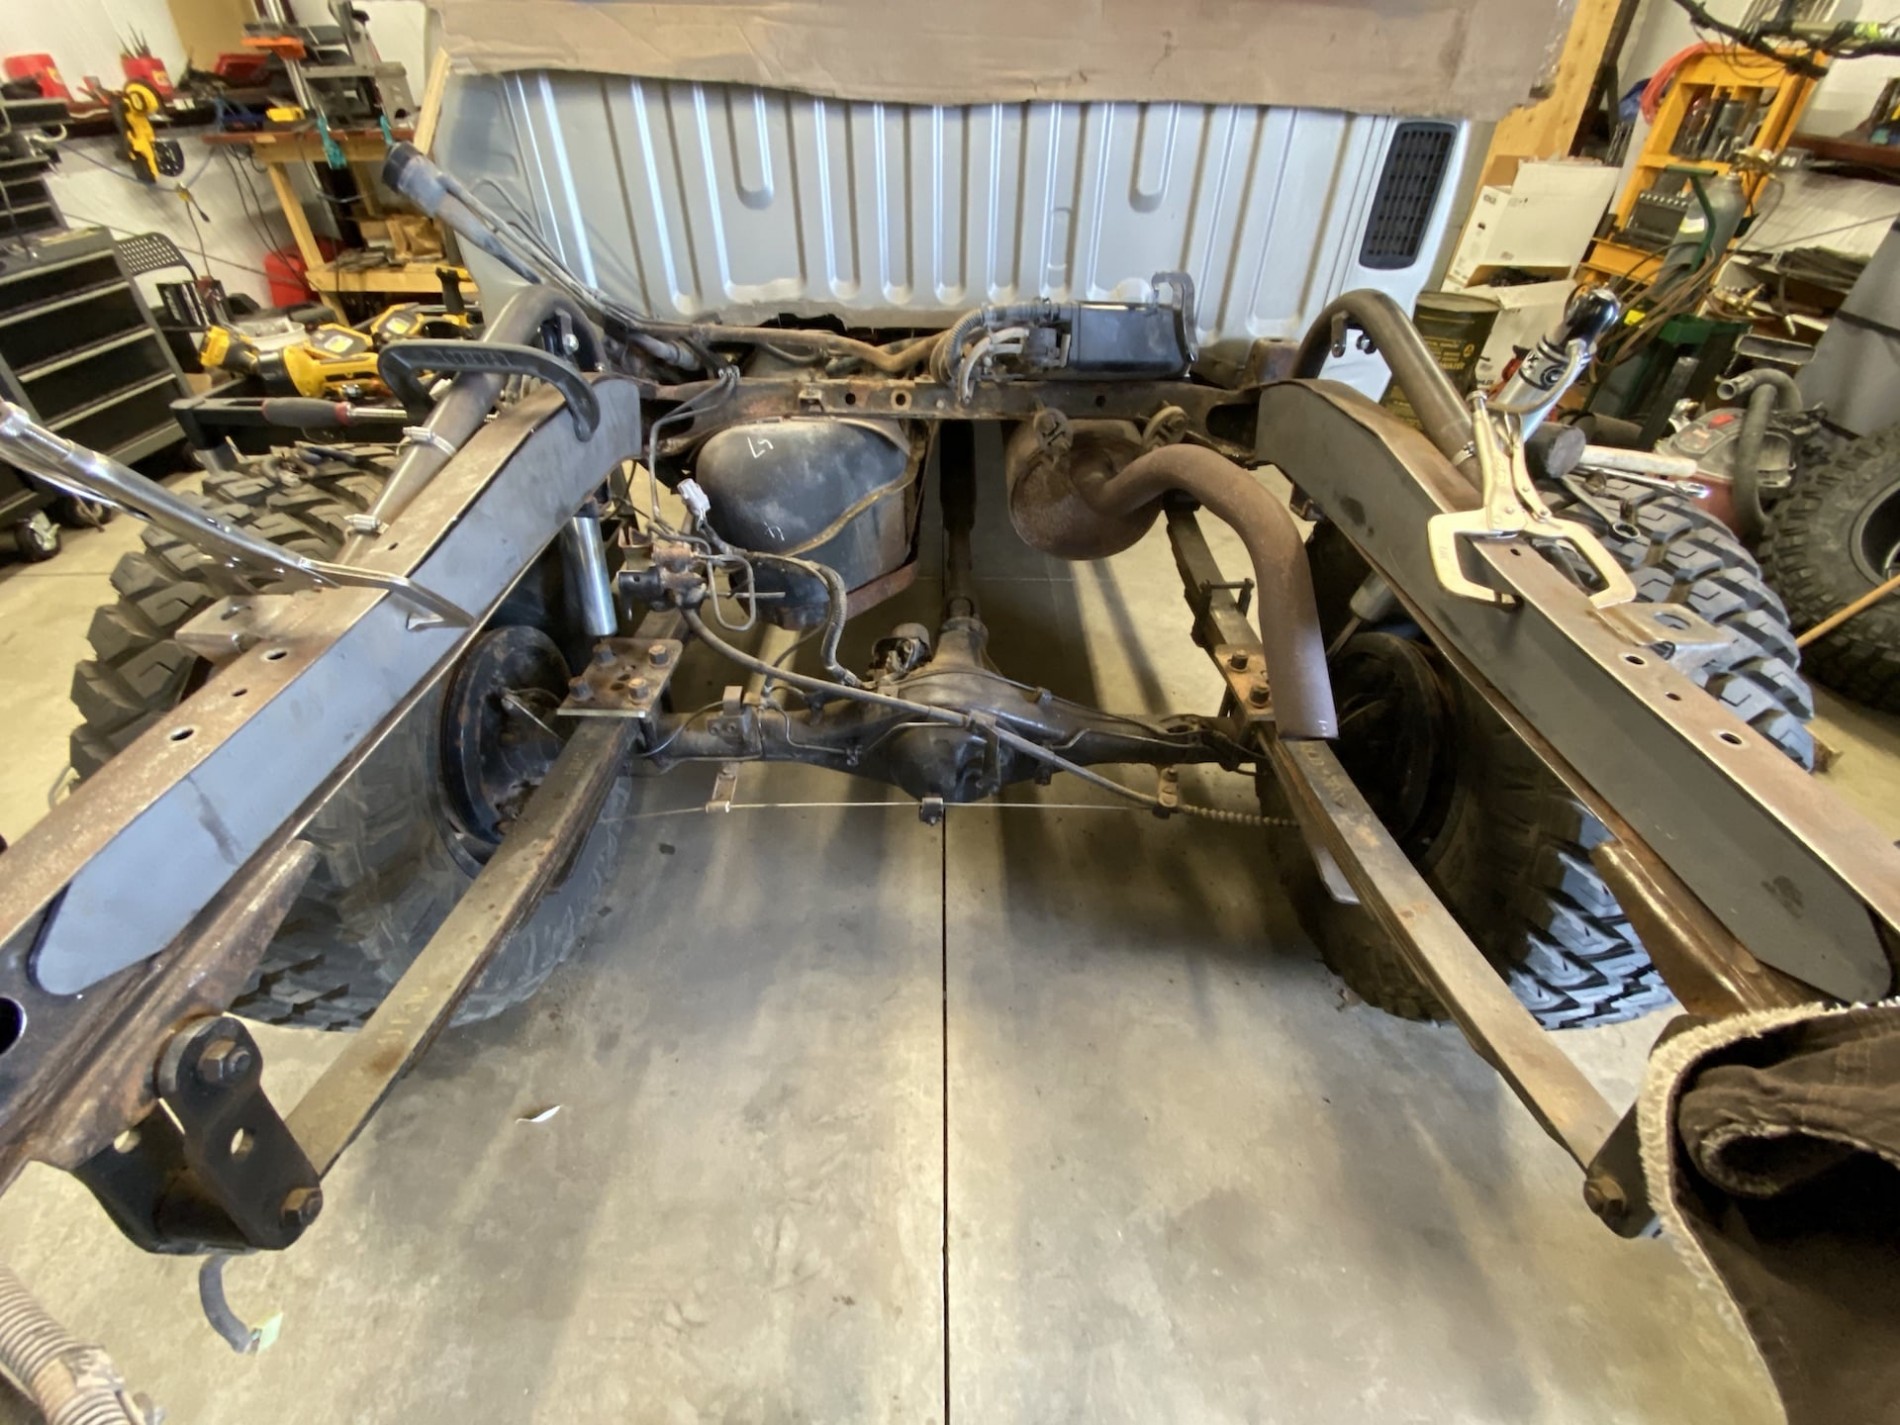
The rear frame has some pretty good rust rot going on, which I have been aware of for a while and had planned on doing this since I finished the first phase earlier this year. The truck has been a lot of fun to drive so far so I'm happy to put more work into it to improve the strength and longevity of the rig.

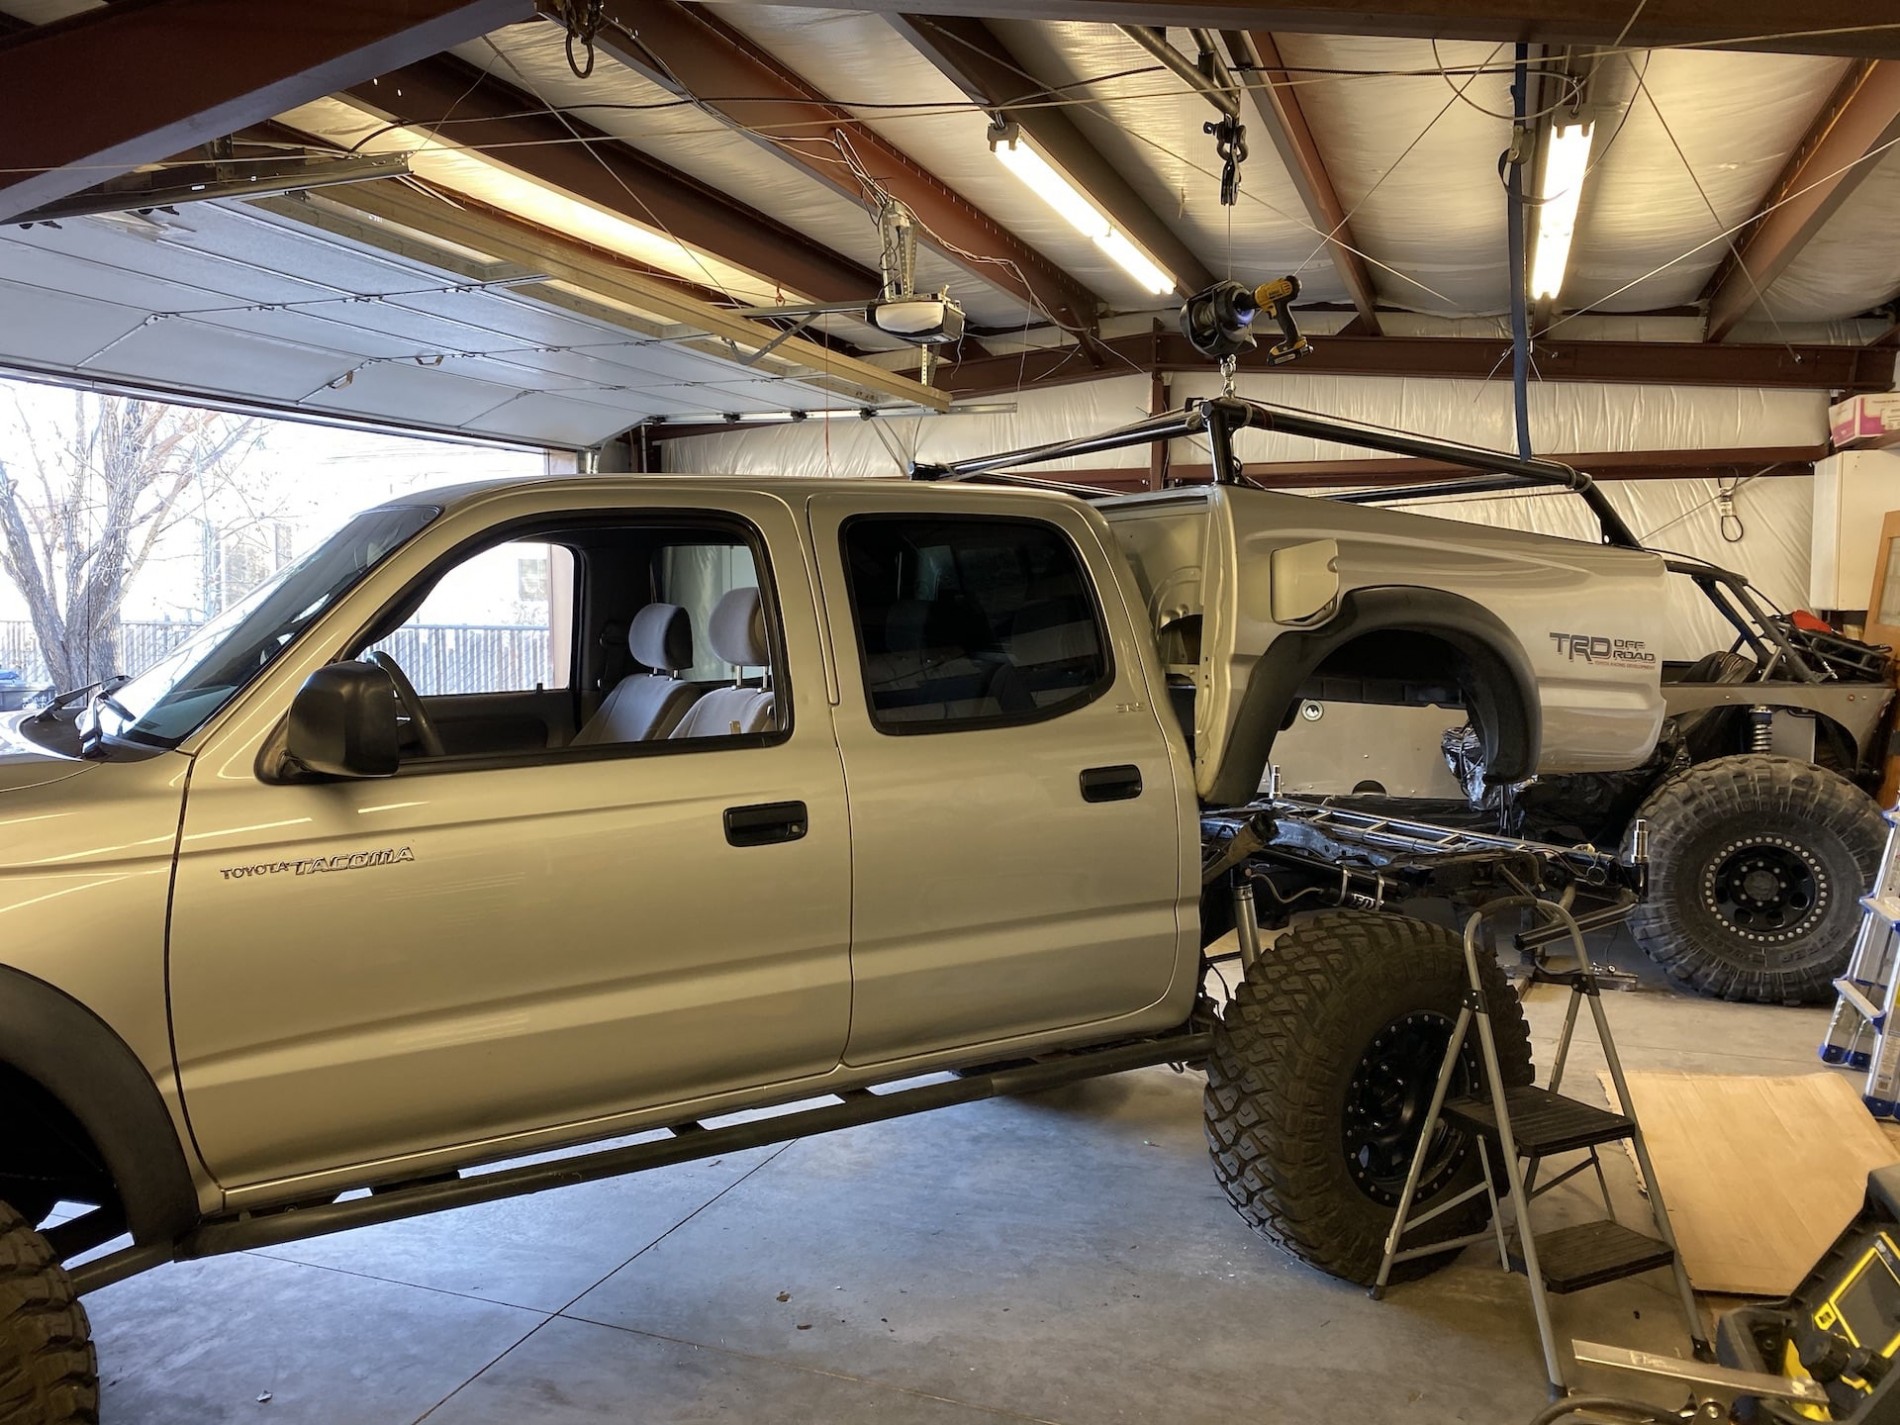
So I pulled the bed:
ACSc.jpg

AHNf.jpg


Cut out the spare tire crossmember
AImk.jpg


Inspected and cleaned up some of the really bad rust zones... (not done with this yet, I need to drop the tank still and clean up more spots)
ANh1.jpg


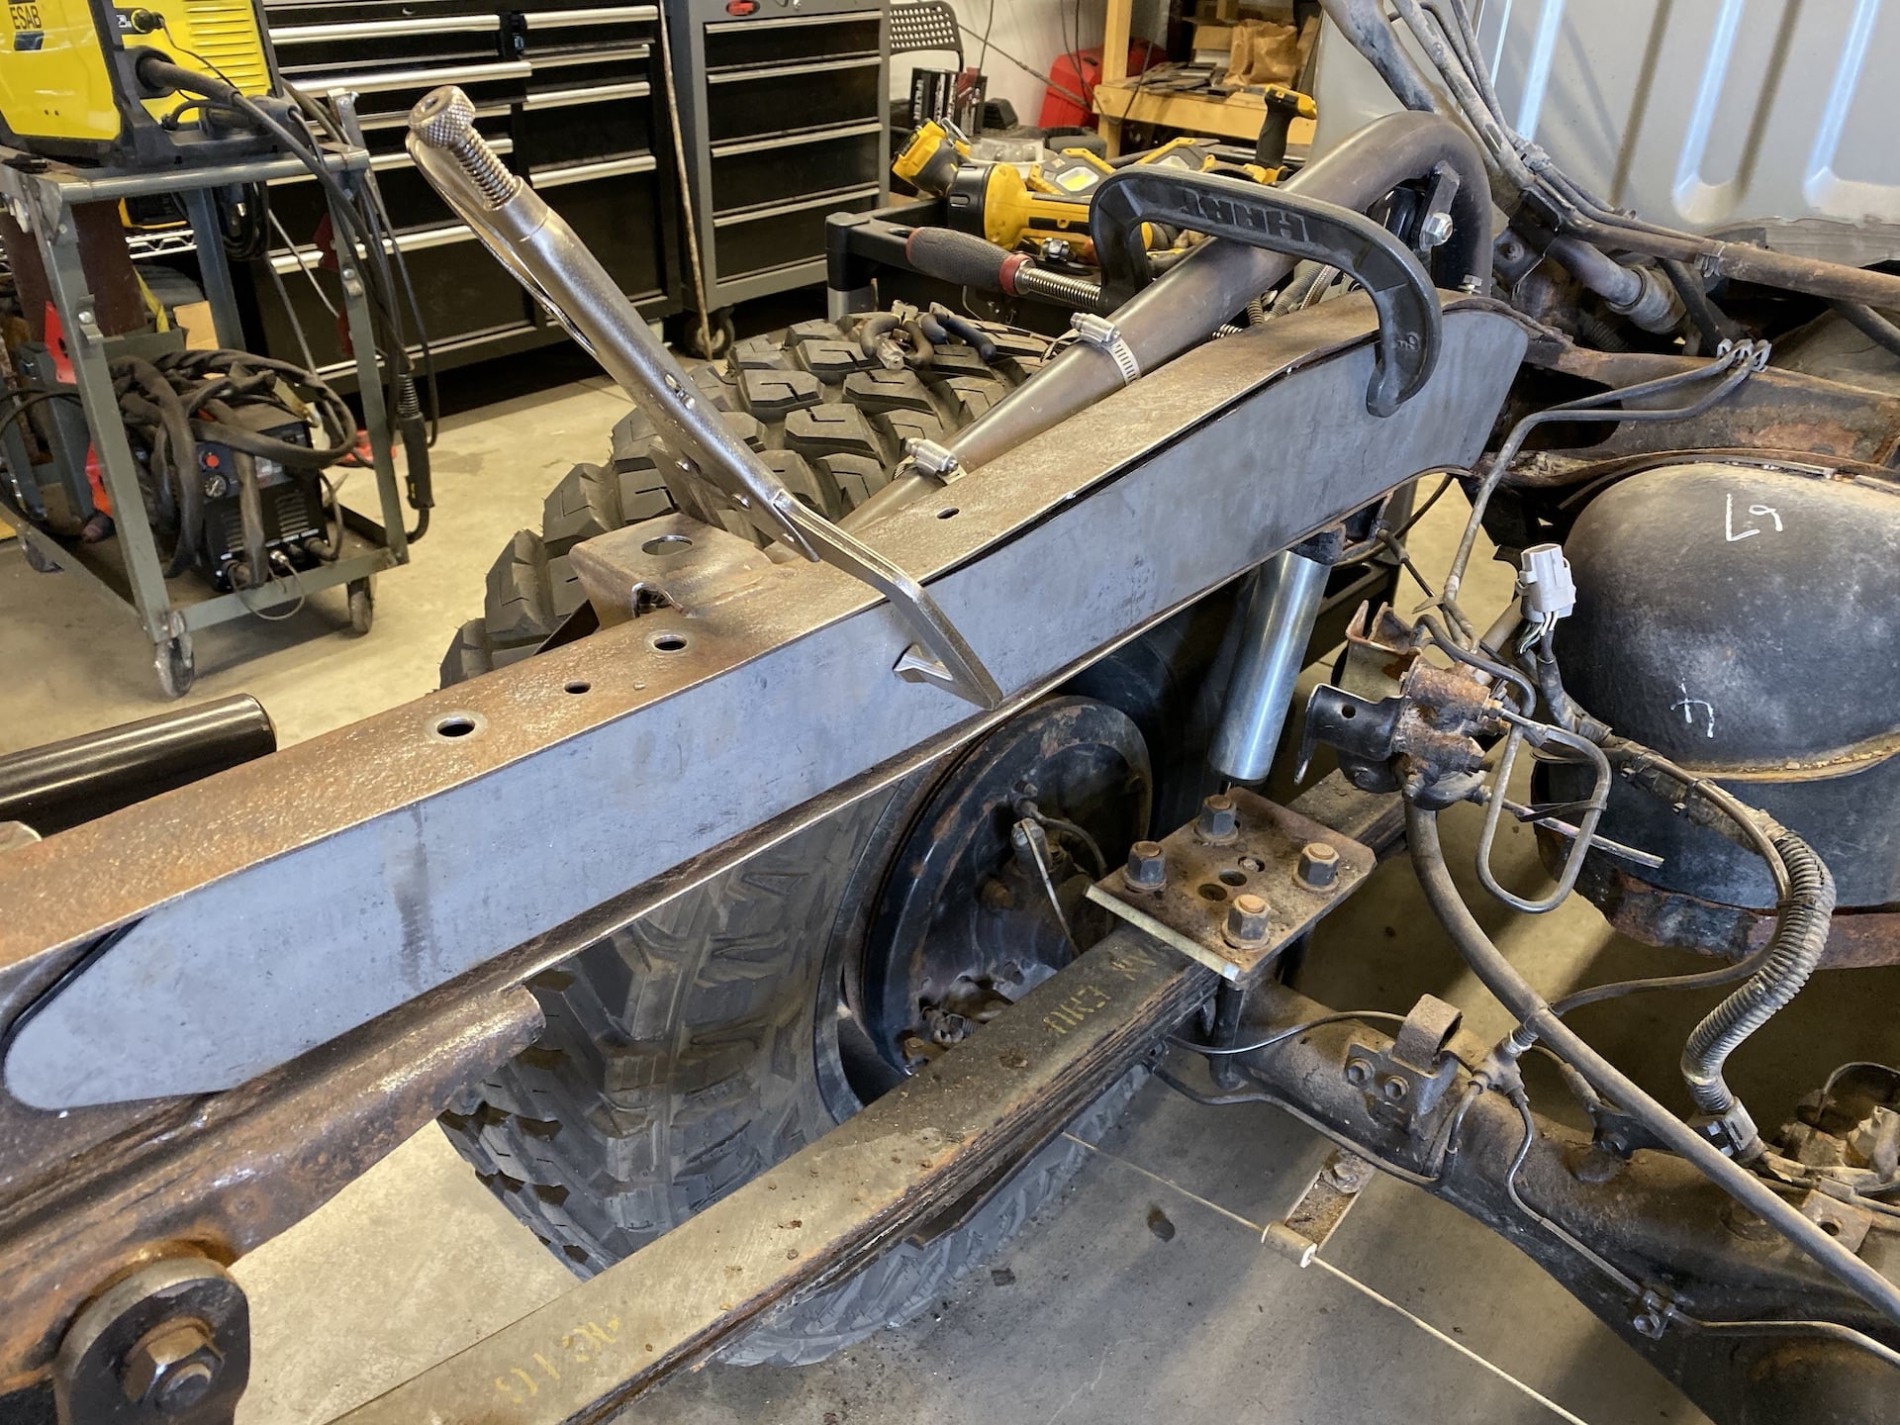
And getting ready to box the frame
A6eA.jpg

AzV3.jpg


Since these plates don't go all the way to the factory boxed frame, I'll be welding these in then dropping the tank and doing another set of plates all the way in.

More to come as I get time
 

Herzog

somewhat damaged
Admin
Location
Wydaho
How flexy is this thing?

It does pretty well. I don't go for huge flex anymore, I try to keep things balanced with just enough travel to get the job done. I had the same outlook when I build my buggy and it's worked out very well, it's super stable but floats through the big rocks no problem.
 

Herzog

somewhat damaged
Admin
Location
Wydaho
I love having the swag press brake, makes dumb little things like this really easy and looks nice too!
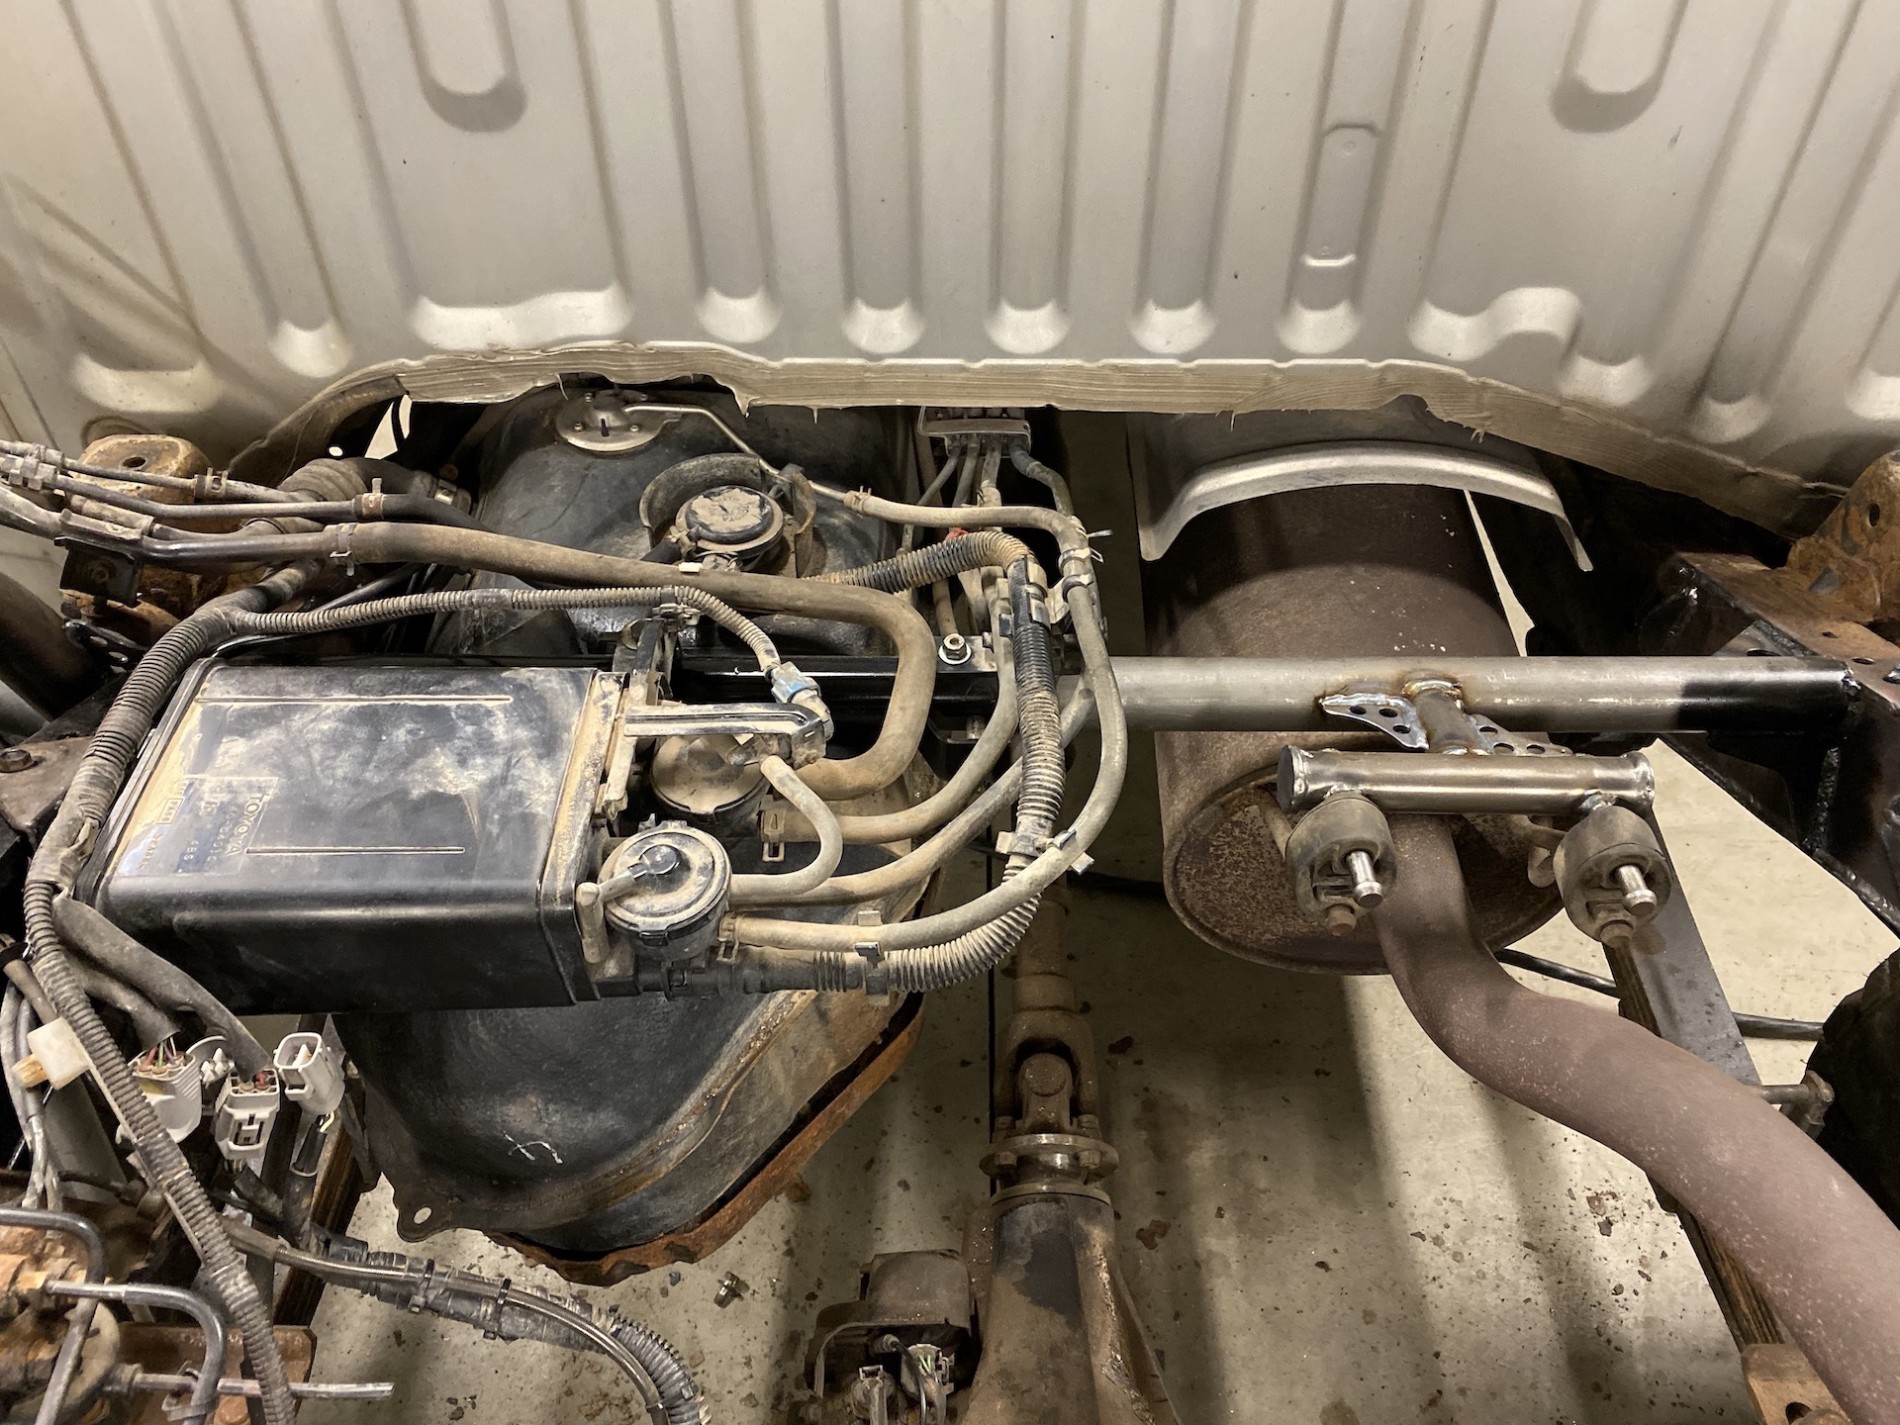
Gas tank strap so now the tank is back all the way in and suspended
Adkq.jpg


Next up will be the exhaust hangers
Abcn.jpg


Gussets galore
AOV7.jpg
 

Herzog

somewhat damaged
Admin
Location
Wydaho
All the little mounts for the evac and exhaust are done. Stinkin things.
AsrM.jpg


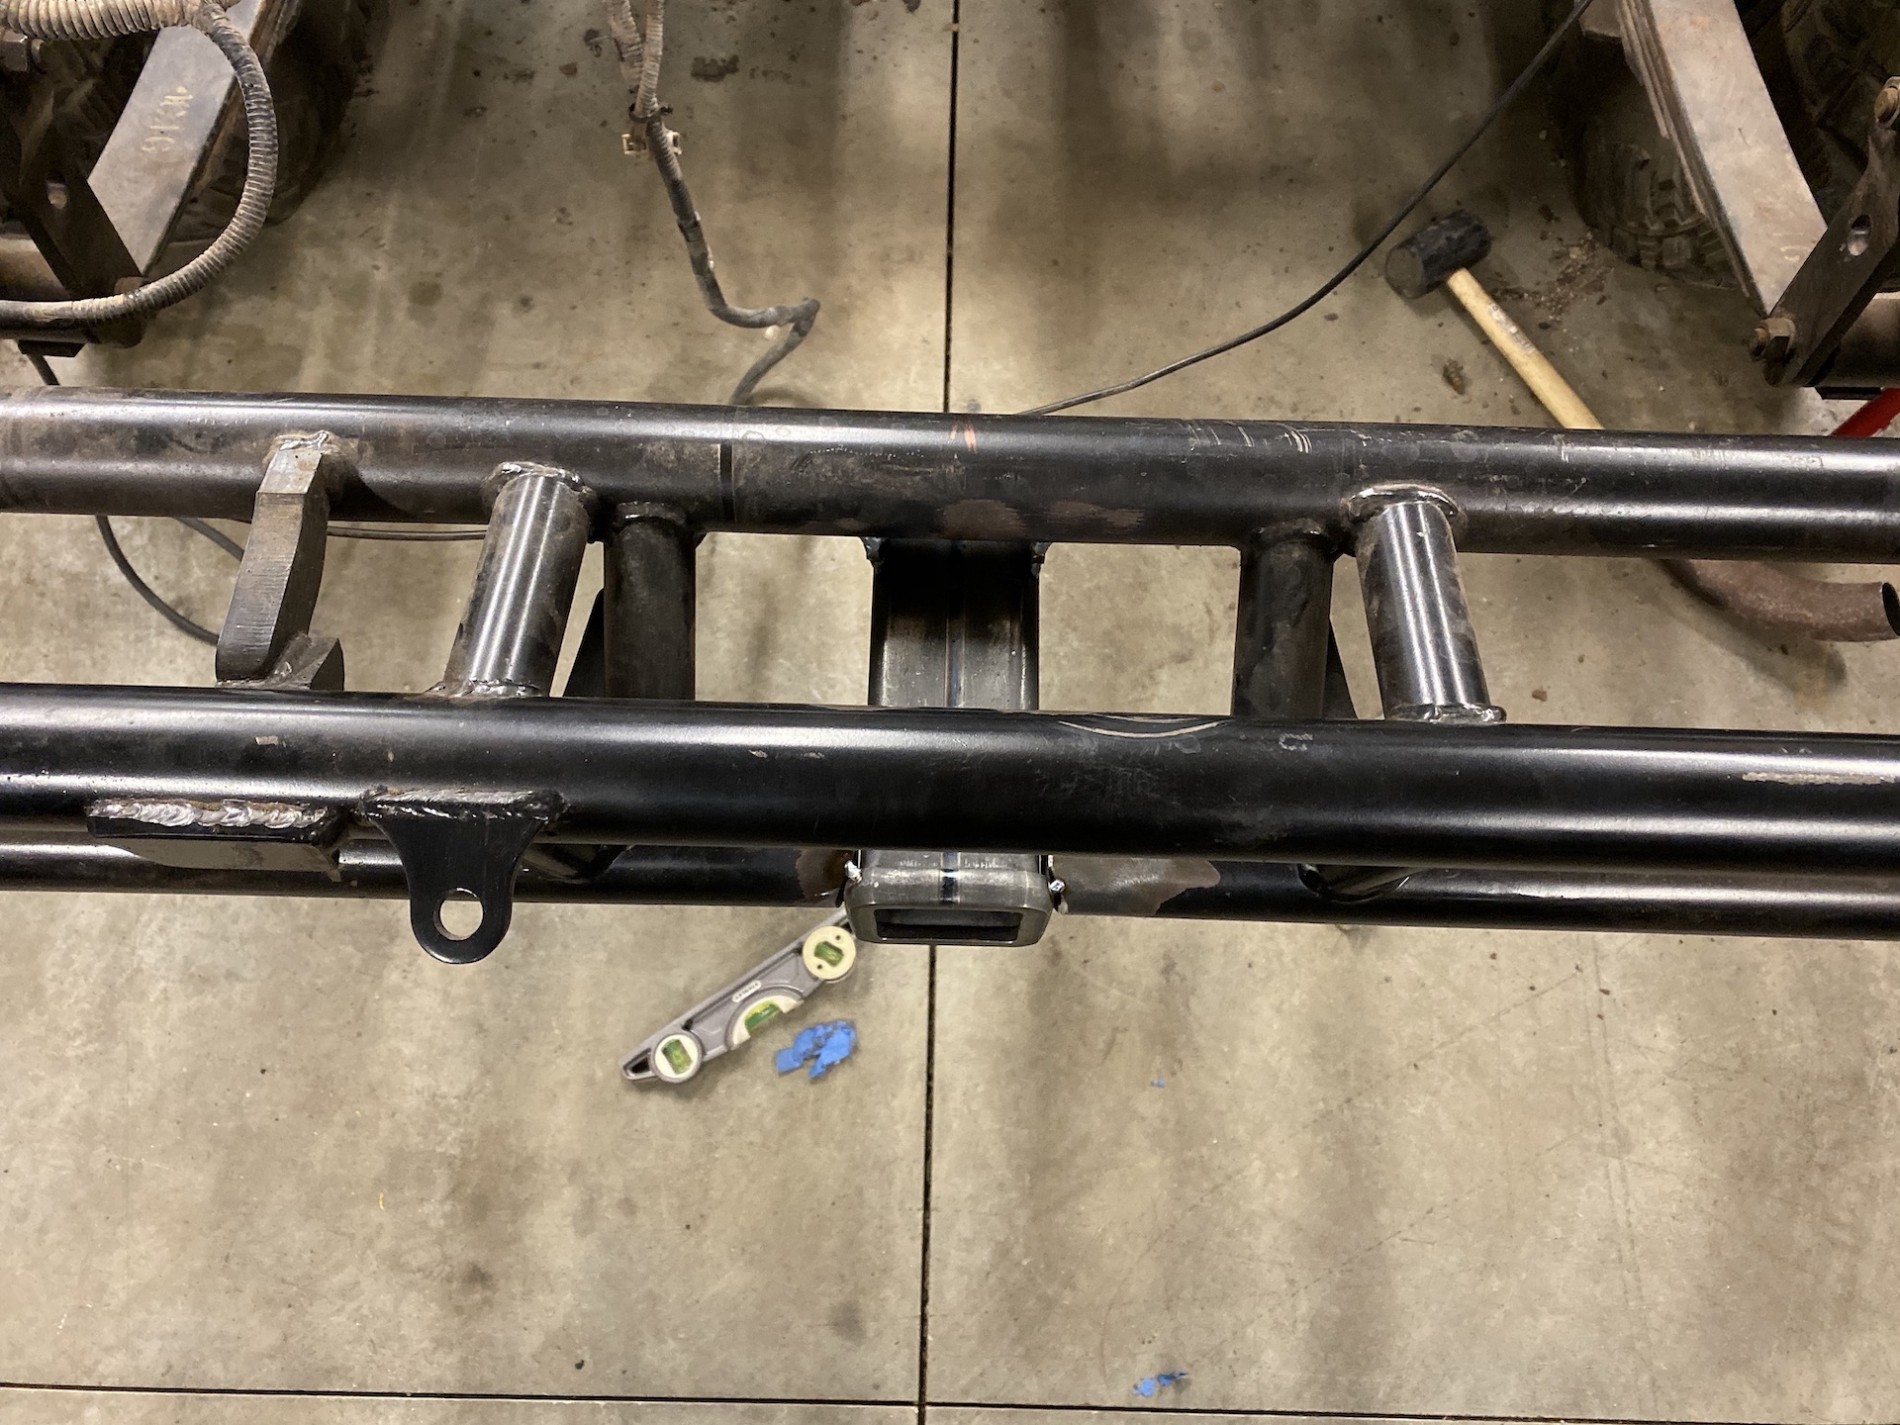
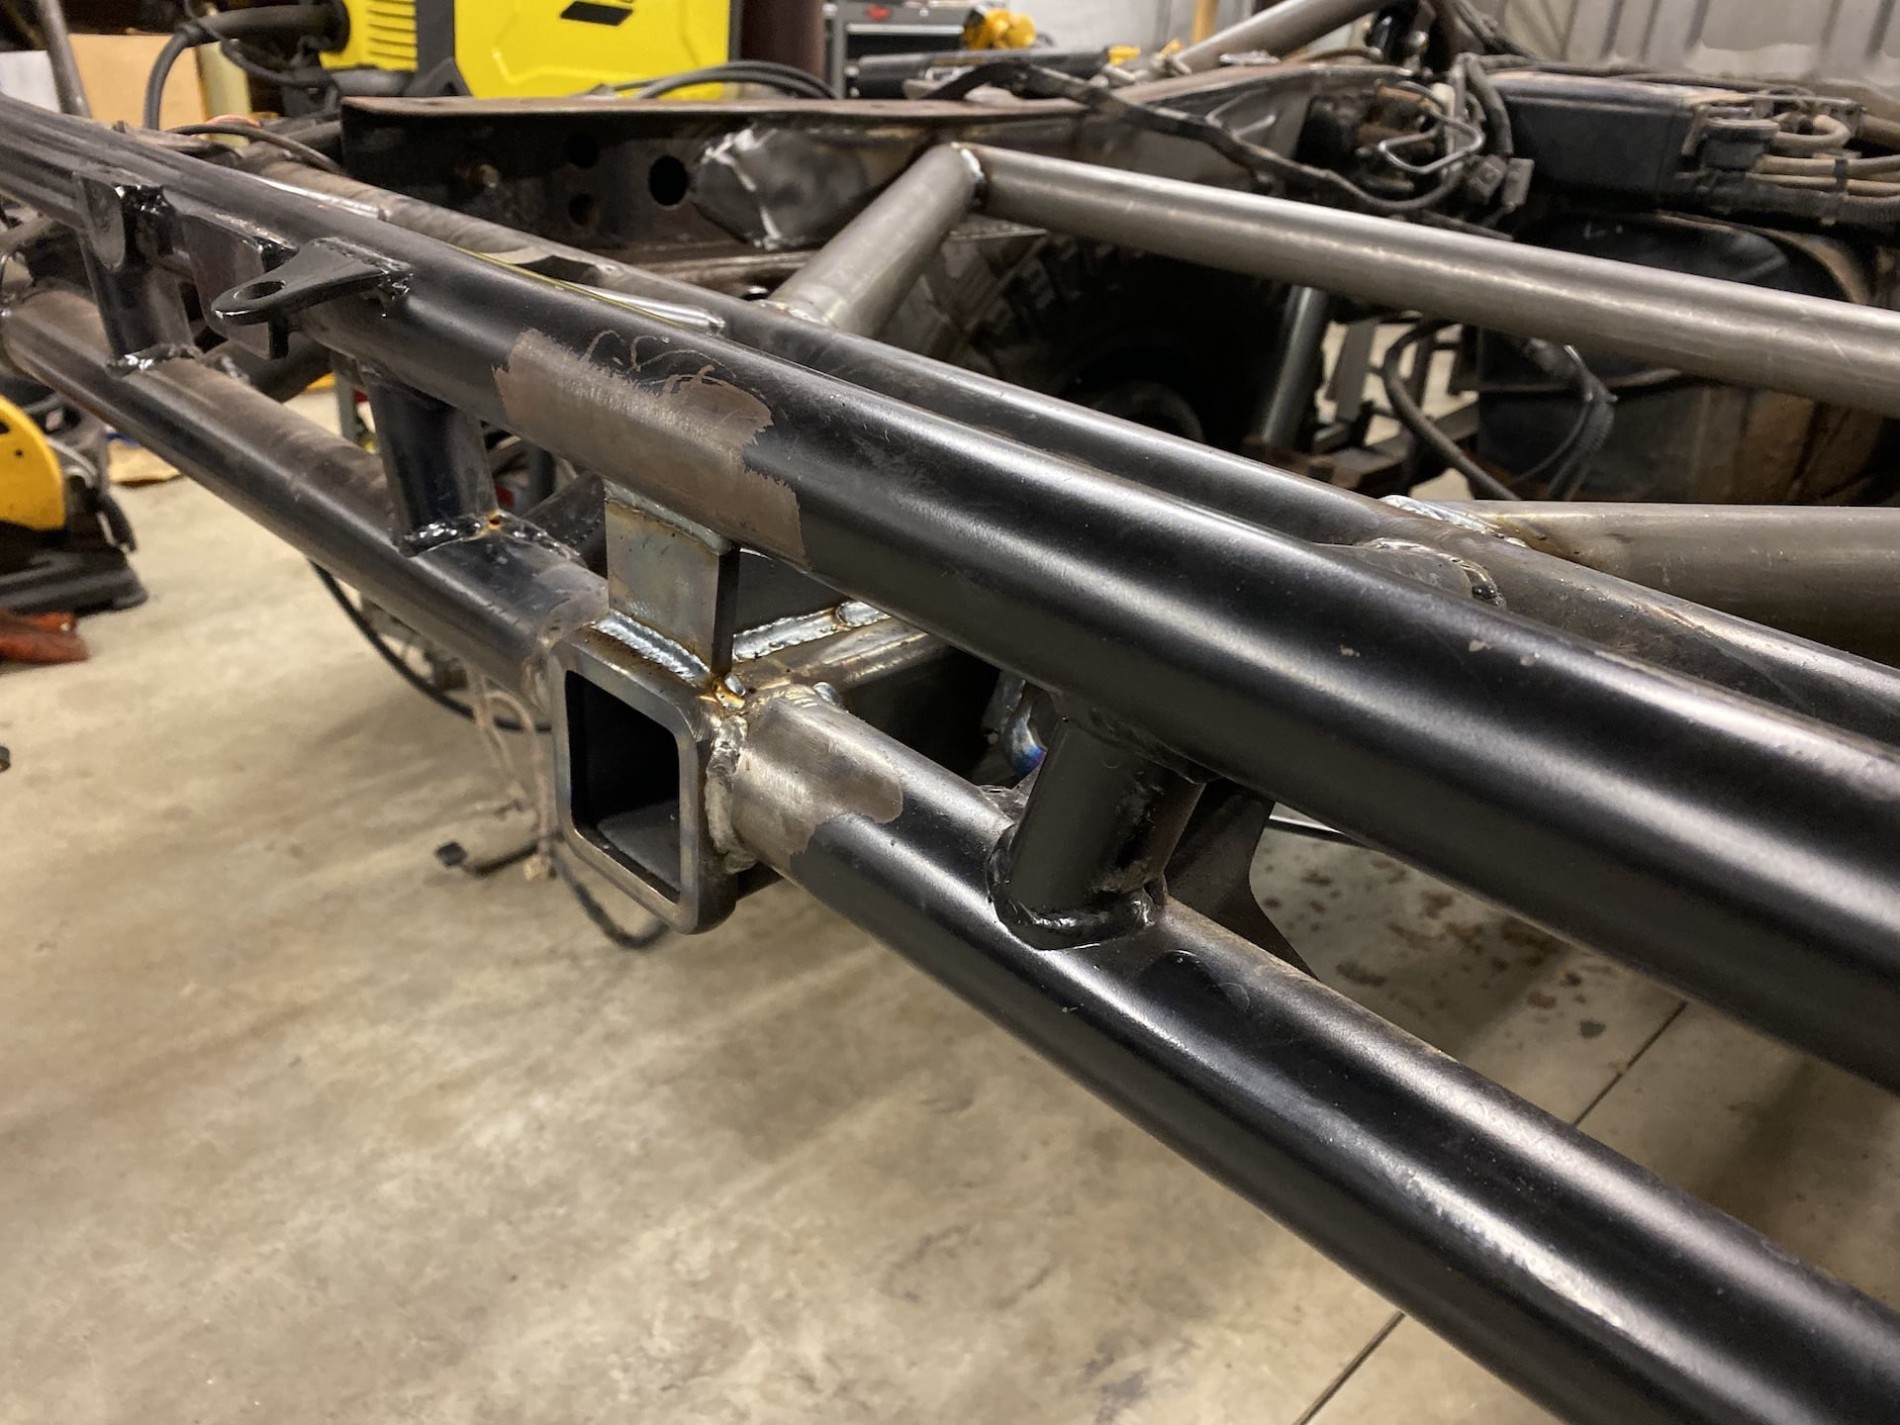
Decided to throw a hitch reciever in while I'm in here. ( @I Lean , I know... :rofl: )
AhPK.jpg


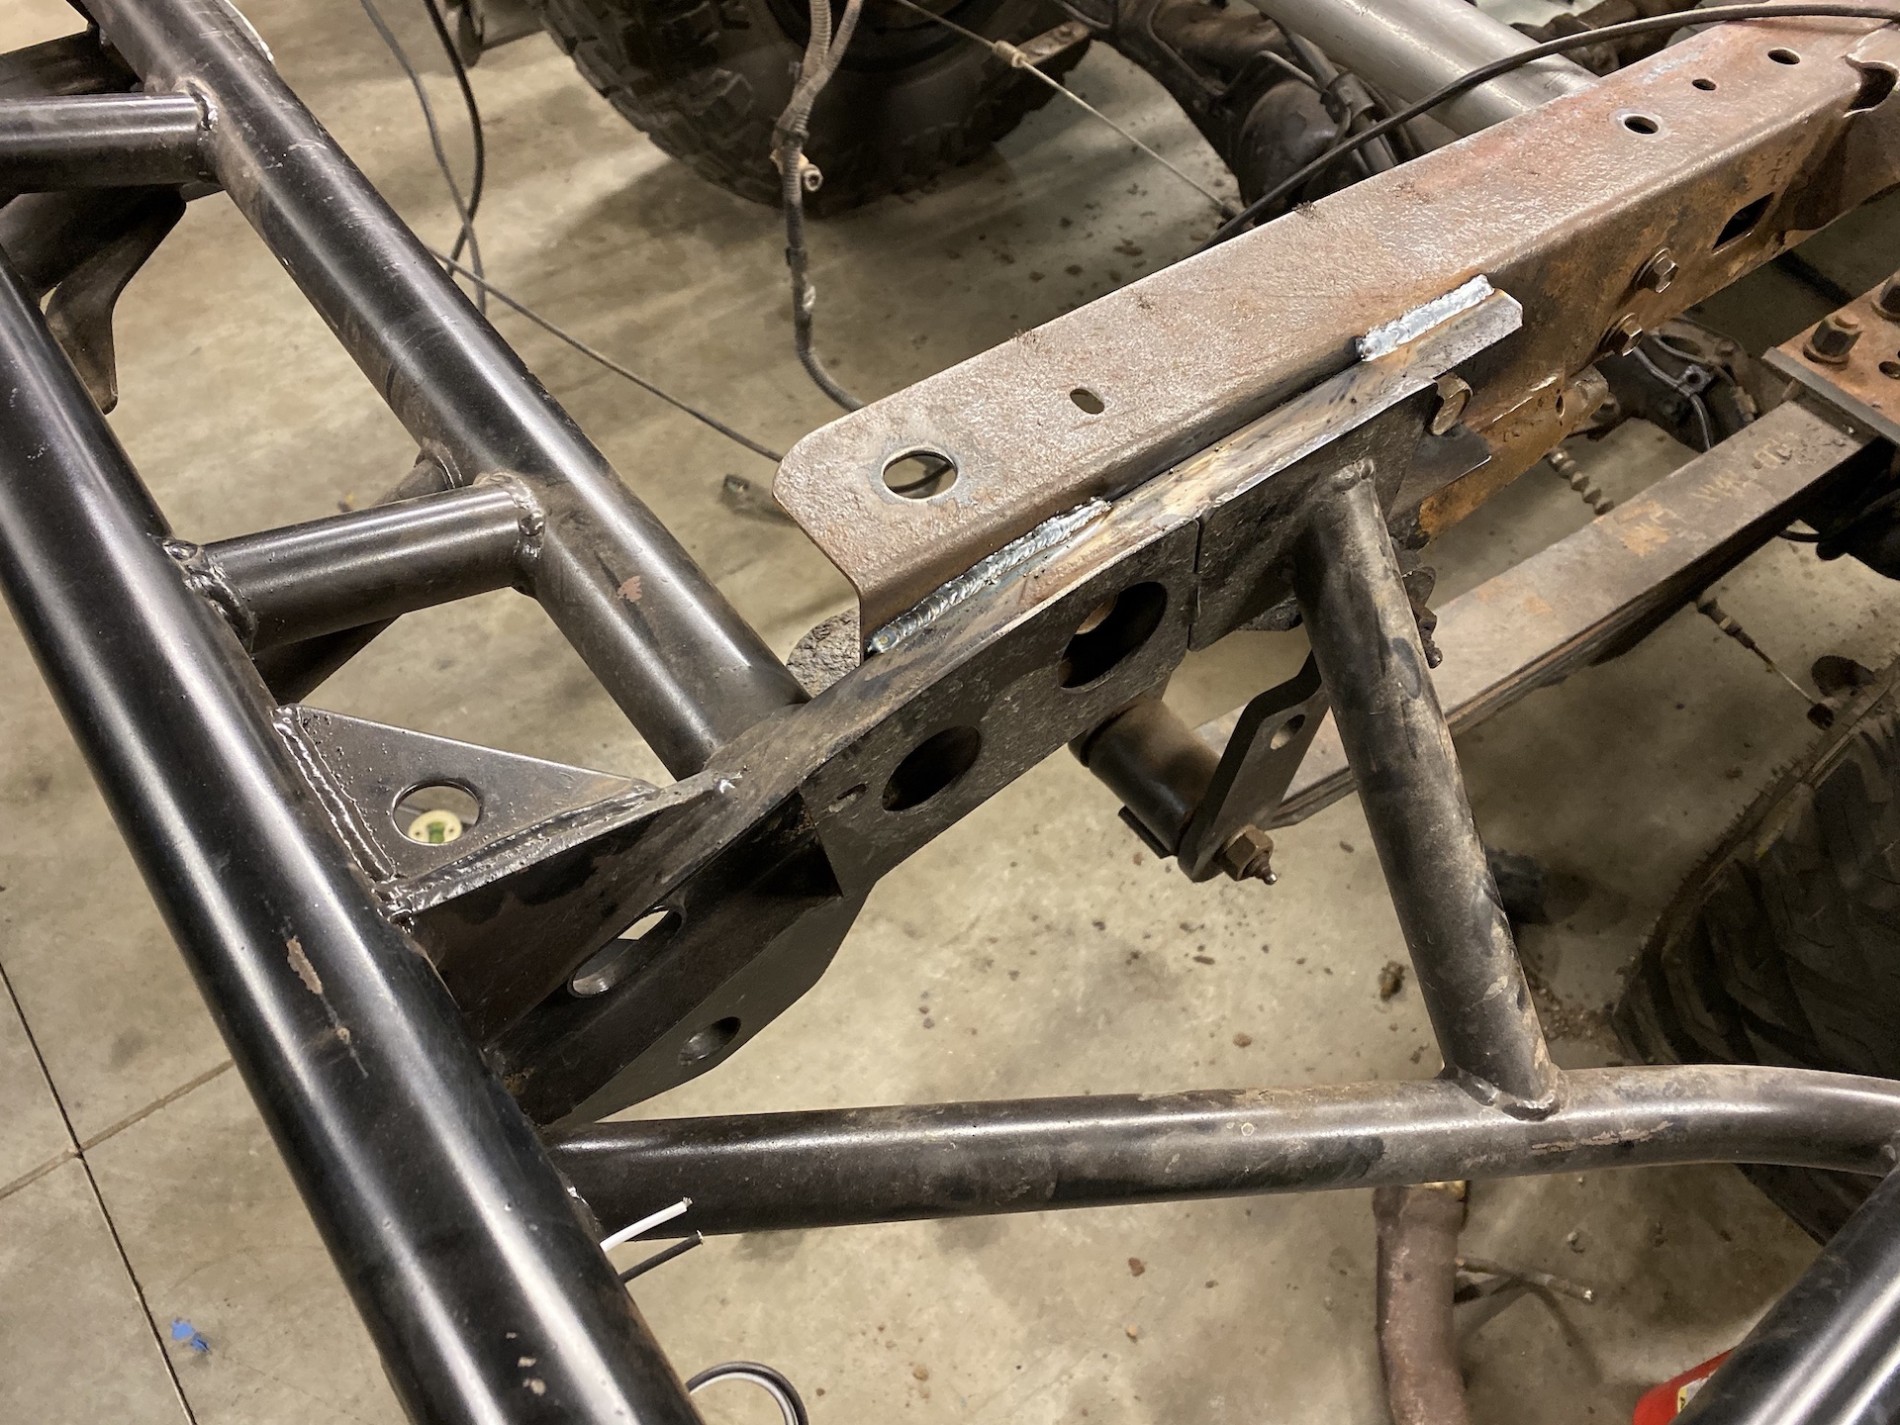
And decided to weld the bumper to the frame to support all that extra junk in the trunk.
ArzZ.jpg


Next up - some bracing from the mid cross-member to the rear bumper cross-member and some paint of some sort.

Speaking of which: any recommendations on coating this all up to help prevent any further rust from developing? I keep reading good and bad about products like POR15. I'd love to hear input and experience. Thanks!!
 

glockman

I hate Jeep trucks
Location
Pleasant Grove
I used POR 15 on a toy hauler frame, my trucks rear axle and the rear corners on my LJ. The LJ corners got the full Marine metal prep and what not. I also painted over the POR with some satin black of a brand I don't recall. They look almost brand new after 2 winters. The truck axle go the loose rust brushed off and then coated. It rusted through in one winter. The toy hauler frame chalked badly but I never top coated it. So I guess you could say if you prep and follow the instruction on POR you get the best results. Who knew?

I found this video pretty cool too. It speaks poorly of POR 15.


BlackSheep

baaaaaaaaaad to the bone
Supporting Member
I used the Eastwood rust encapsulator on BlackSheep's frame. I can't give it any long term review but I brushed and sanded the hell out of the rust, then used the pre-painting prep to wipe down the frame before applying the encapsulator. Finished that up with some automotive laquer. I did also use some type of acid to attack the deepest rust. I'll have to go out and look for what that was.
 

Herzog

somewhat damaged
Admin
Location
Wydaho
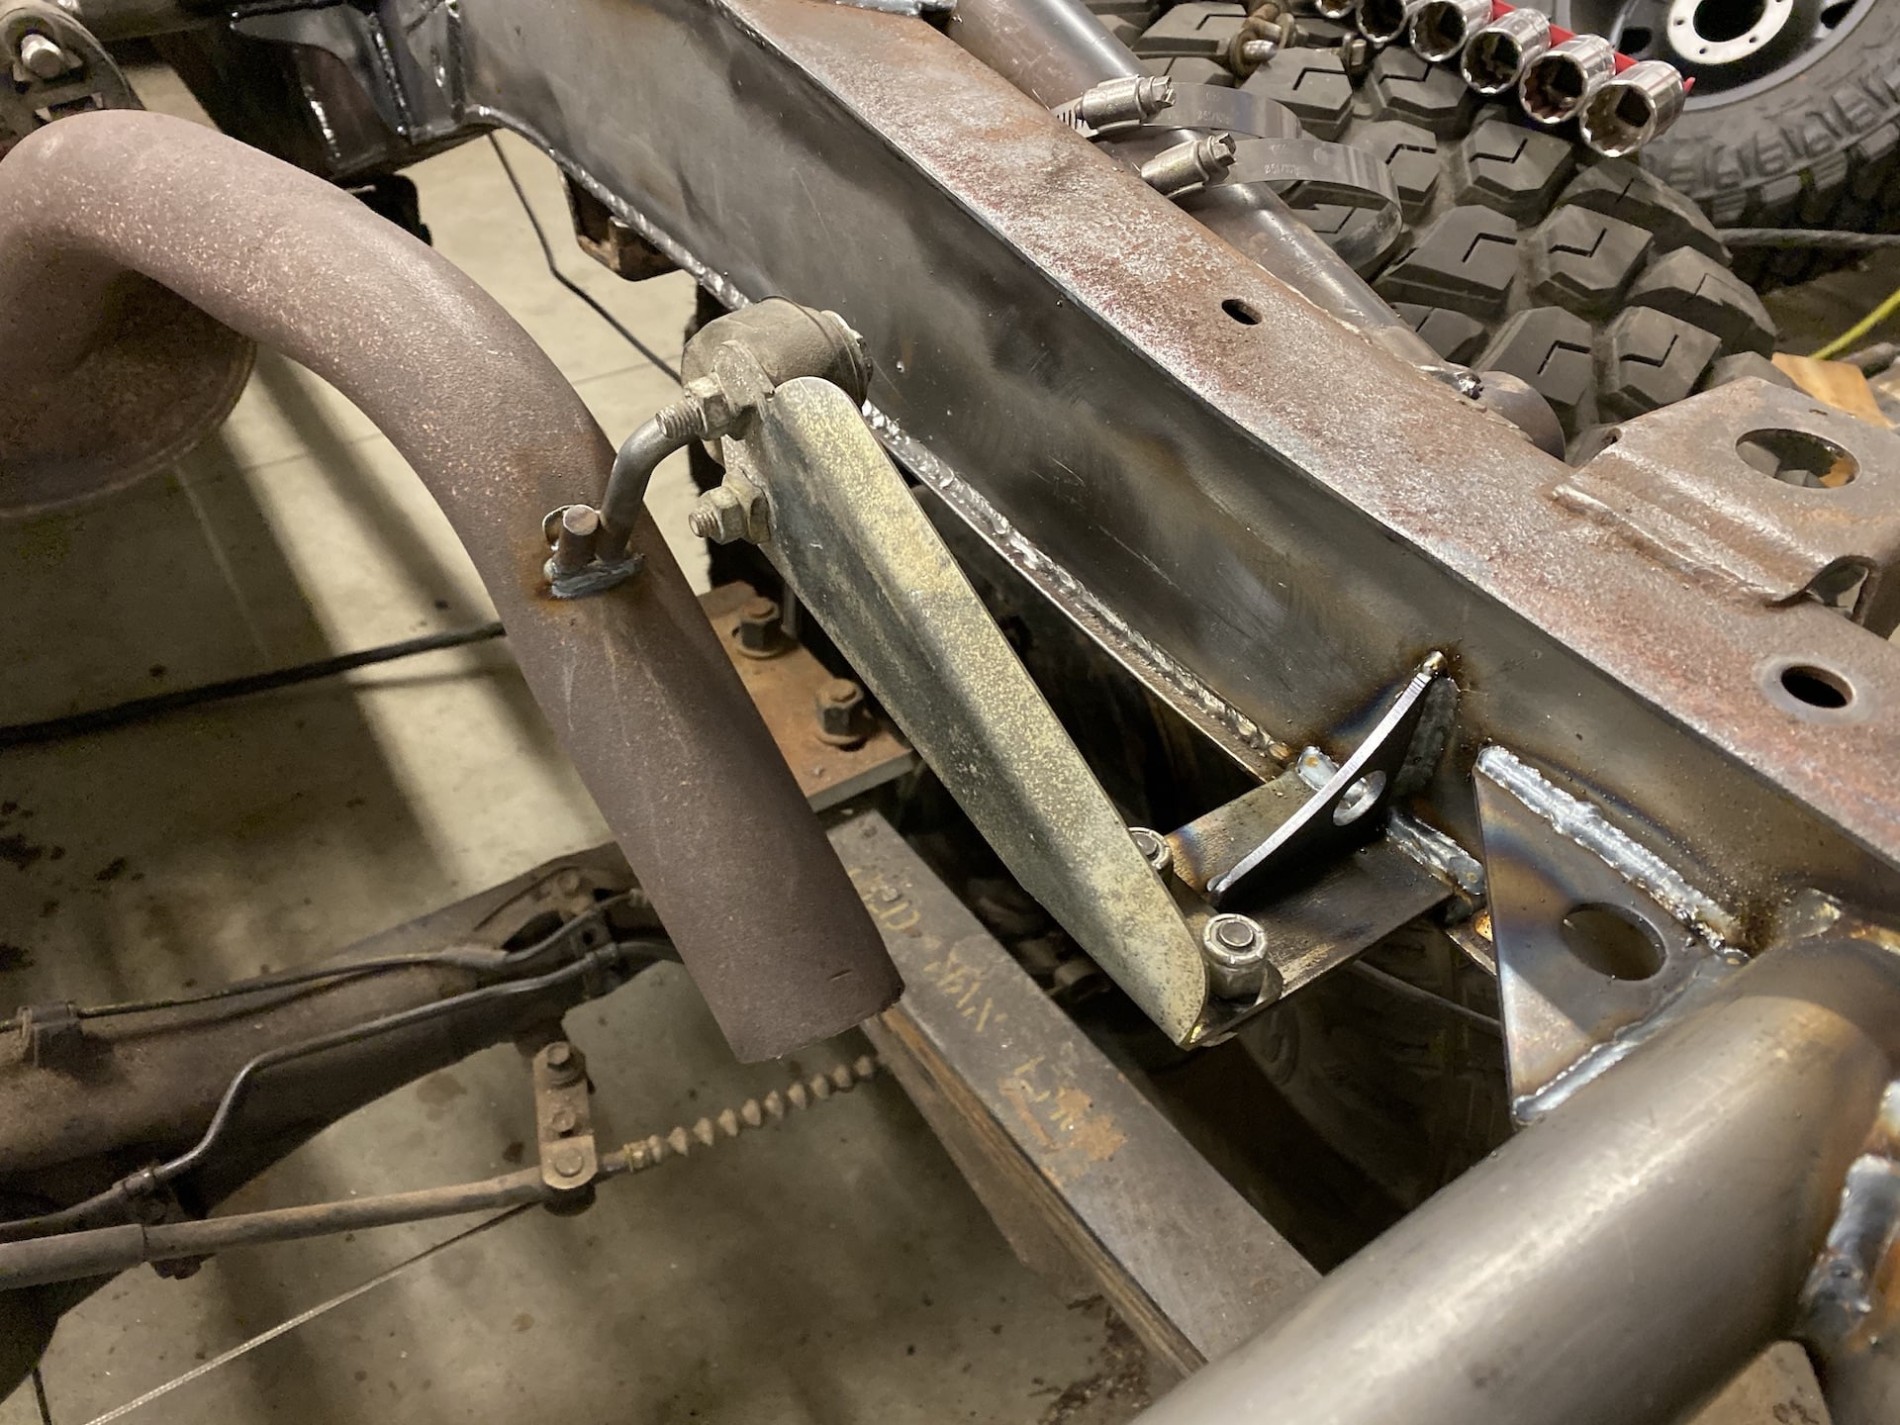
Got the last exhaust hanger back in... still need to route it back a bit but it will do for now
Aycb.jpg


Receiver is burned in
AqVS.jpg


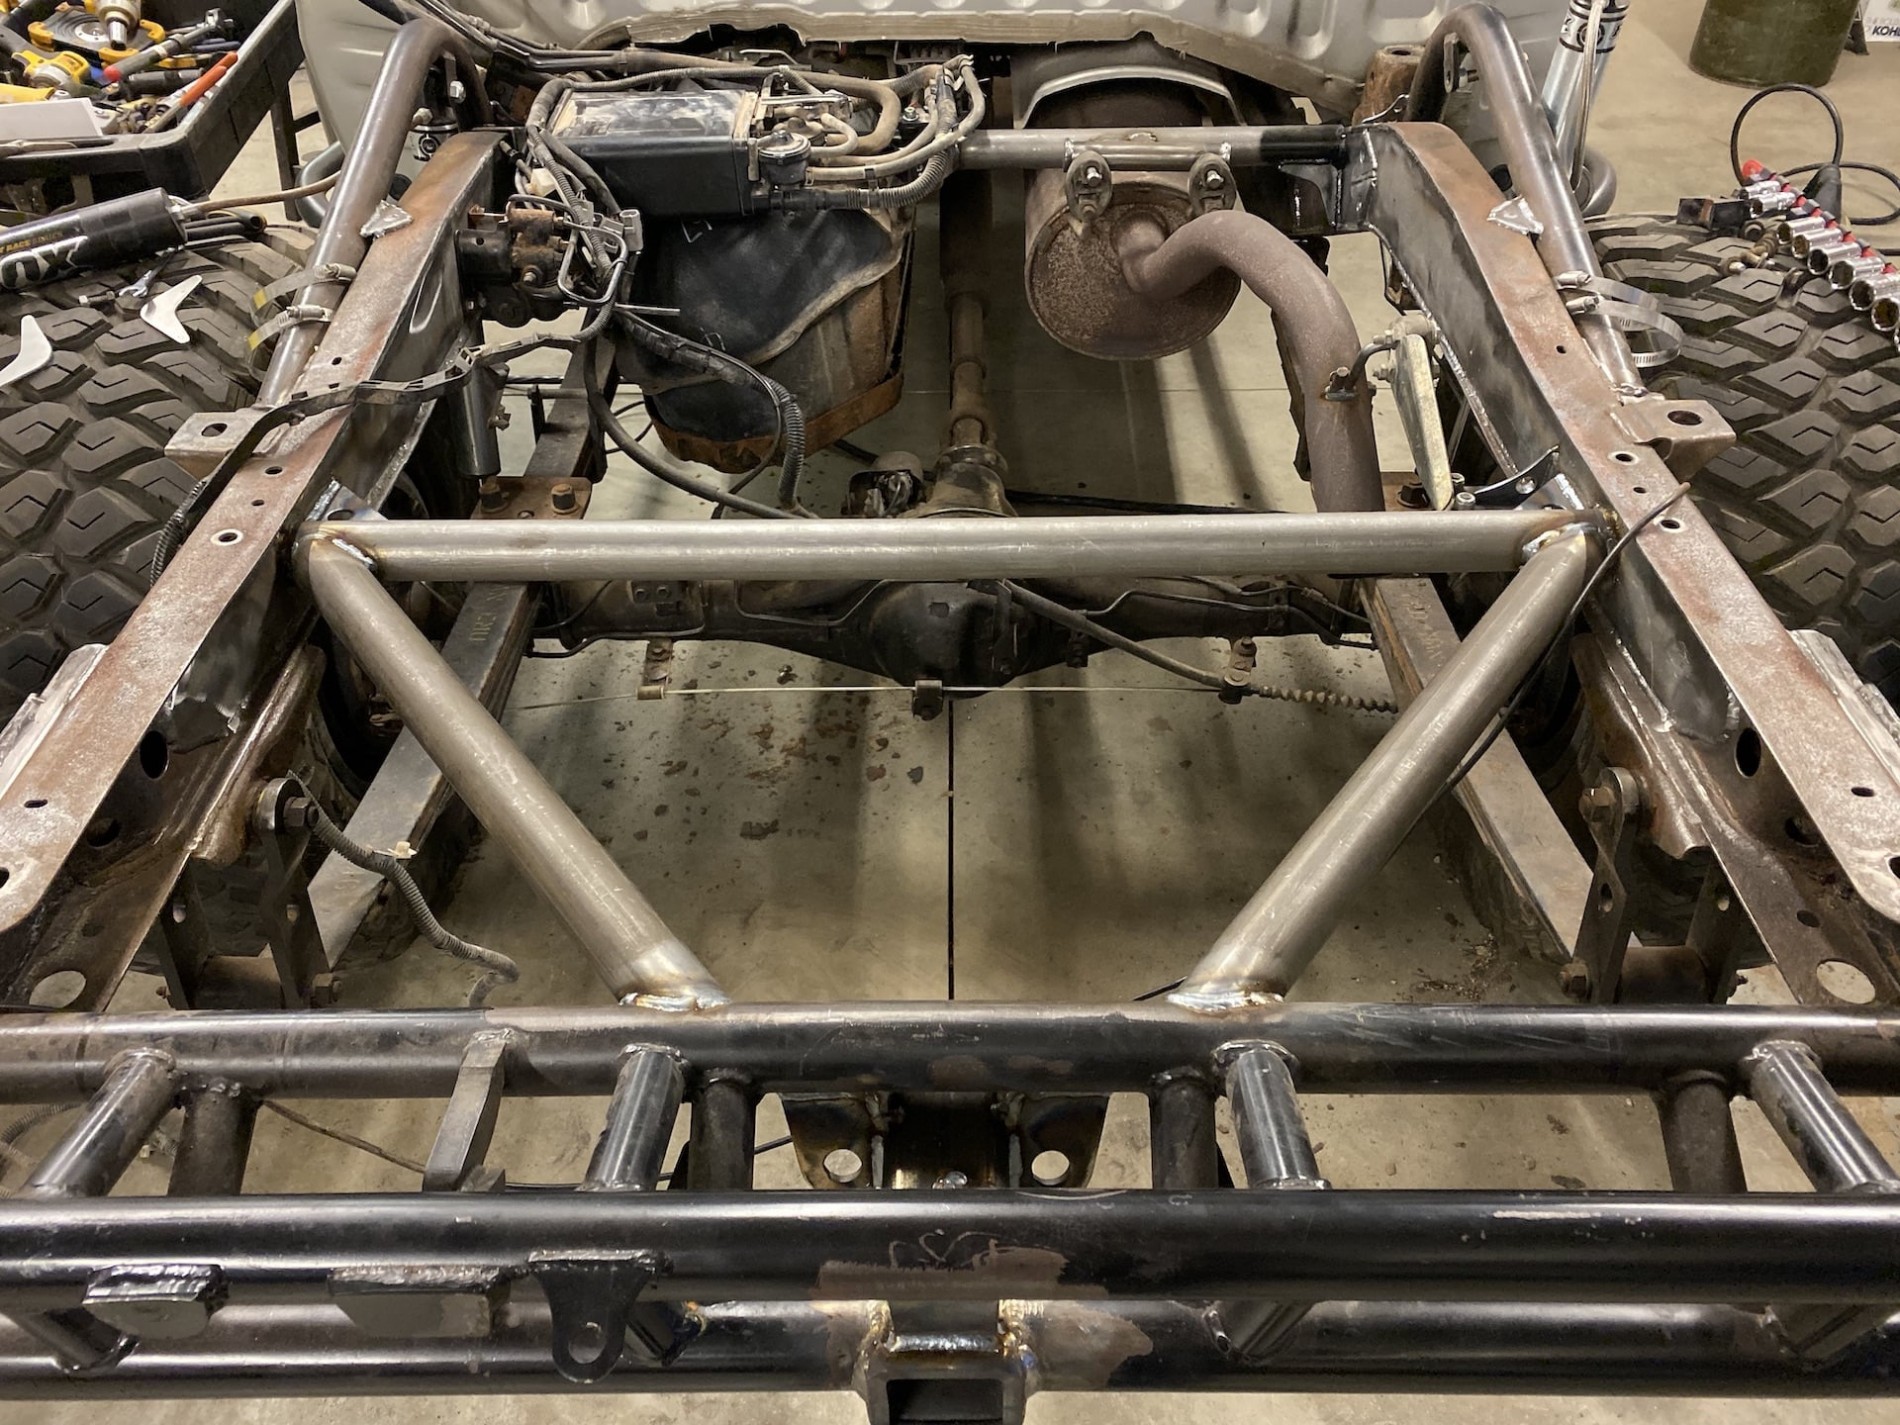
Added a couple spreaders to strengthen the this zone. Nearly ready to clean it all up and coat it! I'm excited to drive this thing some more... looking forward to some snow wheeling
A1l5.jpg
 

Hickey

Burn-barrel enthusiast
Supporting Member
Got the last exhaust hanger back in... still need to route it back a bit but it will do for now
Aycb.jpg


Receiver is burned in
AqVS.jpg


Added a couple spreaders to strengthen the this zone. Nearly ready to clean it all up and coat it! I'm excited to drive this thing some more... looking forward to some snow wheeling
A1l5.jpg
We should definitely do some snow wheelin together.
 
Top