Seven
Active Member
- Location
- Ogden southside
Finally finished my UDS(ugly drum smoker) Now I got to decide what to try first.


![WP_20141218_001[1].jpg](https://www.rme4x4.com/data/attachments/57/57532-a46d90fc3e0d46aff5db802a72c7c806.jpg "WP_20141218_001[1].jpg")
you're going to need this


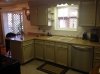
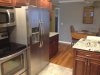
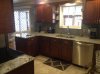
How affordable is it to put in a stone counter top? (granite, slate, ect.) Can you get them "precut" or do you have to buy them custom? I'm totally ignorant on this so I'm guessing on the terminology.
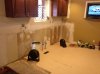
I need to replace some hand rails that I removed and tossed when I first moved in. I want to use the shaped wood rather than just plain circle (like this.) I plan to make returns on the ends to terminate everything to the wall. Is it best to cut the main pieces to length then miter the ends and mount it all before cutting and attaching the returns? Any tricks for these?
I'm kinda bummed because when I finished the basement I put 6 light switches on the outside wall right where the rail ought to go so I'm going to have to put the rail on the inside. The upstairs still has the indents where the rail was previously hung despite my efforts to mud them away so they are going on the outside wall. Wish the rails would match but not going to stress it too much.
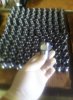
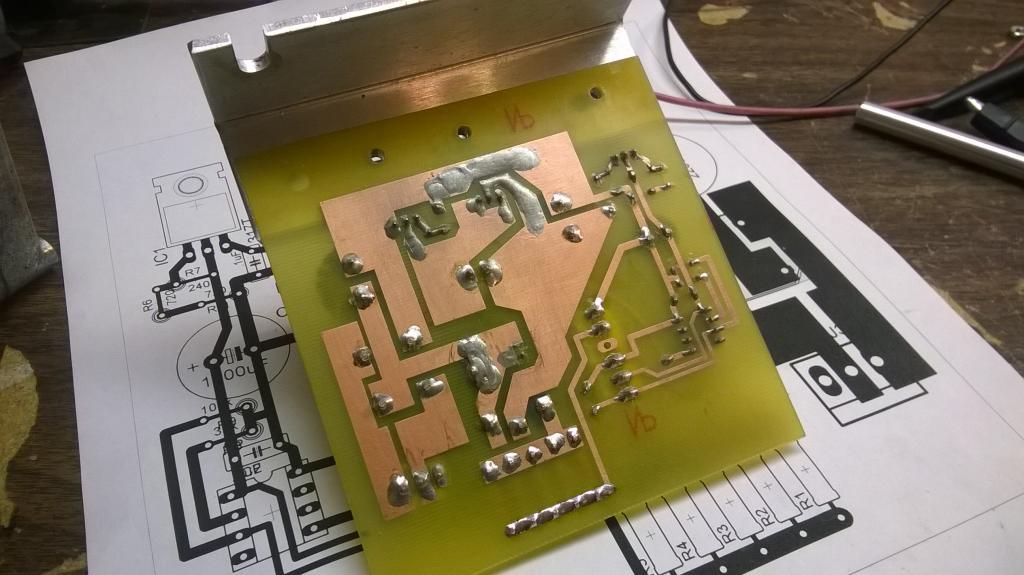
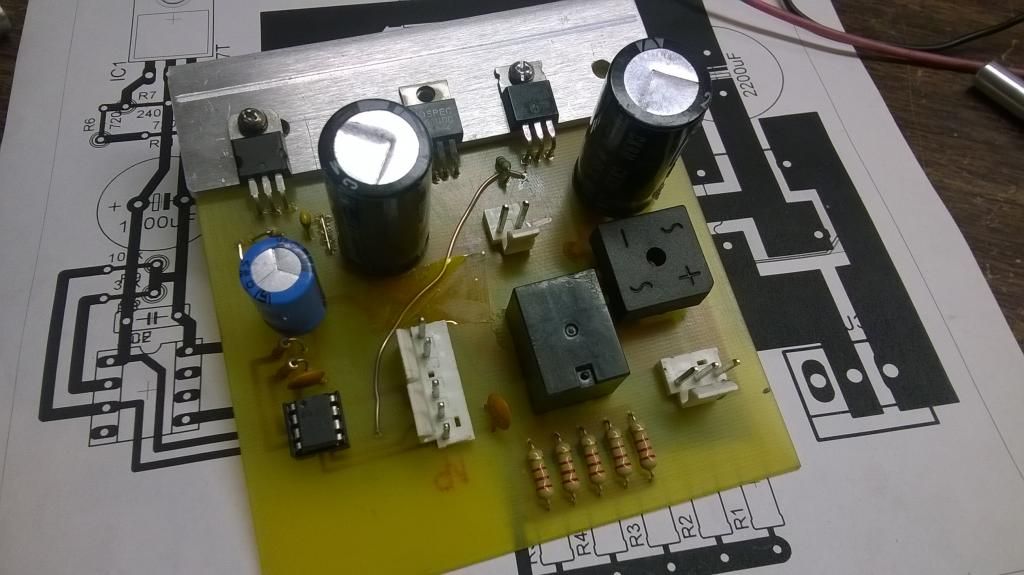
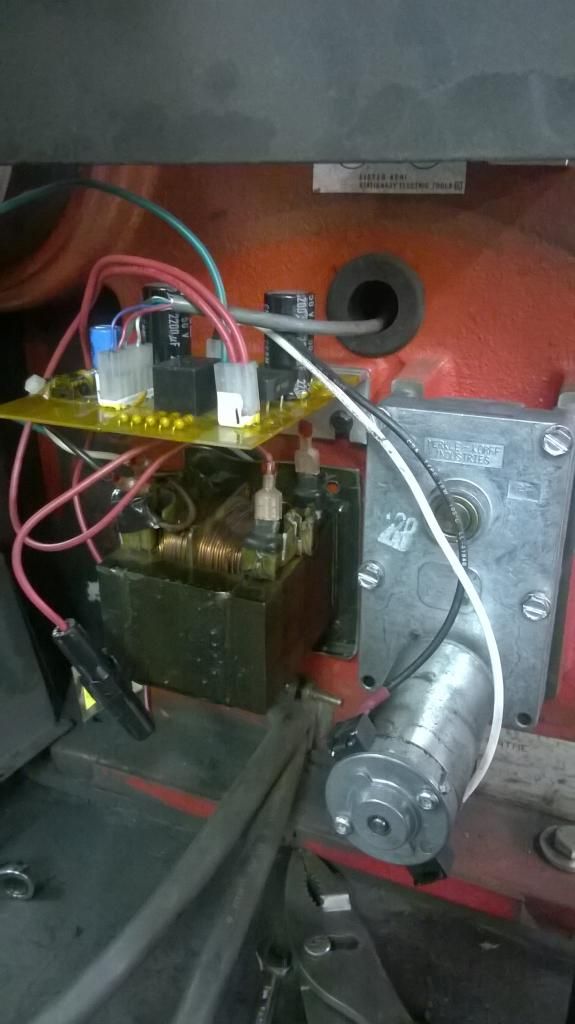
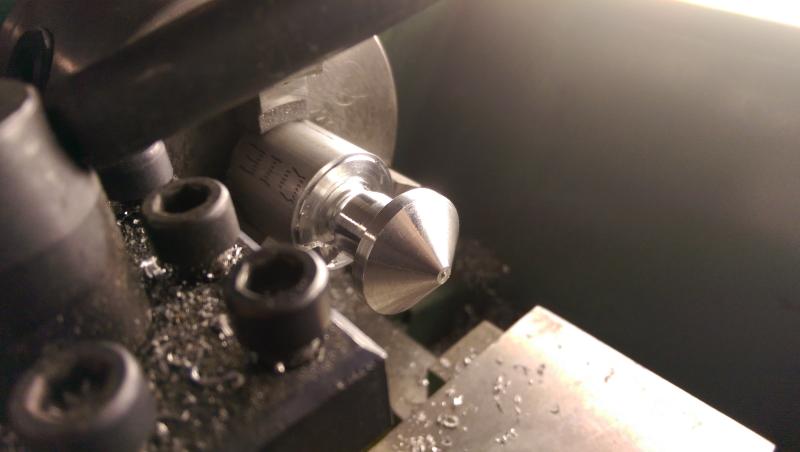
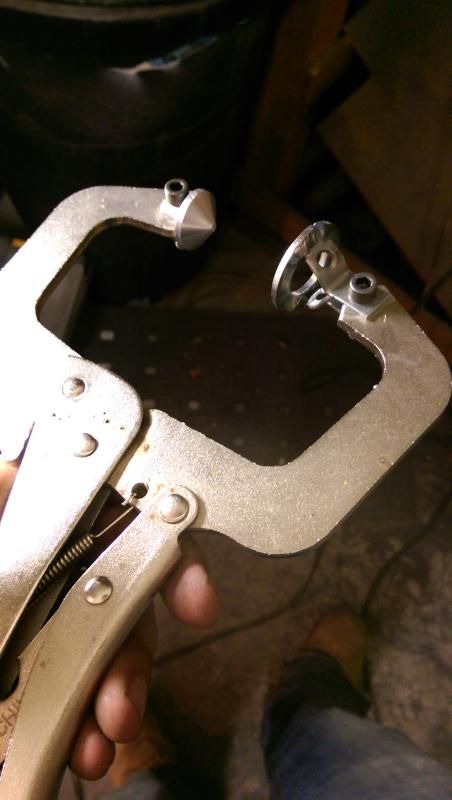
I needed a special kind of vice grip so I made my own starting with a HF one.. I'll let the pics speak for themselves (sorry if they are huge)
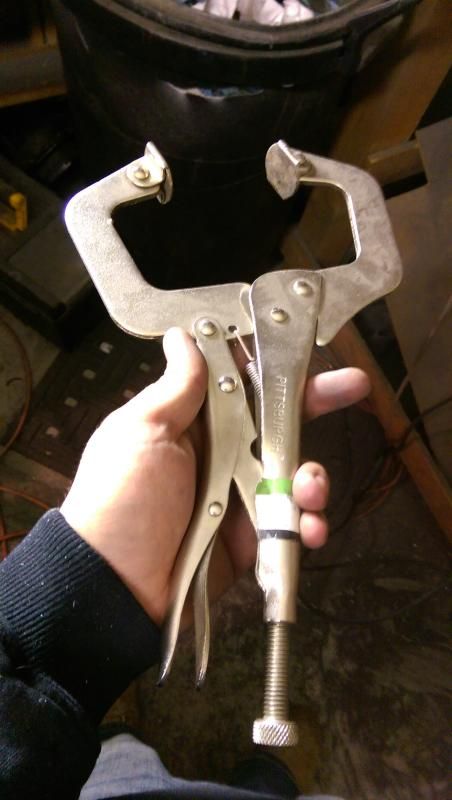
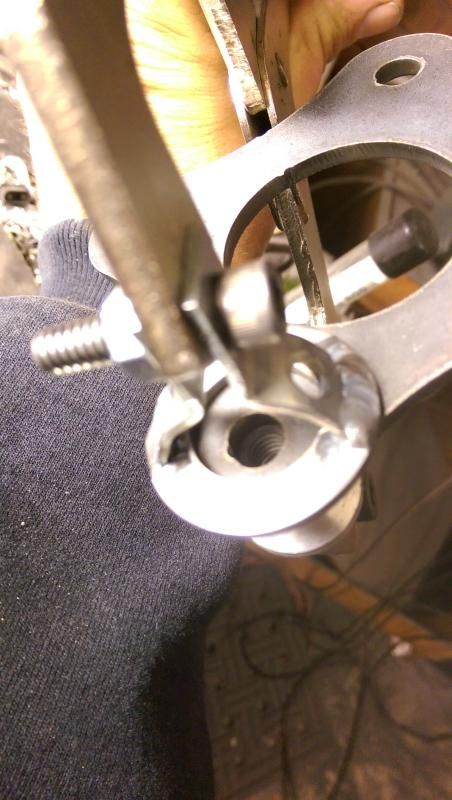
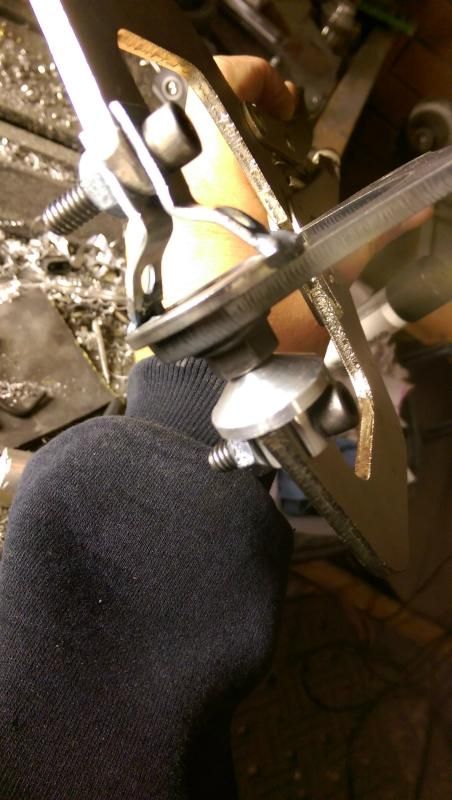
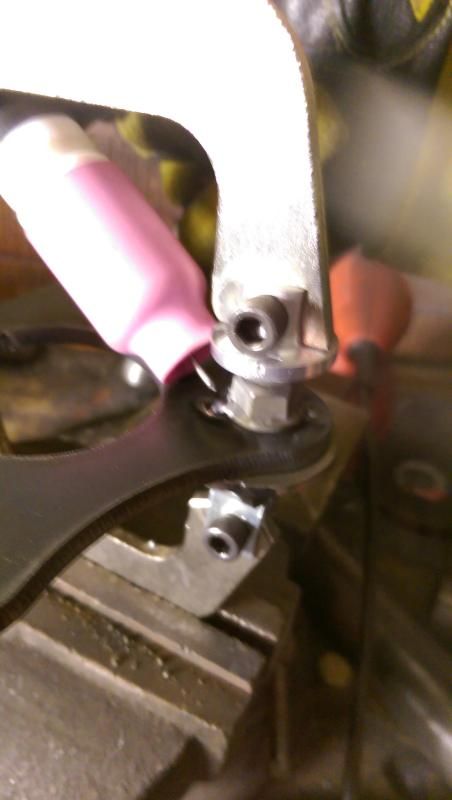
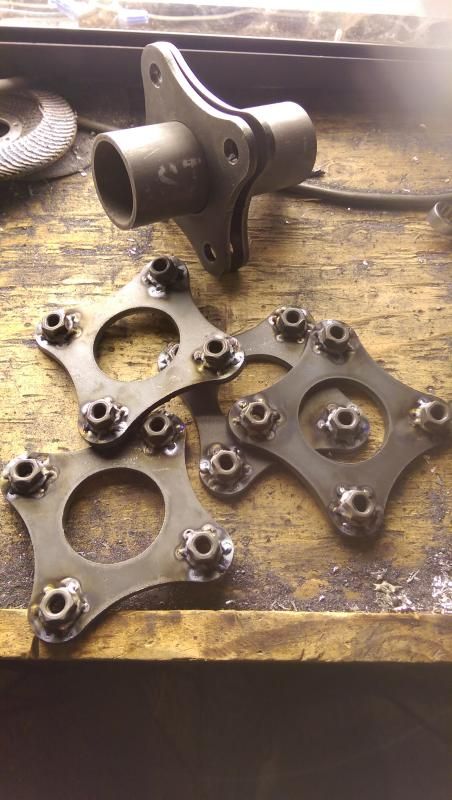
Worked awesomely and I should be able to use it in the future on up to 3/4" nuts.