The Budget Buggy - Take Two

sixstringsteve

Well-Known Member
Location
UT
Once again, I applaud your efforts to do it right the 1st time rather than just slapping it together and never being happy with it.
 

Coco

Well-Known Member
Location
Lehi, UT
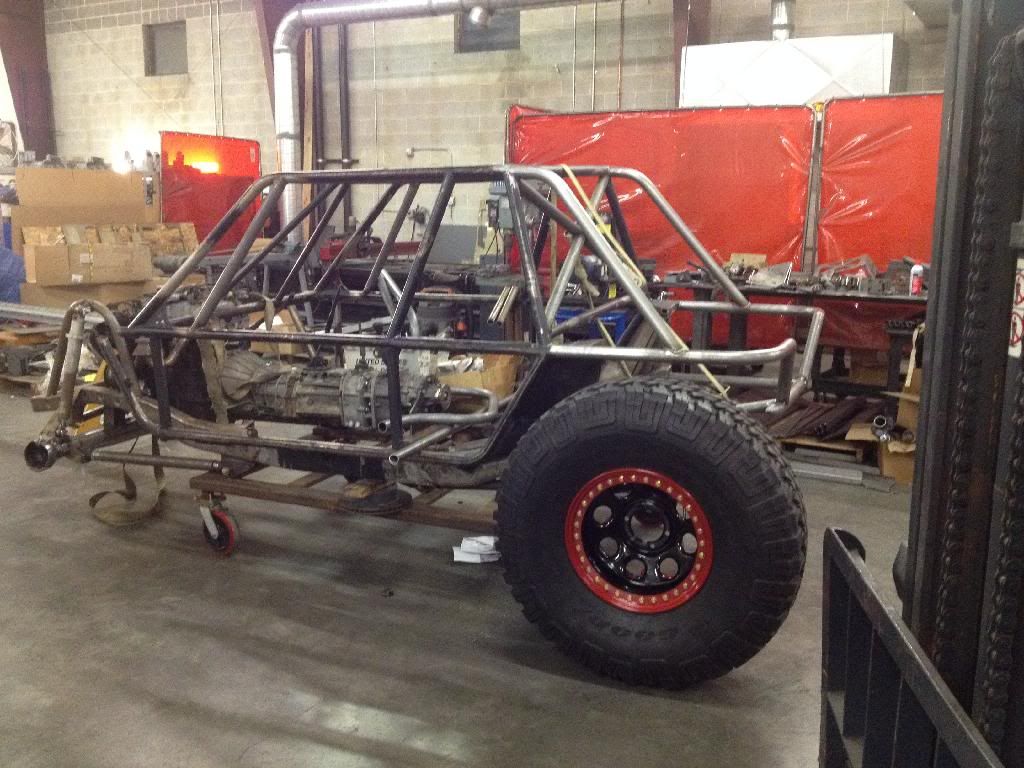
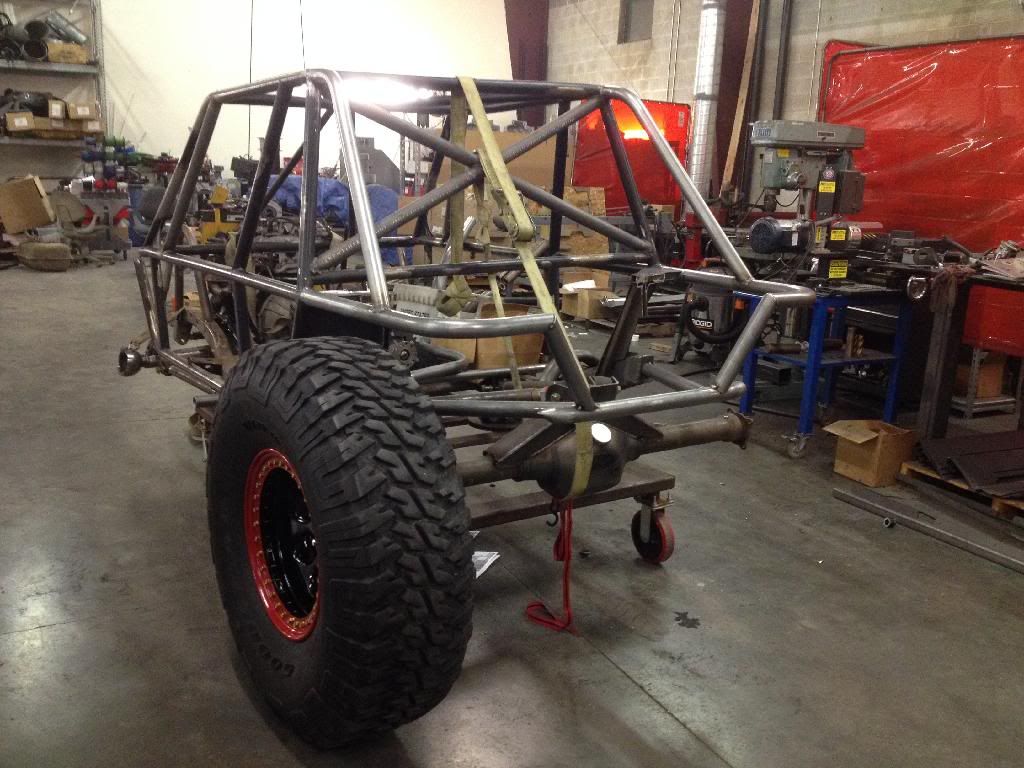
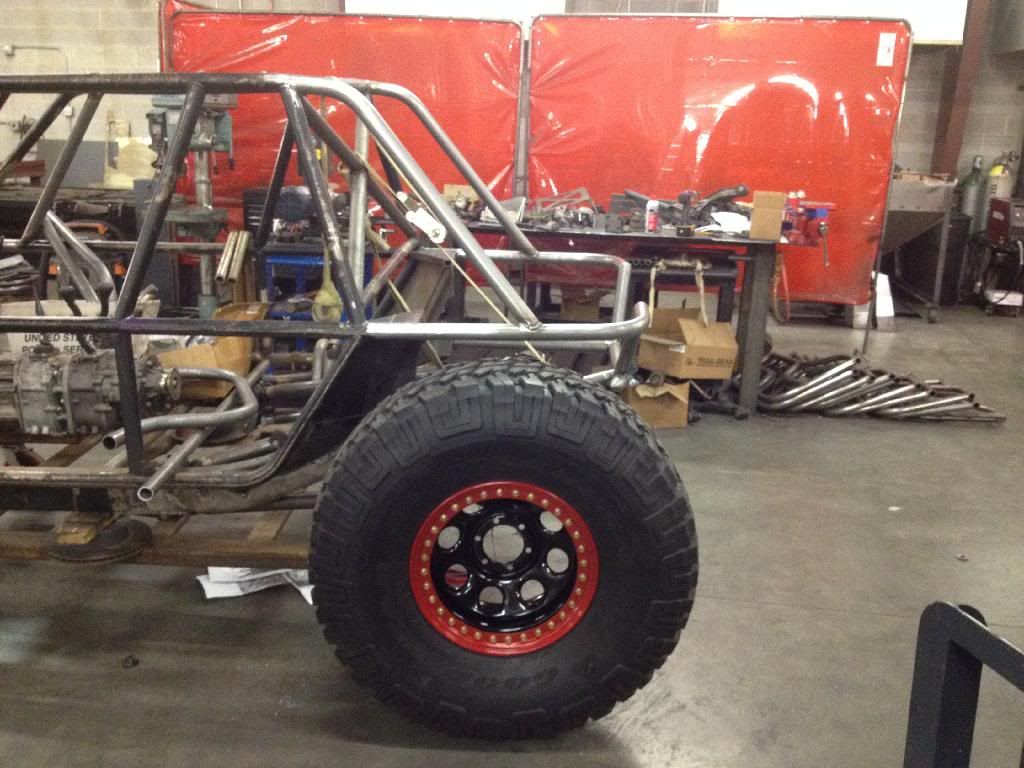
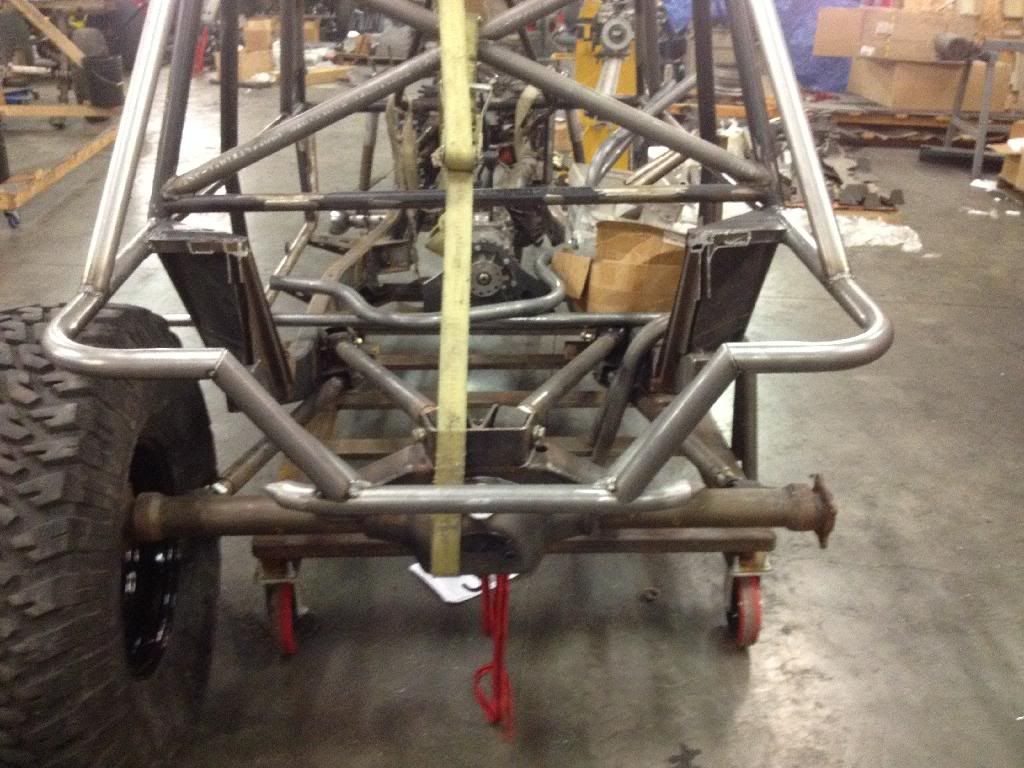
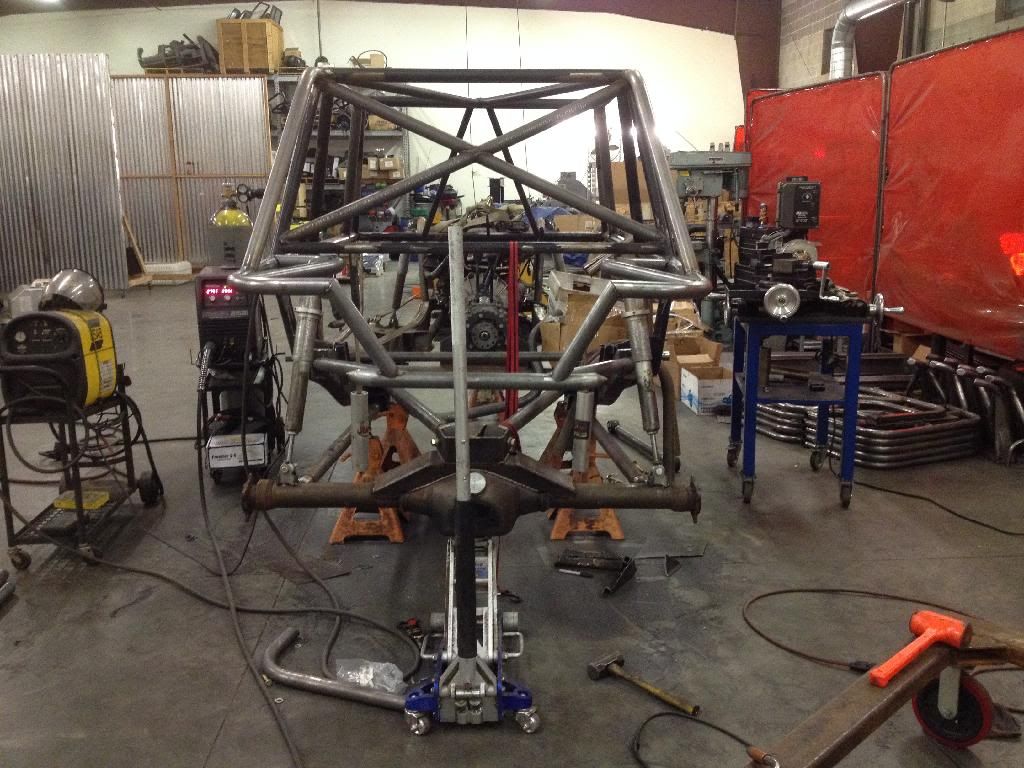
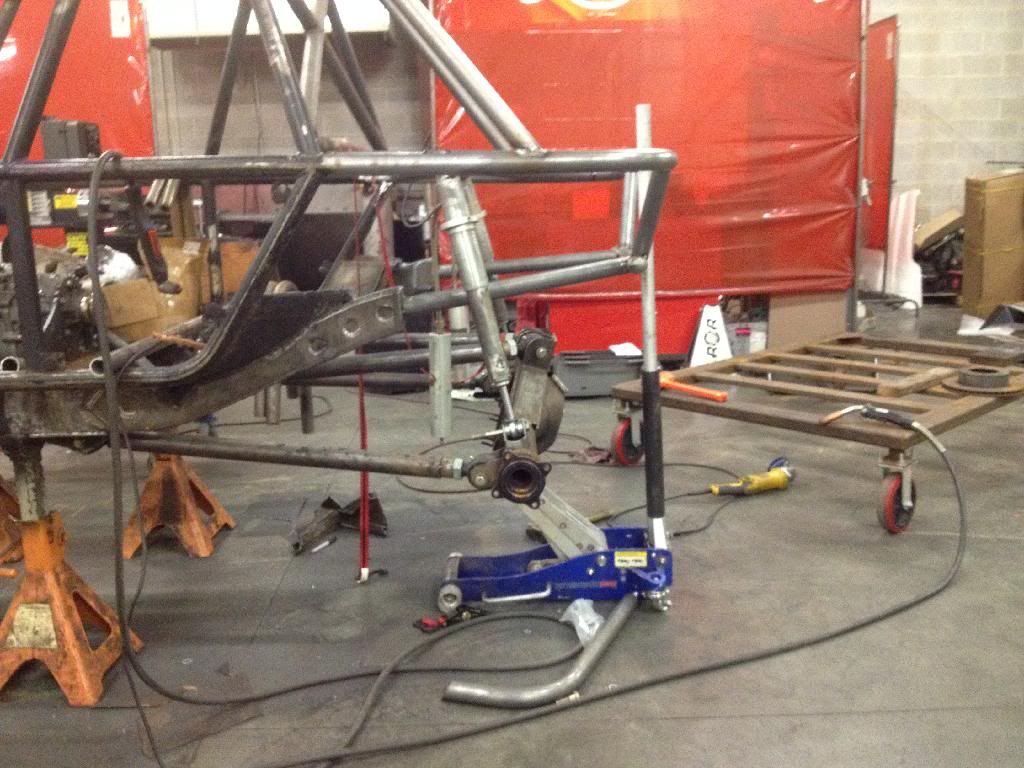
Got the back of the buggy pretty much rebuilt on Saturday. Looks 1000x better IMO. Next step will be to make rear hoops, and tie them together. Then I can hang the rear coilovers, and it should be in roller form by this coming weekend.


Coco

Well-Known Member
Location
Lehi, UT
An Update... Although my bandwidth is exceeded at the moment for the pictures to show. (click them to view if you care :))

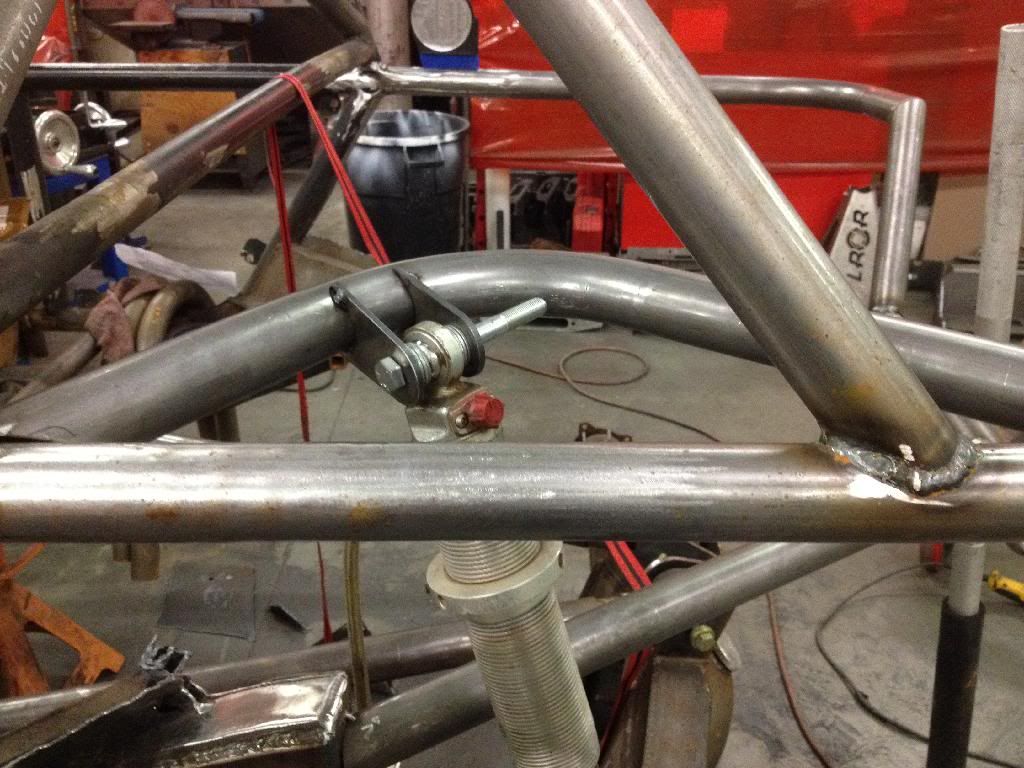
I got the rear shock hoops bent and tacked into place, and got the coilovers mocked into place as well.


Coco

Well-Known Member
Location
Lehi, UT
***Repost w/ Working Pics***

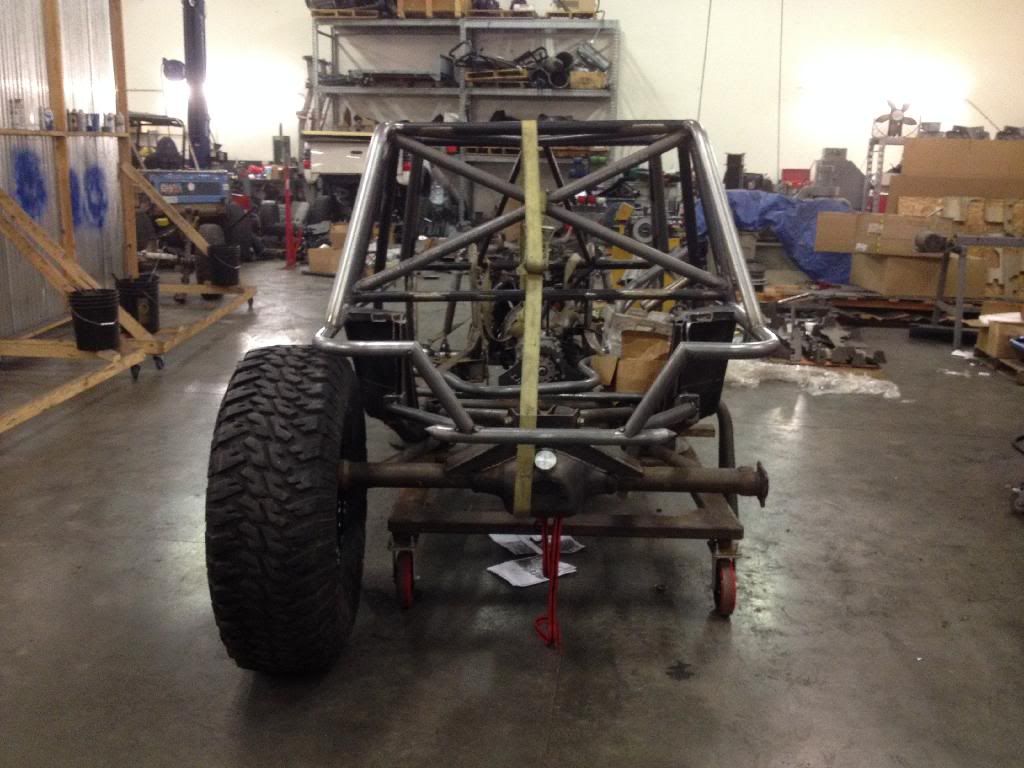
Got the back of the buggy pretty much rebuilt on Saturday. Looks 1000x better IMO. Next step will be to make rear hoops, and tie them together. Then I can hang the rear coilovers, and it should be in roller form by this coming weekend.


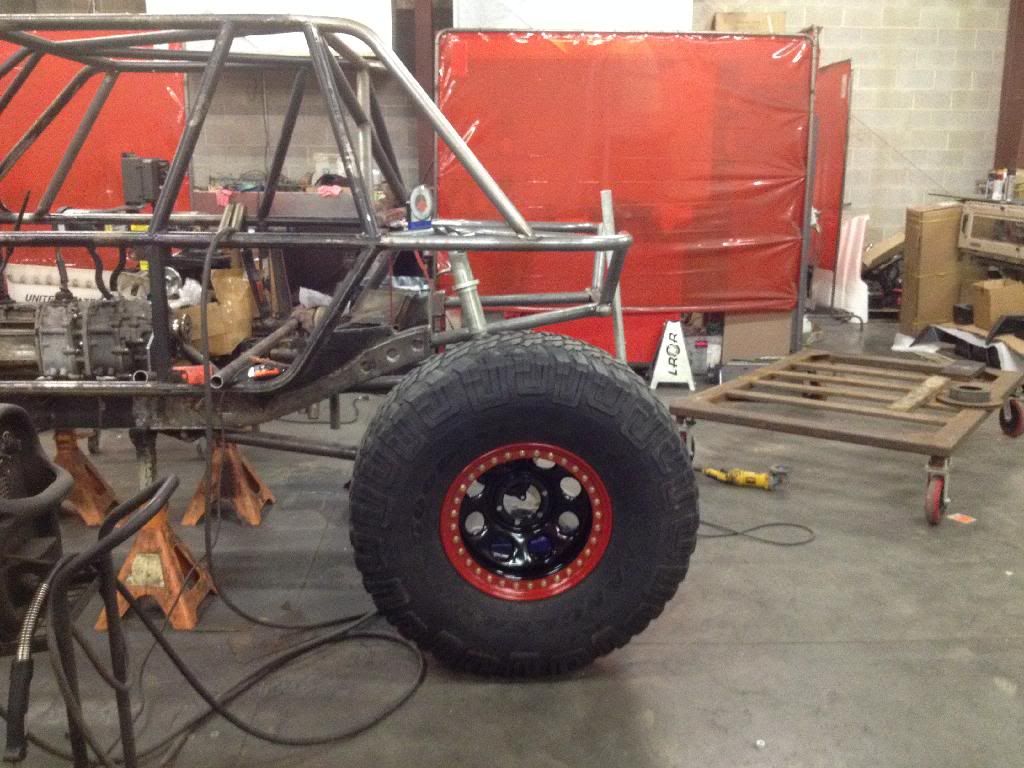
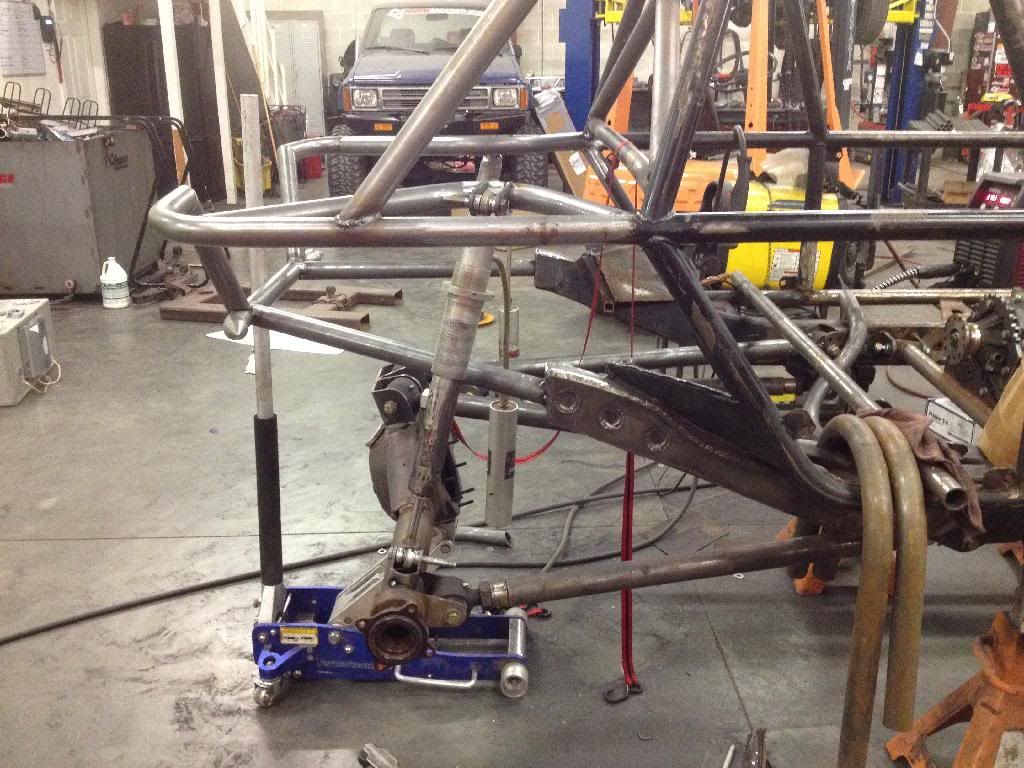
Then this past Saturday, I got the rear coilover hoop built, and the coilovers mocked into place.


I also noticed when I went to flex it out, on full droop, they are going to hit the tube that I replaced the frame with... :rolleyes: So I may need to notch the tube as well....
 

Coco

Well-Known Member
Location
Lehi, UT
Thanks guys! Its coming along, slowly but surely. Better start cracking the whip tho! Haha. I am hoping to get a good portion of the tubework donw this weekend, and maybe hopefully start getting the hood and grill in position.
 

Coco

Well-Known Member
Location
Lehi, UT
Ran into a bit of a hiccup over the weekend... Found out my Toyota radiator is not going to fit. I am looking for an aluminum radiator measuring 13"x23" so it will clear my upper shock support bar I will be putting in, and clear the winch and panhard on the lower end. Another issue I ran in to is I will have to have a long spout to be the highest point in the cooling system to avoid air bubbles, but then Rawlin mentioned I can just do a hose with a fill right in that spot, which I hadnt thought about. I was bound and determined I was going to have to run a rear mounted radiator, but now I may not have too! (But I will still need a custom built radiator) I got the hood sitting right about where I want it, I clearanced a bit much for the shock hoops, but oh well. When this hood gets destroyed, the next hood will be cut cleaner. I got some tube connecting from the chassis, up to the front shock hoops so it will all be tied in. (Dont worry there is more tubing/bracing going into the front). I also noticed that the rear "bumper" isnt parallel with the upper bar :rolleyes: but better fix it now, rather than leave it. I might make a couple adjustments to it while I am at it.
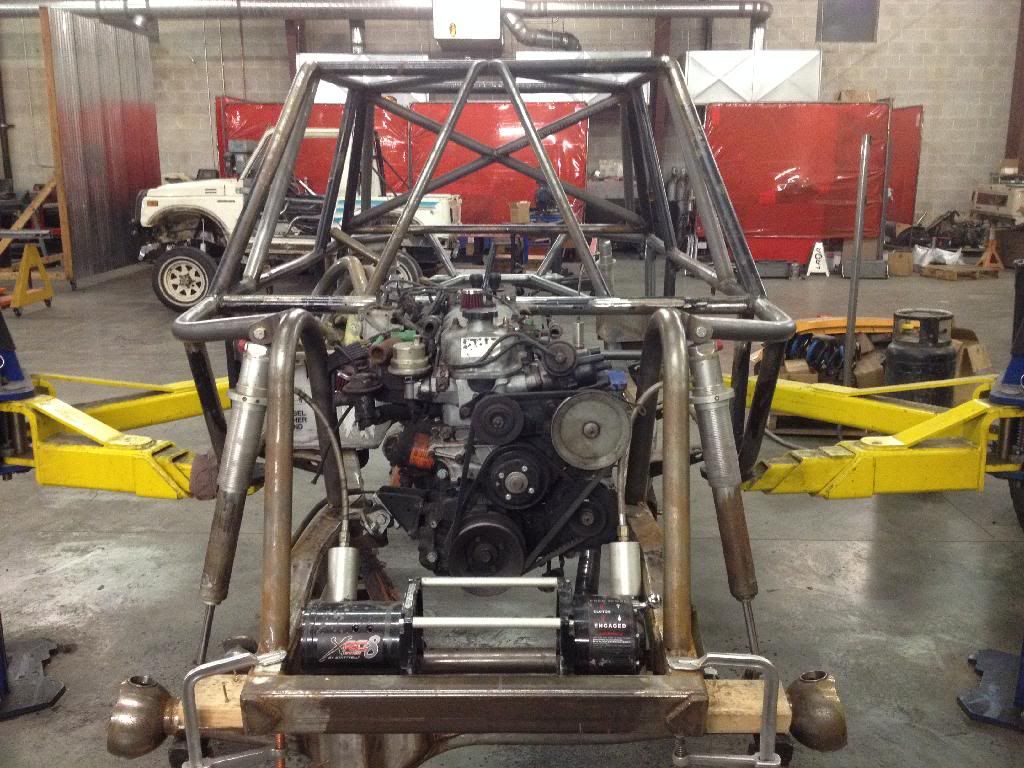
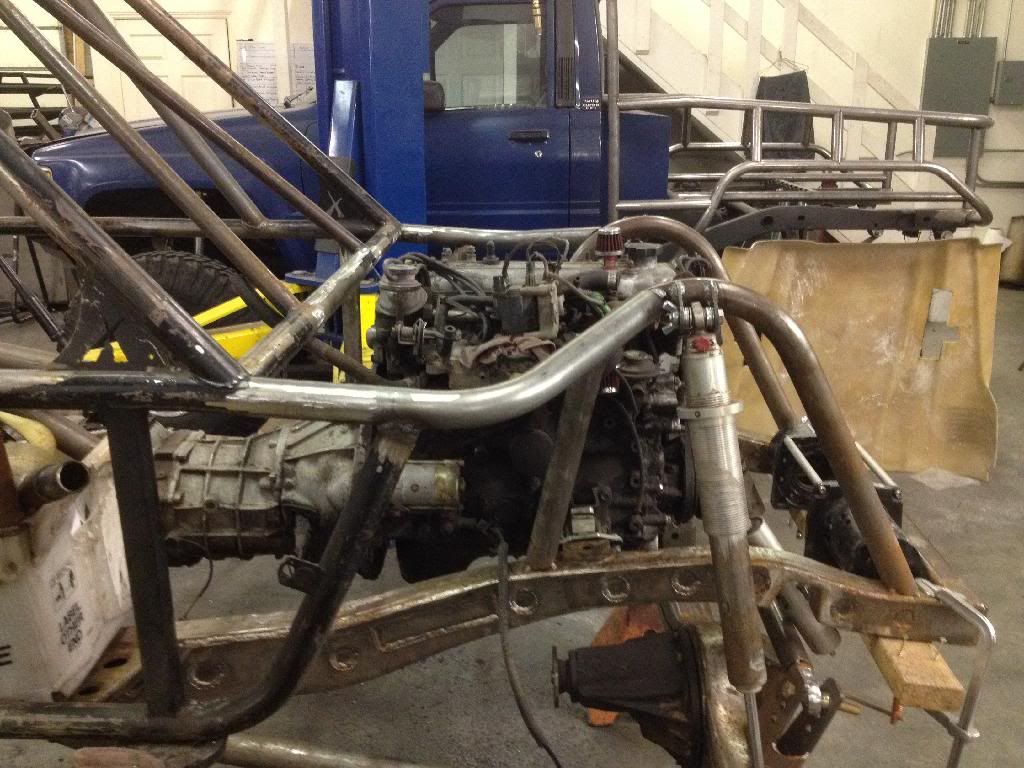
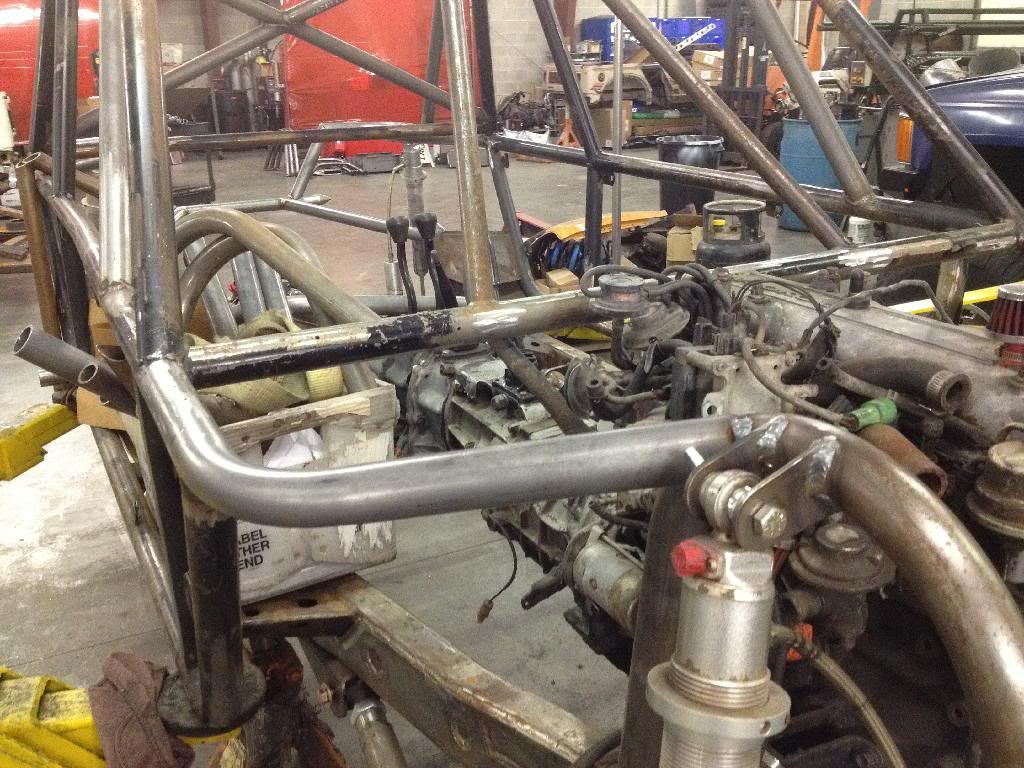
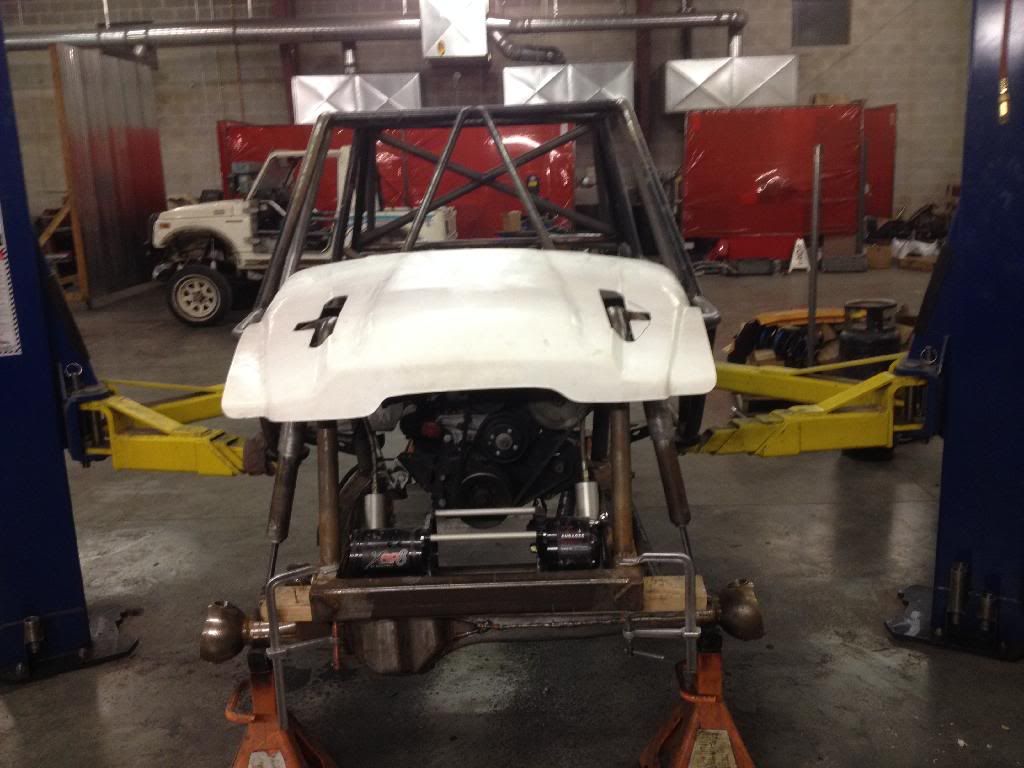
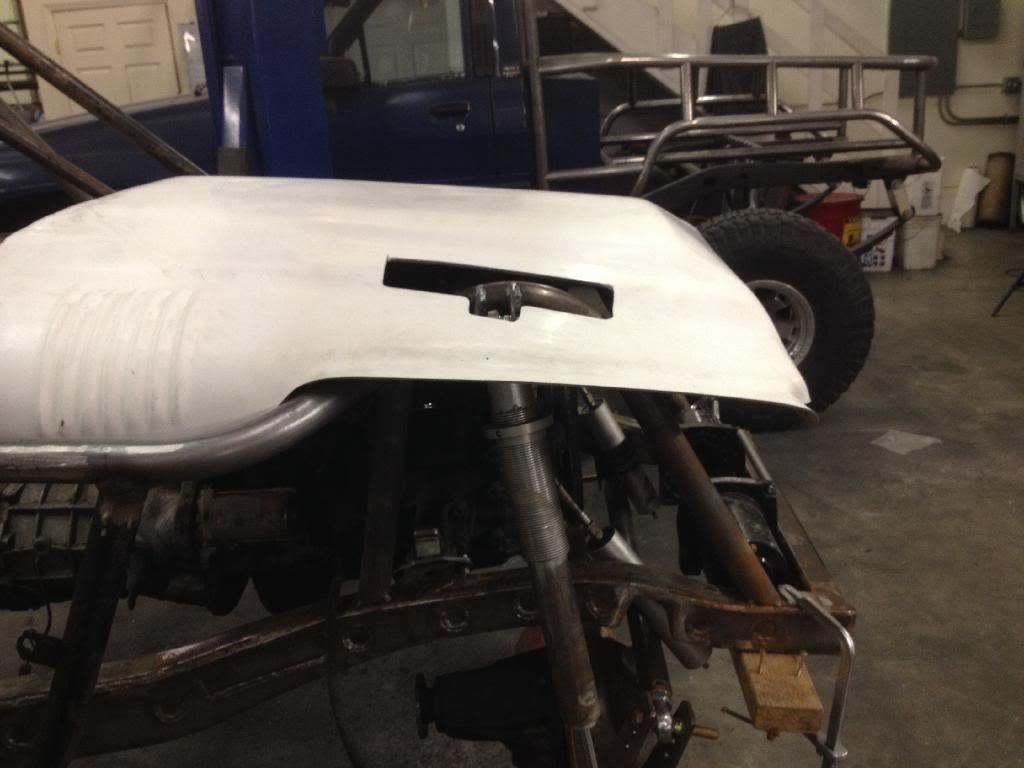
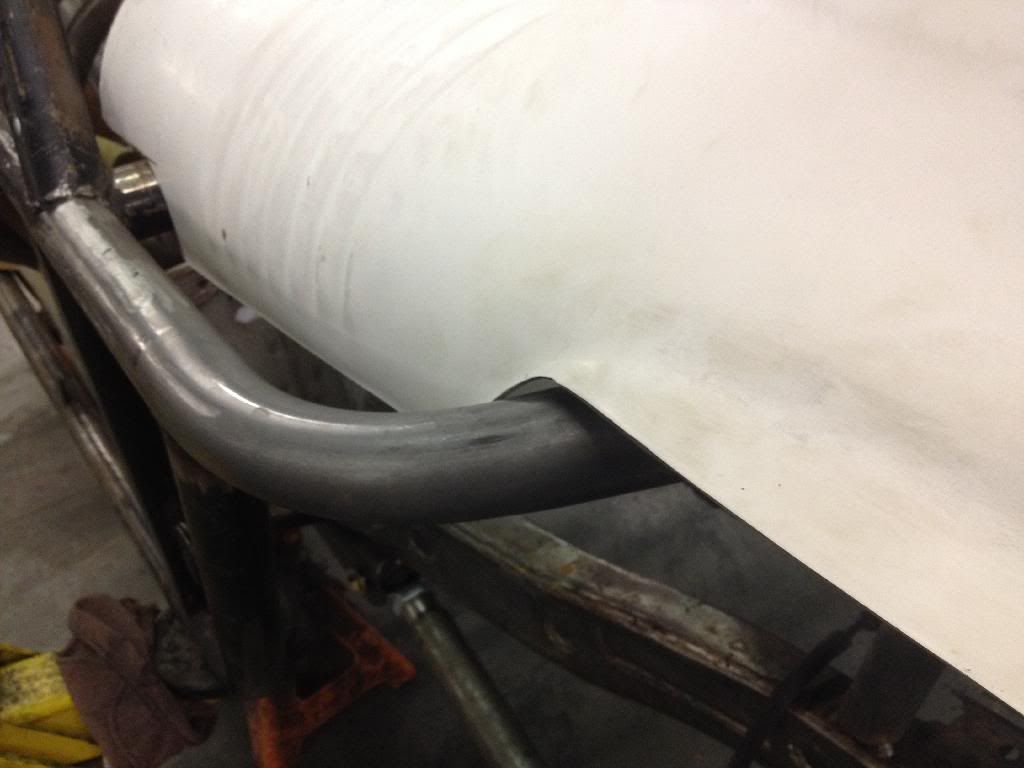


I could rake the hood down a bit more which I may do, but It may also require a bit more trimming for the grill to clear the winch. The further down I rake it, the better it looks (and better yet, it fill in the holes in the hood!) :)
 

skippy

Pretend Fabricator
Location
Tooele
Rake the hood as much as you can, you will love the visibility!!! the front end of my buggy has 12 degrees of rake to it. After sitting in it with the hood on the added visibility is worth the extra headache..... Not to mention being able to see the cones on the course is how you win
 
Top