The Trailantula

_Auzzy_

Web Wheeling Extraordinaire
Location
Richfield Utah
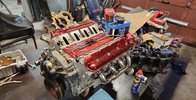
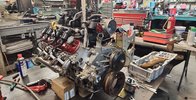
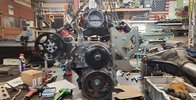
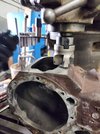
Allright more motor prep! Main reason it's in the spotlight is cause alot of the chassis will be built around its position. Ideally it's gonna be up close and personal to the front diff as possible at full bump (where the axle is currently set at in its fixtures in previous pics) so once the motor is all together we can start slinging metal 🤘

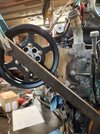
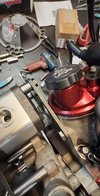
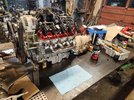
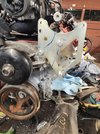
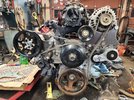
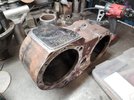
Allright first things first, tear it down, clean it up, throw it back together. Always leave it better than ya found it right? Well hopefully I've done that in this case. New gaskets in the top end should help a previous oil leak situation and some new painted pieces oughta help it feel prettier and get some extra eagle screams out the tail pipe when we're done. Did a 4 point steam line kit on it as well, they're proven to help these older ls motors run cooler on the back ports so a worth while investment in my opinion. Did some new ac Delco knock sensors and a Dorman wiring kit as well. Had that on my last buggy with no issues so hopefully it's the same luck here.

received_913841589662947.jpeg

All purty. Stupid fun fact, LM4 motors did not come with the conventional through the block dipstick like other LS motors. Instead they went into the pan, so if anyone gets a hold of one of these there still is a lug on the passenger side of the block you drill with a 3/8 bit and a conventional dipstick goes in nice and snug 👍

received_991969865266473.jpeg

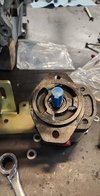
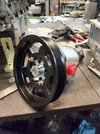
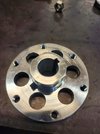
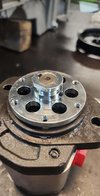
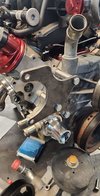
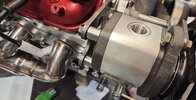
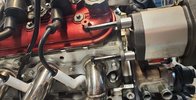
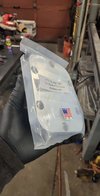
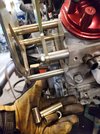
On to the stuff that will turn you....left and right. Running a goat built bracket kit to help move the pump and alternator to a more desirable to me location but needs modified to run the pump I'm experimenting with. Here's said science project, a hydraulic gear pump adapted to our lifestyles. Did some research and talked to a sales guy for quite a bit before settling down on this one. Single stage 11gpm pump with a safe speed of 3800rpms and max rpm of 7k.

received_731955428535767.jpeg

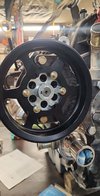
Fitted it with the pulley setup and it's all kinds of bling

received_530430742512068.jpeg

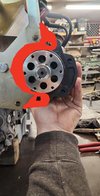
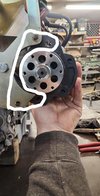
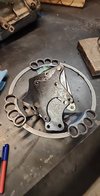
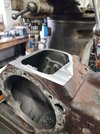
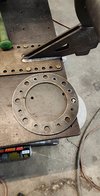
Now to get it on the brackets, they're originally for a cbr pump which if you can imagine is slightly smaller. So here's a stencil for the amount of material I need to remove for the pump. Need to also weld a tab back on for the lower bolt.

received_745417573903825.jpeg

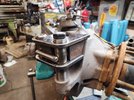
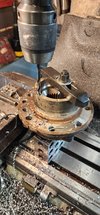
After a quick hit with the holesaw in the mill she's all ready 👌 only issue I'm having now is the spacing of the pump/block/pulley alignment. Stay tuned.

received_928694111739974.jpeg
 

_Auzzy_

Web Wheeling Extraordinaire
Location
Richfield Utah
Allright getting the pump issue fixed! Here's the story! First I had option A here, the original plan of mounting it up to the goat built bracket, I liked this option cause it kept the pumpmlow which will give me better options on reservoir dimensions and size, with minimum being a gallon. So first thing first, get the pulley attached so I can line it all up and start figuring out the brackets.

First had to file out the key way and then I added a size 10 set screw to the opposite side since the pump shaft had a cut flat spot for one👌

received_898672317921981.jpeg

received_6158026674247570.jpeg

Mmmm blining

received_1240426663545203.jpeg

Now here was the current dilemma. The pump wouldn't fit into the brackets due the massive body so here's the two options i came up with.

received_2447933445363881.jpeg

Option A was to cut out a chunk and weld it in like so

received_899028184648916.jpeg

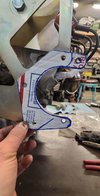
I tossed this idea after the thoughts of how much would be welded and the amount of warpage that qould wreak havoc down the road. So here's option B, make a bracket that bolts to the existing holes and space the pump back a little, add a spacer behind the pulley, then add a rear housing support bracket.

received_498765042243135.jpeg

Some quick scissoring and this is what I came up with. It would be cut out of 1/8" plate since it was only supporting the up n down action and the rear support would be handling the torque from the belt.

received_1216437588993856.jpeg

received_923770068761349.jpeg

So after all this said n done I decided to take a break and go b.s. with Cory n Geoff while they tinker on race car stuff.
 

_Auzzy_

Web Wheeling Extraordinaire
Location
Richfield Utah
So after we got back to Cory's shop we gandered at my creation for a minute then decided to throw it out. We came to the conclusion that in the lower mount it won't flow right for the subchassis idea we have dreamt up even with it being moved up and out. So that's where we came up with the idea of moving it to the other side of the motor but keep it low as possible and tucked in to the block.

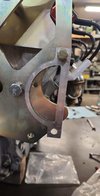
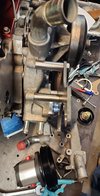
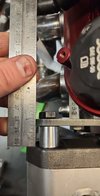
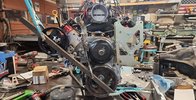
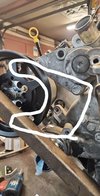
First was setting it into place and inline with the dampner. Nice straight piece of square tube, some clamps, and a small spacer piece so the ribs are inline as well and bam, she's where I wanted it. Also used a straight edge off the pulleys to check the belt had clearance around it. It will have roughly 5/8" in between the belt and the thermostat housing, so minus a 1/4" thick hose that'd give me roughly 3/8 of slapping room.
received_776039733941664.jpeg

So now on to brackets

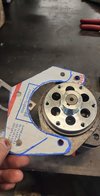
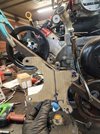
Quick sketch of how the front will be
received_1224540098430839.jpeg

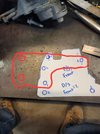
I find being able to take a pic and doodle the brackets helped me figure how I wanted it to look. Here's the final card cad
received_1619614115176208.jpeg

Inserted into place

received_1360911778075625.jpeg

Bolting the front off the water pump, have to machine some spacers and get new bolts.
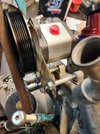
received_549031747201698.jpeg

All I got so far for tonight. I'll get the front mounted up all tight like then I'll make a rear plate that'll bolt to the head and to two of the bolts on the rear of the pump.
received_5738022446294429.jpeg

And here's some more dumb fun ls tips n tricks for ya.

The rear of the intake has the vacuum port for a brake booster. Simply break it out and a 1/2 npt plug fits it perfect. Throw some silicone on it and screw it in nice n gentle.
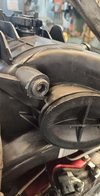
received_1342016979922242.jpeg

Next is the hole in the front of intake for the valve, a 1/2"x1/2" bolt fits beautifully. Silicone it and send it home
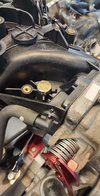
received_518374626871977.jpeg

Yes I got bored and pulled my throttle body apart and painted the throttle lever or whatever it's called.
 

_Auzzy_

Web Wheeling Extraordinaire
Location
Richfield Utah
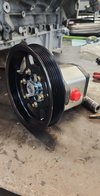
Allright, pump is mounted up, well soon as I get bolts tomorrow. Got my brackets all made and spacers machined up 👌👌 super excited for this cause no I feel once I get the tensioner on I can finally place the motor where it needs to be and we can start moving forward.
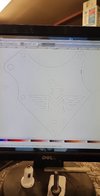
Front plate all cut and bolted in.
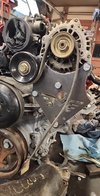
received_859291641838889.jpeg

received_910624613410709.jpeg


received_559765476216085.jpeg

Then got rhe rear mount made and spacers built. Uses the pump housing bolts, have to go find 1" longer ones

received_1133843793962672.jpeg

received_687271739808577.jpeg

received_1370173843797389.jpeg

Made sure when I was building this that the rear bolts had plenty of space to pull out

received_912427660101794.jpeg

So happy with this setup

received_763832335089348.jpeg
And just for fun and such a pto cover for the np 205, plan to throw it in the mill and customize it up a little.

received_581084030339106.jpeg
 

_Auzzy_

Web Wheeling Extraordinaire
Location
Richfield Utah
Not a huge update but here's something. Spent most of the night getting the shop cleaned up, in the process got rhe mock up trans out of the lunar bay and found some bolts for it. Got bolts for the pump and tightened it down 100% then threw a belt on and it looks good n straight 👌 gotta figure out a tensioner now, talked with the sales rep at goat built and got the part number for the one I used on my last kit from them and I'll hopefully get that tracked down soon.

received_1870966919937421.jpeg


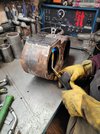
Then from there I started hacking on my np205...literally. till the grinder wheel caught, ripped the grinder out of my hands, and broke the last bit of the casting chunk off molesting a bolt hole 😬

received_1259170491677977.jpeg


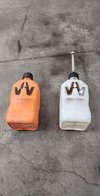
And as with all my updates here's where my a.d.d lead me to tonight. While cleaning I grabbed some of my 5 gallon vp jugs and made myself a brand for them.

received_5370306806404717.jpeg
 

_Auzzy_

Web Wheeling Extraordinaire
Location
Richfield Utah
Aight back from vacation, time to hit it.

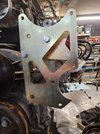
Modified the goat brackets yet again lol least after this we'll have a bracket system designed etc. Got a tensioner for the setup and after staring at it for a minute with cory we got a new belt routing figured and got to work on the tensioner and idler placement. Drilled two holes in the goat bracket where the tensioner cleared stuff and then moved the tensioner up a little. After seeing that the tensioner didn't have enough throw to fit that spot. So hit the drawing board and came up with a new face plate.

Molested goat built bracket

received_123122623873512.jpeg

New plate

received_1152694818732829.jpeg

And one click plas-table magic

received_735112451344296.jpeg

And ta-dur

received_1825637804475027.jpeg

Oh and decided to make some new spacers for the bracket so I didn't have a bunch of random spacers

received_610025047608152.jpeg
 

_Auzzy_

Web Wheeling Extraordinaire
Location
Richfield Utah
Allright got the ball rolling!

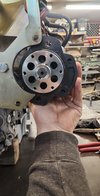
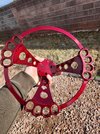
Got the front of the motor stripped again and brackets ready for powder coating. Gonna try to get little crap like this powdered or painted as I go so tear down etc isn't as long. Also got the steering wheel drilled for the new quick release and Cory tigged up some pieces on it that needed it.

received_915254976387560.jpeg

Next thing I did was go for the 205, took it down to Cory's other shop and through it on the mill to level off the base cut I did with the grinder of death.


received_536650551907473.jpeg


received_167586196052277.jpeg

Next we went back to the home shop for some preheating, plate fab, and tig!

received_995749081394787.jpeg

received_3421295224825119.jpeg

received_3364499257196652.jpeg

Just Beautiful as can be 👌

received_147363691563111.jpeg

Hoping to get the steering arms done and possibly the rear C's in place this week before I have to to go do army fun time.
 

_Auzzy_

Web Wheeling Extraordinaire
Location
Richfield Utah
More nonsense that makes sense.

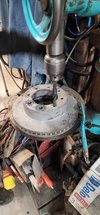
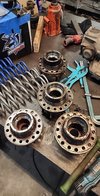
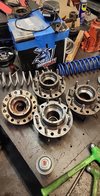
Hubs n rotors drilled to 8x6.5 tonight along with all steering parts cut out and getting a little acid bath before being burned alive.

Hubs were easy but time consuming, first ya stamp out the next pattern with this handy jig cory made and a transfer punch, then ya knock out the studs and give the hubs a good ping with an actual center punch

received_1668924660214820.jpeg

Then ya walk them over the mill machine 19000 and drill in some new holes. This part took the longest, right around 2 hours.

received_588506879857046.jpeg

And while I was doing that Cory was over drilling rotors out to a 3/4 stud hole and then over machining bugs for steering arms

received_188124873950205.jpeg

received_155055414123590.jpeg

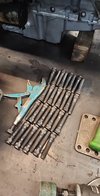
After I got the hubs all drilled it was on to cleaning and wheel studs

received_728783615606545.jpeg

received_576419554438142.jpeg

received_191154416951624.jpeg


Ready to rock out, all Timken usa made ones too 👌 oh and got one of my steering rams in the other day

received_580863414075919.jpeg
 

bryson

RME Resident Ninja
Supporting Member
Location
West Jordan
Curious why the rotors just got enlarged holes rather than re-drilling the pattern like the hubs... I assume just because it's quicker/easier and there is no need for precision since the center bore locates it?
 

_Auzzy_

Web Wheeling Extraordinaire
Location
Richfield Utah
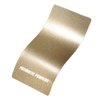
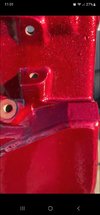
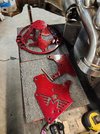
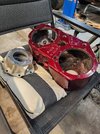
Got my parts back from powder! Mixed the cherry illusion with gold flake clear coat 👌 pics do not do it justice

received_720398786478911.jpeg

received_142344418777368.jpeg
20230325_180421.jpg


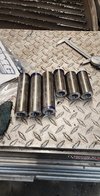
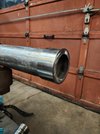
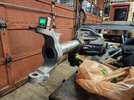
And while I was out playing army @YROC FAB. Made me some adapter sleeves from a chunk of tube from the donor 60 axle so the Cs fit the 14bolt tube 👌

received_219765507372624.jpeg

received_3035728803397921.jpeg

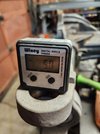
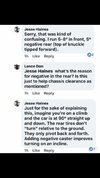
For the rear we're gonna set the caster at 5* negative, top towards front, with the pinion flat as said to by the lord Jesse Haines.

received_717651583388739.jpeg

FB_IMG_1679336229938.jpg

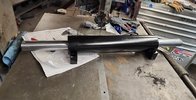
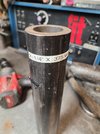
And I'd love to give a shout out to Midnight4x4 guys for getting me a chunk of random tube to build my steering stops/limiters out of, they even stashed it away for me to Easter egg hunt for, great guys and service 🤘

20230325_204253.jpg
 

Ashcat

Active Member
Location
Wisco
Catchy thread title is catchy.

Exciting seeing a new build come to life on a table. You’re probably excited to roll out new ideas from past experience on a clean slate.
 
Top