Since I haven't post the build up of my 4runner here I might as well.
Modifications to date -
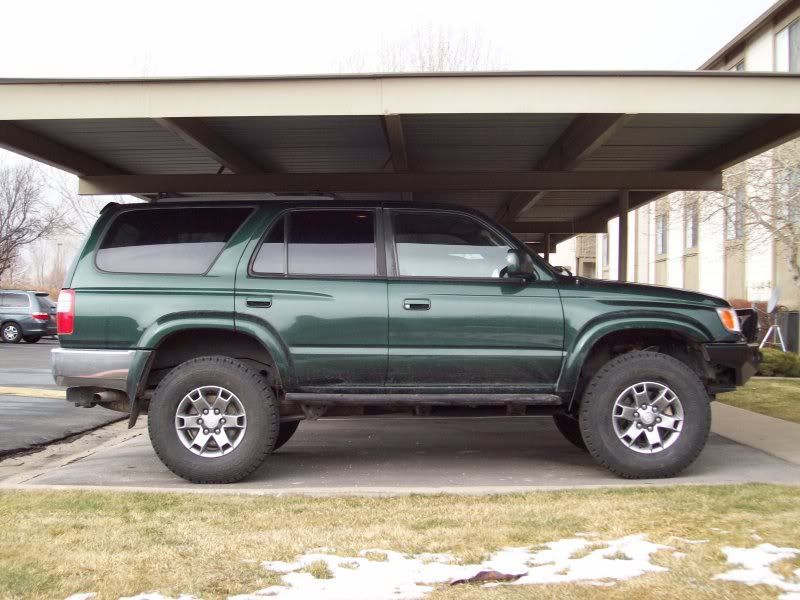
Sonoran Steel 7.2 Lift
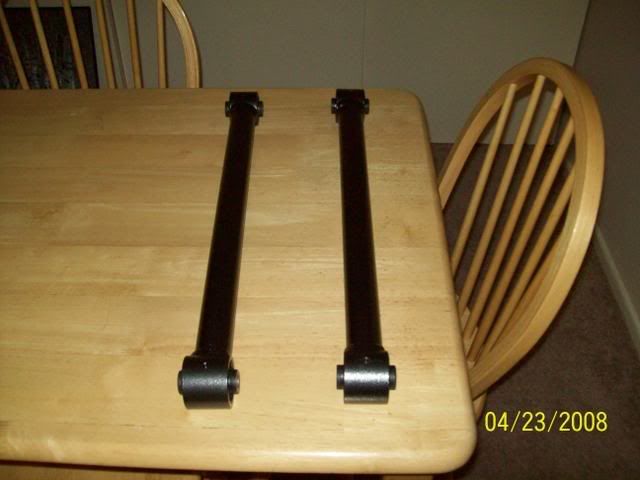
Sonoran Steel Rear Lower Link
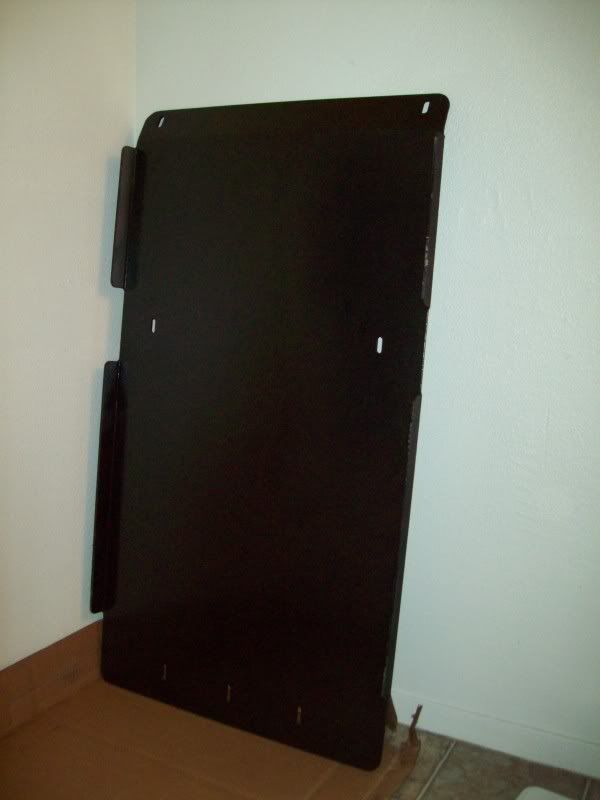
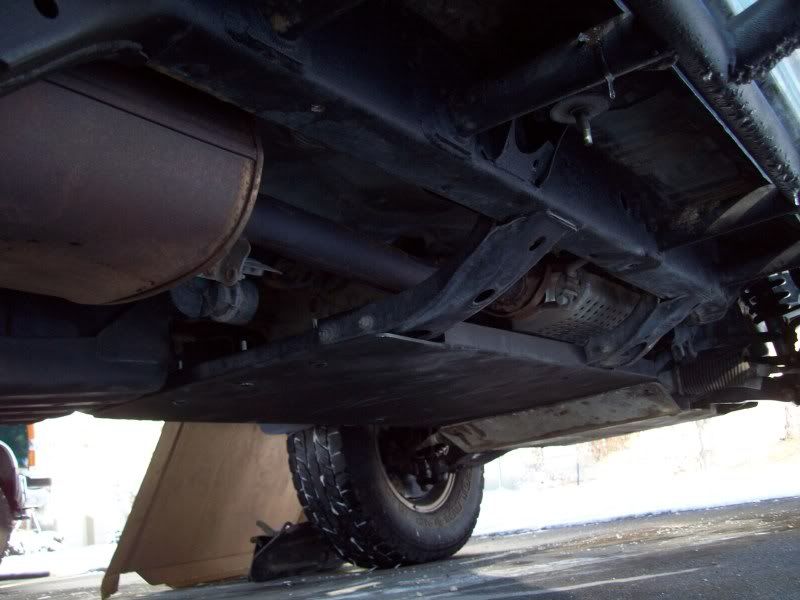
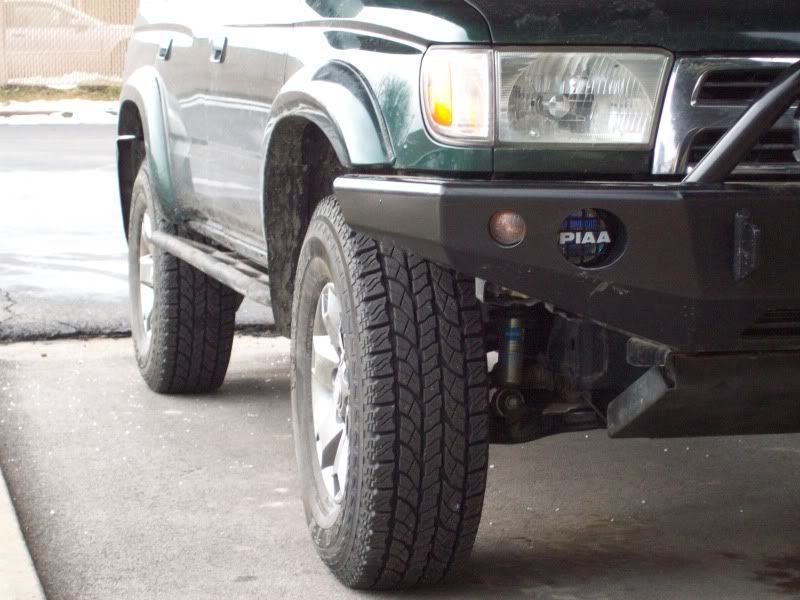
Bud Built Fronst Skid Plate
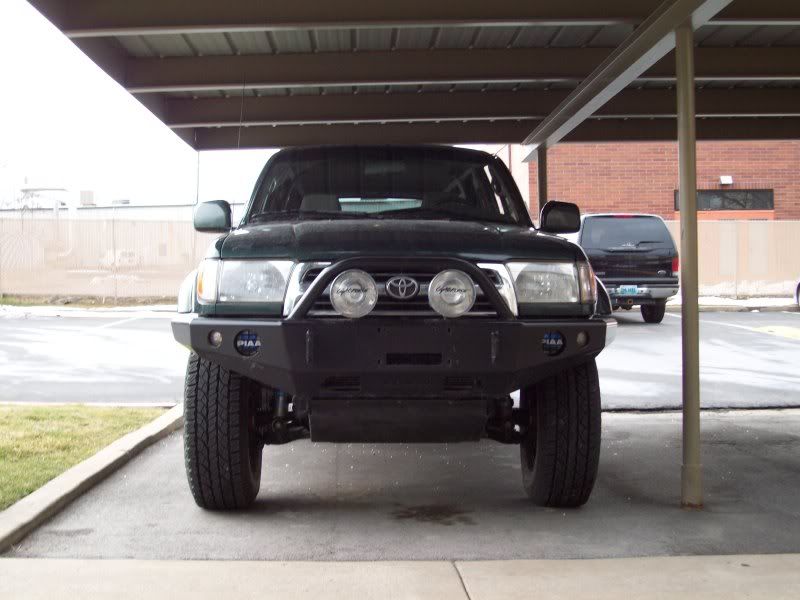
Shrockworks Front Bumper
Stubbs Welding Sliders
PIAA 510 Fog Lights
Lightforce 170 Driving Lights
Cobra CB
K&N Air Filter
265/75/16 Yokohoma Geolander ATS
When I first got her (95,xxx miles on the clock)

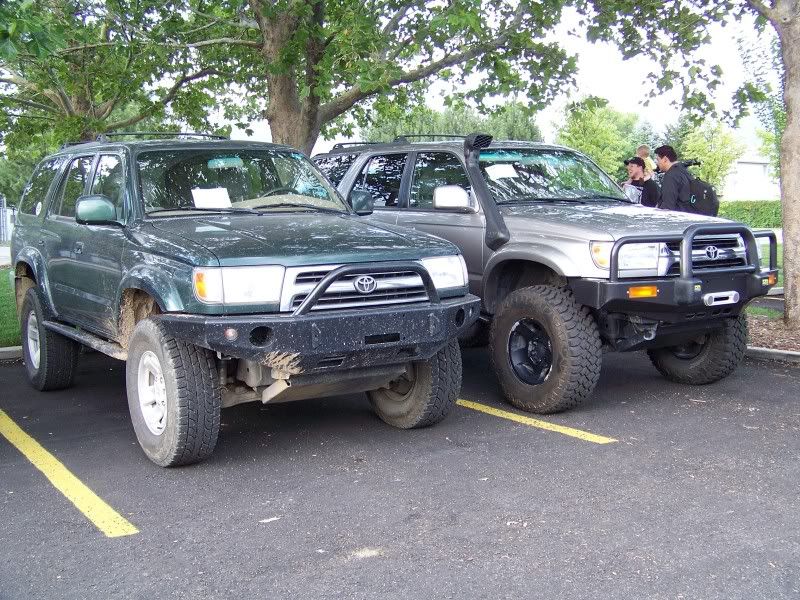
Sitting next to my previous 1996 4runner (198,xxx miles on the clock)

Suspension shot and the tires balding it was time from them to go. Along with both front cv's soon after.

Rear lower links. I had oringiall bought these for my 1996 4runner since I bent the ones on it but when I sold it I swapped them out.
I got kind of lucky on the sale of my 1996 4runner because one of the employees/fabricators for Shrockworks bought it from me and gave me a great deal on a dealer.
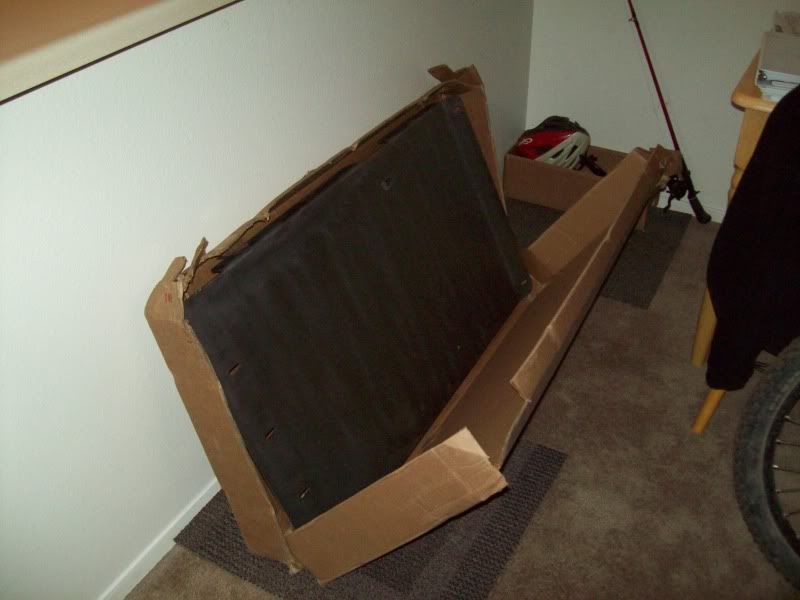
Waited about a month to get it but it was well worth.
What's this??
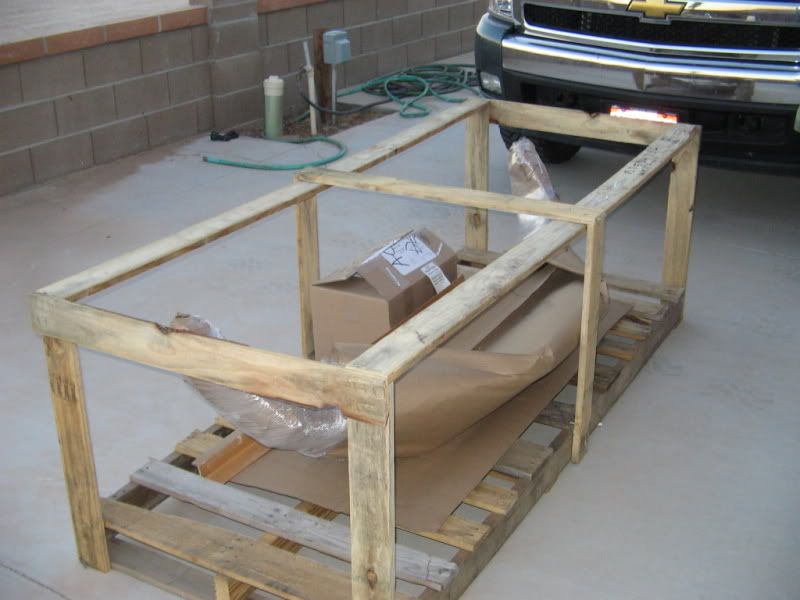
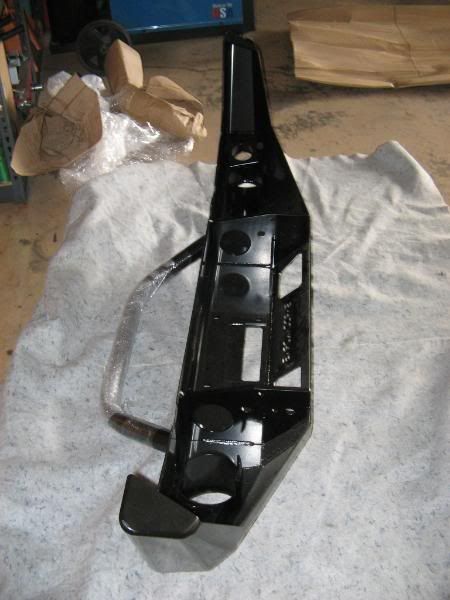
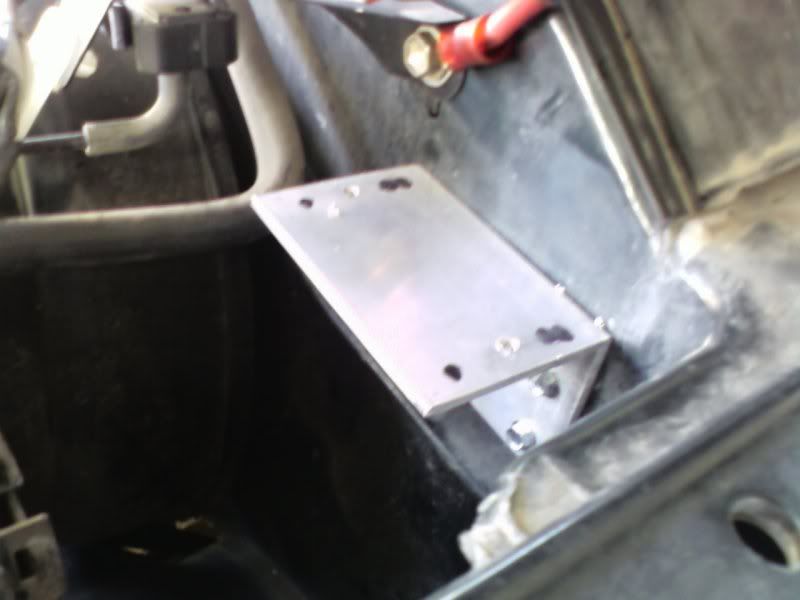
Few install photos
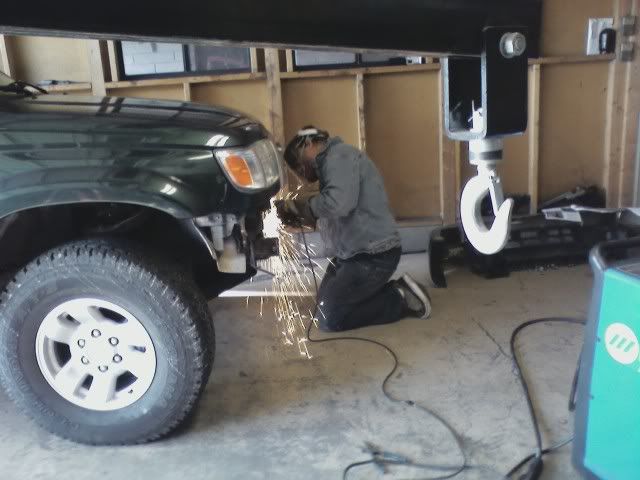
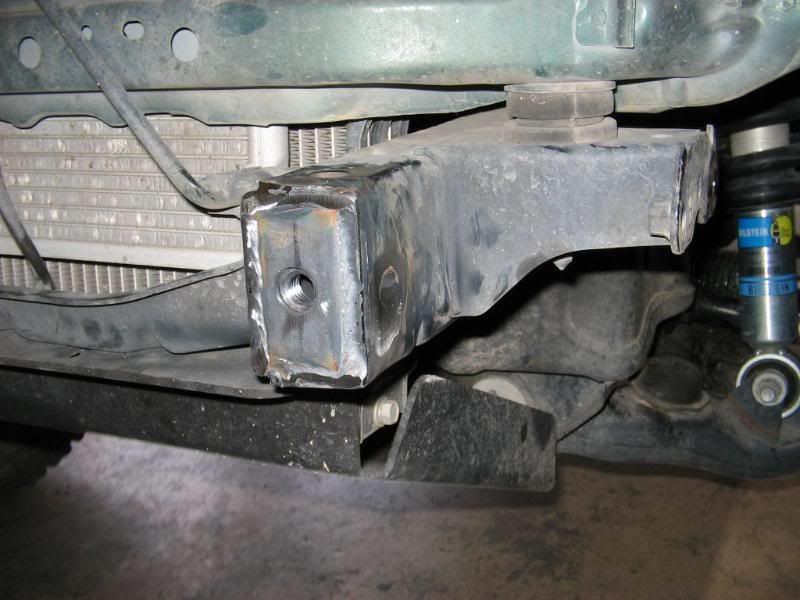
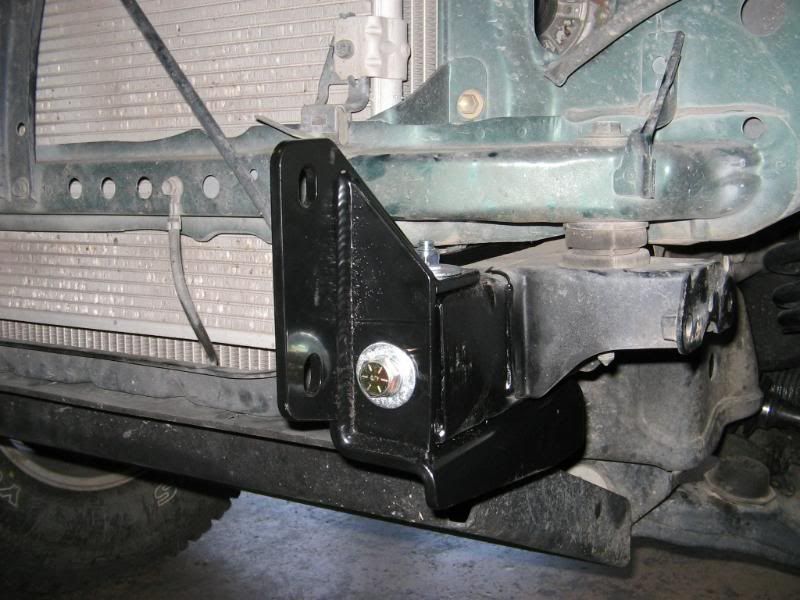
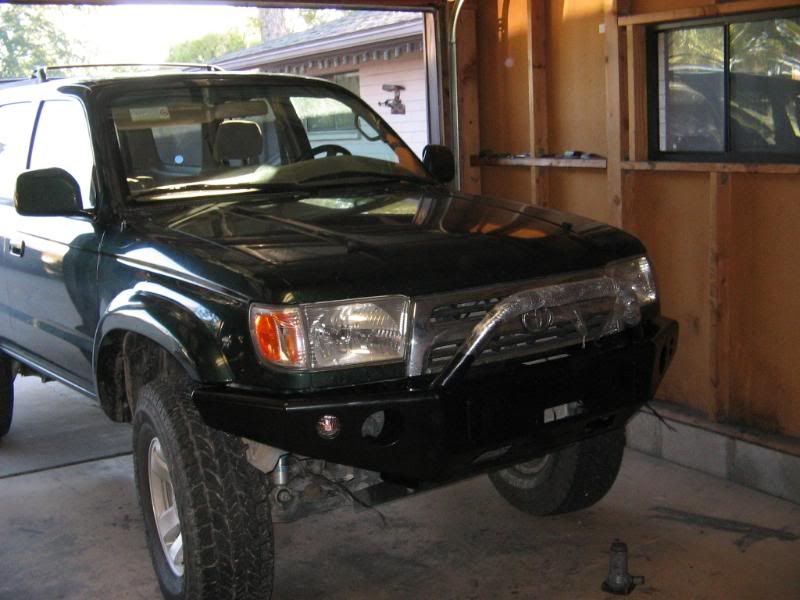
Stubbs Welding sliders soon followed.
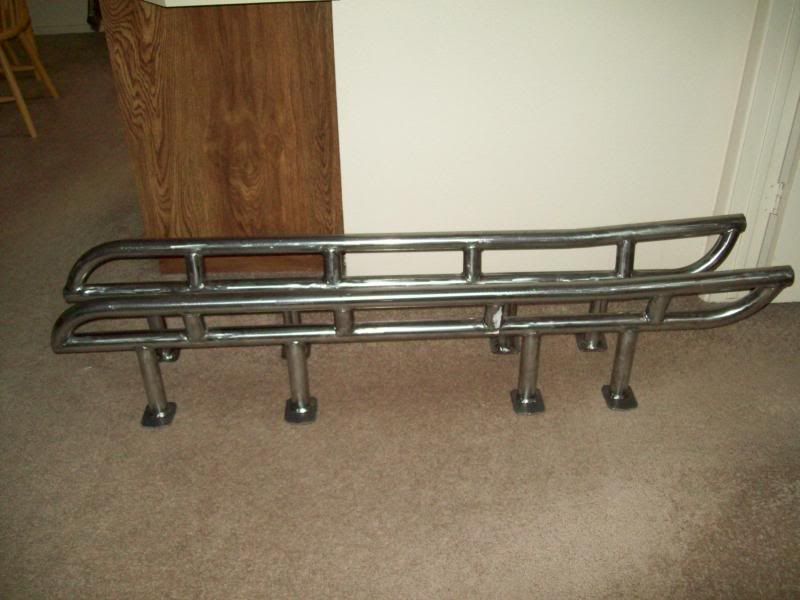
Which bought it to this point.
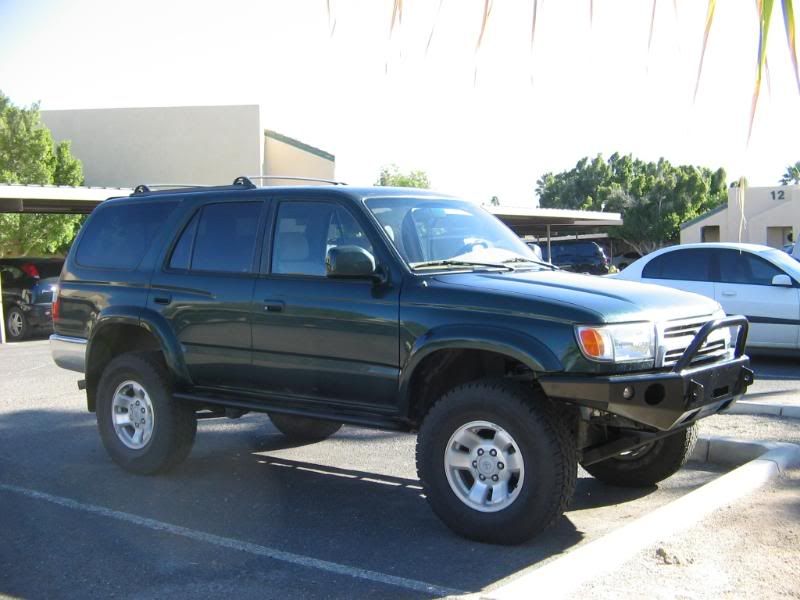
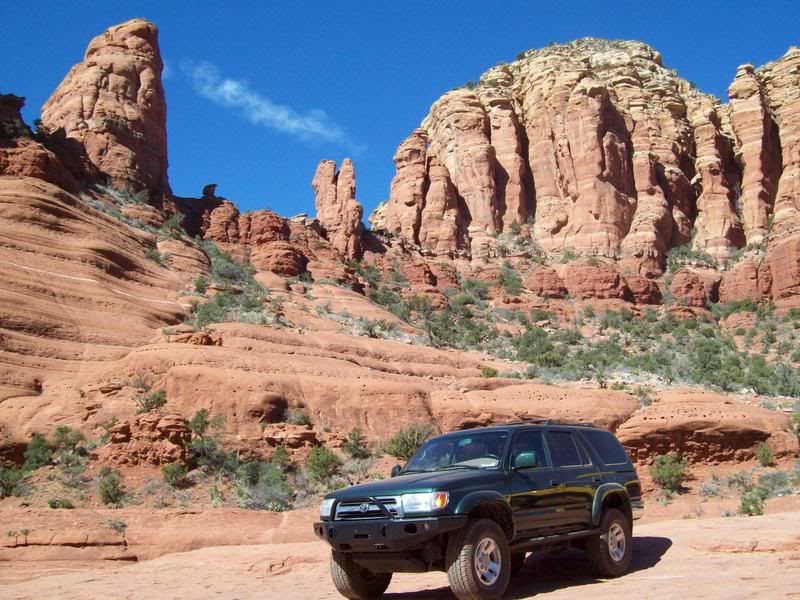
Broken Arrow Trail - Sedona, Arizona
About a month after getting the bumper installed I was laid off and any modifications to my 4runner would be put on hold. Lucky, after only 4 months I found a new job up here in Utah and moved up here.
Still being a causes with my finance's I could let the bumper remain untouched. I had to fill in those holes. So....
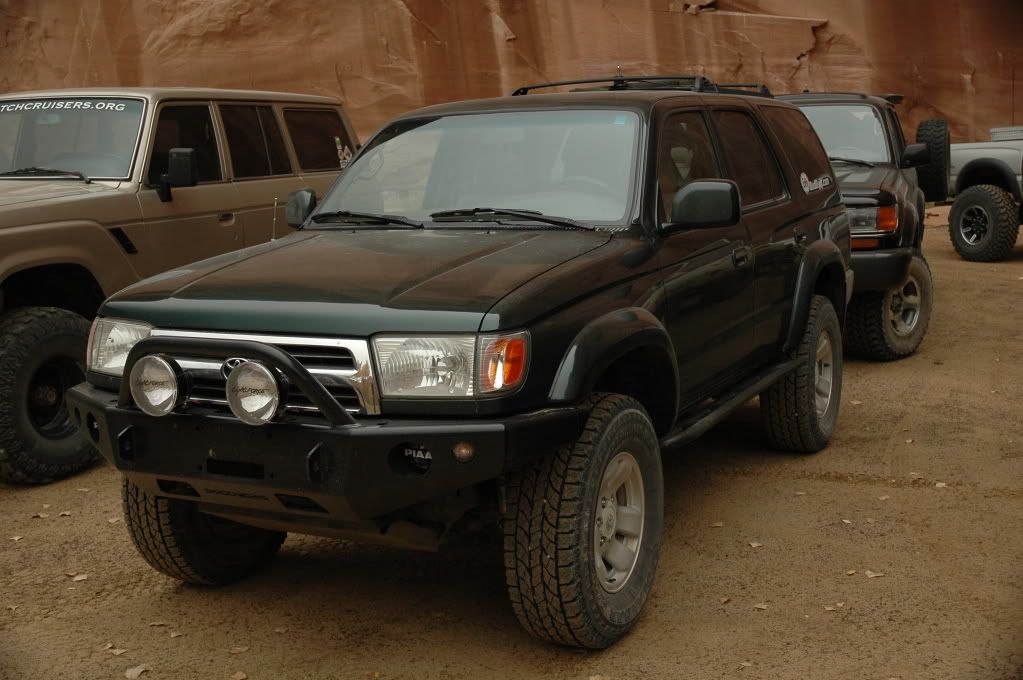
A set I filled the fog light holes with a set of PIAA 510's. Had to do som searching around but found a pair off ebay for about $100 cheaper than any other I've found. Wiring the lights was pretty straight foward and didn't have too much of a problem installing them.
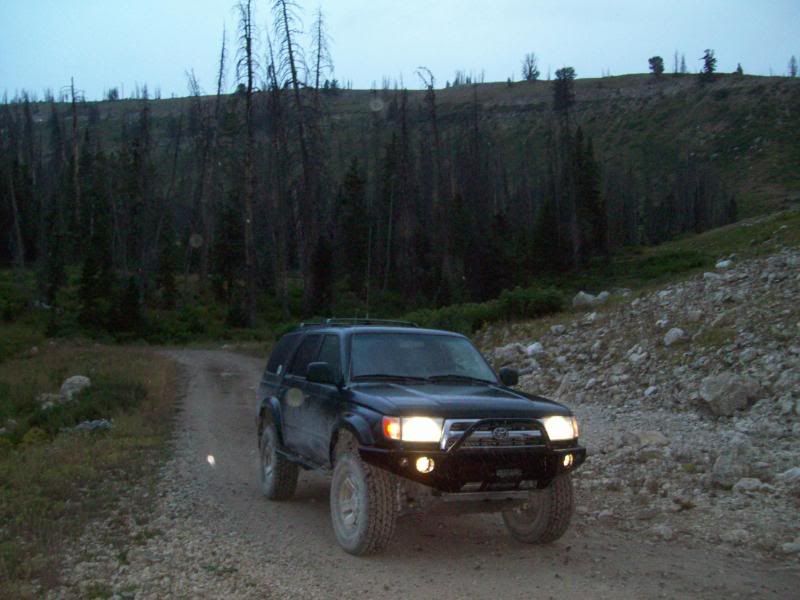
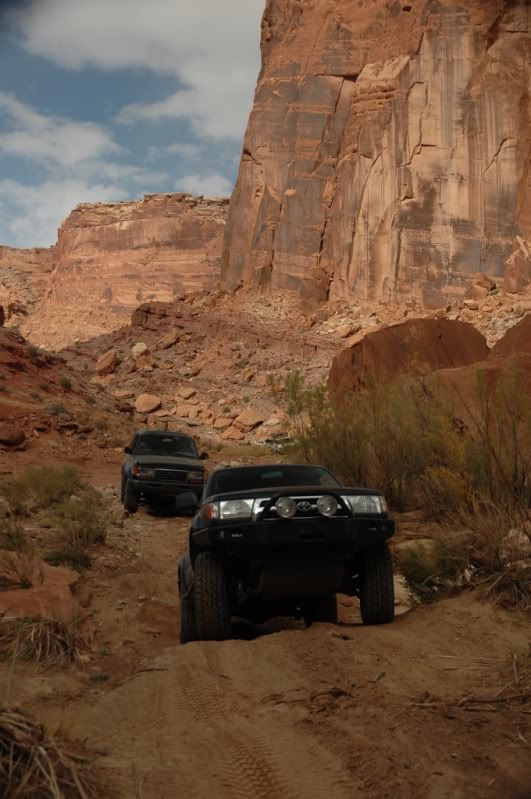
Along Skyline Drive
Modifications to date -
Sonoran Steel 7.2 Lift
Sonoran Steel Rear Lower Link
Bud Built Fronst Skid Plate
Shrockworks Front Bumper
Stubbs Welding Sliders
PIAA 510 Fog Lights
Lightforce 170 Driving Lights
Cobra CB
K&N Air Filter
265/75/16 Yokohoma Geolander ATS
When I first got her (95,xxx miles on the clock)

Sitting next to my previous 1996 4runner (198,xxx miles on the clock)

Suspension shot and the tires balding it was time from them to go. Along with both front cv's soon after.

Rear lower links. I had oringiall bought these for my 1996 4runner since I bent the ones on it but when I sold it I swapped them out.

I got kind of lucky on the sale of my 1996 4runner because one of the employees/fabricators for Shrockworks bought it from me and gave me a great deal on a dealer.
Waited about a month to get it but it was well worth.
What's this??


Few install photos


Stubbs Welding sliders soon followed.

Which bought it to this point.


Broken Arrow Trail - Sedona, Arizona
About a month after getting the bumper installed I was laid off and any modifications to my 4runner would be put on hold. Lucky, after only 4 months I found a new job up here in Utah and moved up here.
Still being a causes with my finance's I could let the bumper remain untouched. I had to fill in those holes. So....
A set I filled the fog light holes with a set of PIAA 510's. Had to do som searching around but found a pair off ebay for about $100 cheaper than any other I've found.

Along Skyline Drive

