General Tech What did you work on Today?

zmotorsports

Hardcore Gearhead
Vendor
Location
West Haven, UT
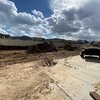
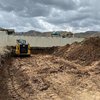
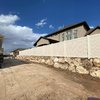
Worked in the yard all weekend finished off my rock retaining wall and dug down where the future garage will be just shy of 5 feet. View attachment 126290View attachment 126291View attachment 126292

Just out of curiosity, what actions do you take to ensure that the neighbor's yard doesn't sluff off and end up down into your property?

I ask because when we were looking for a new place back in 2016 I wouldn't even look at a place if there was any kind of elevation difference between bordering properties because, to be frank, it scared the hell out of me as I heard so many horror stories.

Thanks.

Mike
 

skippy

Pretend Fabricator
Location
Tooele
When we built our house this wall was done about halfway down the property line, as we proceeded to dig down our side to level it all out we just continued to build up the wall as we went. The biggest issue I have read about with retaining walls is they trap water on the uphill side instead of letting it drain. Thats the main reason we continued with boulders is to allow proper drainage. The added weight of the water is typically what makes retaining walls fail.
 

zmotorsports

Hardcore Gearhead
Vendor
Location
West Haven, UT
When we built our house this wall was done about halfway down the property line, as we proceeded to dig down our side to level it all out we just continued to build up the wall as we went. The biggest issue I have read about with retaining walls is they trap water on the uphill side instead of letting it drain. Thats the main reason we continued with boulders is to allow proper drainage. The added weight of the water is typically what makes retaining walls fail.

So if I'm understanding you correctly, by having the rocks with the dirt between them allows the water to dissipate into the ground rather than causing the retaining wall to fail by trapping water? Is that correct?

Are you planning on having gravel driveway along the fence line or concrete? I would think based on the above explanation that concrete could potentially create pooling and/or trapping of water and oversaturation of the ground whereas gravel would allow the water to dissipate into the ground.

Sorry for the question. I just know when we were looking about 4 years ago I was worried about elevation differences and didn't want to deal with any adverse affects down the road. I probably worried a bit too much because even at our new place I installed dry wells and we have quite sandy soil, so the dry wells may have been a bit overkill. Water pooling and water issues scare the hell out of me.

Thanks.

Mike
 

skippy

Pretend Fabricator
Location
Tooele
Between the bottom of the rock wall and my concrete is about 20 inches of gravel to help with drainage. Slope and water run off was taken into consideration. We really need @Chocflip201 to chime in he builds retaining walls daily and does an amazingly beautiful job
 

BCGPER

Starting Another Thread
Location
Sunny Arizona
I’ve got a storm rolling in here, so I had to change my priorities. I have a lot of expensive tools in the shed, so making it rain tight became job #1. For the record, trying to lay out roofing felt in 40mph winds really sucks.
 

Attachments

  • E4B63718-B5FF-4581-9B3A-5E09A1D9EB9F.jpeg
    E4B63718-B5FF-4581-9B3A-5E09A1D9EB9F.jpeg
    155.6 KB · Views: 25

crosbike

Active Member
Location
Utah
My modified truck pan to f body pan has always leaked so i yanked it the other day.
20200401_150532.jpg
@YROC FAB. rewelded it and it had warped pretty bad and when i bolted it to the engine it cracked. I blame it on a garbage/dirty casting for the initial leak, Cory knows how to weld circles around me.
20200322_154702.jpg
New pan is a little wider too so i had to widen the skid.
20200405_161723.jpg
Engine skid was not built to be removed but it is now for future maintenance i guess. There's tube flanges up front and 3 tabs on the back 20200405_160014.jpg
 

zmotorsports

Hardcore Gearhead
Vendor
Location
West Haven, UT
Between the bottom of the rock wall and my concrete is about 20 inches of gravel to help with drainage. Slope and water run off was taken into consideration. We really need @Chocflip201 to chime in he builds retaining walls daily and does an amazingly beautiful job

Thanks for the explanation. Like you water runoff was a huge concern and better to address before rather than later.

Mike
 

zmotorsports

Hardcore Gearhead
Vendor
Location
West Haven, UT
Last night I finished polishing the last couple of wheels in preparation for installing back on the coach.

For those interested in what polish I use for a maintenance shine here it is...... Busch Aluminum Polish.
b1f2ed56e399d973b6363a22ea3fce65.jpg


I hope this shows up. If you look just above the valve stem in this picture you can see the upper portion has not been polished yet and the lower portion has. Again, this is just a hand application and doesn’t require a lot of elbow grease to just use as normal maintenance to remove the oxidation.
05a888a7baba63a0777e067210c4d772.jpg


I’ll usually apply a quarter of a wheel at a time. You can see how easily it removes the surface oxidation.
9777c87ac4289fb89caaa5f1bb5ee935.jpg


3f6d572067537b1ac436261b476f3ecd.jpg


Next moving on to the front center caps they weren’t too bad but while they were off it’s easier to polish so out came the Busch Chrome & Stainless Steel Polish. The one on the right is untouched and the left one has polish on it.
dc66a11b935eeda59f3759d2a6c6c42c.jpg


Left, Polish removed and shined up. Right untouched.
dc9f762373a59d8596aa32647775b0c1.jpg


c5a7f3081403bef59ada9bc962d5fcb7.jpg


Both polished and ready to be installed.
3c63056b2c9cf04648bb9daa6312b012.jpg


Mike
 

mbryson

.......a few dollars more
Supporting Member
Last night I finished polishing the last couple of wheels in preparation for installing back on the coach.

For those interested in what polish I use for a maintenance shine here it is...... Busch Aluminum Polish.
b1f2ed56e399d973b6363a22ea3fce65.jpg


I hope this shows up. If you look just above the valve stem in this picture you can see the upper portion has not been polished yet and the lower portion has. Again, this is just a hand application and doesn’t require a lot of elbow grease to just use as normal maintenance to remove the oxidation.
05a888a7baba63a0777e067210c4d772.jpg


I’ll usually apply a quarter of a wheel at a time. You can see how easily it removes the surface oxidation.
9777c87ac4289fb89caaa5f1bb5ee935.jpg


3f6d572067537b1ac436261b476f3ecd.jpg


Next moving on to the front center caps they weren’t too bad but while they were off it’s easier to polish so out came the Busch Chrome & Stainless Steel Polish. The one on the right is untouched and the left one has polish on it.
dc66a11b935eeda59f3759d2a6c6c42c.jpg


Left, Polish removed and shined up. Right untouched.
dc9f762373a59d8596aa32647775b0c1.jpg


c5a7f3081403bef59ada9bc962d5fcb7.jpg


Both polished and ready to be installed.
3c63056b2c9cf04648bb9daa6312b012.jpg


Mike


I'll have to give that stuff a shot on my Badlands wheels. They have some stuff I can't scrape off with other compounds
 

anderson750

I'm working on it Rose
Location
Price, Utah
How hard is that to do? Are you getting the results you were hoping for?
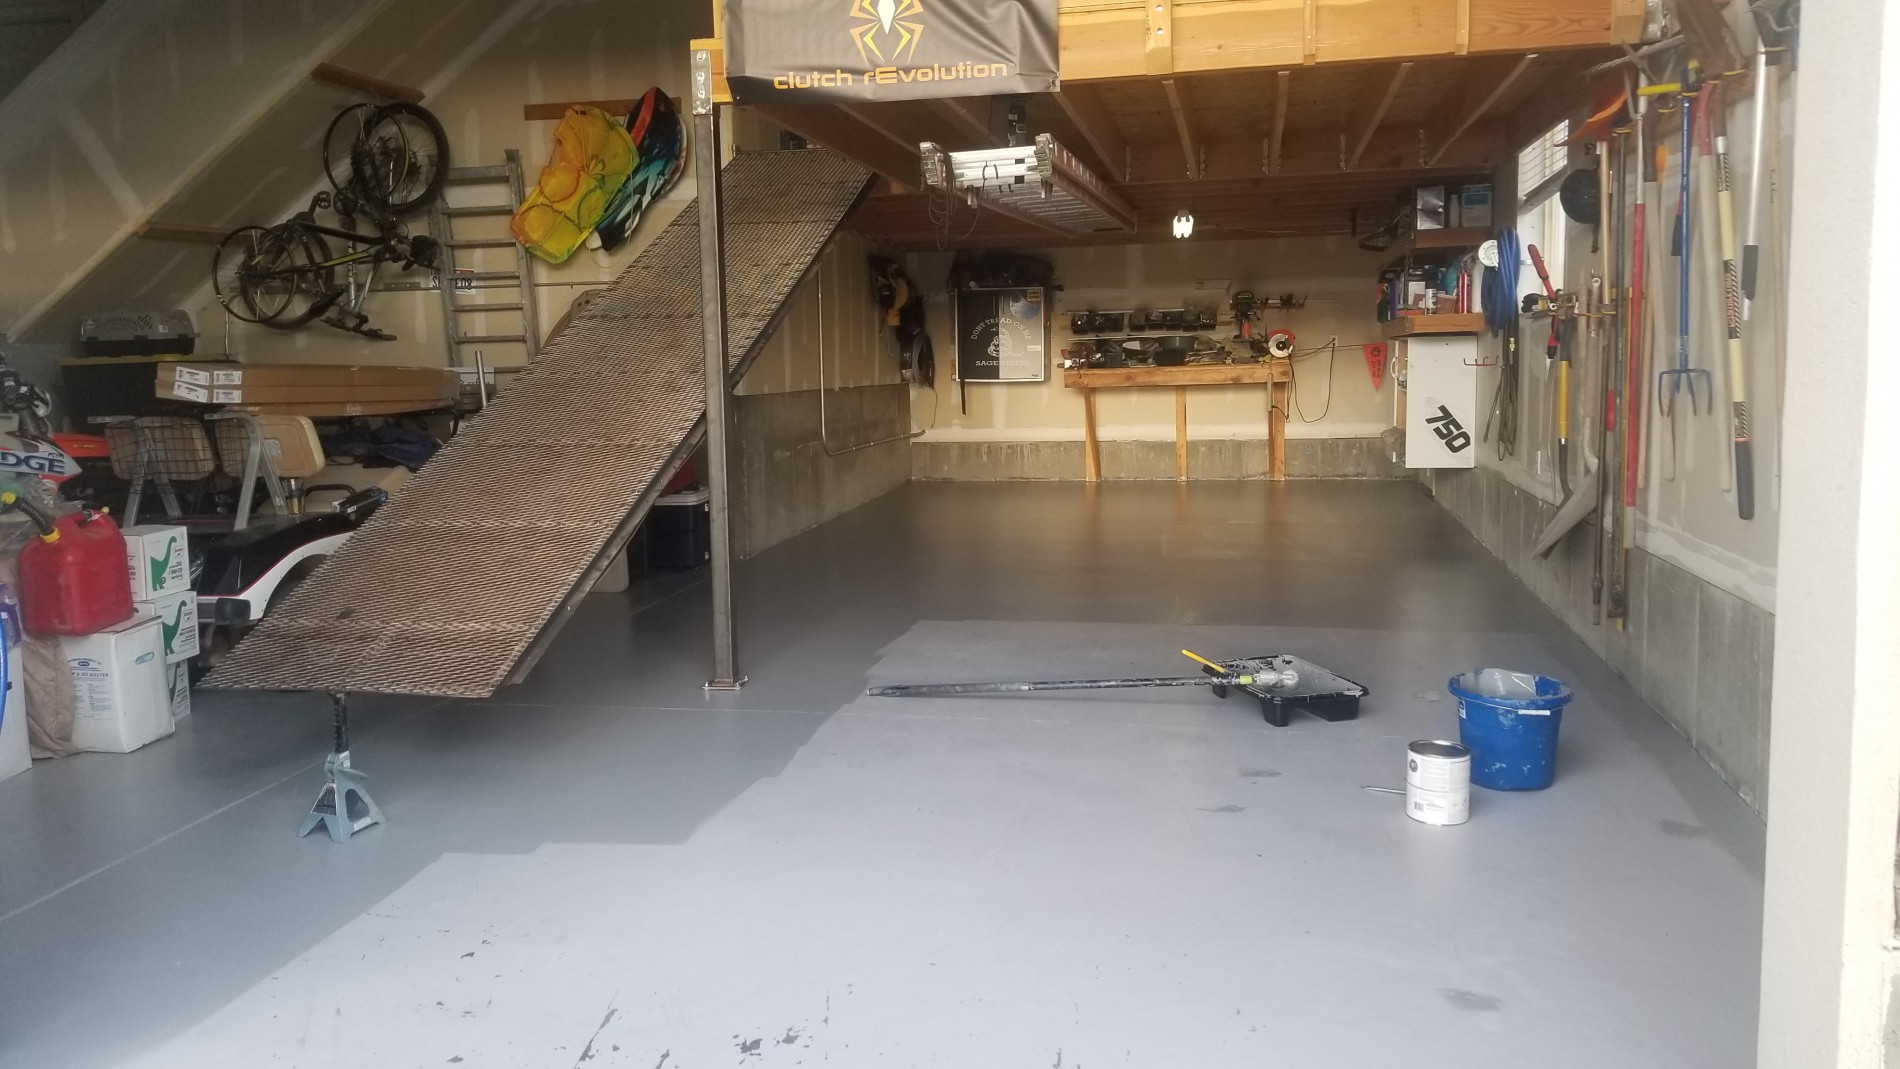
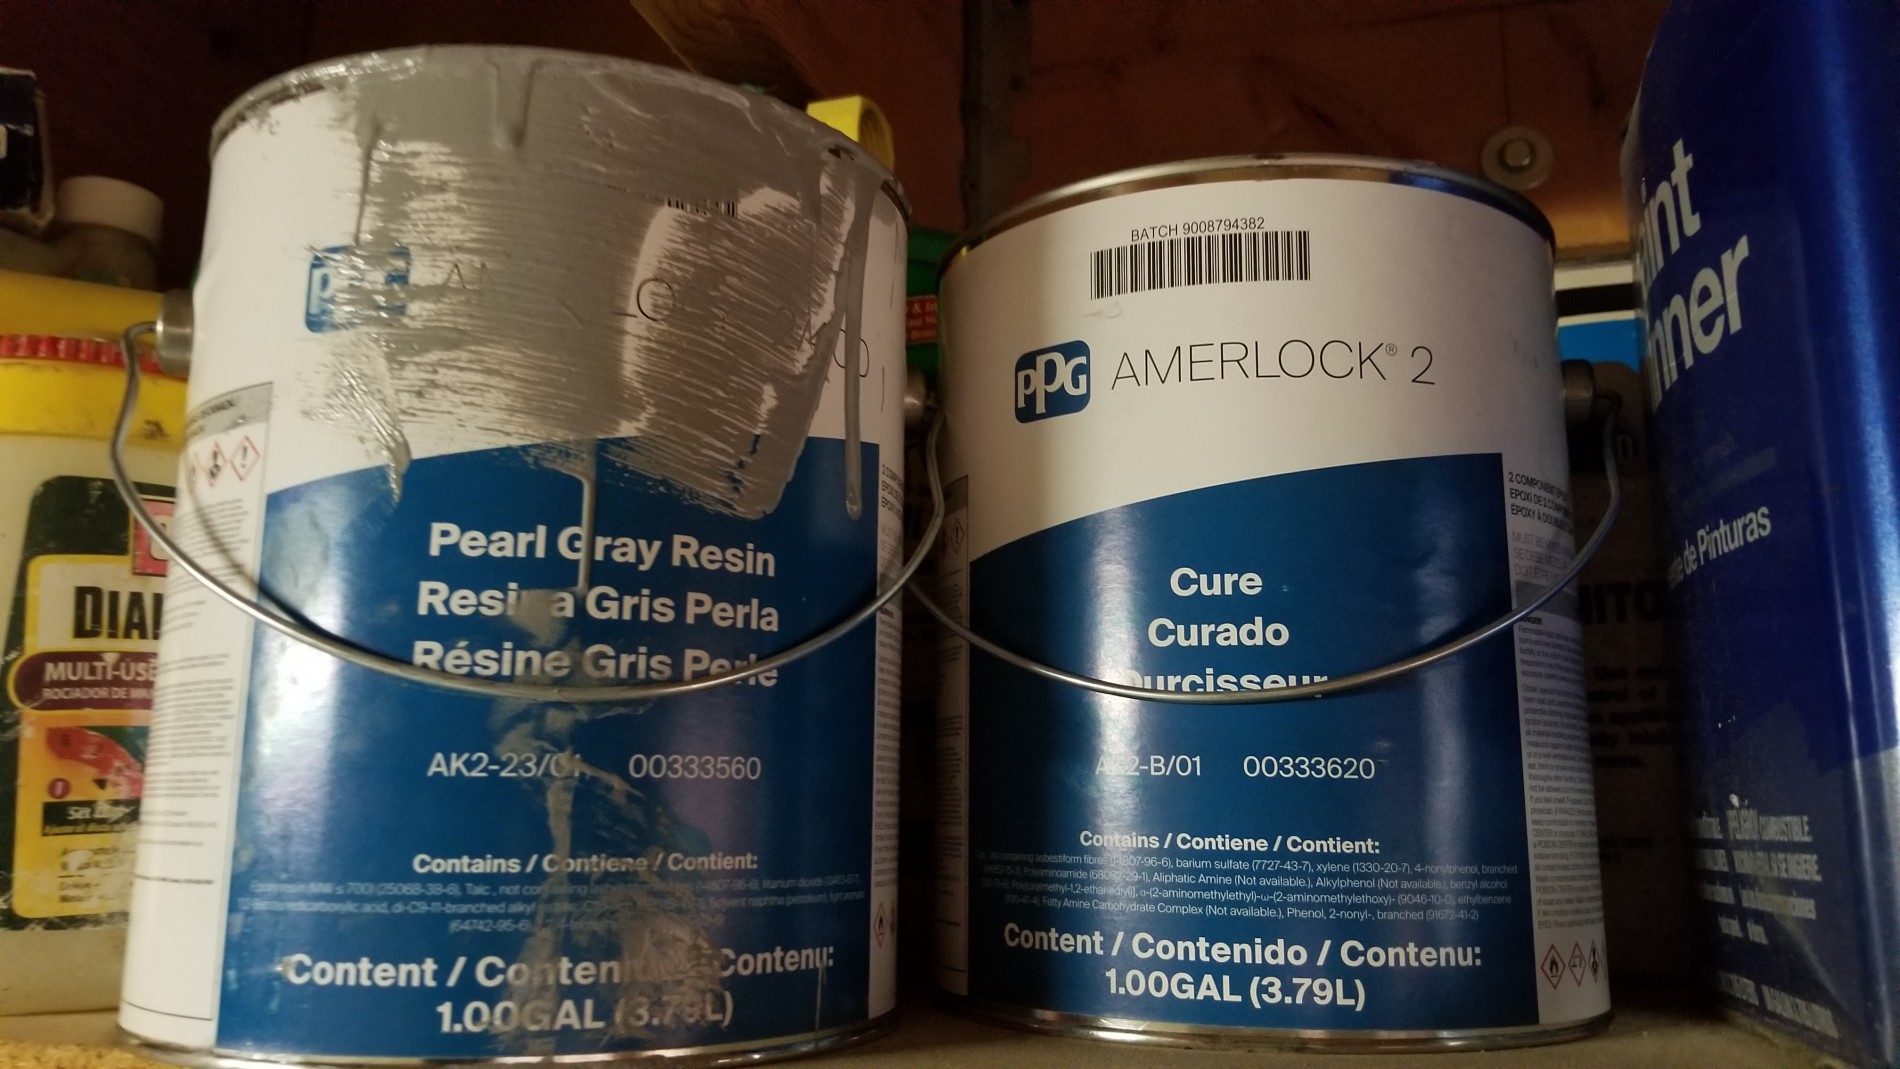
It is not hard to do. The most important thing is having a clean surface. I have had epoxy floors in my garage since shortly after I moved into this house in 2004. It is simple for me to get it prepped by just using a floor scrubber with degreaser. The first time I did it, I used a kit from Home Depot that lasted about 6 years before it was getting harder to clean. The next time I used a kit from a local paint store that has lasted until this coating. Overall it was still in good shape, but was showing wear in places where stuff has been drug across it and was getting harder to clean. . This time I used the kit shown here from a different paint store. It is much better quality and goes on very thick. Each kit of 1 gallon of color resin and 1 gallon of cure costs about $160. It took me 5 gallons (2 1/2 kits) to do my entire floor.

Gop7.jpg
 

mbryson

.......a few dollars more
Supporting Member
It is not hard to do. The most important thing is having a clean surface. I have had epoxy floors in my garage since shortly after I moved into this house in 2004. It is simple for me to get it prepped by just using a floor scrubber with degreaser. The first time I did it, I used a kit from Home Depot that lasted about 6 years before it was getting harder to clean. The next time I used a kit from a local paint store that has lasted until this coating. Overall it was still in good shape, but was showing wear in places where stuff has been drug across it and was getting harder to clean. . This time I used the kit shown here from a different paint store. It is much better quality and goes on very thick. Each kit of 1 gallon of color resin and 1 gallon of cure costs about $160. It took me 5 gallons (2 1/2 kits) to do my entire floor.

Gop7.jpg

What’s your garage square footage? How does the epoxy hold up to weld slag/torch slag?
 
Top