Vonski
nothing to see here...
- Location
- Payson, Utah
Well, son of a bitch... 🤔😳Or you just really love VolksWagens...
Well, son of a bitch... 🤔😳Or you just really love VolksWagens...


With the air drier so hard to access on these Monaco/Roadmaster S-Series chassis, I figured while I had the left rear tag tire/wheel off I would rebuild the purge valve. It hasn’t given me any issues but over time they can begin to build up deposits in the valve itself and then not seal completely resulting in an air leak. With 130k mikes on the coach I opted to tear it apart, clean it and reassemble with new software components.
The Wabco/Meritor kit that I purchased came with all of the internals so in they went.

It was due as there was some buildup just waiting to cause an air leak. Nothing too awfully bad though, just enough that I feel good about my decision to rebuild it.

New parts in the background, old in the foreground.

I’ve seen people leave these steel washers out by mistake but it’s important to put them in place to keep the steel spring from gouging into and wearing the brass valve as well as the plastic cone.

One steel washer goes into the seat of the plastic diffuser cone. I put a little of the supplied grease on the washer which helps hold things together during assembly.

The other steel washer goes on the brass valve, again using some grease to hold everything together plus lube then new o-rings and seal.

One o-ring on either side of the steel seat before installing and the grease helps hold things in place. Usually if doing this on the bench it’s not so important but I didn’t feel like removing the entire air drier to just rebuild the purge valve so I’ll be inserting the parts up into the drier and fighting gravity.

Parts greased up and installed into position.

Now comes the fun part and the hardest part when doing this on the coach. The plastic diffuser end has to go in place and you must compress the spring enough to install the heavy snap-ring into place. If your lucky enough to have three hands you’re all set otherwise you have to devise a plan to push the diffuser up into the bore far enough to then install the snap ring and the spring is fairly stiff.

I grabbed a piece of steel tubing approx. 2’ long that just fit around the reduced section of the diffuser.

Then grabbed my floor jack and positioned it directly below the purge valve. I raised the floor jack GENTLY and just enough to push the plastic diffuser into place. Be sure to put the snap ring over the tubing prior to using the floor jack.

Then simply use a pair of snap ring pliers to compress and put into place. Easy peasy.

Purge valve rebuild complete.

Thanks for looking.
Mike
You might want to replace those battery terminals with some bolt on style 🤣I'd like to counter (err, I mean dumb down this thread) Mike's Monica "hack work" with my $5.99 battery tie down so I could run a bigger AGM battery in my Samurai.
I didn't want some blingy tie-down or any sort of box. I walked a Pick-n-Pull and found this hold down from a Durango, I believe. The tie-down hooks were from Napa. I chopped them to fit the Samurai's battery mount tray. One was cut and re-bent and the other was shortened at the threads.
View attachment 136279
It came out pretty factory-looking.
View attachment 136278
I'm learning... next time I'll dust everything off.
Added a few hersprs to the 1090. I would never buy this bling but it was a birthday present and it makes @jeeper jealous of my sexy katoom. Money well spent.
View attachment 136285
Ah, it’s the little things in life... 🤷♂️🤘
Probably could have bought a real gold coin for the cost of that shiny ktm part...
Ah, it’s the little things in life... 🤷♂️🤘

Probably could have bought a real gold coin for the cost of that shiny ktm part...
Probably still less expensive than the carbon fiber parts I have bought from Pro Carbon out of the UK. But they have been worth every penny. Amazing how much better a true carbon fiber part holds up compared to a fiberglass/resin piece with a single layer of carbon fiber.Added a few hersprs to the 1090. I would never buy this bling but it was a birthday present and it makes @jeeper jealous of my sexy katoom. Money well spent.
View attachment 136285
Welcome to LS Swapping. I have HP Tuners if you want to unlock your VATS and turn off the emissions stuff. I'm pretty new with it but I know how to do those two things.this whole thing has been a pita and i havent even started on the wire harness yet. Oh and joy, i found out my bell housing has a stripped hole in it and my np205 needs machined for a bigger bearing. cant wait.
Really im just complaining and tired of being in the garage.
View attachment 136286
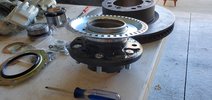
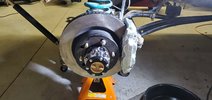
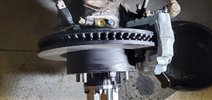
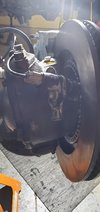
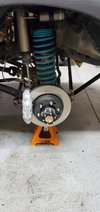
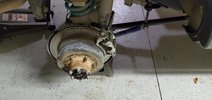
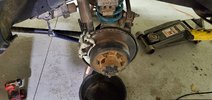
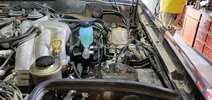
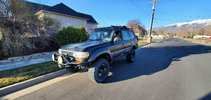
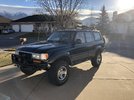
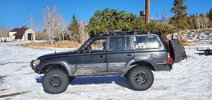
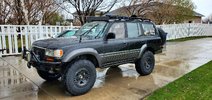
37's this morning:
View attachment 136324
Getting so close to having this dialed in where I want it!
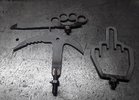
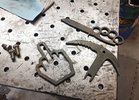
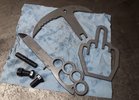
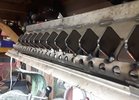
What is that last picture of?I made some accessories for Brian's neighbor grandpa Than. The old hard ass said his new hook wasn't hold his chainsaw and wouldn't carry firewood well.
http://midutahradio.com/news/local-news/richfield-farmer-loses-hand/
View attachment 136328
I've been playing with acid to strip rust and mill scale lately and have been really happy with the results.
View attachment 136330View attachment 136329View attachment 136327
MuriaticAre you using muriatic or ferric chloride?
It's my lathe tool holder holder. I tighten up tabs the holders slide on. I posted pics on it before. I cut one for a friend with the tabs slightly wider so the holder couldn't be knocked off and was jelly his 2.0 version was better than mine. LolWhat is that last picture of?
Um, I don't think I've bedded the brakes. On the initial drive, it felt like it did before - adequate. I may try swapping the booster out, or maybe I set my expectations too high. Time will tell. I haven't put many miles on it since I wrapped it up Saturday.Did you get the brakes bedded in enough to have an initial seat-of-the-pants impression on performance?
