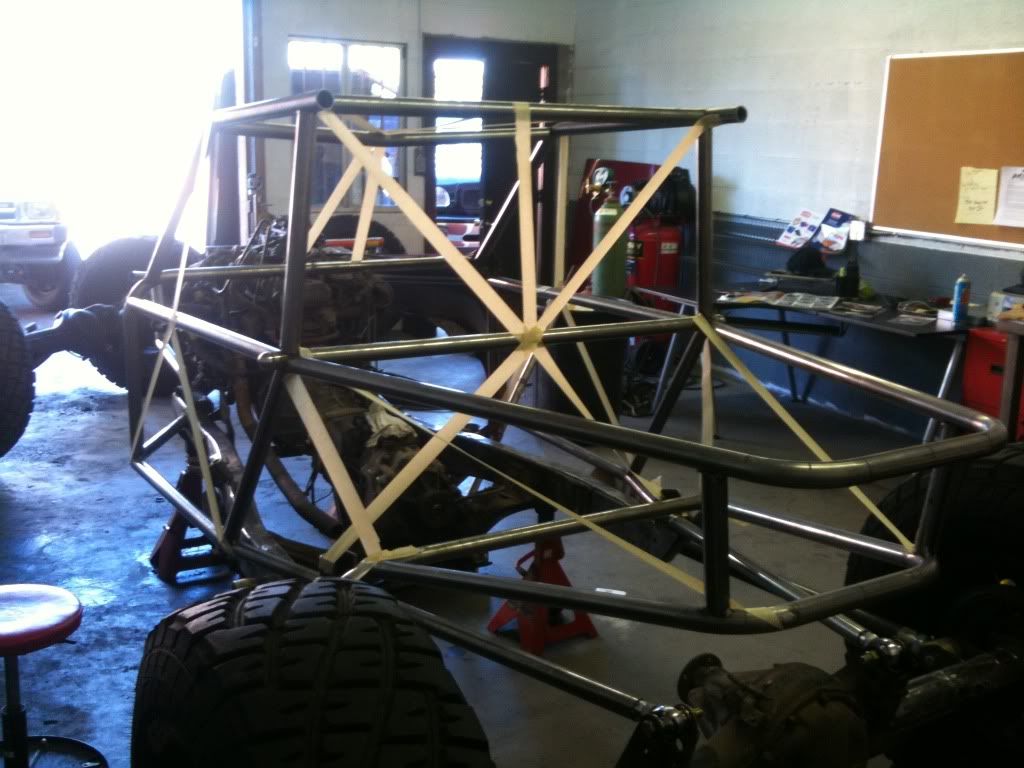
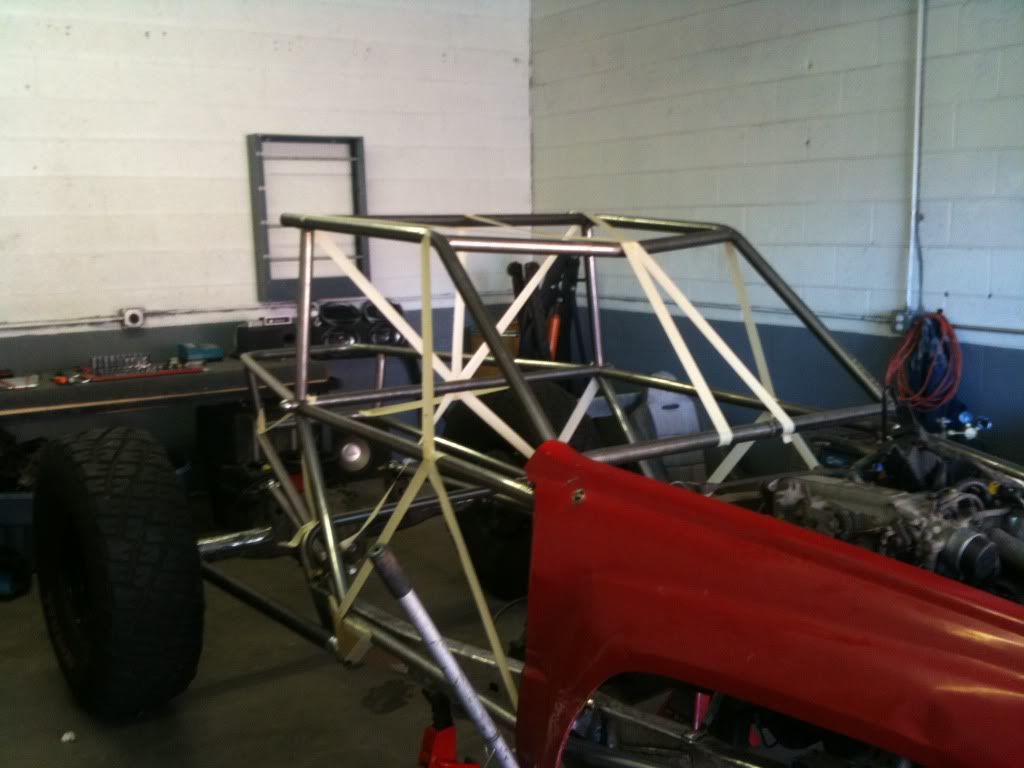
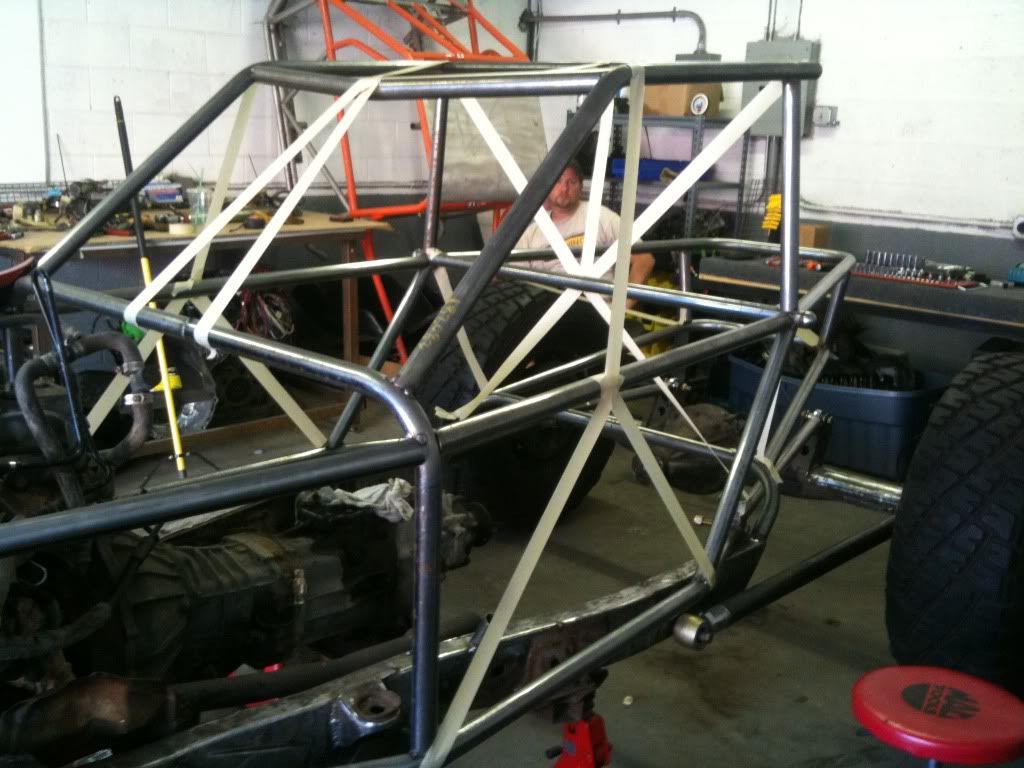
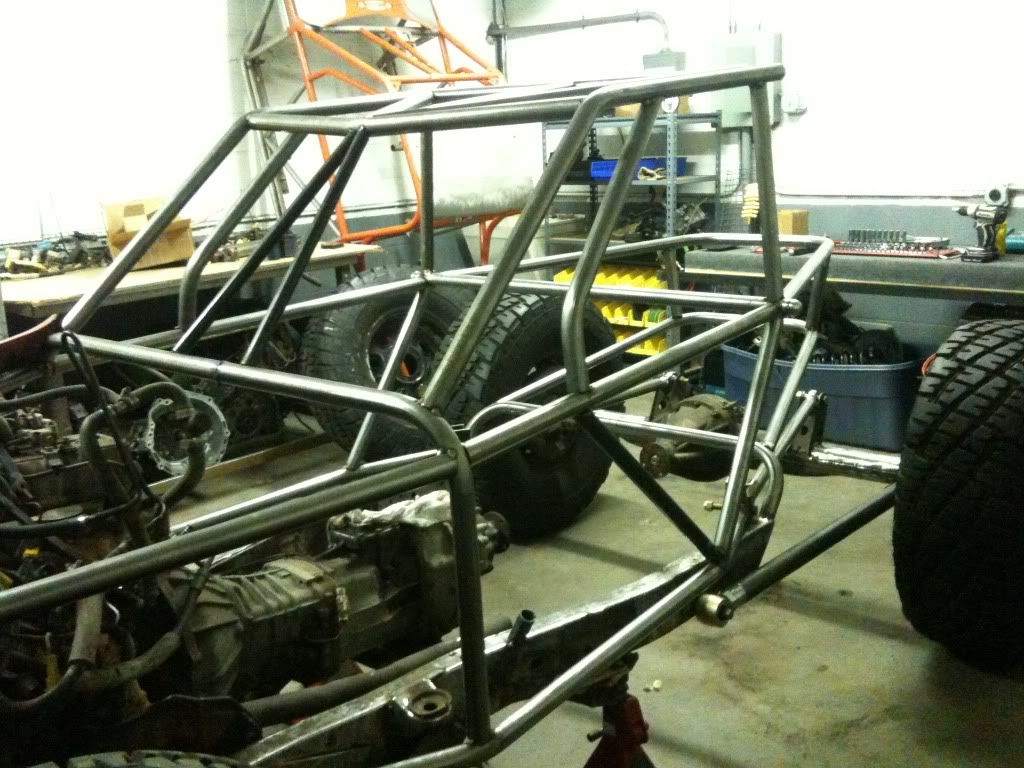
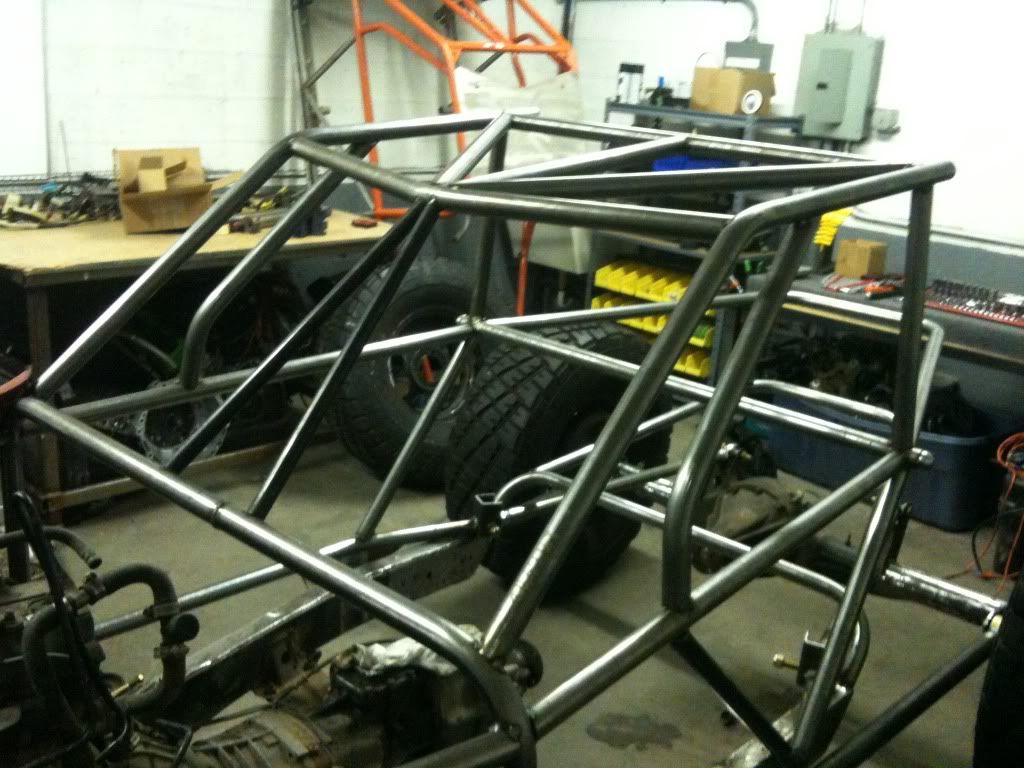
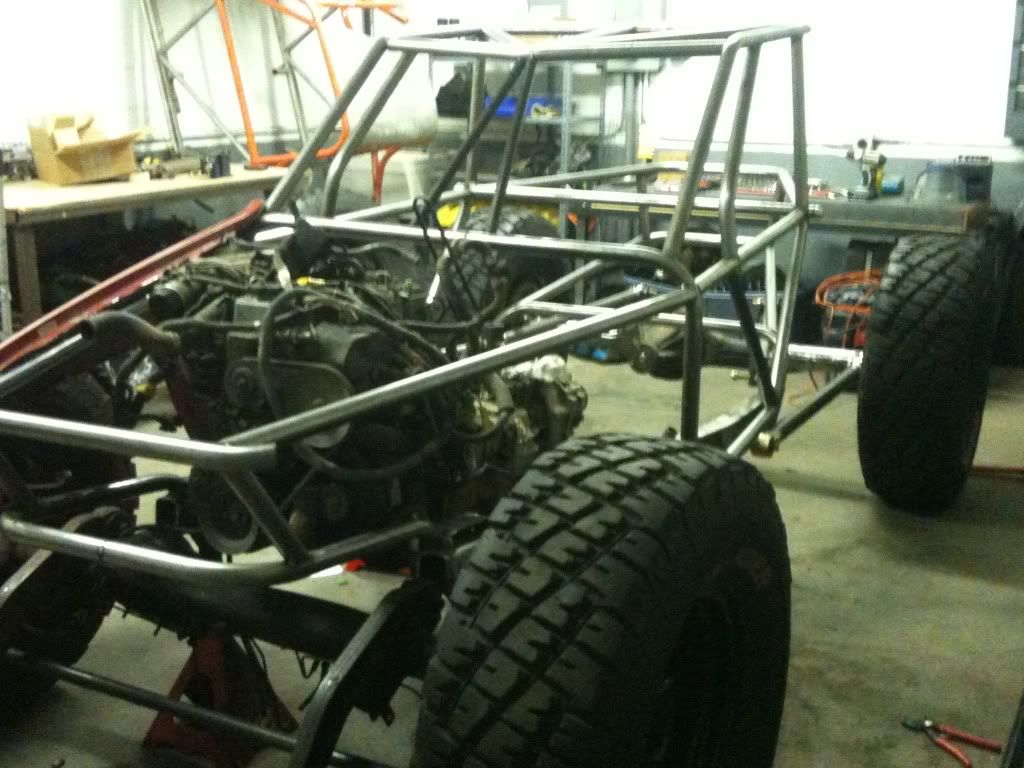
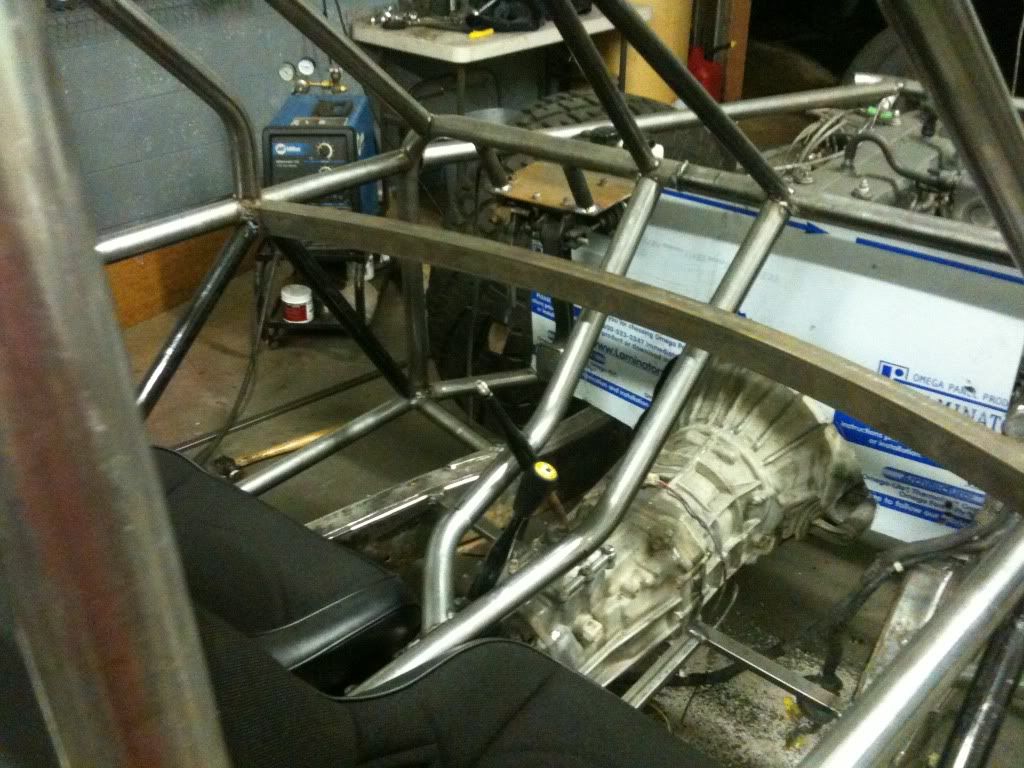
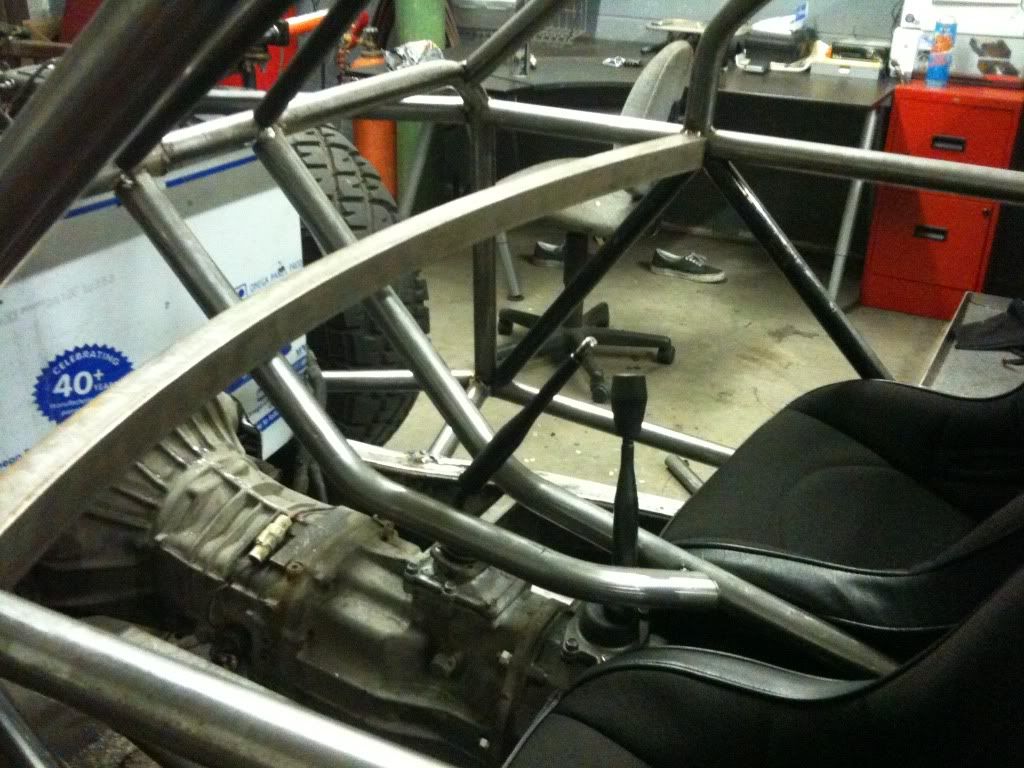
Another toyota build....

Panos

12Volt Specialist
Location
Salt lake City
1284879108.jpg

1284880266.jpg

1284880173.jpg

1284878783.jpg
 

Panos

12Volt Specialist
Location
Salt lake City
ok question for my rear links. if I bring the lowers "in" on the frame side to triangulate them more. should my mounting distance from the uppers be the same as it is on the axle? my vertical separation is 7" on axle side and 7" on frame side. but does the lateral separation need to be the same ?
 

Panos

12Volt Specialist
Location
Salt lake City
thank you Herzog,I remember watching your build and wishing so bad i knew how to or were to start on a buggy. but after a million toyota builds, i swear.. and hundreds of hours of research I am finally building my own from ground up :)
 

I Lean

Mbryson's hairdresser
Vendor
Location
Utah
ok question for my rear links. if I bring the lowers "in" on the frame side to triangulate them more. should my mounting distance from the uppers be the same as it is on the axle? my vertical separation is 7" on axle side and 7" on frame side. but does the lateral separation need to be the same ?

If I understand what you're asking.....you're saying if the uppers are 18" apart at the axle, then the lowers might need to be 18" apart at the frame?
If so, then nope, the lateral separation doesn't need to "match".
 

zukijames

Well-Known Member
Location
not moab anymore
thank you Herzog,I remember watching your build and wishing so bad i knew how to or were to start on a buggy. but after a million toyota builds, i swear.. and hundreds of hours of research I am finally building my own from ground up :)

i hope someday i have the skills to build one from the ground up like this im loving the looks of this rig
 

Panos

12Volt Specialist
Location
Salt lake City
you will. we all start some where. I remember not to long ago I didnt even know how to change a broken birf. but I just tried it one day in my drive way, and like most things if you just give it a try its really not all that bad.

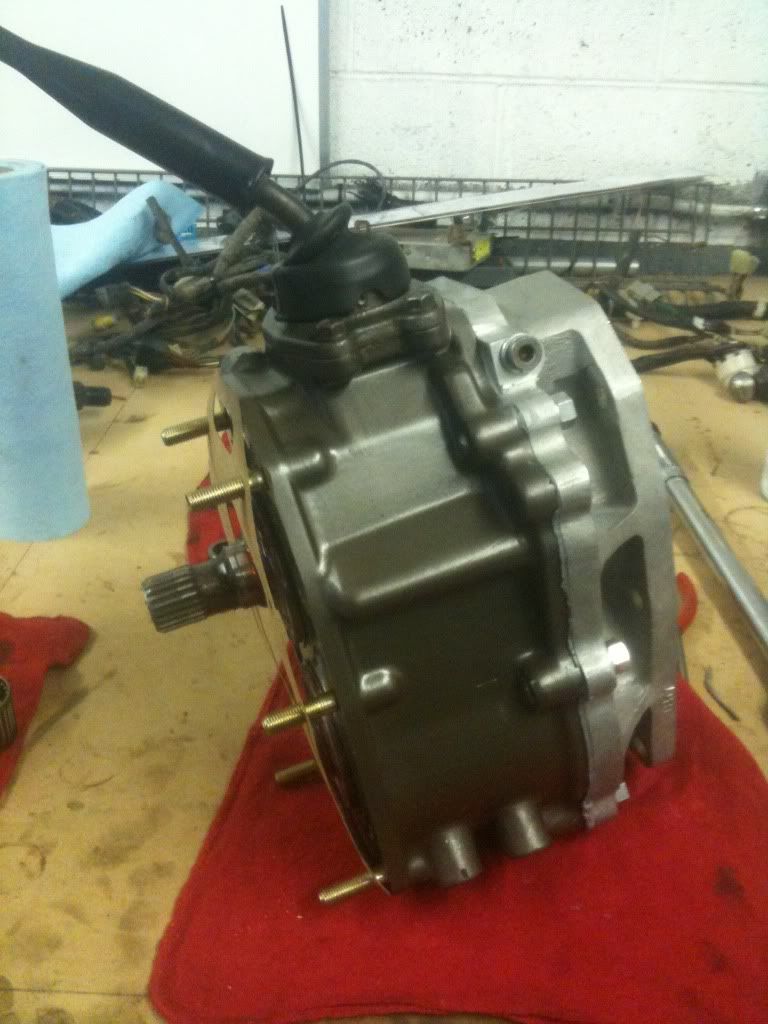
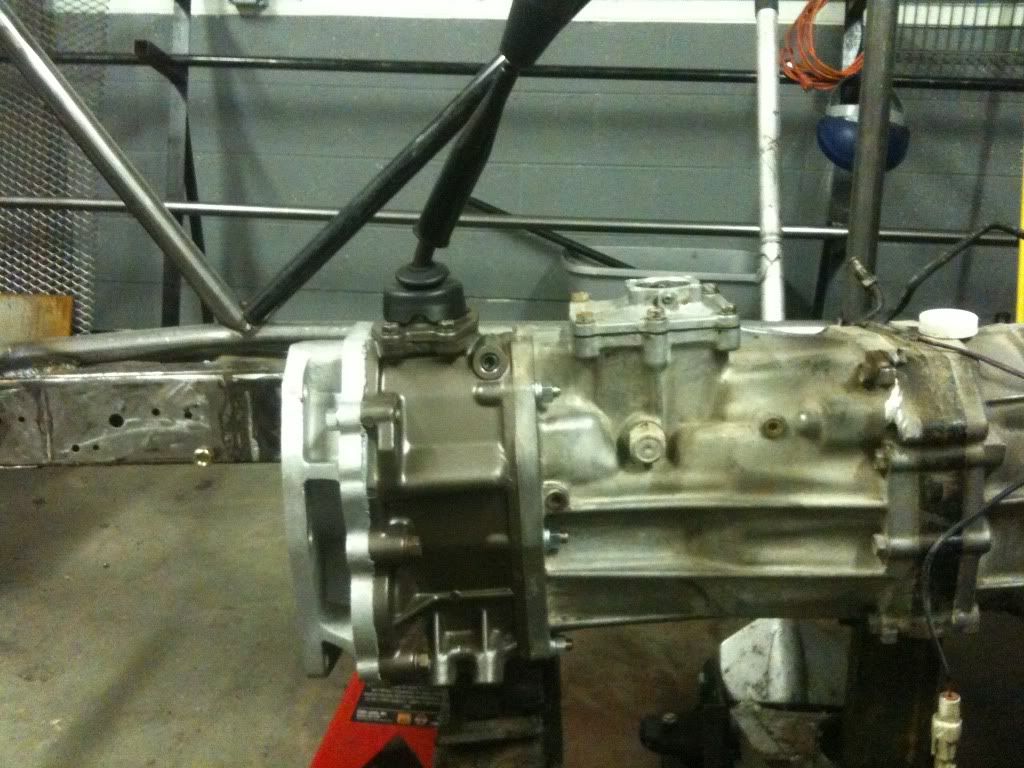
here are some pics of the crawl box.

1285047965.jpg

1285048107.jpg
 

Panos

12Volt Specialist
Location
Salt lake City
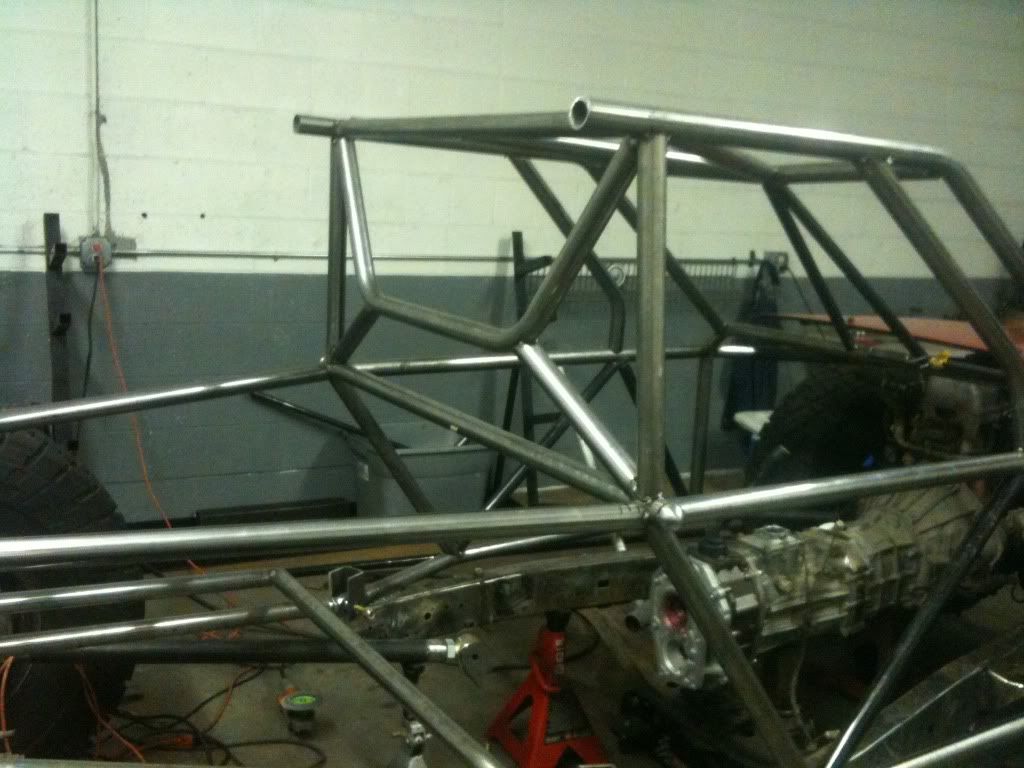
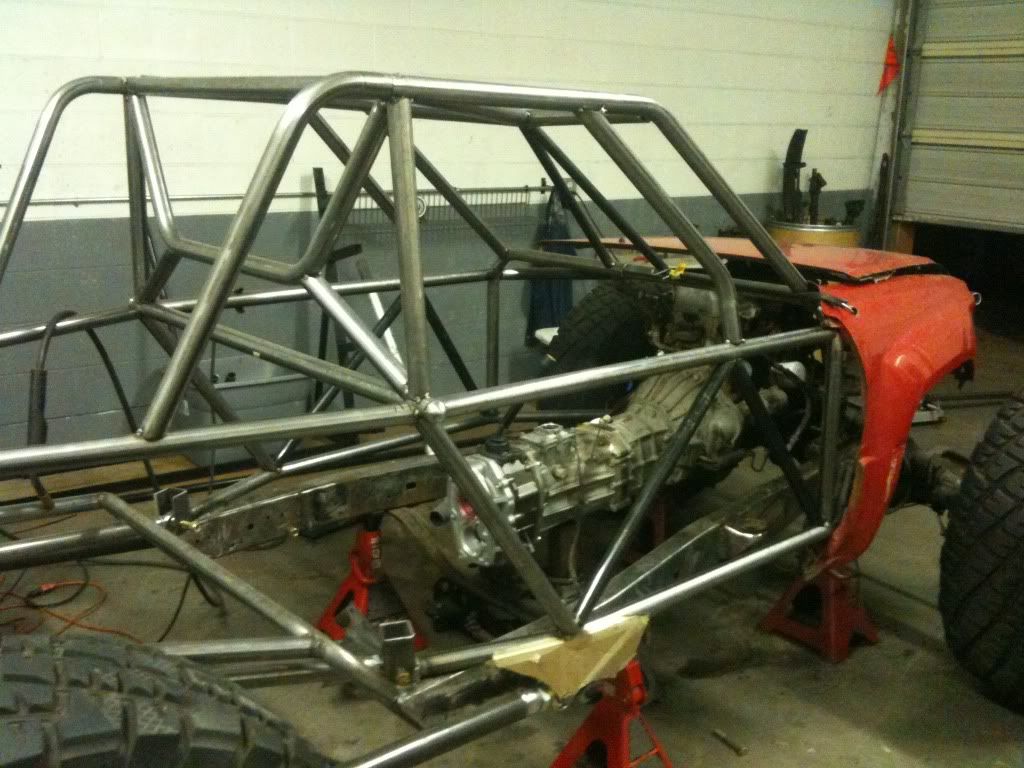
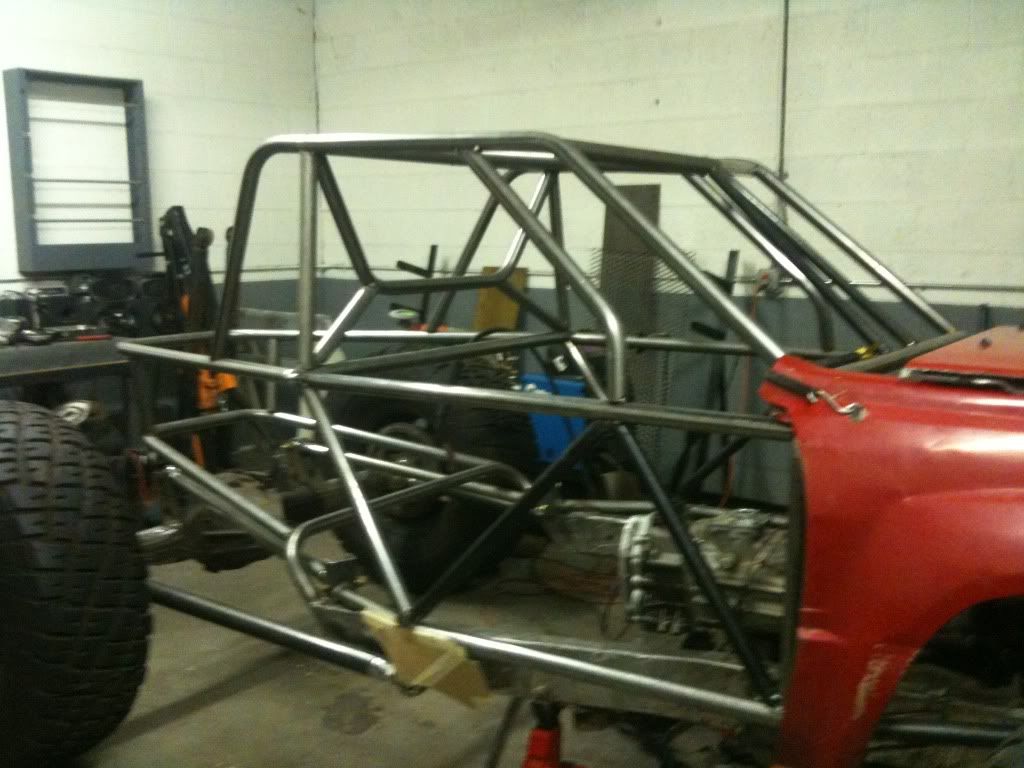
I was going to "x" the rear window portion of the cage, but it wasn't giving me enough head room backwards. So I tried something a little different, If you can tell in the pic, the portion of the cage is tilted back just a tiny bit. but it was just enough :)
1285143372.jpg

1285143258.jpg

1285143152.jpg


cage work is almost done, just a few more supports here and there and then fully weld it, paint it and put it all together.
 

Panos

12Volt Specialist
Location
Salt lake City
Thanks, I really like how it is turning out. This is my first project were I am doing all the bends myself and I was a little nervous at first, but it is coming along alright
 

Panos

12Volt Specialist
Location
Salt lake City
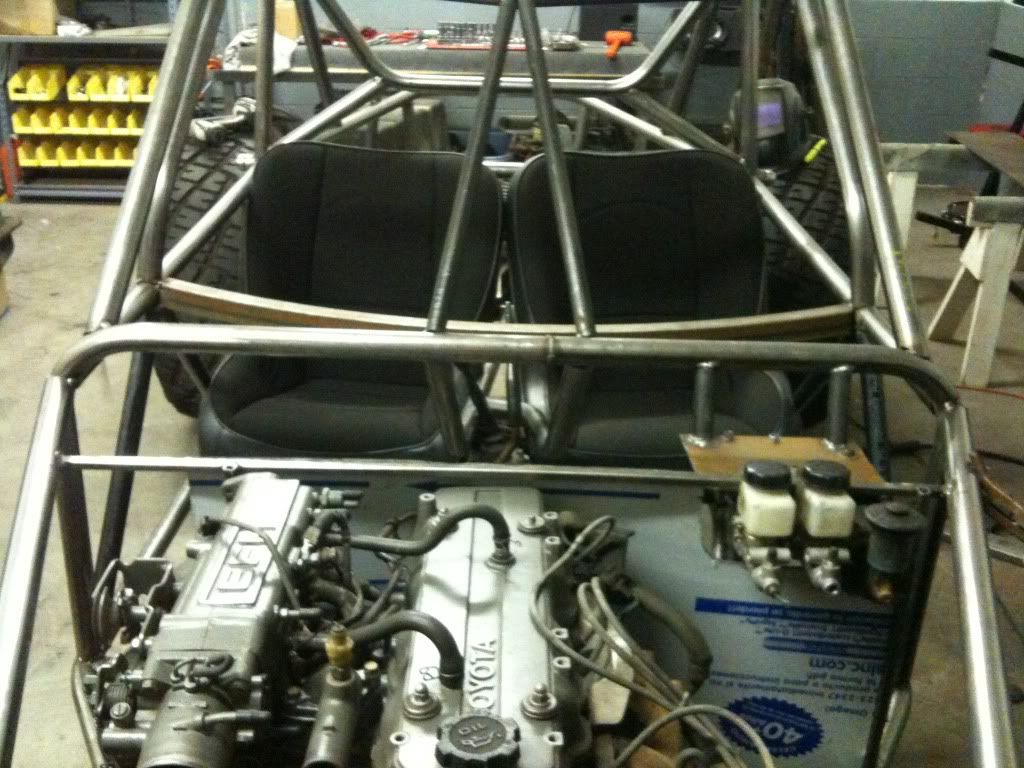
finally got to do a little work on this thing. Work picked up and my time got taken up pretty fast. But I got my seats in, and started working on the floor/dash/firewall. note to self..make next buggy a tiny bit wider. its been a struggle to get my seats to fit.

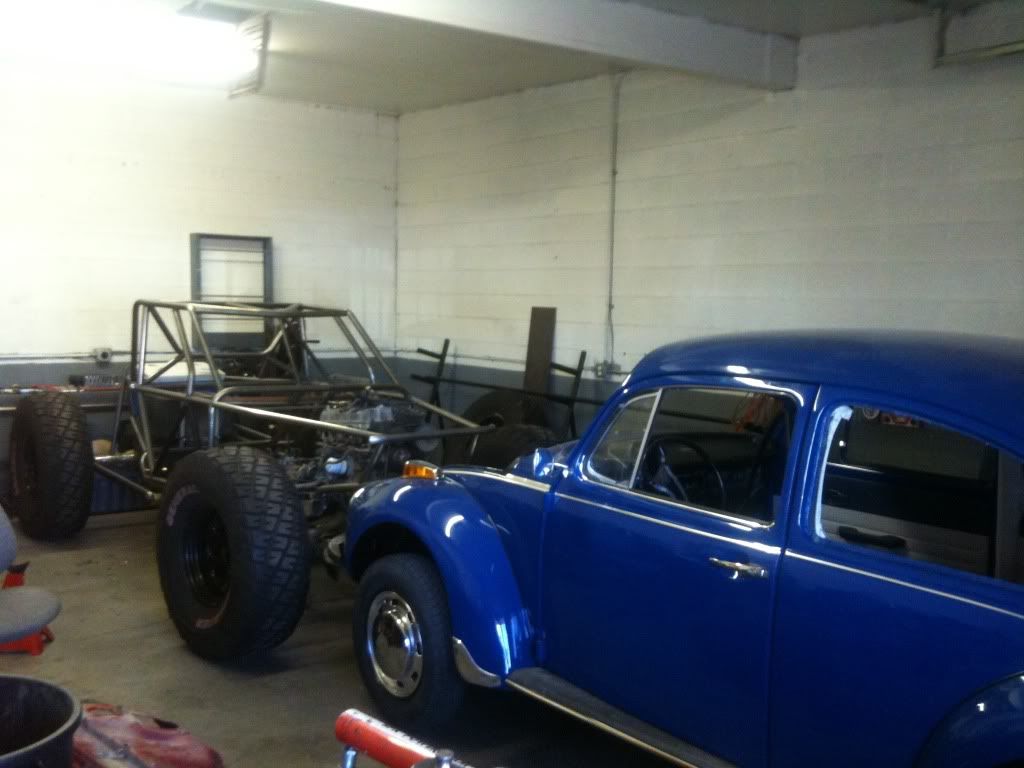
here it is next to a VW beetle. Its at full bump but still pretty low .
1286346347.jpg


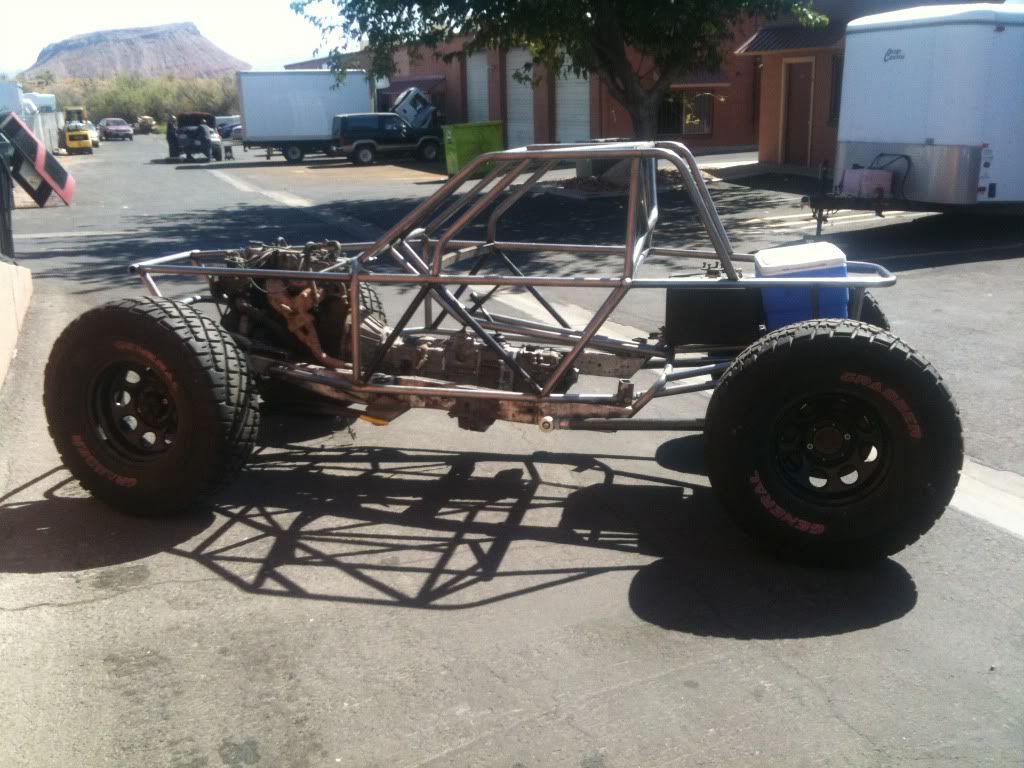
it rolls !!
1286346254.jpg

1286345701.jpg

1286345583.jpg

1286345484.jpg
 

Panos

12Volt Specialist
Location
Salt lake City
I am going to use DiBond for the floor and fire wall. I have been working with this stuff for a little time now. I use it to built ambulances interior walls. This stuff is super strong! and really light. best part is it doesn't have that tiny sound of sheet metal.
 

iamsparticus

Take your Rig to the Edge
Location
Ogden,Ut
Wow panos this is really turning out amazing i like how you have kept some frame and the engine i think is makes it that much cooler
 
Top