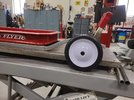
Radio Flyer Project

zmotorsports

Hardcore Gearhead
Vendor
Location
West Haven, UT
I wasn't quite sure where to put this thread so I hope it's ok under the "cars" sub-category as I am kind of mimicking a car...... ;)

My wife and I are about to welcome our first grandchild into the world and I remember building my son a custom Radio Flyer wagon when he was young, so I wanted to continue the tradition. My wife and I would use it to drag him along when walking around our neighborhood or at car shows. This was back in the early 90's and custom wagons were much less prevalent back then than they are now. Seems like they're everywhere these days as one can even buy a sub-frame from places like Summit Racing and Jegs in which to bolt the body onto and be on your way.

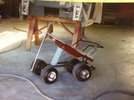
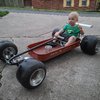
Well, anyone who knows me knows that's just not me. It's got to be "kustom" with a capital K or nothing. Here are a couple of old pictures of our son's Pro-Sidewalk Radio Flyer wagon. I tubbed the body and built a frame in which the body tilted back similar to a funny car. I fabricated wheelie bars using small nylon wheels and valve springs which attached to the rear axle. I also fabricated a steering knuckle front axle using heim joints from small carburetors as the tie rods. The frame was painted gunmetal gray to match our 1940 Chev street rod and gray tweed interior which also matched our car. The backrest was made to look like a rollcage and smooth racing go-cart slicks were mounted on aluminum wheels.
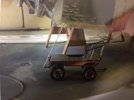
wagon1.jpg

wagon2.jpg


Now fast forward to 2023 and the style of this Radio Flyer wagon project will be liken to a '32 Roadster. This is kind of what I'm thinking with the stance/rake and tire/wheel combo.
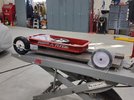
rf1.jpg

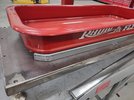
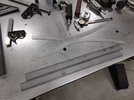
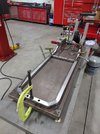
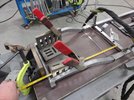
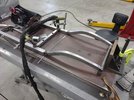
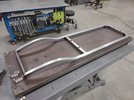
Next item of business was to get the chassis fixture plate setup and start laying out a chassis. No CAD drawings or preliminary drawings on this one, just winging it on whatever pops into my noggin'. I thought a radiused rear bobbed chassis would be cool to match the radius of the tub.
rf2.jpg
rf3.jpg

Some small gussets will be added to the inside of the rear chassis radius.
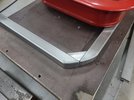
rf6.jpg

Clamped down on the fabrication table to ensure everything stays put while tacking and welding.
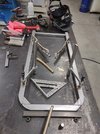
rf11.jpg

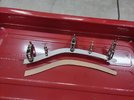
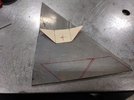
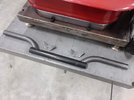
Once the main chassis was constructed I started mocking up what I wanted the front frame horns to look like. A common '32 frame has the front frame horns swooping up and over the front axle then slightly downward and pinched inward under the radiator. After a couple of cardboard cutouts I found one I liked.
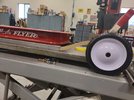
rf18.jpg

rf19.jpg

Clamped down to the fabrication table and final welding of the main chassis performed.
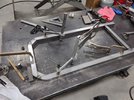
rf20.jpg


Continuing on.....
 

zmotorsports

Hardcore Gearhead
Vendor
Location
West Haven, UT
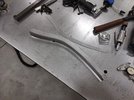
Moving on to the front frame horns.

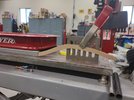
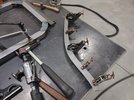
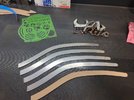
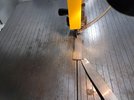
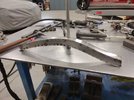
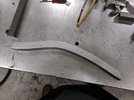
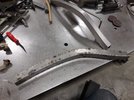
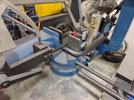
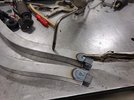
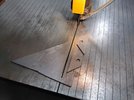
The cardboard template transferred to some 14-gauge P&O, cut out on the vertical bandsaw, clamped together and then profiled all at once to ensure they all matched and were of the exact same profile.
rf26.jpg


rf27.jpg

After profiling the clamps were removed to debur them individually.
rf29.jpg

Smoothed, sanded and sorted by sides.
rf31.jpg

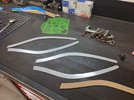
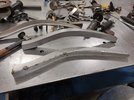
Next was to measure and determine the upper and lower frame sections. I looked at pictures of '32 frames online to get the gist of exactly how much to narrow the frame horns top to bottom and widthwise for each frame horn then marked it out on some .125" P&O strap.
rf32.jpg

Cutting the upper and lower frame sections on the bandsaw.
rf33.jpg

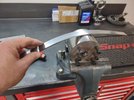
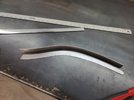
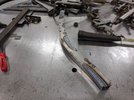
Starting the curves to match the frame side profiles.
rf35.jpg

Getting close.
rf36.jpg

Bottom section next.
rf37.jpg

All pieces sanded and wiped down with acetone prior to tacking together.
rf38.jpg


Stay tuned for more.....
 

zmotorsports

Hardcore Gearhead
Vendor
Location
West Haven, UT
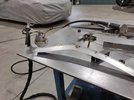
Some small blast tacks as progressing along the length of the frame horn.
rf39.jpg

Once the exterior of the right side was tacked in place it was time to turn the attention to the inside of the right frame horn and continue tacking.
rf41.jpg

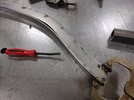
Clamping and tacking along until I had tacks about every inch or so.
rf42.jpg

Here is the right frame horn tacked together.
rf43.jpg

Next was to fully weld by bouncing around every few inches and side to side until the entire seam was welded top, bottom and inside and outside.
rf45.jpg

Set aside to cool while I prepped the left frame horn.
rf46.jpg

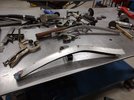
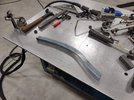
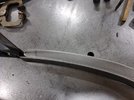
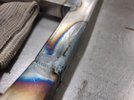
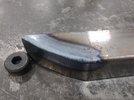
Right frame horn welds blended and metal finished to resemble a square boxed frame rail.
rf47.jpg

Mocked into position for a visual inspection. Me likey.
rf48.jpg

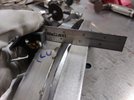
Then it was time to move on to the left frame horn. This is where it got tricky because I not only had to duplicate the right side but also a '32 frame front end tapers individually on each frame rail as well as is pinched inward as it progresses forward. Once the right frame was established as far as degree of inward taper, I then had to duplicate it exactly on the left frame rail.
rf50.jpg


More to follow....
 
Last edited:

zmotorsports

Hardcore Gearhead
Vendor
Location
West Haven, UT
As I am progressing along I have to keep making small "tweaks" to ensure the pieces stay perpendicular to one another so it doesn't get out of shape along the process.
rf51.jpg

rf52.jpg

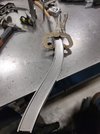
This is where the preliminary measurements and deciding on which side to make the cuts for the upper and lower rails paid off. This is the EXACT effect I was going for, the swooping up and over the axle with the narrowing of the frame rail along with the two sides being ever so slightly pinched inward near the leading edge.
rf53.jpg

Comparing both frame rails to ensure they are at the exact same height and profile.
rf54.jpg

Next is fitting the outer skin of the left frame horn and allowing it to sit flush with the upper and lower sections so that upon a good penetrating weld it will only require a minimum of weld removal to ensure flush finishwork.
rf55.jpg

Taking the time to ensure fitment results in the final outcome that I wanted.
rf57.jpg

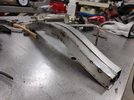
Left frame fully tacked now and another comparison with the right frame horn.
rf58.jpg

All that is remaining is to fully weld out the left frame horn and metal finish.
rf59.jpg


Thanks for looking. I'll update as I progress along on the build.
 

GER4x4

Member
A good friend of mine who is a fabricator at a custom speed shop built a similar project for his son .
 

Attachments

  • 187907291_10223001165515906_1738012436545549054_n (1).jpg
    187907291_10223001165515906_1738012436545549054_n (1).jpg
    281.6 KB · Views: 44
  • 190046690_10223001165395903_7410946327449373627_n.jpg
    190046690_10223001165395903_7410946327449373627_n.jpg
    339.8 KB · Views: 44
  • 191035846_10223001165315901_6740425771532938870_n.jpg
    191035846_10223001165315901_6740425771532938870_n.jpg
    279.8 KB · Views: 44

zmotorsports

Hardcore Gearhead
Vendor
Location
West Haven, UT
I sure hope that your daughter-in-laws parents are loaded because they only chance they have of being the "fun grandparents" is spend loads of money on this future grandbaby. This is crazy awesome Mike. Thanks for sharing this stuff with us.

It's not a competition Nate. ;) The wife and I are far from loaded, that's why I have to build things rather than just buy them.

Unfortunately, my DIL's father passed away about 10 years ago so I will be the only grandfather our grandchild will have which actually puts a bit more pressure on me to do right by him.

Thanks for the comments and following along. Will keep this updated as I progress along. Currently the Radio Flyer project is filler in between other projects, however, I would like to have it completed so they can use it when it gets warmer and are able to take him out for walks and we can go to a few car shows. :D
 

ID Bronco

Registered User
Location
Idaho Falls, ID
Unfortunately, my DIL's father passed away about 10 years ago so I will be the only grandfather our grandchild will have which actually puts a bit more pressure on me to do right by him.
I believe the impact Grandparents can have on their grandkids is extremely underrated. Even at older ages. Way too many Grandparents shirk this responsibility or I would call it opportunity. It's awesome to see you embracing it.
 

zmotorsports

Hardcore Gearhead
Vendor
Location
West Haven, UT
I believe the impact Grandparents can have on their grandkids is extremely underrated. Even at older ages. Way too many Grandparents shirk this responsibility or I would call it opportunity. It's awesome to see you embracing it.

Thank you. Yes, I am excited and maybe thinking too much about it as I am not going to overstep my bounds in his upbringing. However, I figured being the only grandfather he'll have I better pick up any slack and do a better than average job. With as screwed up as society is these days and the direction it is going I feel even stronger that having good male influences in a young boy's life is more imperative than ever before. He will already have an amazing father and I hope to be able to compliment that if even a little.

Another concept that hit me quite hard when talking with my son is that I will have the rather unique opportunity to have 3-generations working in the shop. I am SOOOOOO looking forward to that as he gets older. Hopefully some more cool projects will come out of this..... ;)
 

zmotorsports

Hardcore Gearhead
Vendor
Location
West Haven, UT
I haven't been too diligent on my grandson's wagon over the past several months due to being so busy on side jobs. However, now that I am nearly caught up and my grandson growing I want to make some progress on this.

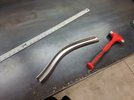
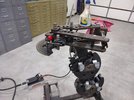
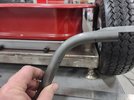
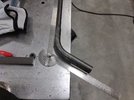
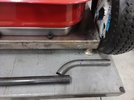
I began by bending up some tubing for the rear axle. I figured by determining rear axle placement it would help me to figure out the angle of grafting the front frame rails on and ride height along with rake. Out came the JD Squared tube bender.
rf61.jpg

Cut a little long and snuck up on the length.
rf62.jpg

I'm liking the angle of the dangle.
rf63.jpg

Not to duplicate for the other side.
rf64.jpg

Getting closer.
rf65.jpg

With the approximate rear chassis height determined I began by mocking the front frame horns into place.
rf68.jpg

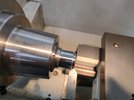
I also machined some weld in caps for the front crossmember.
rf70.jpg

Two end caps machined for the front crossmember.
rf72.jpg

rf73.jpg

Caps welded.
rf75.jpg

More to follow...
 

zmotorsports

Hardcore Gearhead
Vendor
Location
West Haven, UT
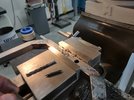
Before grafting the front frame horns on while the chassis is in its shortest configuration, I figured I would clamp the chassis in the mill vise to machine the holes for the body mount threaded bungs which will be coming along shortly.
rf84.jpg

Now determining front crossmember height which will also dictate the angle at which the frame horns intersect with the main chassis rails.
rf86.jpg

Sneaking up on the placement.
rf88.jpg

rf89.jpg

Once the angle was ground on the frame horns I drilled holes in which to weld in some internal gussets to it is not just a butt weld at the frame connection.
rf91.jpg

Holes now drilled in the main chassis rails.
rf92.jpg

Internal burrs sanded smooth.
rf93.jpg

Frame horns slipped into position and final measurements made to ensure everything is square. Last thing we want is this thing dog-tracking down the sidewalk. :rofl:
rf94.jpg

Nearly there.
rf97.jpg

Tack welds in place and ready for checking tape.
rf98.jpg

More to follow....
 

zmotorsports

Hardcore Gearhead
Vendor
Location
West Haven, UT
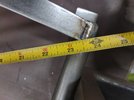
With the front crossmember welded in place it was time to ensure alignment. Checking diagonally across the frame.
rf99.jpg

Dead nuts on.
rf100.jpg

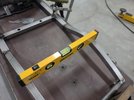
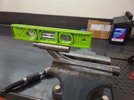
Then before continuing, a level was placed to make sure height hadn't changed side to side.
rf101.jpg

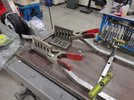
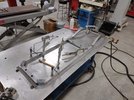
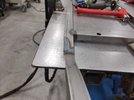
When everything looked good on the chassis jig, it was relocated to the fabrication table so it could be clamped down and held rigid during the welding process.
rf105.jpg

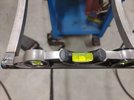
Still looking dead nuts level.
rf111.jpg

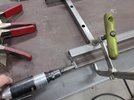
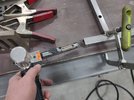
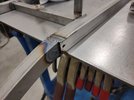
Once the frame horns were secured the tapering of the main rails could begin. This was not part of my original thought process but in order to keep the chassis realistic with a '32 Roadster frame I wanted to not only taper the frame rails going forward but I also thought I'd pinch them to keep them more sleek and in line with a traditional Roadster. A slit was cut lengthwise a few inches.
rf112.jpg

A small pie cut of metal removed and clamped together to create the taper.
rf114.jpg

Cut was welded back up.
rf115.jpg

I think that taper looks much better.
rf117.jpg

Metal finished and ready to move on to the next step.
rf119.jpg

In the end the taper or pinched rails was a bit more work and done on the fly I think the end result was well worth it in overall aesthetics.

More to follow...
 

zmotorsports

Hardcore Gearhead
Vendor
Location
West Haven, UT
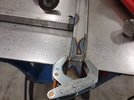
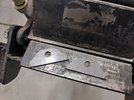
Moving to the rear axle mounting and assembly. I made some cardboard mounting tabs.
rf76.jpg

When pleased with the shape and angle, I transferred the pattern to some .125" P&O plate.
rf77.jpg

Drilled and reamed the mounting holes then cut the pieces on the vertical bandsaw.
rf78.jpg

Now to form the slight angle on the mounting tabs.
rf79.jpg

I am happy with those.
rf80.jpg

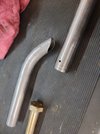
Next it's time to notch the rear axle tubing to the correct angle. Using a piece of round stock to aid with fishmouthing.
rf81.jpg

I like that angle a lot.
rf82.jpg

Pieces getting closer to the weld process.
rf83.jpg

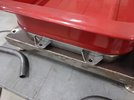
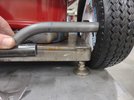
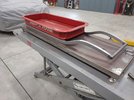
Body mocked onto chassis to determine backspacing of the rear tire/wheel assemblies.
rf120.jpg

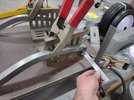
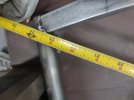
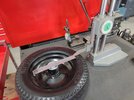
Measuring backspacing so I have an idea what I'm dealing with.
rf121.jpg

More to follow....
 

zmotorsports

Hardcore Gearhead
Vendor
Location
West Haven, UT
With dimensions noted, cutting and prep work for welding can begin.
rf122.jpg

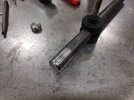
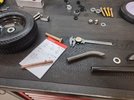
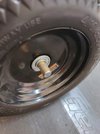
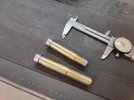
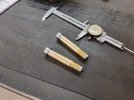
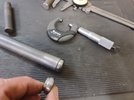
The bolts for the rear axle are placed in just deep enough to allow the full shoulder to protrude from the wheel hub. Then the extra threads were removing by clamping the bolt in the mill vise and milling to length.
rf137.jpg

One down and one to go.
rf138.jpg

Both axle shafts machined to the correct diameter and length.
rf139.jpg

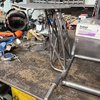
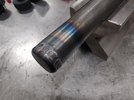
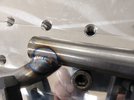
The rear axle center tube has the ends capped and a vent hole is drilled to prevent a blowout. Careful placement of vent holes isn't critical as long as the tubes are vented but I prefer to pop the vent holes where another tube will intersect. This just aids in aesthetics and looks like someone give a shit.
rf127.jpg

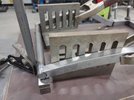
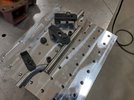
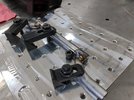
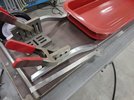
Now the components can be clamped to my fixture plate for final alignment and welding.
rf129.jpg

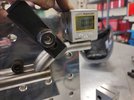
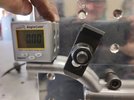
Standing the fixture plate on end was the easiest way to check axle tube angle and ensure it is level.
rf130.jpg

Same on the other side.
rf131.jpg

After checking angle the clamps can be tightened and welding can commence.
rf132.jpg

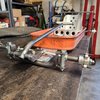
Axle tubes welded to the center support.
rf133.jpg


More to follow.....
 
Top