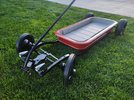
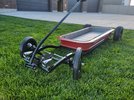
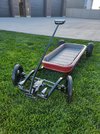
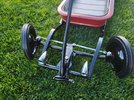
Radio Flyer Project

zmotorsports

Hardcore Gearhead
Vendor
Location
West Haven, UT
Stay tuned for several posts being very picture heavy. Hope everyone is ok with pictures. :rofl:

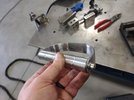
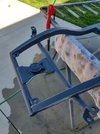
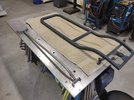
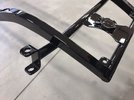
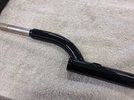
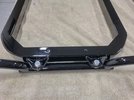
I had gotten a bit of criticism over the squared base of the handle so on Saturday morning I opened up the shop and began work by modifying the handle to change from the 90-degree handle bracket to a radius style. Started by working on a couple of bends to see what looked good. I could have made a completely new handle but figured I would just modify the original. Time wise it was probably sixes as to which was quicker, but either way it's done now.
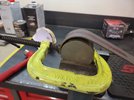
rf371.jpg


Settled on a radius that looked good and duplicated it.
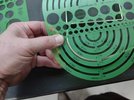
rf372.jpg


Mocked up and marked the points of tangency.
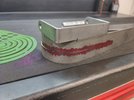
rf373.jpg


After cutting the radius bends I test fitted. Not quite as much room but ample for my large hands so it should work.
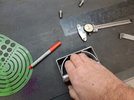
rf374.jpg


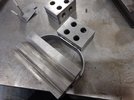
Cuts were made, edged chamfered and setup for tacking.
rf375.jpg


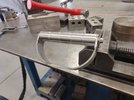
Tacked together and test fit the grip.
rf376.jpg


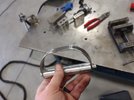
Final welds done and blended then metal finished on the outside...
rf377.jpg


and metal finished on the inside.
rf378.jpg


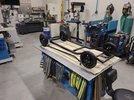
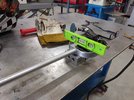
Set up on the fabrication table with both ends leveled so they are in the same plane.
rf379.jpg


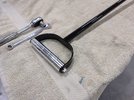
Handle completed and ready for final sanding.
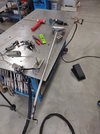
rf380.jpg


Stay tuned for more....
 

zmotorsports

Hardcore Gearhead
Vendor
Location
West Haven, UT
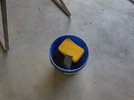
Next out came the water and sponge for wet sanding.

A couple of drops of Dawn dishwashing soap in the water works well for lubrication and keeping the paper from clogging up so quickly.
rf381.jpg


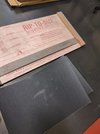
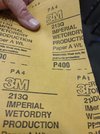
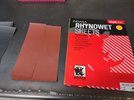
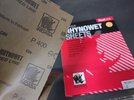
I only had a couple sheets of 3M 400-grit sandpaper so I had to stop by the local paint & body supply shop a few days earlier.
rf382.jpg


rf383.jpg


I generally don't waiver from 3M products but I'm not gonna lie, there has been a huge price gap lately so I opted to give a less expensive brand a try on the counterman's suggestion.
rf384.jpg


rf385.jpg


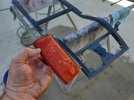
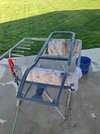
For a good side by side comparison I used each brand on each side of the chassis. I really couldn't tell much difference in them other than I felt the import brand didn't clog as easily. That may have been in my head though or it could be that the SPI Epoxy Primer sands much better than the PPG brand of epoxy primer.
rf386.jpg


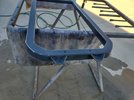
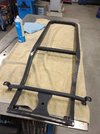
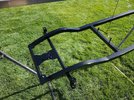
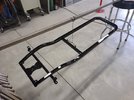
Chassis wet sanded and wiped down.
rf387.jpg


All of the nooks and crannies were blown out as well.
rf388.jpg


rf389.jpg


rf390.jpg


Pretty pleased with how everything sanded and came out.

Stay tuned....there's more...
 

zmotorsports

Hardcore Gearhead
Vendor
Location
West Haven, UT
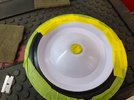
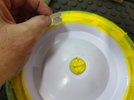
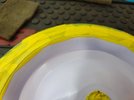
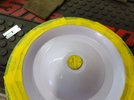
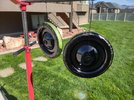
Before closing up the shop Saturday night I thought I'd get the wheels masked.

Here's a little trick to masking without taking any more time than necessary.

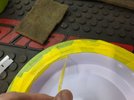
Use wide tape when possible, then fill in with the 3/4" wide tape. Start in one spot and work in a direction. Doesn't matter clockwise or counterclockwise but the key it to overlay in a sequence.
rf391.jpg


I just used my fingernail to press the tape down into the recess between the steel wheel and the rubber tire. Next take a sharp razor blade and run around the recess using it as a guide.
rf392.jpg


Here you can see the cut line.
rf393.jpg


Next, pick a starting point and peel in the same direction and it should come off all in one if you overlapped correctly.
rf394.jpg


Masked and ready to go in relatively quick order.
rf395.jpg


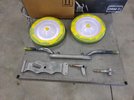
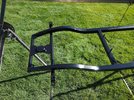
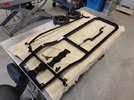
Everything masked and wet sanded, ready for sealer and paint.
rf396.jpg


rf397.jpg


That was where I closed up the shop and called it a day.

Yesterday after the wife and I returned from breakfast it was such a nice day with no breeze blowing so I headed back out to the shop to seal and pain the parts.

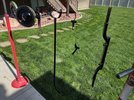
Everything hung and wiped down one last time with Wax & Grease remover as well as tacked using a tack cloth.
rf398.jpg


rf399.jpg


Stay tuned for more..
 

zmotorsports

Hardcore Gearhead
Vendor
Location
West Haven, UT
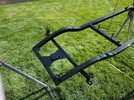
I had mixed up the SPI Epoxy Primer and added just a bit of slow reducer to aid in laying down flat for the sealer coat.

Here is the sealer coat applied.
rf401.jpg


Sealer coat applied to the chassis.
rf402.jpg


The sealer was given about an hour and a half while I sat on the deck with the wife enjoying a nice lazy Sunday afternoon.

Then I mixed up some PPG DBC9700 black and sprayed a couple coats of color on the parts....
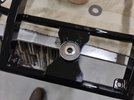
rf403.jpg


rf404.jpg


and the chassis....
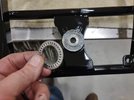
rf405.jpg


The paint dries relatively quick so by the time I cleaned the gun and mixed up the SPI Univeral Clear it was ready to spray the final clear using a couple of wet coats.
rf406.jpg


rf407.jpg


The wife helped me carry the chassis and parts into the shop.
rf408.jpg


rf409.jpg


rf410.jpg


After hanging everything in the shop I cleaned out the guns, cleaned up the bench, coiled up hoses and put all of the paint supplies away and got the shop back to normal again.

Overall, I am pretty pleased with how the job turned out and it should be ready to final assembly after I machine a few fasteners and polish a couple of items.

Thanks for looking.
 

Pike2350

Registered User
Location
Salt Lake City
Yeah, you know how social media is. Everyone's a critic and trust me, I'm not perfect, I **** shit once in a while and have to go back to the drawing board.

Oh well, I do think the radius looks better. :thinking:
I agree...I think the radius looks better as well. It's obviously too late now, but I do wonder if the same change would've looked better at the bottom of the handle, instead of the squared off bracket.
 

zmotorsports

Hardcore Gearhead
Vendor
Location
West Haven, UT
I agree...I think the radius looks better as well. It's obviously too late now, but I do wonder if the same change would've looked better at the bottom of the handle, instead of the squared off bracket.

I thought about that at the time but actually like the smaller squared off one at the bottom much better as it keeps the pivot area cleaner and more compact.
 

zmotorsports

Hardcore Gearhead
Vendor
Location
West Haven, UT
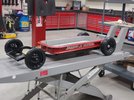
I didn't get much time on the wagon last night as I had a few other tasks in the shop to do but I was able to unmask everything and get a good start on final assembly.

rf411.jpg


I'm quite pleased with the depth of the paint on the chassis. All of the work paid off, although this project took on quite a bit of project creep.
rf412.jpg


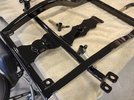
Even the smaller parts have nice deep appearing paint work and the welds are smooth and barely visible.
rf413.jpg


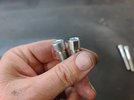
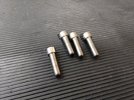
Next was to add another finishing touch of mine, knocking the knurls off of the stainless steel socket head capscrews. I did this same technique on all of the snowmobiles, sand quads and sandrails I built over the years before the fasteners went off to chrome. I don't particularly like the visible knurls on fasteners for show jobs.
rf414.jpg


Those look so much better than the knurls.
rf415.jpg


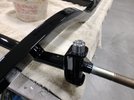
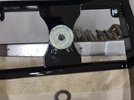
Next I thought I'd grease and assemble the Torrington bearing assembly for the steering pivot plate.
rf416.jpg


rf417.jpg


rf418.jpg


rf419.jpg


Stay tuned for more pictures.....
 

zmotorsports

Hardcore Gearhead
Vendor
Location
West Haven, UT
Continuing on.
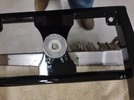
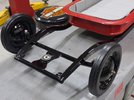
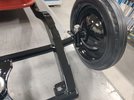
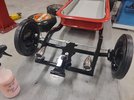
Assembled the steering knuckles after pressing the Delrin bushings in and lubing the pivot points.
rf421.jpg


Bolted the rear axle in place.
rf422.jpg


rf423.jpg


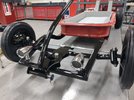
Installed the tires/wheels onto the chassis to get it to ride height.
rf424.jpg


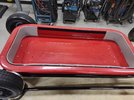
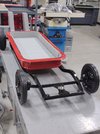
Removed the interior's lower panel and bolted the body to the chassis.
rf425.jpg


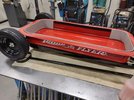
I like how the body rests on top of the chassis rails giving it that Roadster appearance.
rf426.jpg


Interior reassembled and moved to the lift table as that was all the time I had for the night.
rf427.jpg


rf428.jpg


rf429.jpg


rf430.jpg


Thanks for looking.
 

Pike2350

Registered User
Location
Salt Lake City
Man, that is beautiful. Your attention to detail is outstanding. I love your posts and highly admire your "do it right" mentality. It is a dying mindset but I love seeing it still in practice.
 

zmotorsports

Hardcore Gearhead
Vendor
Location
West Haven, UT
Man, that is beautiful. Your attention to detail is outstanding. I love your posts and highly admire your "do it right" mentality. It is a dying mindset but I love seeing it still in practice.

Thank you. I appreciate the comments.

It's sad that that mindset is dying because it isn't that much more difficult to do things right vs. half-assing something. If I can do it anyone can.
 

zmotorsports

Hardcore Gearhead
Vendor
Location
West Haven, UT
Putting the finishing touches on my grandson's Radio Flyer project.

Polished some aluminum parts such as the hand grip.
rf431.jpg

Installed the hand grip using some 12-point stainless steel ARP fasteners I had on hand, leftover from another project.
rf432.jpg

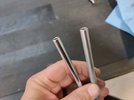
Polished the aluminum tie rods. One down, one to go.
rf433.jpg

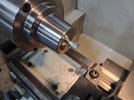
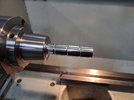
Chucked up the stainless steel shoulder bolt for the steering pivot to knock the knurls off.
rf434.jpg

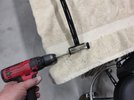
Ran a reamer through the steering pivot points to clean up the paint mil thickness and aid in smooth steering.
rf435.jpg


rf436.jpg

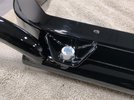
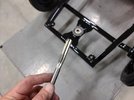
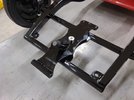
Steering pivot plate bolted in place. I had to add a .040" shim to properly tighten with no slop or play in the Torrington bearing.
rf437.jpg

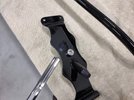
Ran a .250" reamer through the steering pivot plate as well as the handle pivot point to remove paint thickness.
rf438.jpg

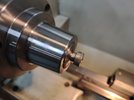
Chucked up the stainless steel socket head capscrews for the tie rods to removed the knurls. One down, three to go.
rf448.jpg

Tie rods installed, alignment completed, tie rod jam nuts tightened down and "King Bee" headlights installed.
rf449.jpg


More to follow...
 

zmotorsports

Hardcore Gearhead
Vendor
Location
West Haven, UT
Moving on to the last of the pictures as the project is now complete.


Before lowering it down off the lift table I gave it a wipe down with Final Inspection and installed the handle with the quickl release pin.
rf450.jpg

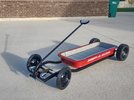
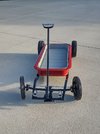
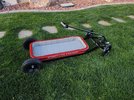
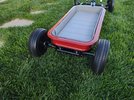
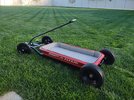
While I still had some daylight left I rolled it outside to snap a few pictures of the finished product.
rf451.jpg

rf453.jpg

rf454.jpg


rf455.jpg

rf456.jpg

rf457.jpg

rf458.jpg

rf459.jpg

rf460.jpg


Thank you for continuing to follow along on this project/build. It was a fun project and one I hope my grandson cherishes and enjoys for many, many years.
 

zmotorsports

Hardcore Gearhead
Vendor
Location
West Haven, UT
That thing is so rad. I pray I never see a post about it being left in the drive and backed over or filled full of dirt and worms lol.


Me too. My son said he was afraid to use it because it turned out so nice. That's not what I wanted and there was some project creep that took place. I want it to be enjoyed and know it will get at least a scratch here and there but I want it to be used and enjoyed.
 
Top