
zukijames
Well-Known Member
- Location
- not moab anymore
Steve I bet you could make one...


darn, I was hoping I could keep the bench seat.
My crawler, still has the 60/40 split bench. & you know I run duals. I did dog leg the
Shifter so that it has a short throw.
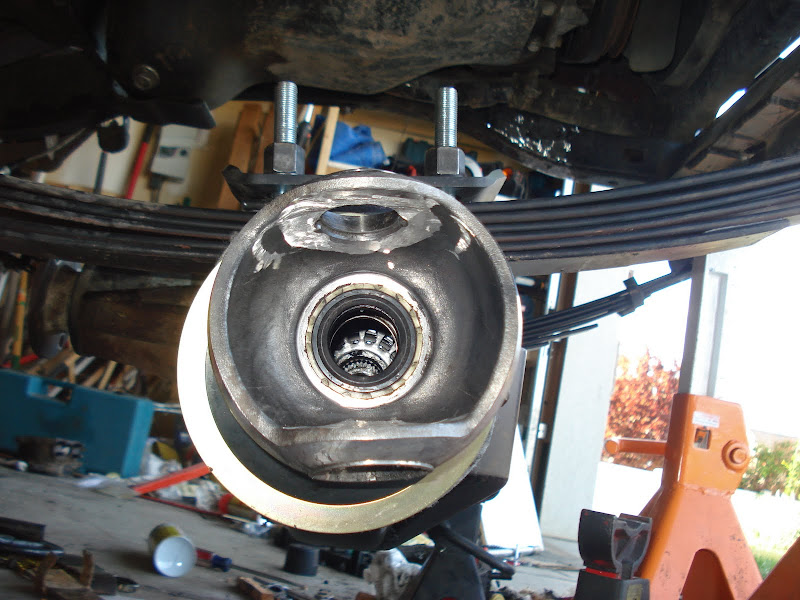
Is it easy to rebuild the axle? I'm wanting to do the same with mine to have it ready to swap in. What time will you be working on it tomorrow? I think I'd like to see if I can go up there and check out the work if it's cool


got any pictures? I'd love to be able to keep my bench seat just to be able to haul one more person around.
Is it easy to rebuild the axle? I'm wanting to do the same with mine to have it ready to swap in. What time will you be working on it tomorrow? I think I'd like to see if I can go up there and check out the work if it's cool
Mine look like the have been ground down, but I need a reference.


steve, your truck looked like it had the 60/40 split like mine, is that right?
I dont have any pics, but my seat is all the way forward (short legs)
so I welded a "dog leg" in the shifter to bring it forward & give it a shorter throw. It works flawlessly & Ive never had a problem with it, Ive had it that way for 8 or 9 years.
Ill bet you could find some pics of some one that has done the same thing on pirate or, marlins site. you can come check mine out if you want
theres a pic in this link, that gives you the idea. I got my shift boot from summit
http://www.pirate4x4.com/forum/showthread.php?t=455075&highlight=dog+leg+shifter