- Location
- West Haven, UT
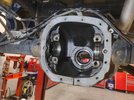
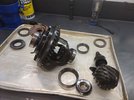
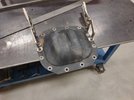
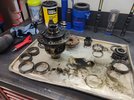
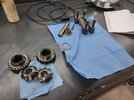
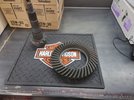
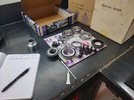
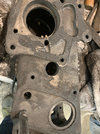
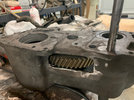
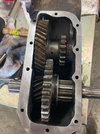
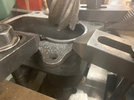
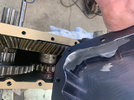
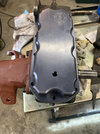
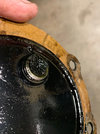
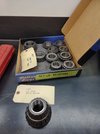
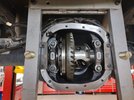
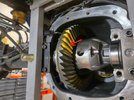
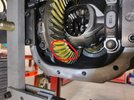
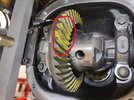
So I mentioned that I have a 2018 Ford F150 in my shop that belongs to a fellow RME forum member that I am doing a re-gear on. As I walked to my toolbox to grab my pair of adapters that I made for my OTC case spreader about 25+ years ago at the beginning of my career I was disgusted with what I had been using. It was a very crude attempt at a shop made tool and I would have been embarrassed to show them let alone use them again. I was so disgusted I walked them right to the garbage can and tossed them in. Now it have the opportunity to start with a clean slate and fabricate another set with a much improved skillset.
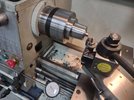
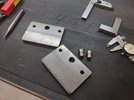
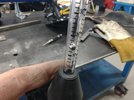
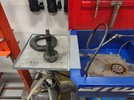
The OTC case spreader uses a 1"-14 threaded stud with a smaller 7/8" machined thread on the end as the pin. Knowing I would be inserting this into 3/8" plate and exerting forces and that it would more than likely damage the threads I stopped by my local Bolt & Nut Supply and picked up two 1"-14 x 2.75" bolts. I cut the heads off and turned the shoulder down to .850" diameter approx. .750" long to be used as the new pins to engage with the 3/8" plate I would be using for the adapters.
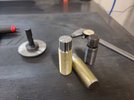
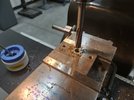
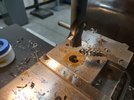
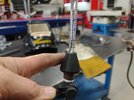
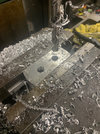
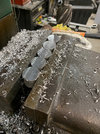
Wanting to mimic the original OTC threaded pins I cut a screwdriver slot in the opposite end with a slitting saw blade in the mill.
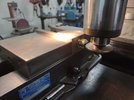
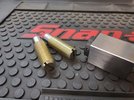
That looks pretty close to original.
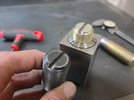
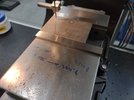
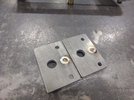
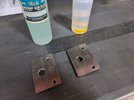
Moving on to the plate work, I measured what I thought would be adequate for the adapters and found some 3" wide P&O and cut two into 4.5" long pieces.
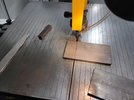
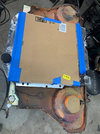
After deburring the edges I cut a piece of cardboard the exact size to act as a transfer pattern.
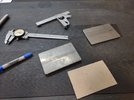
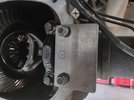
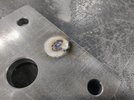
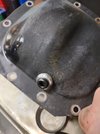
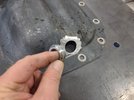
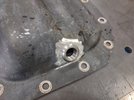
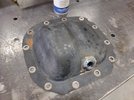
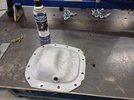
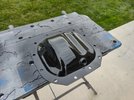
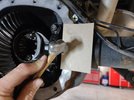
Holding the cardboard into position I tapped the edges with a ball peen hammer to transfer the bolt pattern and machined hole to the cardboard.
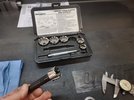
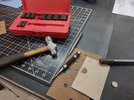
Next, using my gasket hole cutting set I cut the cardboard so I could transfer to the plate.
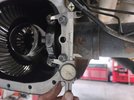
Measuring the bolt pattern to get as accurate as possible. Measure the outside of the bolts first.
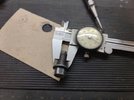
Then measure one bolt diameter and subtract that amount from the previous outside dimension from the bolts.
Stay tuned. More to follow.......
The OTC case spreader uses a 1"-14 threaded stud with a smaller 7/8" machined thread on the end as the pin. Knowing I would be inserting this into 3/8" plate and exerting forces and that it would more than likely damage the threads I stopped by my local Bolt & Nut Supply and picked up two 1"-14 x 2.75" bolts. I cut the heads off and turned the shoulder down to .850" diameter approx. .750" long to be used as the new pins to engage with the 3/8" plate I would be using for the adapters.

Wanting to mimic the original OTC threaded pins I cut a screwdriver slot in the opposite end with a slitting saw blade in the mill.


That looks pretty close to original.

Moving on to the plate work, I measured what I thought would be adequate for the adapters and found some 3" wide P&O and cut two into 4.5" long pieces.

After deburring the edges I cut a piece of cardboard the exact size to act as a transfer pattern.

Holding the cardboard into position I tapped the edges with a ball peen hammer to transfer the bolt pattern and machined hole to the cardboard.

Next, using my gasket hole cutting set I cut the cardboard so I could transfer to the plate.

Measuring the bolt pattern to get as accurate as possible. Measure the outside of the bolts first.

Then measure one bolt diameter and subtract that amount from the previous outside dimension from the bolts.

Stay tuned. More to follow.......
Last edited:

