Tacoma
Et incurventur ante non
- Location
- far enough away
Bolt and Nut rocks. They had some weird hardware I needed for a drafting table.
Bolt and Nut rocks. They had some weird hardware I needed for a drafting table.
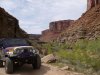
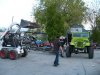
") Rollover was on his way to Moab!!!
Rollover was on his way to Moab!!!What's the game plan for this weekend?
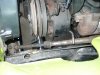
I'm just glad the torque flex on the motor will move it the other way. Don't know what reverse will do. My old motto is run it and watch it. Maybe it'll self clearance. : )
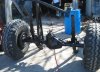
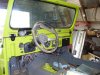
You could try lowering the steering column a bit or even tipping the steering gear box a bit to get a bit more clearance. There may even be a different PS pump that could help out. I think I may have some in the basement from other chevys that have more clearance. I'll look to see what I can find in the basement and stop on by some evening. I will come help out as soon as I can get at least one of the broken down jeeps that I'm fixing for friends out of my garage.
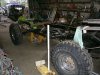
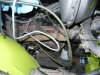
It looked in the picture like the steering shaft was very close to the pump and hose connection and I thought that was where you were having clearance problems. If the shaft does hit the manifold you could use a two piece steering shaft like a TJ uses (I happen to have one you could use).


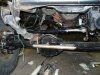
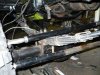
Ah, yes, the pic does look that way. We considered the 2 piece design...and I appreciate the offer if it turns out we need it. Does it have the carrier bearing too?
Thanks!