General Tech What did you work on Today?

zmotorsports

Hardcore Gearhead
Vendor
Location
West Haven, UT
I got the Camaro's pan dropped and parts cleaned last night in preparation to reassemble over the weekend.

f5d428a70238f5aa5ba402148e207173.jpg


79534802d51f460f7ea23000635e2f18.jpg


c4bef3e0a59d8aa43e3f451af75c561b.jpg


865b2f854ba12780f04a22aa0ab42a2a.jpg


cc243ea2fe6a72f9fa6349dbf6aeb434.jpg


a6c0b12433a460a6f67b565e5d6a4772.jpg


af08ee7b82f8cf3a37513b0649a75b85.jpg


Thanks for looking.

Mike
 

Gawynz

Active Member
Location
Ogden, UT
Try Salt Flats Brewing Slipstream and Tankslapper. Not draft, but kind of dangerous and really tasty

Definitely will check them out. Utah has several good breweries, and i think it's going to continue to grow. The rules controlling the way the liquid is served confuses me.
 

_Auzzy_

Web Wheeling Extraordinaire
Location
Richfield Utah
Brewed an IPA today, then loaded up the buggy for Hanging Tree tomorrow! :beer:

View attachment 128084

Bringing any for tasting?


Finally dragged my trailer out and fixed its wiring issue. Fixed the left brake/turn signal issue and the axle brake issues. And while I was at it I mounted some reverse lights too. Probably going to mount some off the back rear corners too after I get it sandblasted this summer.

received_267209974592801.jpeg
 

4x4_Welder

Well-Known Member
Location
Twin Falls, ID
Bringing any for tasting?


Finally dragged my trailer out and fixed its wiring issue. Fixed the left brake/turn signal issue and the axle brake issues. And while I was at it I mounted some reverse lights too. Probably going to mount some off the back rear corners too after I get it sandblasted this summer.

View attachment 128088
Nice. I always like having reverse lights on a trailer.
 

zmotorsports

Hardcore Gearhead
Vendor
Location
West Haven, UT
Finished up the Camaro for my friend from work on Saturday.

Rear main cap cleaned and lower half of the seal installed.
18f0019b43f184d5d17d7b2621c2d519.jpg


It’s a good idea to replace the nylon sleeve between the oil pump and distributor intermediate shaft as they get brittle over time.
8f67ebfefbf0b02f36848be4da76d0de.jpg


Also a good idea to make sure the pan rails are flat and true. This one has had the bolts overtightened as the bolt holes were deformed requiring straightening.
a61eb3ac22af577e21a02a40c4cb7567.jpg


I’m using the Fel-Pro molded one-piece pan gasket as I’ve had good results with them. A little trick is to use either fishing line or dental floss to secure the gasket to the pan then once in place merely cut the floss and remove. Used that little trick many times over the past 30+ years.
5e36b6937ea03b743e15f88e50c600d6.jpg


The pan gasket comes with longer pan bolts.
5a6b9d9b6827ba74ad2069791248e864.jpg


I TIG welded the broken inspection cover and blended before installing.
51020cf6eb1b1fd0f963a068805ce665.jpg


Reinstalled the positive battery cable back into the OEM clip.
662a031099cf46f46acb7a2b17c6b704.jpg


Inspection cover and starter motor installed.
348e0bdb643641431b48efac01080286.jpg


f753d7a6831f0b7dfcb52e59a6a4a549.jpg


After lowering the engine back in to place and completing everything underneath I lowered the car back down, added oil, started and double checked for leaks.

Next up was to remove the driver’s seat and see about modifying the track to move the seat back a little. The owner is over 6’5” and had asked if I could move it back a couple of inches but all I was able to get is 1.25”.

I removed the seat and modified the mounting and drilled a couple holes 1.25” further forward on the seat moving it rearward in the car. I really didn’t want to modify the holes in the floor pan.
1bcff43051f699ab5bcbfaa8162278e0.jpg


54683c194848236b92a45c48fac96212.jpg


eec9f2135edac401fc2d896becb243db.jpg


9cae091c4b5a206bd1dd593a0b95df60.jpg


Completed and ready to be picked up.
c9da7c094a80baf87bf2c8de1d0e1744.jpg


Thanks for looking.

Mike
 

zmotorsports

Hardcore Gearhead
Vendor
Location
West Haven, UT
While I was waiting for the Camaro to be picked up I thought I’d knock out a quick little project.

I noticed last week on vacation that my FIL’s balance was a bit worse than usual. He had actually fallen going into his trailer one afternoon and scraped his elbow up pretty good. He was given his FIL’s cane about a year ago by my wife’s grandmother but he refuses to use it.

We went for a drive one day and my wife and he were talking about his balance. My wife was just mentioning she was concerned and that’s when I blurted out that if I were to custom build him a cane would he use it? He eagerly said “sure “. Now let me preface by saying I have never built a cane nor do I have any idea how, but I figured it’s metal so I’ll figure it out. I knew I had a Hurst shifter handle and so that had to be used.

Upon some quick Google searches I got a couple of pretty good ideas. This is what I started with, handle and piece of 3/4” x .065” 6061 tubing.
ad1f3cdcae358e1aea2a974389301542.jpg


A small drop of 1” 6061 that will be turned down, threaded and pressed into the tubing.
4e1f90404c1ae75a7c03e7ffdc8e6632.jpg


22e324dcebc48832b7b4f17675c14fcb.jpg


I wasn’t sure how well the aluminum would thread and hold up so I found a piece of brass that was already threaded to the 5/8”-18 so I just needed to cut it off and chamfer.
755e49f44db6dbeea4cac8136ff1008d.jpg


Facing the end of the tubing and prepping to accept the threaded slug.
120c7232f67f5ac2f236d7ee44544dca.jpg


I really need to get serious and machine an outboard spider for my lathe. Oh well, nothing a rag shoved in the spindle around the OD to hold it from flopping around.
5d1cd3a9b999fa387fa632a73b0c26cb.jpg


Polishing the tubing with emery, then Scotchbtite followed by aluminum polish.
e36ee263706a29f107c6e8d45dd0888c.jpg


c28aa147d096ceec017eea0f168b83d6.jpg


After pressing the threaded slug in I decided to polish it before cutting to length.
f3daa7876b19f9d8d41026614a20c3cd.jpg


cd6efc6d2da41cc6d362451ea70b5b54.jpg


f90b8b44719b9b2daff6ffcdade549dc.jpg


a2e6c8bbe4aa8f13f43b98b2ff82d5a7.jpg


I was trying to figure out how I could securely hold the shaft while I tightened the handle into place, then I realized I had a collet system that wouldn’t mar the finish.
8ff892454adbec3908e22cffbf691ddf.jpg


A little Loctite and the handle is secured.
853ac4e117398d655ec37321501aa104.jpg


Final polish by hand.
7f8cbd0a0159081a1c1a5ded12f9cb2a.jpg


56b6df82eb5234d5dc41c60cbd85afbb.jpg


Lastly a rubber chair protector from local hardware store and some 3M Weatherstrip adhesive to hold it in place.
3b8d8d2948bad03de0a8c447c1d0b18c.jpg


Completed.
97f49ad273201af8edb9c811537e461d.jpg


Thanks for looking.

Mike
 

Herzog

somewhat damaged
Admin
Location
Wydaho
I recently used a felpro gasket on my oil pan just a couple months ago... that has to be the nicest and easiest oil pan gasket I've ever used. Not one little drip or leak. The blue line up clips that it comes with made it go in super nice and easy.
 

zmotorsports

Hardcore Gearhead
Vendor
Location
West Haven, UT
That's a bad ass cane, going to have to file that idea away for 30 years from now

Thank you.


I recently used a felpro gasket on my oil pan just a couple months ago... that has to be the nicest and easiest oil pan gasket I've ever used. Not one little drip or leak. The blue line up clips that it comes with made it go in super nice and easy.

Agreed. I've had great results with the Fel-Pro one-piece pan gaskets. As for the plastic alignment pins that come with the gasket, on trucks where the frame crossmember is further down from the engine they seem to work well but in car chassis I haven't been able to use them as often due to lack of clearance, that's where the fishing line or dental floss trick comes into play.

Mike
 

I Lean

Mbryson's hairdresser
Vendor
Location
Utah
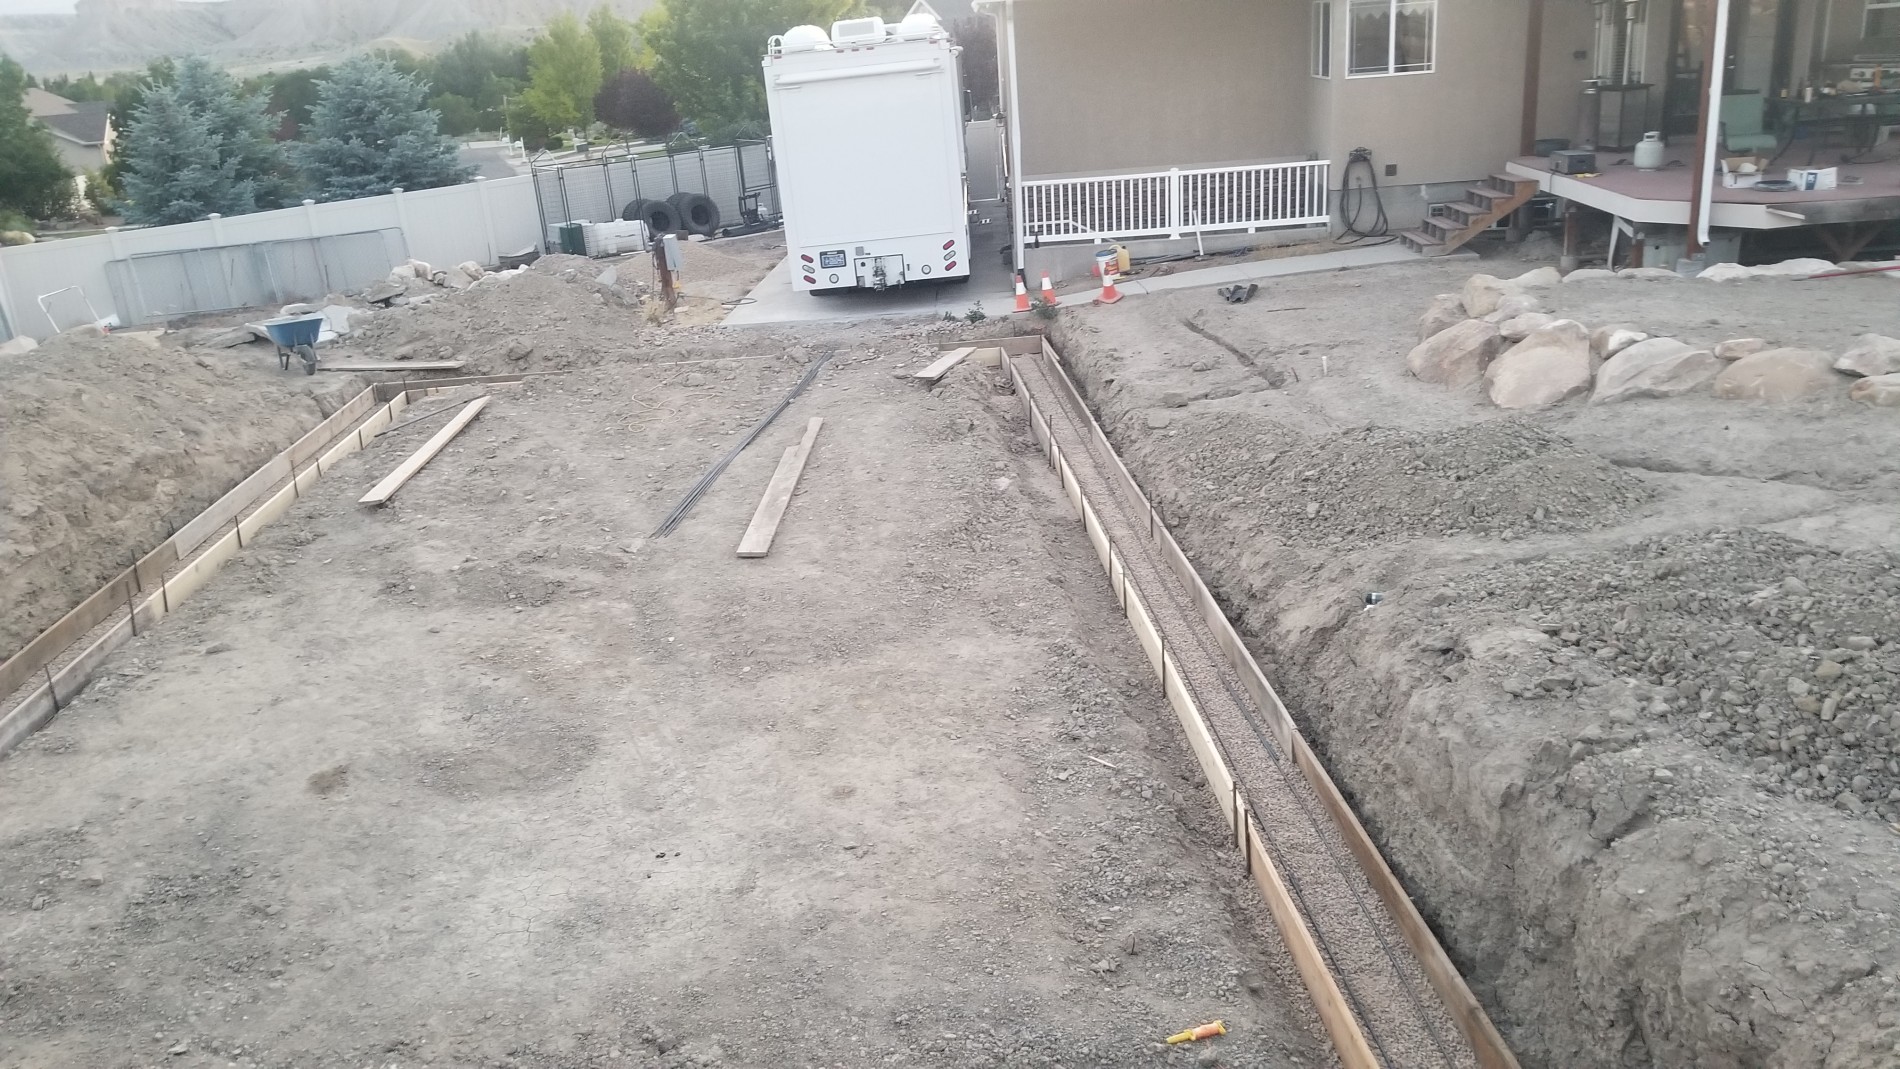
I'm no concrete guy, but doesn't the rebar have to be up inside the concrete to do any good? (i.e., suspended up above the gravel...)
 
Top