I can't seem to get time to work on the old square body Chevy of JJ's (NYCEGUY01) this week. I took on a few small jobs thinking they'd be filler but they took over my entire week. I really need to focus on the square body this week and get it completed.
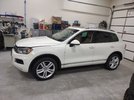
I had a client call me last week to see if I could hurry and get their VW Touareg in the shop to fix an oil leak that was driving them crazy so I obliged and had them bring it by Friday night after I informed them that I had received the parts that I had ordered. This way it could cool and I could start on it first thing Saturday morning while the wife had a family party in the house. I thought it best I be in the shop doing something productive.

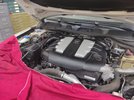
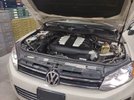
This is a 2011 VW Touareg with the 3.0 liter V6 TDI (diesel) engine with about 134k miles on it and my first modern VW that I have worked on. When they asked me if I could fix it I just figured it's nuts and bolts so it can't be that much different than anything else. Evidently they were somewhat frustrated with the dealership they had it at the week prior. The right bank valve cover had been leaking and needed the gasket replaced plus I picked up three sealing washers for the injectors on that bank. I do not trust disturbing those injector sealing washers and having them reseal so I always replace them any time I disturb an injector on anything.
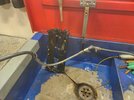
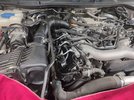
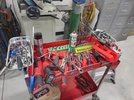
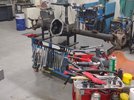
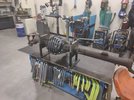
Lights set up and fender covers in place along with tools in the tool cart and ready to begin. I also recorded this process and posted it to my YouTube channel so hopefully it will help anyone else dealing with a similar issue.
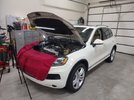
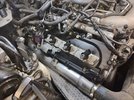
Air box lid, MAF sensor and air box to intake duct removed to gain access to the right bank. Next was to disconnect the fuel return lines and move them out of the way.
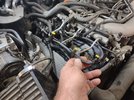
Started disconnecting connectors and moving wiring up and out of the way.
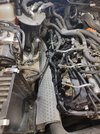
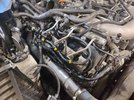
Wiring from the injectors as well as injector high pressure lines removed. I always keep a few small bungee cords readily available to hold either wiring and/or brackets back out of they way. Here you can also see where the oil was dripping down onto the intercooler duct work from the leaking valve cover.
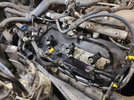
Wire loom mounting brackets out of the way and ready to start removing injectors. The worst part of the entire project was the upper rear wire loom bracket that bolted down to the top back of the valve cover. It had a bolt that attached to the valve cover and another bolt at the rear corner perpendicular to the valve cover right above the turbo housing. It required sorting through several tools until I found the one that would work to remove the bolt and slide the bracket about 2 inches rearward to allow the valve cover to be removed.
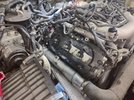
All three right bank injectors removed. As I was removing the injectors I also noted that the rear injector cover plate was loose so I think that was contributing to the oil residue on the upper portion of the valve cover.
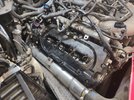
Injectors actually look quite good. From a small amount of reading I had learned that these engines were known to have those sealing washers leak and incur combustion blow-by past the sealing washer and carbon the lower section of the injector body but these showed no evidence of any combustion leak so I was pleased to see that.
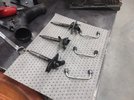
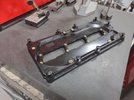
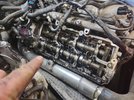
Valve cover removed and you can see at the front lower corner where I'm pointing where oil had gotten past the valve cover gasket.
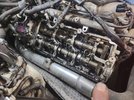
Here at the lower rear of the head you can see the evidence of where the valve cover gasket was leaking and allowing oil all the way to the edge of the flange on the head.
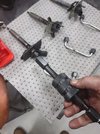
These injectors came out quite easily with a slight twist and pull motion. I had anticipated having to extract them with a slide hammer so I purchased an injector removal tool but ended up not needing it on this particular job. It would have threaded on to the injector supply thread and the weight of the tool slid back striking the end to remove the injector.
Move pictures to follow......


