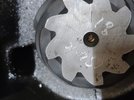
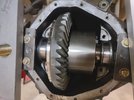
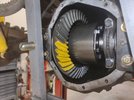
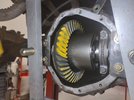
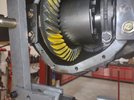
Got home from work late yesterday and only had about an hour or so in the shop but was able to get the gears mocked up and test fit about 4 times so ready for final assembly.
Spicer and Richmond used to engrave the pinion to center line dimension in their pinions but most oversees units these days do not mark them. They rely on you as the installer locating the perfect pinion depth based on tooth pattern readings. Time can be somewhat reduced if you know what the ideal pinion depth is supposed to be right out of the box. This is a Motive Gear set and they engraved the ideal pinion depth on the end of the pinion so that was a nice surprise. I also saw indications that the ring and pinion were "run-in" on a fixture as I could see a very faint wear pattern on the set as I removed it from the solvent tank after cleaning the corrosion protection off the new gear set.

I have a couple of different pinion depth tools to locate center but sometimes simpler is better. My Kent Moore kit has a lot of pieces and measurements that must be taken and I have used it mostly when a client brought me a bare new housing and we had no starting point. This was more prevalent back in my racing days when a guy would bring me a bare shortened axle housing but I've also done some with Jeeps lately with getting either new Currie or Dynatrac bare housings brought to me.
A simple check is to use a precision ground bar and lay it across the bearing cap parting line as this is the axle shaft centerline. From there measure to the end of the pinion then subtract the thickness of the bar. My first test I used my setup bearings on the pinion with no shims.
That measurement indicated I needed to install the .025" shim that I had removed from the original pinion. This makes perfect sense because from my experience over the past 30+ years of building rear ends, I have found that the machining tolerances and manufacturing tolerances have been so close and held to such tight tolerances that carrier to carrier or ring and pinion to ring and pinion as well as just tearing down to replace bearings that most do not require any alterations or adjustments in very small increments. My experiences has been the bigger differences are in the housings themselves. I have found when working on a particular rear end housing there will be very very small dimensional changes in comparison to when a new housing in introduced into the equation.
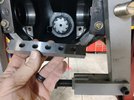
Here I am merely using one of my .500 thick parallels from my milling machine as it is a precision ground tool.

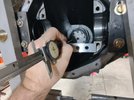
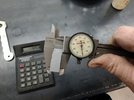
Laying it across the cap separation or parting lines then measuring to the pinion.

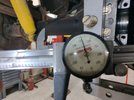
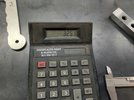
3.251" is what I measured on all three attempts.

This could easily be done in your head but for demonstration purposes plug that 3.251" dimension into your calculator.

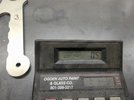
Measure the bar in which you used for taking the measurement. In this case .500" or 1/2".

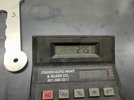
Subtract that .500" from the initial measurement.

And this is what your measurement reads. This 2.751" is exactly what is engraved in the end of the Motive Gear pinion so it is spot on.

At this point I went ahead and installed the pinion for the final time as I know the dimension is perfect and no need to test and remove to check for pinion depth like on a non-marked pinion. This is nice but the same results can be achieved by checking pinion depth by contact pattern it just takes a couple of times of installing and removing the pinion to swap shims as indicated by the contact pattern.
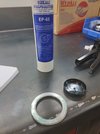
I apply a very, very thin layer of grease to hold the carrier shims in place while installing the carrier. This EP-65 grease is extremely tacky and a little goes a LONG way to hold these side shims in place.

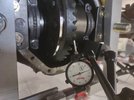
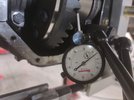
Initial installation of the carrier netted zero back lash so I didn't even put the bearing caps on as it had to come back out.

Stay tuned for more pictures.......
