General Tech What did you work on Today?

TurboMinivan

Still plays with cars
Location
Lehi, UT
Today's project was the first item on my 'prep for EJS 2015' list: relocate my ham radio. I had installed it simply by attaching it to the bottom center of the dash, blocking the 12v power outlet and allowing the shift lever to hit the radio if I aggressively engaged first gear. This bugged me to no end, but I knew from the outset it would only be temporary.

Today I remote mounted the transceiver in an out of the way place. I then installed the faceplate in a convenient spot, and I also installed an external speaker since it was now required. Sorry for no photos, but trust me when I say this install looks much cleaner than before. :)
 

zmotorsports

Hardcore Gearhead
Vendor
Location
West Haven, UT
Last night I was able to get the 2x8's cut for the new utility trailer I am building. Nothing too exciting. Hopefully tonight I will be able to get the spreader bars welded in and if time allows, my E-Track rails welded in as well.

Mike.
 

skippy

Pretend Fabricator
Location
Tooele
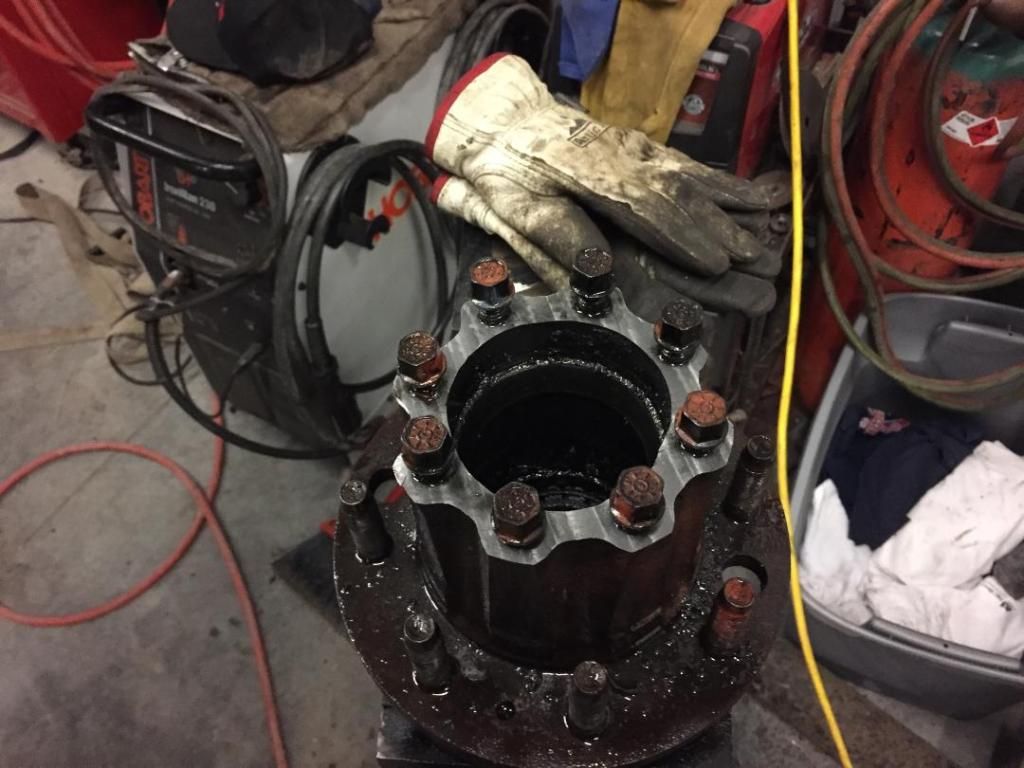
I am building an axle for a one ton, stretched, coilovered TJ I am building currently for a guy and the rear axles I like to use on all my builds arent the easiest things to find. We found the rear axle we are using in pretty bad shape, someone for whatever reason beat the crap out of the end of the wheel hub. I spent about 2 hours milling it down so it was flat again and making the holes round and retapping them so the axle bolts would thread in. I got it all good to go now but its roughly .090 shorter than it used to be which wont cause any issue unless the spindle on the axle sticks out further than the face of the hub. I will test fit it tonight and if thats the case I will machine a spacer and hope for the best.


airmanwilliams

Well-Known Member
Location
Provo, Utah
Worked on swapping leds in a few clusters before work today. This one belongs to Tyler(crawler dude12)
 

Attachments

  • 10359916_10155321430980193_2778612092310349959_n.jpg
    10359916_10155321430980193_2778612092310349959_n.jpg
    146.8 KB · Views: 15
  • 10985251_10155321430700193_8424735368089788654_n.jpg
    10985251_10155321430700193_8424735368089788654_n.jpg
    121.5 KB · Views: 14
  • 11041586_879625958747521_5261312645050864054_n.jpg
    11041586_879625958747521_5261312645050864054_n.jpg
    54.8 KB · Views: 19

zmotorsports

Hardcore Gearhead
Vendor
Location
West Haven, UT
One more small item I wanted to complete over the weekend on our motorcoach before the start of the new RVing season. I decided to finally replace that poorly designed door mechanism that Monaco uses. I don't know why they didn't get with the times like most every other manufacturer but they insisted on sticking with a poor out of date scissor type mechanism to hold the door open as well as act as a stop.

There have been a lot of write-ups over the years and I finally decided last fall that I had tightened up the scissor assembly for the last time and ordered the parts to convert it to the gas strut style.
Here is the only part where I really had to deviate from some of the other write-ups, my Dynasty had the small molded drip rail over the entrance door so it needed a small amount of trimming to clear the swing of the gas strut.
al2o1g.jpg


I then started measuring where I wanted to the bracket to mount on the coach. I ended up 4" back from the front of the door molding to the center of the first hole in the bracket. I also drilled a third hole in both brackets to give a little extra support.
3163jug.jpg


I then opened the door to 90-degrees and marked where the bracket needed to be on the door itself. Then drilled and installed it.
347bny8.jpg


This is what it looks like with the door closed.
2ezn51s.jpg


Next I wanted to machine a couple of covers to cover the openings of the two OEM mounting brackets.
I used a pieced of .125" aluminum, measured, machined, drilled and countersunk the screw holes for the coach mounted piece.
2lkp64j.jpg


I then used a piece of .188" thick aluminum that I flycut to flatten out, measured the bolt holes, drilled and countersunk for the rivets using a .375" end mill.
33ymeyp.jpg


I made the part slightly oversize to completely cover the square recessed hole in the door itself. The part measures 1.5" x 3.0" overall dimensions.
i6e6vd.jpg


I then flipped it over in the mill vise and machined the border to the exact size of the OEM bracket. This will allow the cover to orientate itself down into the recess of the door.
ifmkh1.jpg


Cover installed on the coach inside the doorjamb.
ra4svq.jpg


Cover installed up on top of the door into the recess of the OEM bracket. Sadly this cover will never be seen up on top of the door. But I will know it is there and what it looks like.
iqxa36.jpg


All in all the complete job was quite easy and I highly recommend it to anyone who owns a Monaco coach with the scissor style door support mechanism.
Also not shown in the above pictures is after I completed the installation I touched up the heads of the six screws with some black paint to blend into the mounting brackets. It actually looks like something that should have come out of the factory this way.

Mike.
 

scrogg

Enjoying the Drive
Location
West Jordan
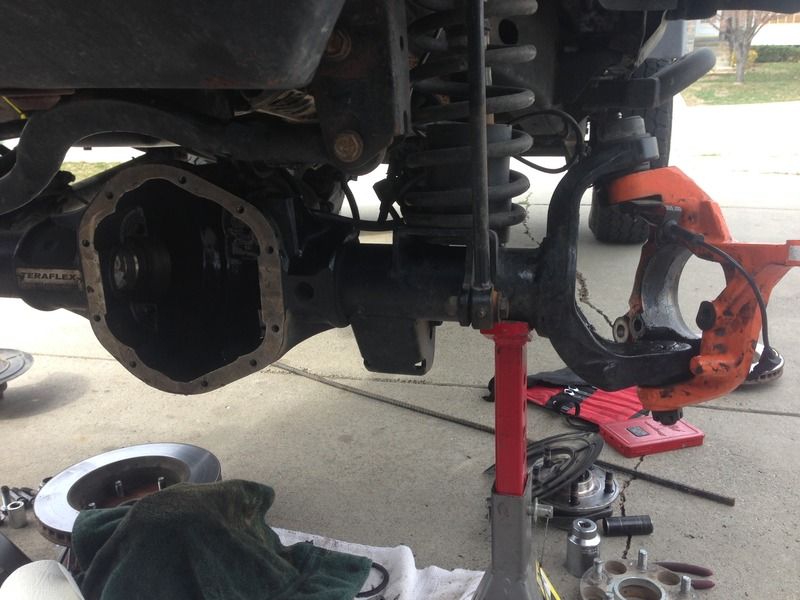
Replaced inner axle seals...:


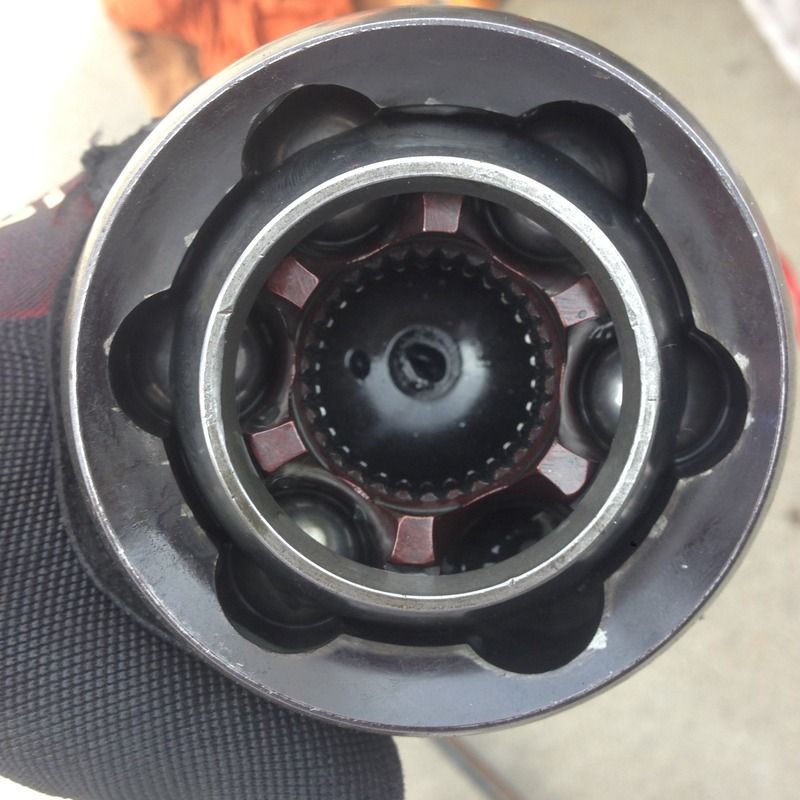
In the process, discovered that I was missing a bearing in the passer side CV axle...:


Called about it and now waiting to hear back if it will be covered by warranty or not.

Rubi now sits in the driveway awaiting the results and hopefully a replacement axle...:


zmotorsports

Hardcore Gearhead
Vendor
Location
West Haven, UT
Wow, that is odd. I am assuming an RCV axle shaft?

Let us know if they cover it or simply tell you that you lost it somewhere when you had it apart.

They weren't the most accommodating on my cracked poly boot a couple of years ago but after some bitching they caughed up and replaced it.

Mike.
 

Bart

Registered User
Location
Arm Utah
When I bought my junk it had a B&M ratchet shifter for the 700r4 and it always drove me crazy. I put a Sidewinder (Art Carr) in before our last trip to Sand Hollow but with the console and cup holders reverse and part shifter positions were under the dash so there was no chance of saving a backward roll in an emergency. Over the past few weekends I built this. It has way more hours in than it should but it came out exactly how I was hoping. Now everything is close and very reachable.
tsmount1.JPGTSmount2.jpgTSmount3.jpg
 

scrogg

Enjoying the Drive
Location
West Jordan
End result looks good there Bart.

Heard back from RCV about my missing bearing. They offered to send me a rebuild kit or I can send them the joint and they'll rebuild it. So good on them.
 
Top