General Tech What did you work on Today?

FastGas

Member
I need to do something similar what material are you using?

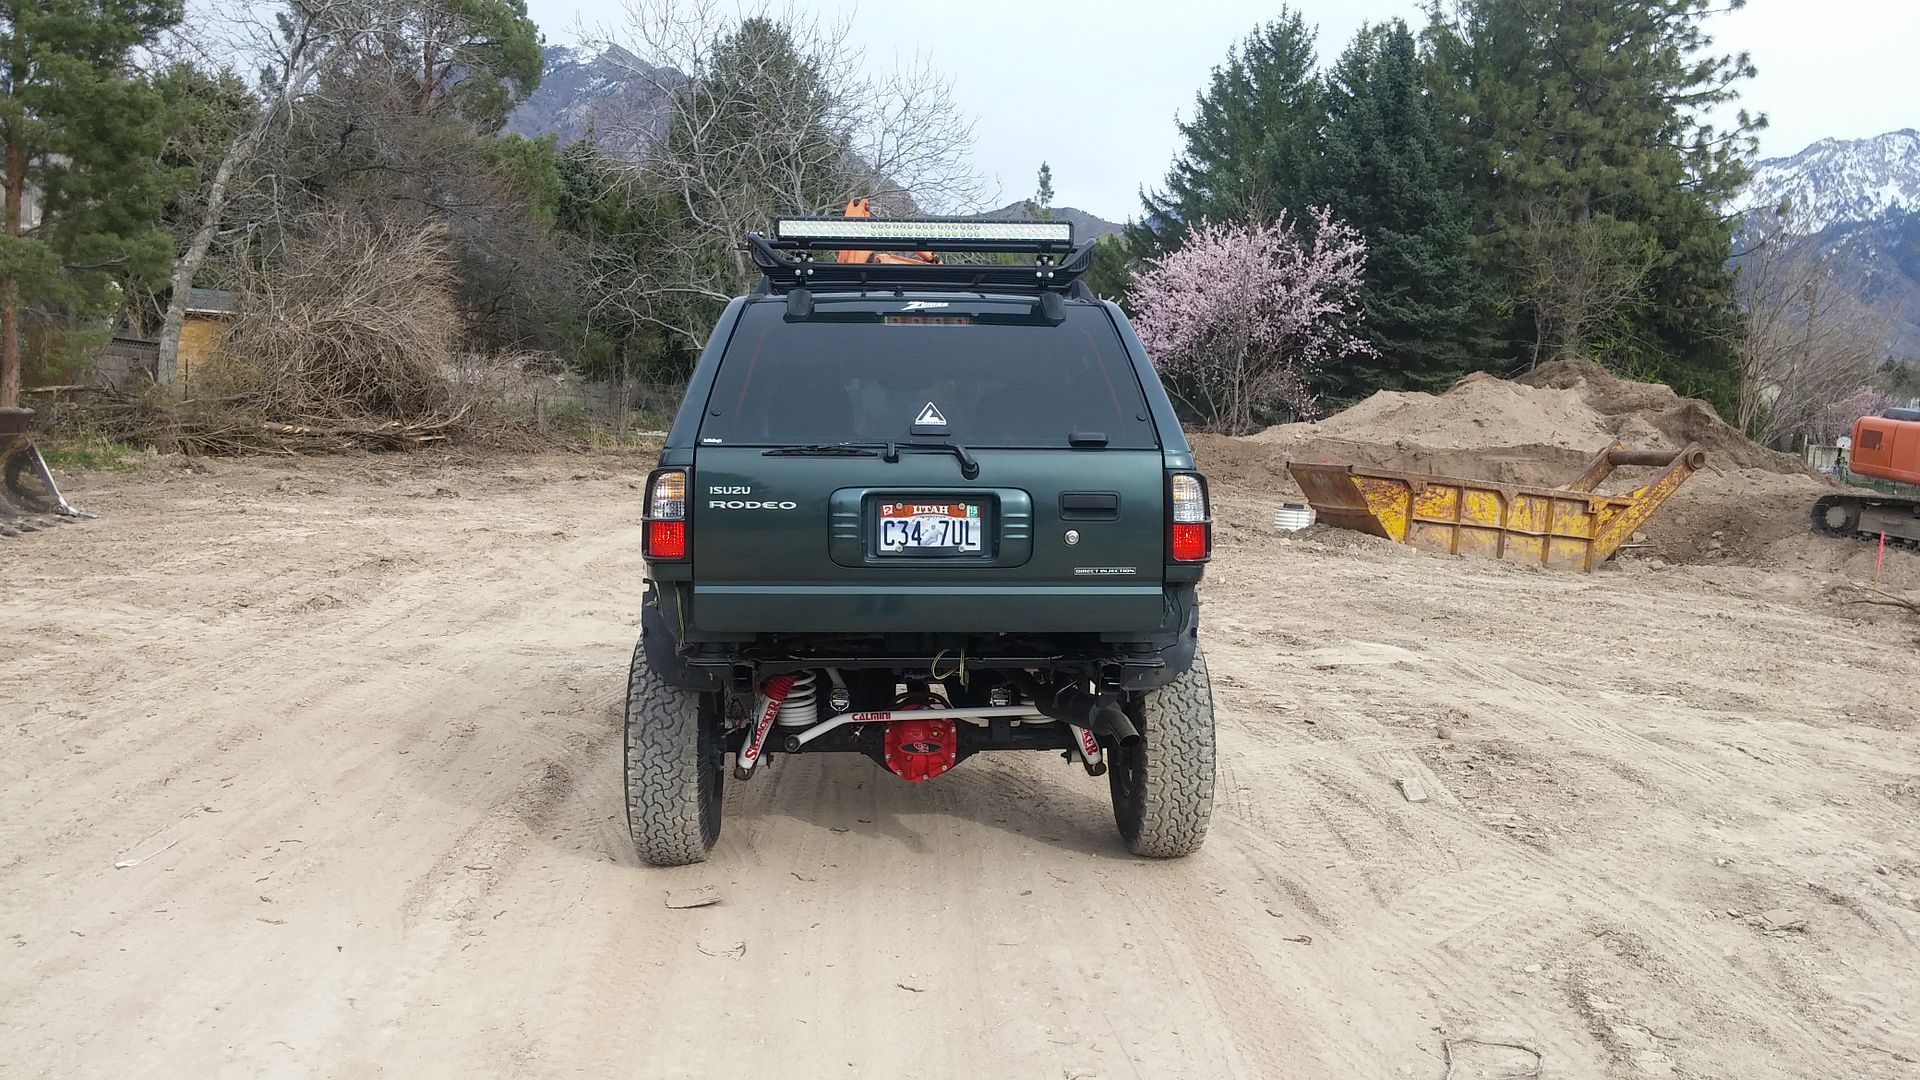
Chassis saver by magnetic paints, same people that make monstaliner...which is next on my to-do list. It brushes on but self-levels and looks sprayed on. Very tough stuff. My truck came from the humid/salty so it had some light surface rust in all of the usual places.

20150322_165519_zps5zng4cyd.jpg

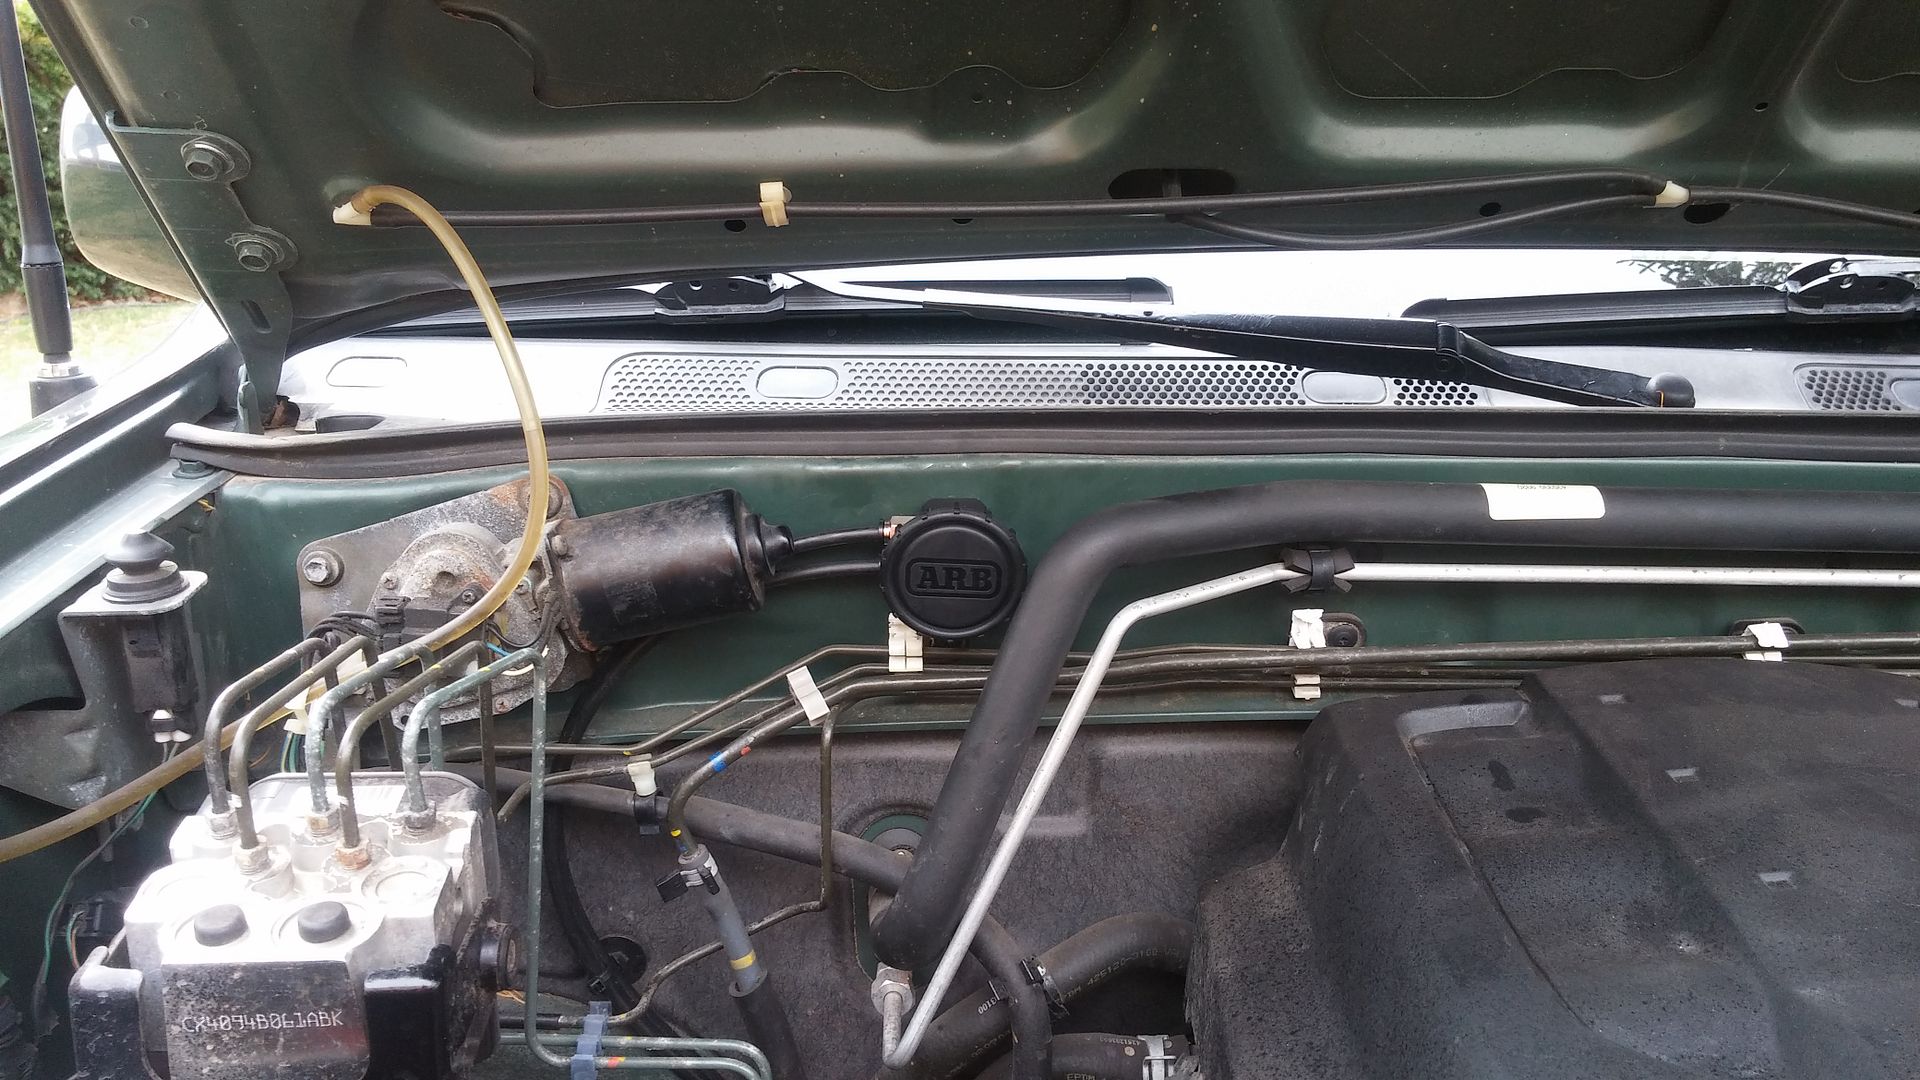
Installed ARB diff breather kit in both axles:

I need to find some more 8mm hose to vent the tranny and Xfer case.
 

I Lean

Mbryson's hairdresser
Vendor
Location
Utah
I made a bend protractor. :cool:

Trying to emulate the Mittler Bros. one, which looks like this:

2100-6.jpg


Mine doesn't have the nice engraved degrees or ruler measurements, but since I usually bend tubes to match the angle of the sample I have, it might not matter. (I've been using my Angle-O-Meter previously...just a couple pieces of 3/4" flat bar with a bolt through one end so they make an adjustable "V") This style is specific to each size of tube and bend radius--this one is for 1.75" tube, 5.5" centerline radius.

If anyone has any nifty ideas of how I can get angle and inch measurements on here, I'd be interested in learning. Ideally I'd have an engraver, but I don't.


YROC FAB.

BUGGY TIME
Vendor
Location
Richfield, UT.
Well i only have 2 220v welder plugs in my small shop and got tired of unplugging my plasma cutter and tig welder so i went ahead and wired in some outlets into my mig welder. My mig welder already has a 50' cord wired into it so i wont have to get a longer cord for the plasma cutter, i can just leave it on top of my mig welder.


IMG_5139.JPG


Added some bonus outlets on the front for running grinders or what ever.
IMG_5138.JPG
 

ricsrx

Well-Known Member
that is so cool! i have all the same problems and was looking at hanging an outlet box on my welding cart, but it was going to be big and in the way of every thing..
 

YROC FAB.

BUGGY TIME
Vendor
Location
Richfield, UT.
I got the idea from my big old tig welder and a few big welders from work that have 115V outlets from the factory built in them to run water coolers of external wirefeeders.
 
I made a bend protractor. :cool:

Trying to emulate the Mittler Bros. one, which looks like this:

2100-6.jpg


Mine doesn't have the nice engraved degrees or ruler measurements, but since I usually bend tubes to match the angle of the sample I have, it might not matter. (I've been using my Angle-O-Meter previously...just a couple pieces of 3/4" flat bar with a bolt through one end so they make an adjustable "V") This style is specific to each size of tube and bend radius--this one is for 1.75" tube, 5.5" centerline radius.

If anyone has any nifty ideas of how I can get angle and inch measurements on here, I'd be interested in learning. Ideally I'd have an engraver, but I don't.


If you make another one, I can probably get them laser etched :D
 

YROC FAB.

BUGGY TIME
Vendor
Location
Richfield, UT.
After months of searching i finally found a 100lb anvil in decent shape. YJ_Auzzy picked up for me and i cleaned it up and gave it a nice coat of paint. I filed a nice radius into the top edge to prevent chipping. It came with this really nice stand made out of steel cast wheel.

IMG_5431.JPG


IMG_5432.JPG
 

zmotorsports

Hardcore Gearhead
Vendor
Location
West Haven, UT
I finally made time Saturday to finish up some windshield/handlebar mounts for a buddies Harley. I made the bore and squared up some stock a couple weeks ago. Now I just had to turn the radius and complete them.

Started by making a mandrel to mount the blocks on my rotary table.
2iks2du.jpg


Boring to fit over the morse taper/mandrel.
2lxxvzc.jpg


Test fit before removing from lathe.
2v3stqf.jpg


Now test fit into the rotary table.
6ozwx3.jpg


Set up on the rotary table.
2uh90ci.jpg


Dialing in on center. That little modified NOGA test indicator holder sure comes in handy.
50309z.jpg


Plunging away around the radius.
fw7pdw.jpg


I made a climb milling finishing cut.
2ceq9ly.jpg


I then flattened off the ends where the fastener will be.
34zkn78.jpg


One down, one to go.
2uo0sqt.jpg


Setting up the second one on the rotary table.
9va4bb.jpg


Ready for the next step of removing the center portion.
69oz8h.jpg


Center portion removed and deburred.
2cy33eo.jpg


I didn't have any .625" stainless steel rod so I had to improvise and use some stainless steel bolts.
2qx4wn6.jpg


33as5ll.jpg


Getting closer.
24d31xx.jpg


Set up in the collet block to drill the .380" hole through the head.
29cq69w.jpg


Completed and ready to be picked up by the owner.
10oha4m.jpg


All in all a pretty straightforward and fun little job.

Mike.
 
Top