These next few posts will be rather picture heavy, I hope you're ok with that.....
More work on the C10 on Saturday and it's nearly complete.
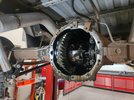
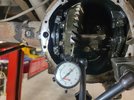
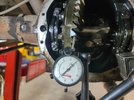
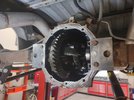
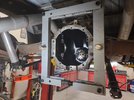
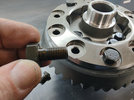
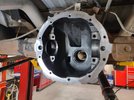
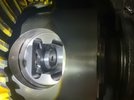
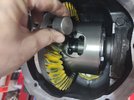
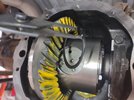
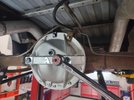
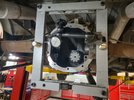
Case spreader installed on the housing and spreading.
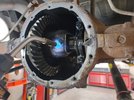
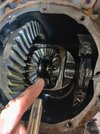
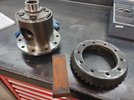
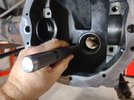
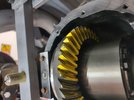
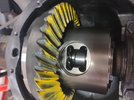
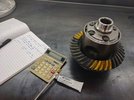
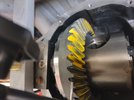
I apply some GM Gear Marking compound to 2-3 locations around the ring gear. Taking a gear reading in more than one place ensures there are no runout issues. As for gear marking compound, I have tried several over the years and I much prefer the GM version. I feel it applies more smoothly and evenly and is easier to get a nice imprint on when rotating the assembly which greatly aids in getting a good visual of the pattern impression.
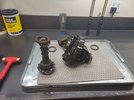
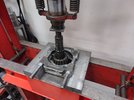
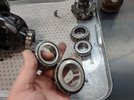
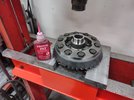
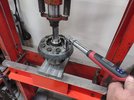
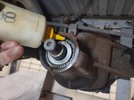
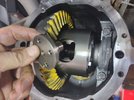
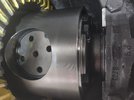
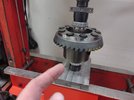
Pressing the carrier side gears in place. It is absolutely imperative that you select drivers that fit solidly on the Inside Diameter of the bearings and allow the cage and rollers to spin freely while pressing. Anything that comes in contact with the outer cage or rollers will damage the bearing in short order. This goes for the bearing on the opposite side as well, not just the one that you are pressing on. As I am pressing bearings I will use my finger to spin both bearings repeatedly while pressing to ensure there are no issues. A slightly damaged bearing here will definitely end up in a shortened life once it is put in service so don't chance it.
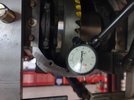
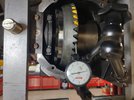
On the first attempt it was a bit tight at only about .004" backlash. I moved the carrier a few thousands to the left and landed on .008" with the case spreader tension released.
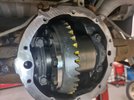
Excellent looking gear mesh pattern. When doing setups focus initially on pinion depth, pinion depth and then pinion depth before ever finalizing the backlash and it will live a long happy life. Did I mention focus on pinion depth????
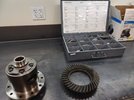
I was impressed with this particular kit as it came with BOTH a crush sleeve as well as a solid collar/shims (crush sleeve eliminator kit). Most kits will come with a new crush sleeve and you have to purchase the crush sleeve eliminator separately, and that is IF a crush sleeve eliminator is even available as they are not offered for all axles. I much prefer a solid spacer (crush sleeve eliminator) setup.
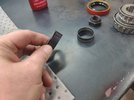
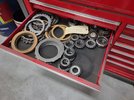
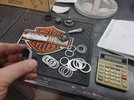
They require a bit more effort to get set up correctly as it usually involves multiple times in/out to get the proper preload but well worth it. I couldn't land exactly where I wanted with the shims supplied so I had to dig into my assortment of shims.
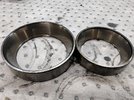
With the mockup complete it was time to move on to final assembly of the pinion. The inner bearing installed on the pinion and oiled, next was heat up the outer pinion bearing for an easy installation without having to beat it into place with a hammer.
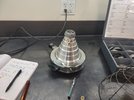
While the outer bearing is heating up I oiled the inner pinion bearing to ensure it won't start dry. Also preload reading should be taken with lubed bearings. Here you can also see the solid spacer and shims installed on the pinion and ready for installation.
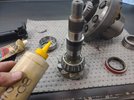
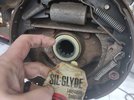
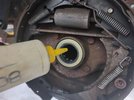
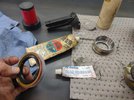
I prepped the pinion seal with a bit of GM ES (Engine Sealant) applied to the OD and some Sil-Glyde to the inner seal and
More pics to follow in next post......
